


Well, i had this idea for the longest time...i'm sure someone has thought of it or maybe done it but i haven't seen it, and i'm thrilled with the results so i have to share.
You need:
1) a brushed/machined finish breather lid
2) a bolt that just barely fits through the hole, along with 2 washers and a nut to thread onto the bolt
3) a drill press
4) various sandpapers, wire brushes, brillo pads etc for repairing the finish
5) a new decal (which i don't have yet)
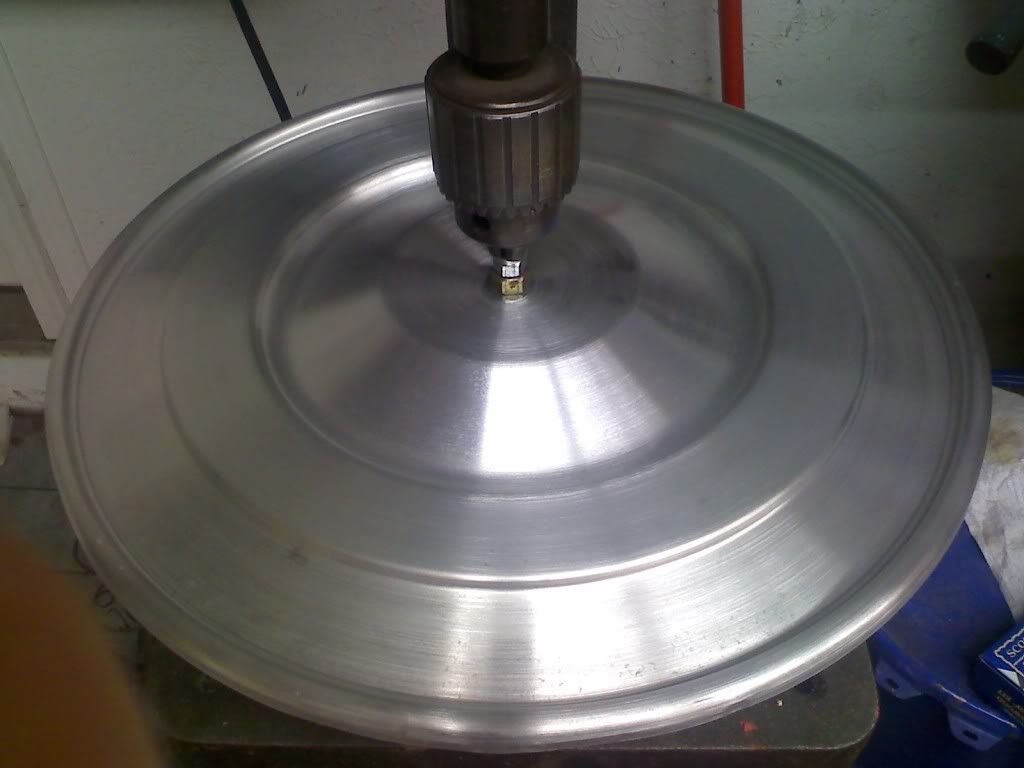
Take the bolt and run it up through the BOTTOM of the breather lid, with a washer on first. Then drop the other washer on and tighten the nut down on it TIGHT so it doesn't spin. Next chuck the bolt up into your drill press TIGHTLY. You don't want this thing whipping off like a frisby. At this point you're gonna want to set the drill press to the slowest speed and see how well you have it centered. Also it's common for the breather to be a little bent so you may have to tweak it so that it spins nice and evenly and doesn't wobble. You should end up with something like this (i've already started the process):
Now, you don't need to go super fast with this....in fact it's probably very dangerous. I kept it around 45-50rpm. I started out with 80 grit sandpaper because my lid was very rough and had a lot of deep water stains. It had been glass bead blasted so all the original brushed surface was long gone. If you're just restoring/refinishing yours, you'll want to start with something much finer than 80 grit, but you probably don't want to go any lower than 100-150 or you're gonna start polishing it rather than putting the finish back into it. I found that after going over the whole thing with 80 grit so that all or most of the spots were gone, i went back over it with a stiff wire brush (preferably one that's not all bent and bristled up because that'll cause irregular brush marks) and worked my way around it with that, and then went to a heavy brillo pad that's used for prepping head surfaces. Then as a final touch i went over it with a softer bristle brush to really fine out the brush marks.
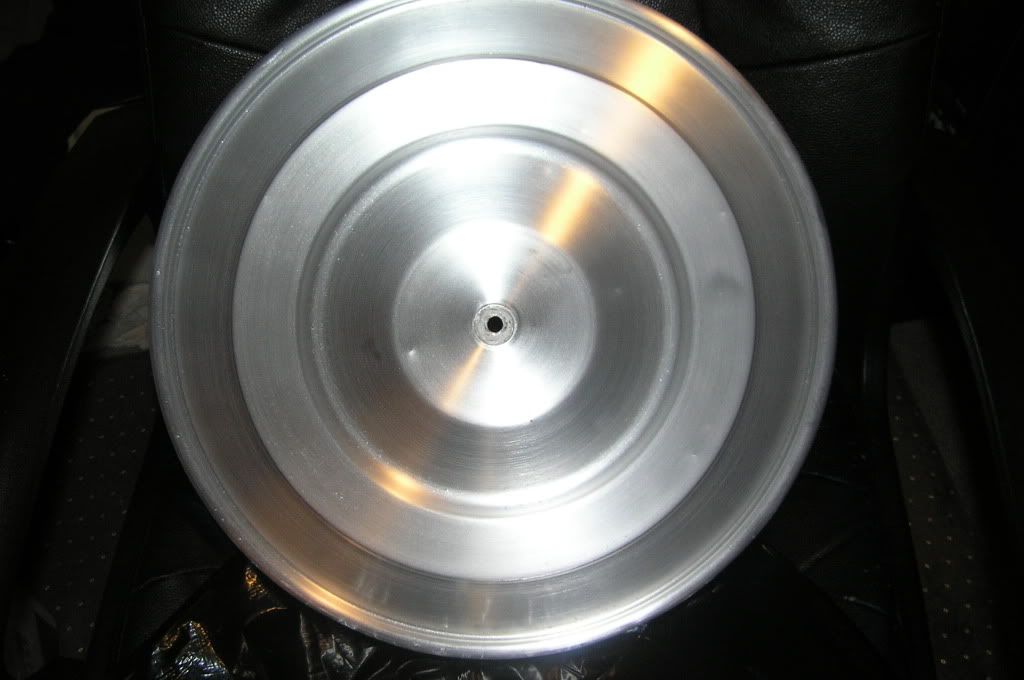
Here's what i started with...this is the surface after being glass bead blasted. It's not a good pic, but suffice to say it looks like a satin metallic silver paint job...it had a super fine grit finish to it. I liked it, but wanted it to look original.
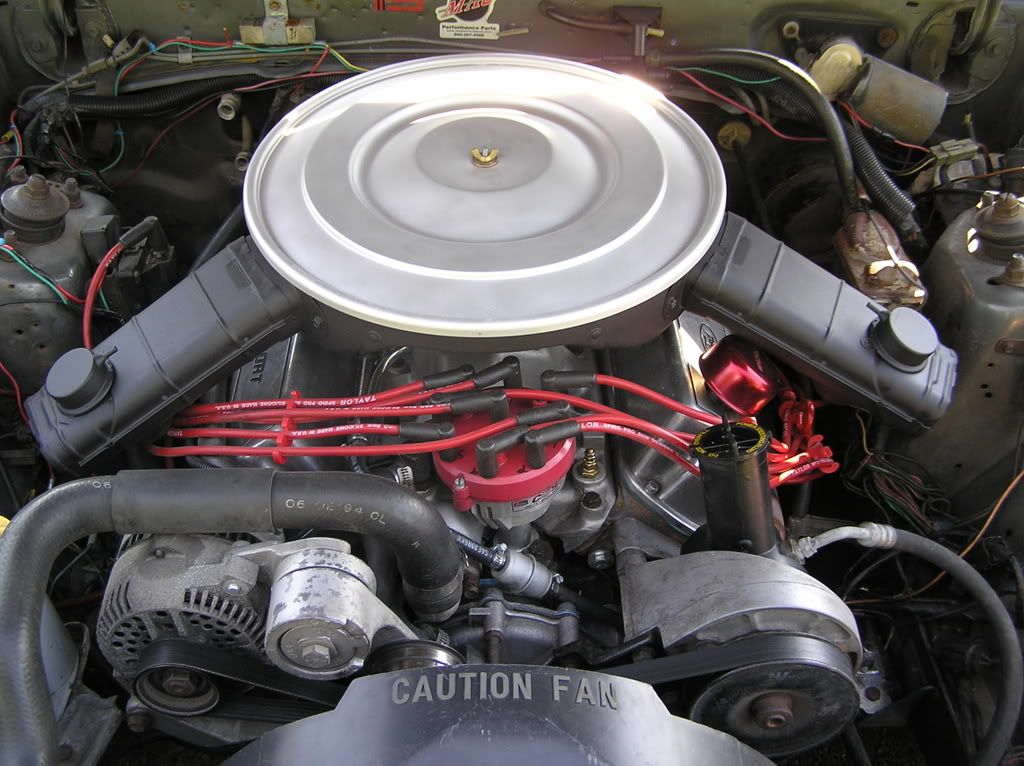
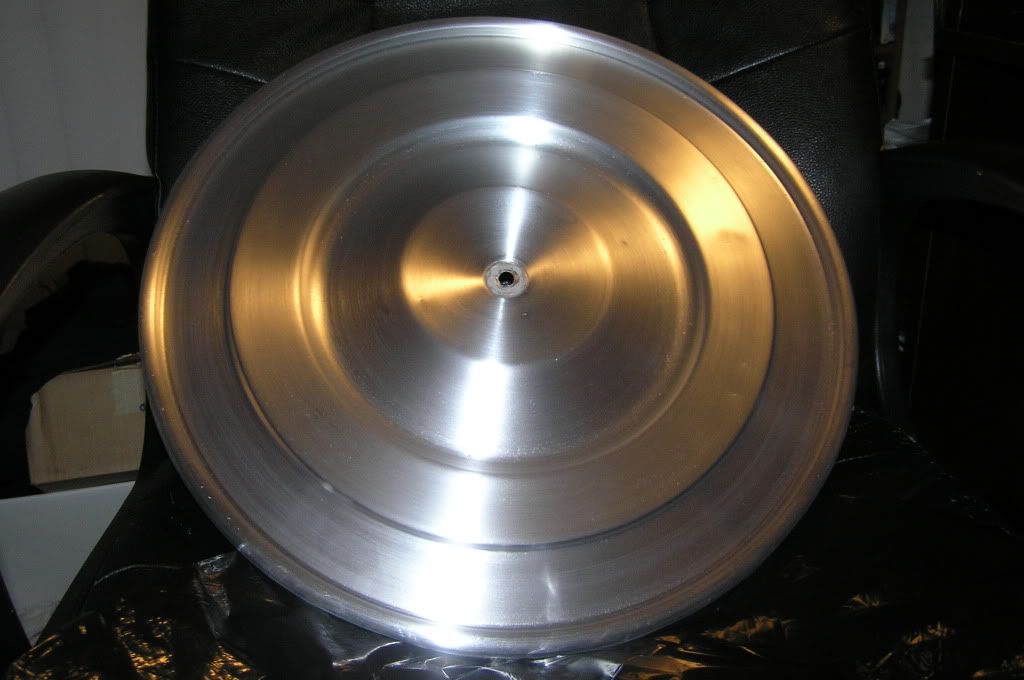
Here's what i ended up with:
A couple drawbacks....1, your lid is now raw aluminum. You have a couple options here....either spend a fortune for aluminum sealer (Zoop is a good product for this but it's espensive), or try your hand at a spray clear coat, or have it powder coated clear like i plan to do. Another thing is, it shows every ding and imperfection in the metal, which mine clearly has plenty of, but hey it's 25 years old and has lived a rough life. Third, DO NOT TOUCH IT before you clear it or something, or the oil from your skin will stain the raw aluminum. I'm keeping mine in a plastic bag until i can get it powder coated. Once it's coated, i'll install the decal. The pictures make the blemishes look worse than they really are....once it's on the car it'll look fantastic, and like i said if you have a nice lid that just needs some of the brush marks "fixed", this is the ticket.
Hope this helps someoneI've tried this with a hand held drill....don't. It hurts lol

 Reply With Quote
 I plan on doing this soon, and this is a big help.


Connect With Us