Close


Page 13 of 17 FirstFirst ... 31112131415 ... LastLast
Results 301 to 325 of 405
  1. #301
    FEP Power Member ccurtin's Avatar
    Join Date
    Apr 2009
    Location
    Acworth, GA
    Posts
    1,462

    Default

    First update in a long time. Kids, holidays, winter (yes it was very cold in Atlanta this year, even got snow a couple of times!) and typical work stuff got in the way.

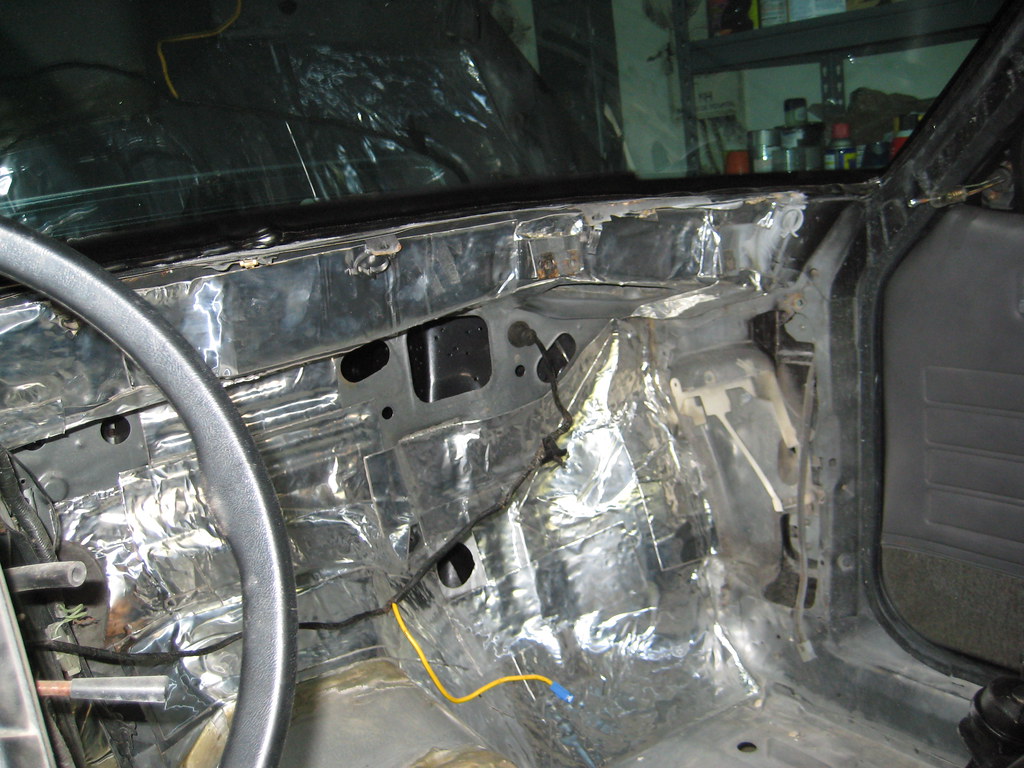
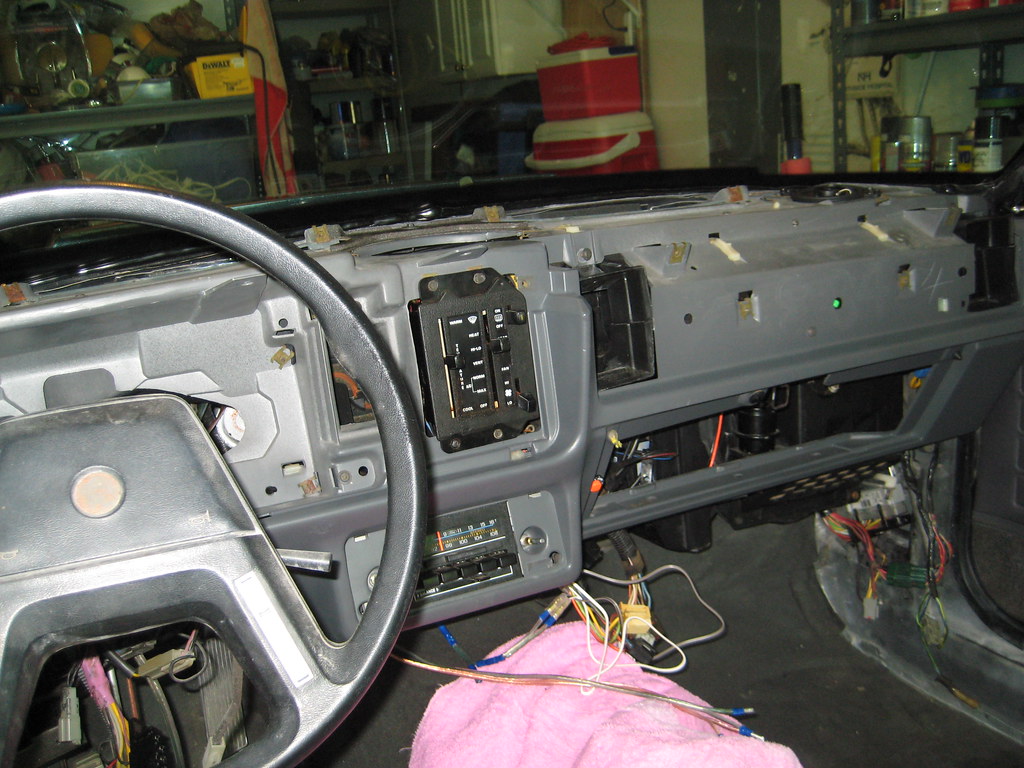
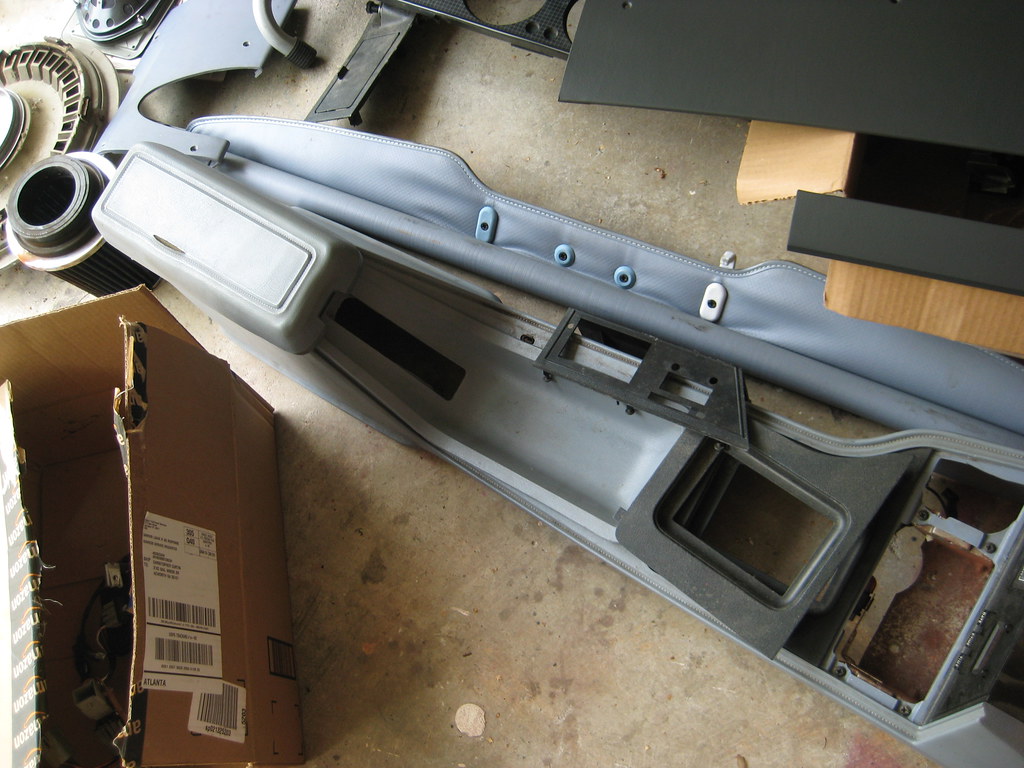
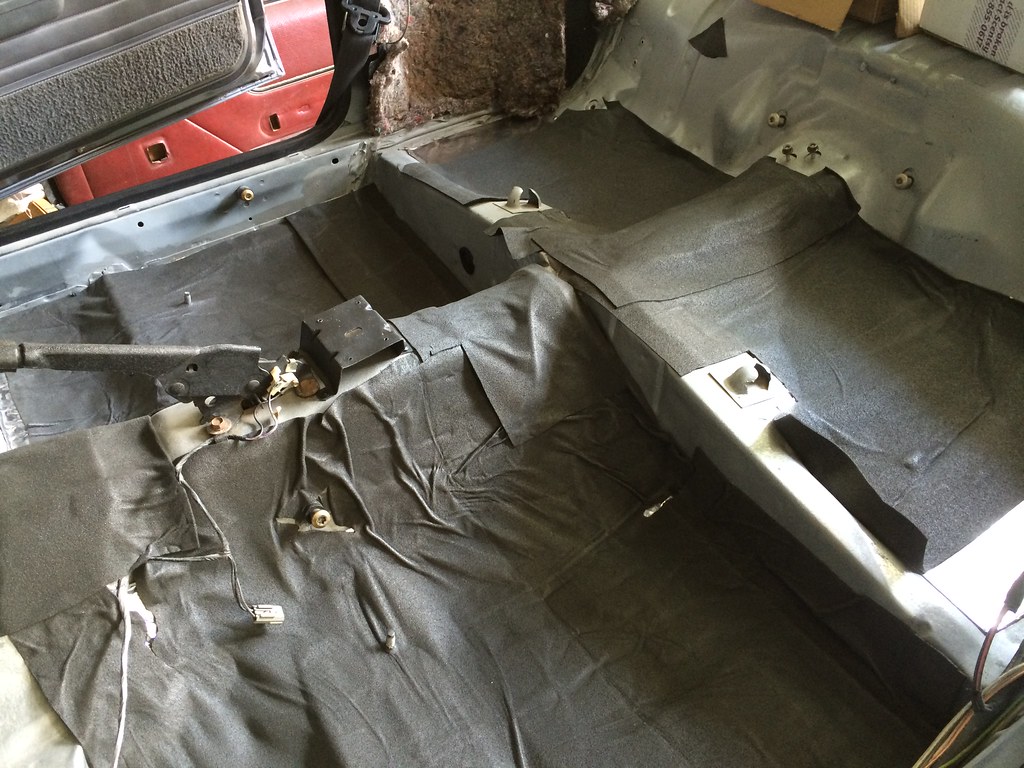
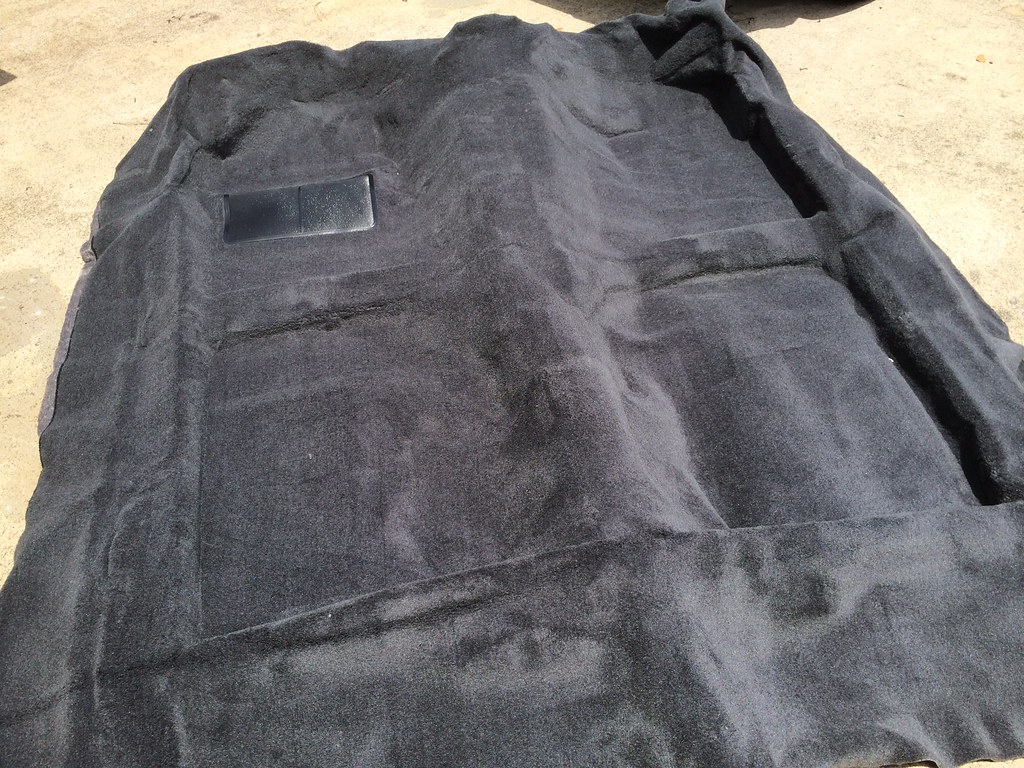
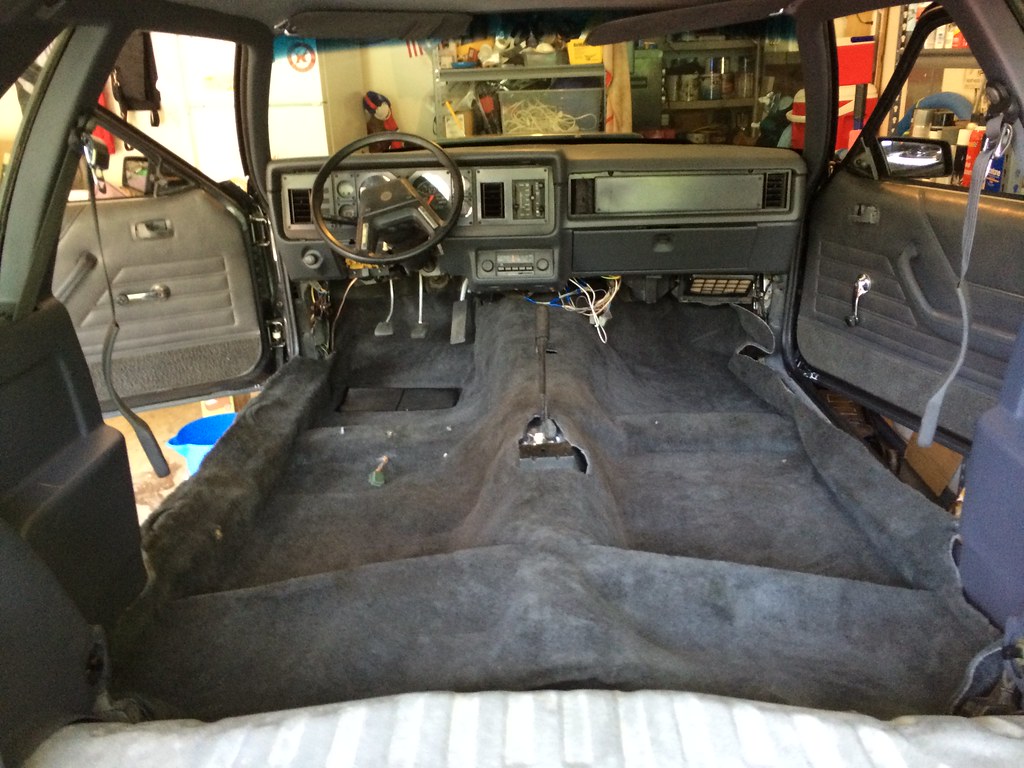
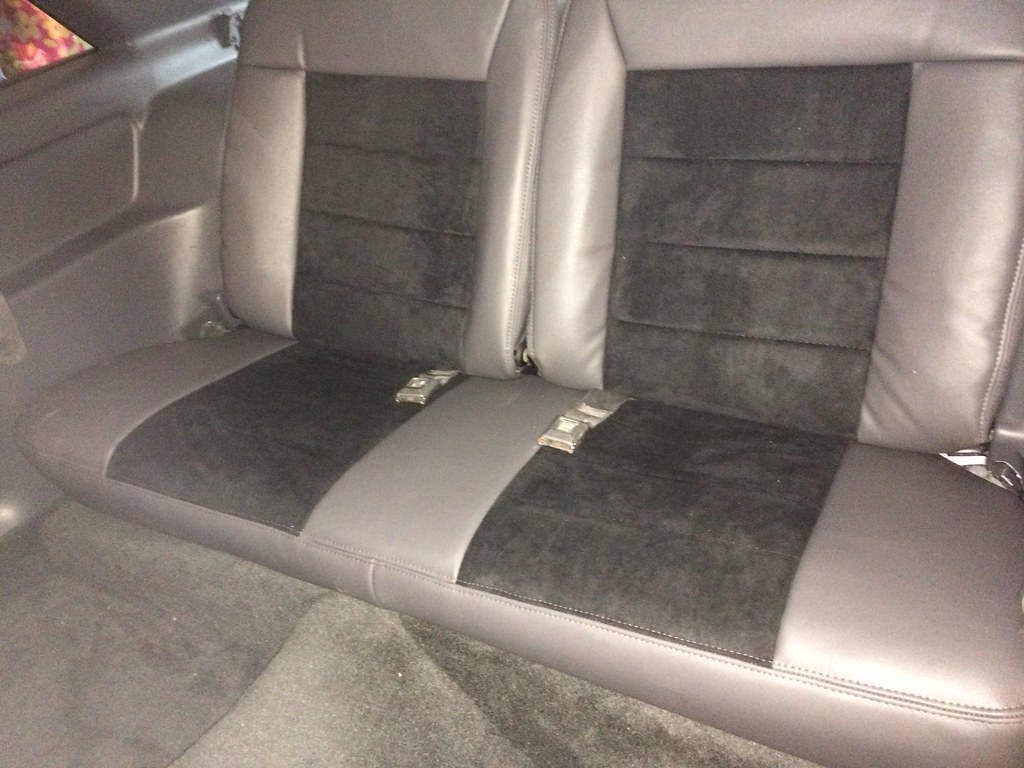
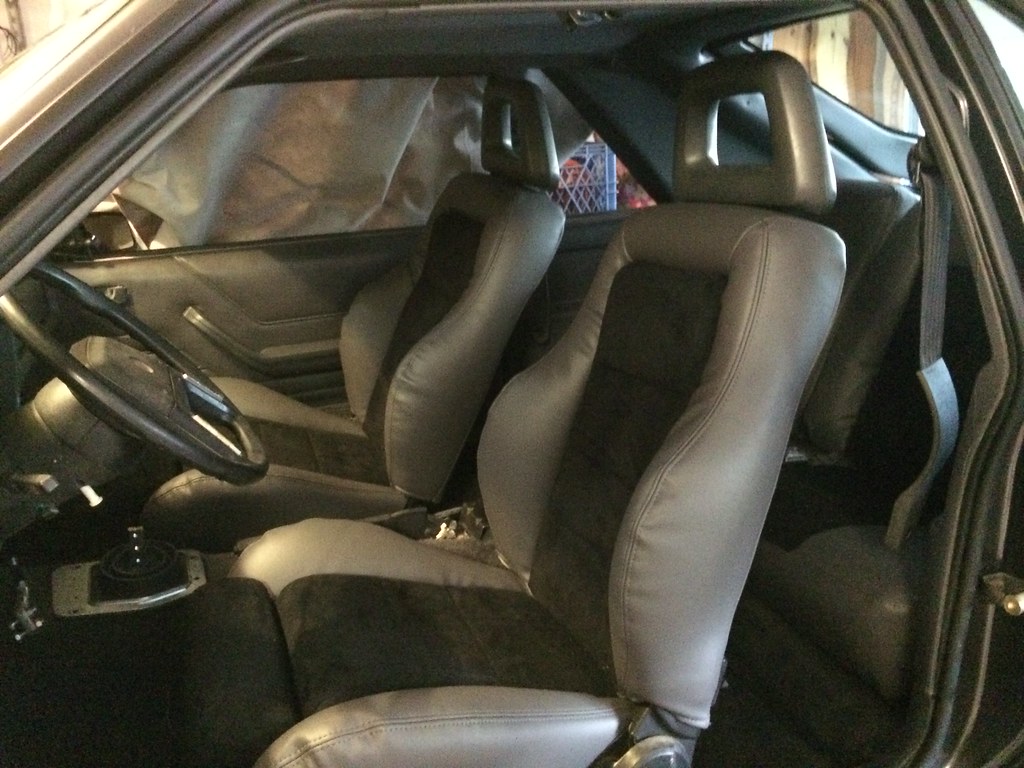
    Last September I installed the transmissions and started working on the interior. I started with an install of some RAAMmat BXTII and Ensolite. I was able to get the first part done.


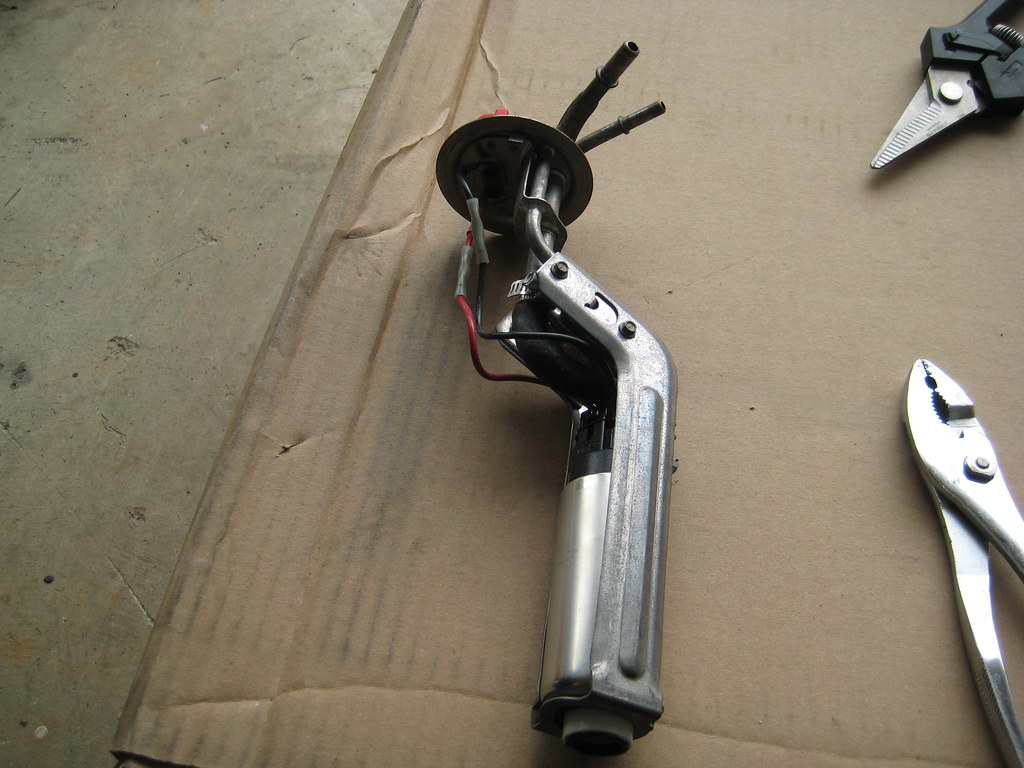
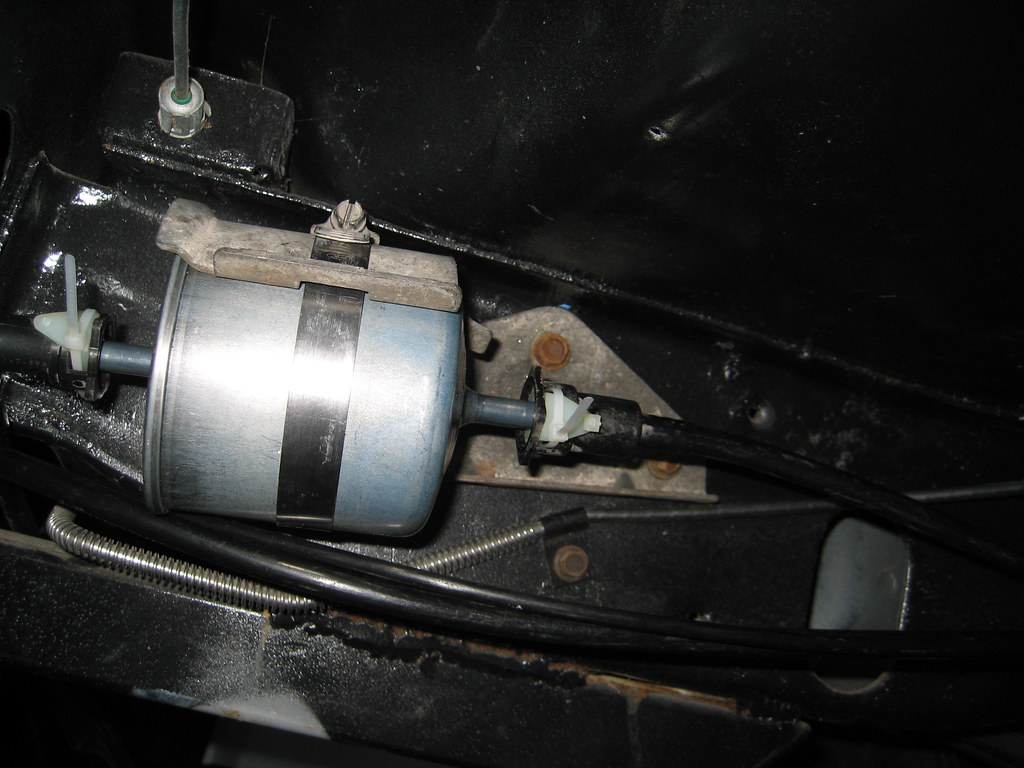
    Last weekend I was able to pick things back up again and installed a new 255 LPH HP pump and rebuilt level sender. Then installed the new tank, ran the lines, including an 87+ fuel filter bracket.


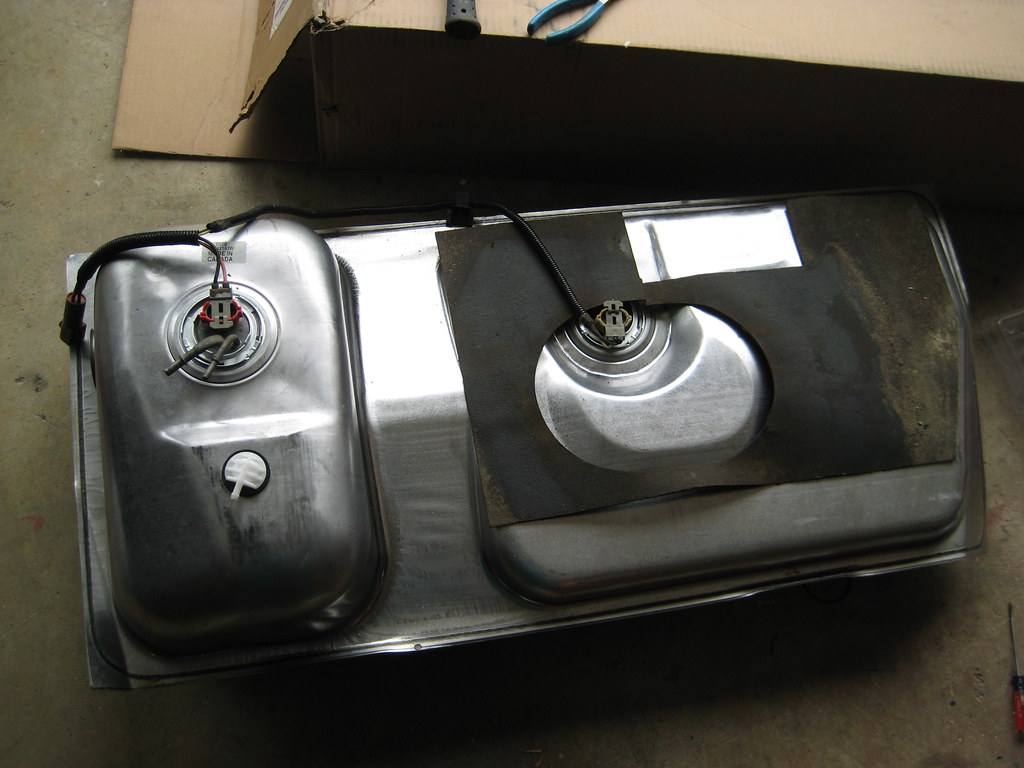
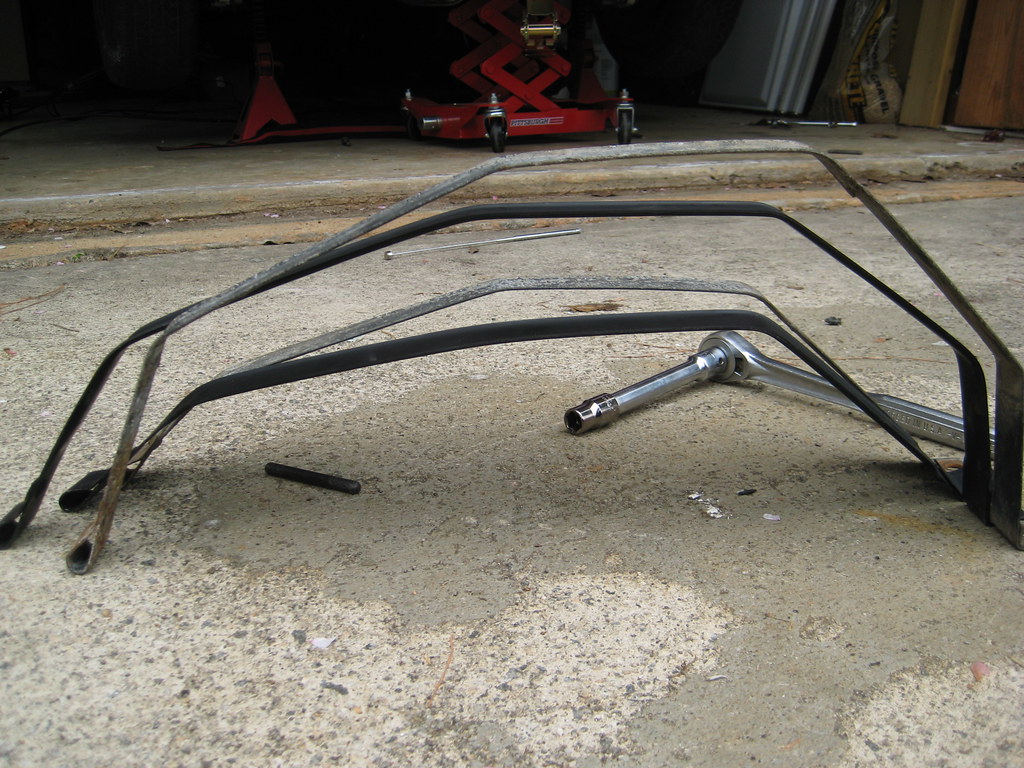
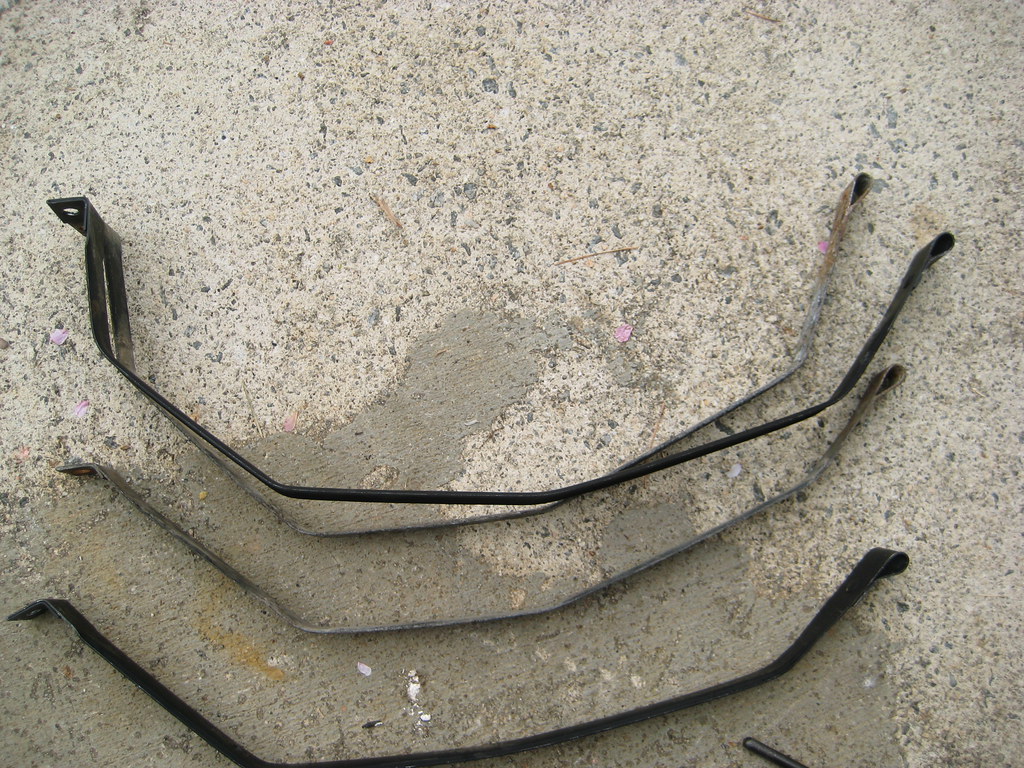
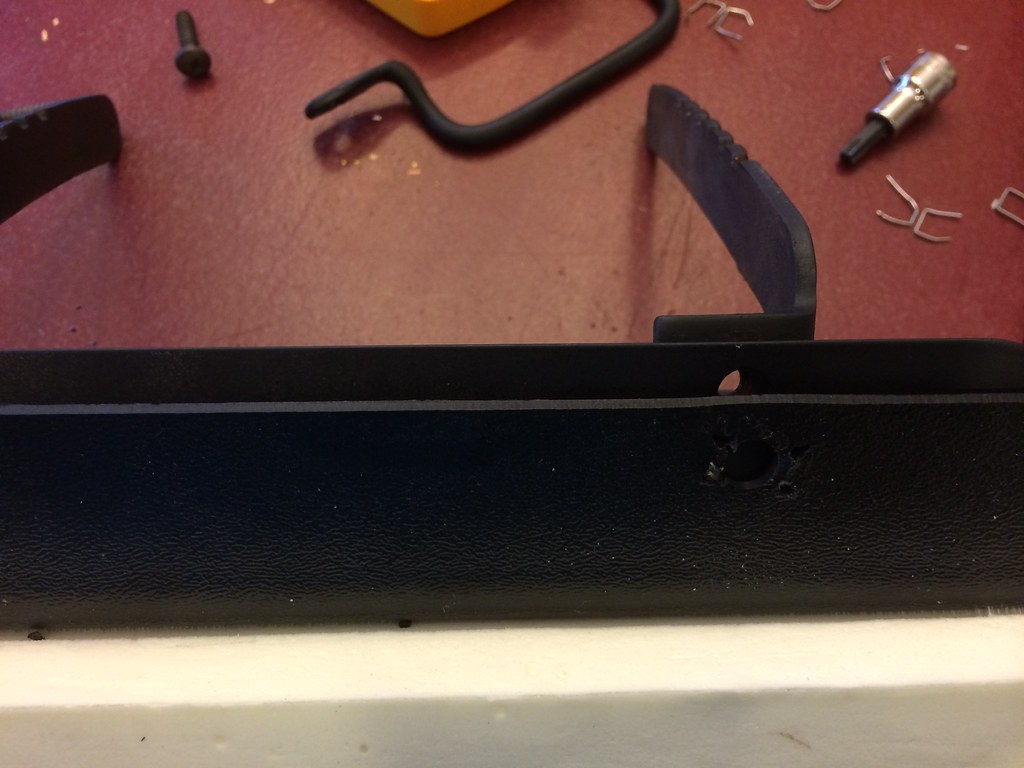
    After several hours of fighting with the tank, I finally figured out that the aftermarket brackets weren't bent the same way as the originals. I sanded the originals, a couple of layers of primer and finally paint and I was able to get the tank to install.


    This shows the difference. I probably could have bent the new ones to match, but I was so annoyed at this point I went with the originals.
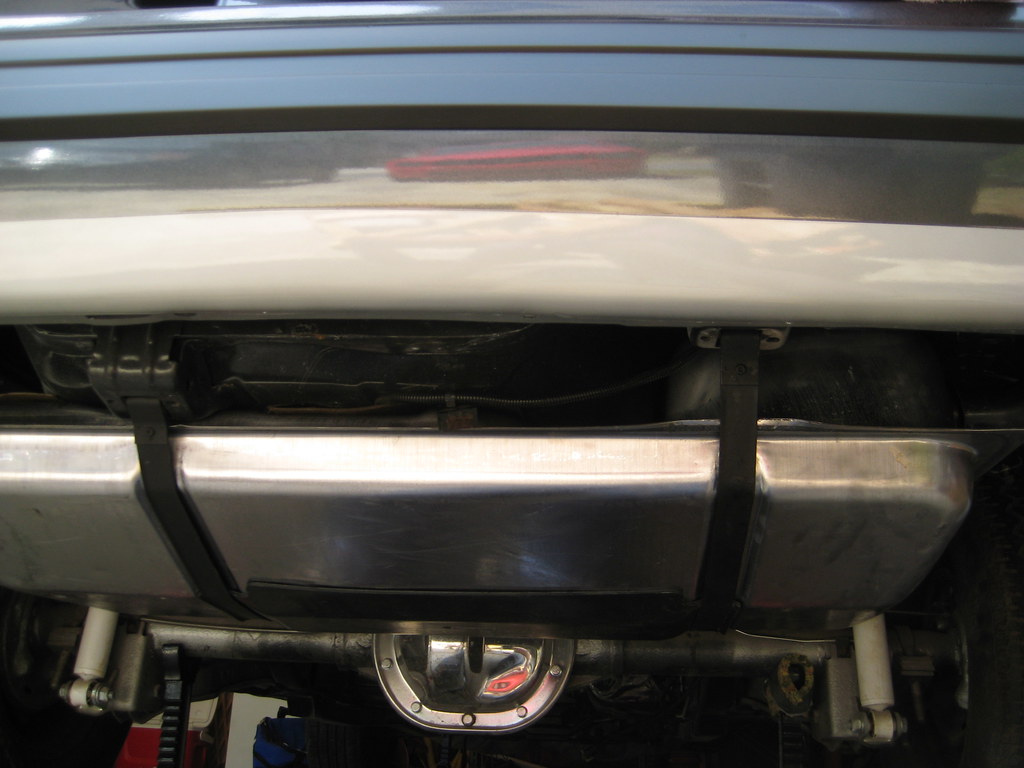


    All done:


    After I started cleaning up I noticed that the old pump that came with the bracket was missing the little flow control valve on the front. Rather than risking that the old valve was in the 'S' tube, this weekend I took the whole thing back down looking for the valve. (With what I have in the engine, it wasn't worth the risk of not getting enough fuel!)


    Never did find it. Replaced the 'S' hose on the new pump, then cut the old one apart. Still no sign of it. Either it wasn't installed or it fell out when I took the original apart. However I don't remember seeing it after sweeping up.


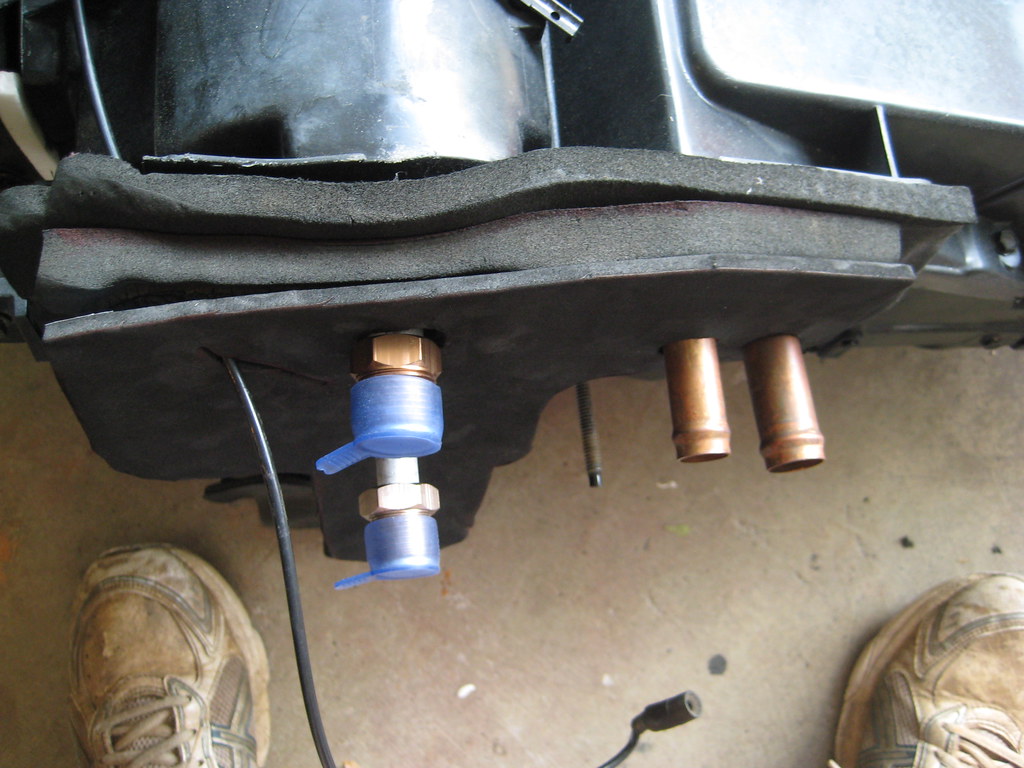
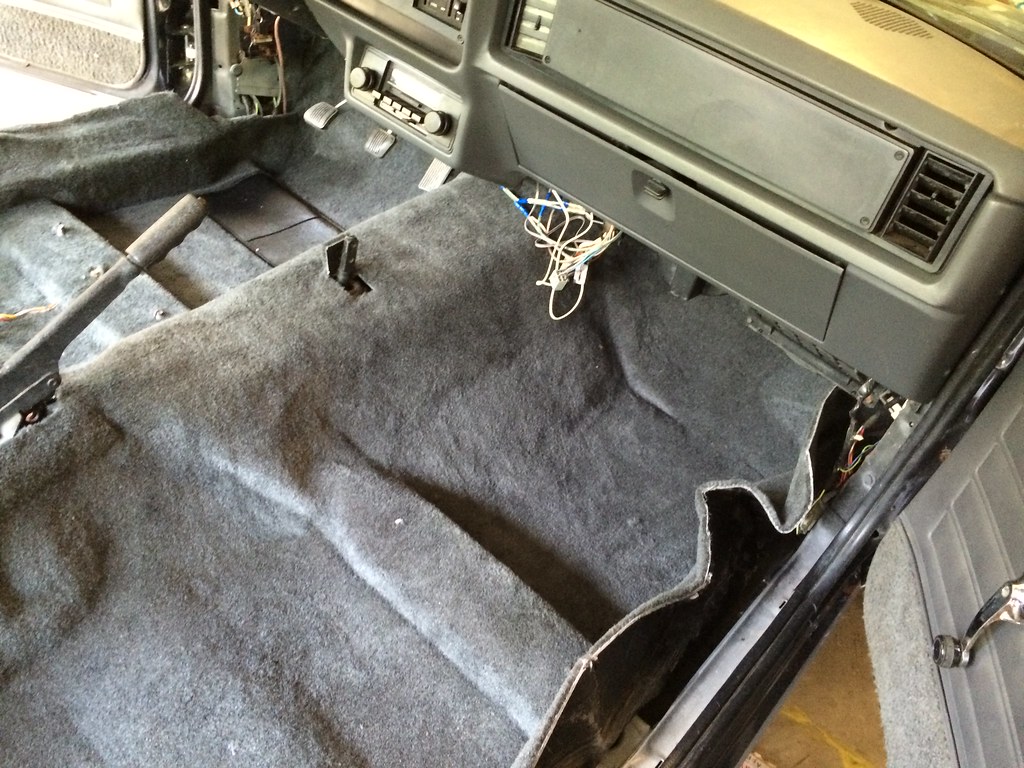
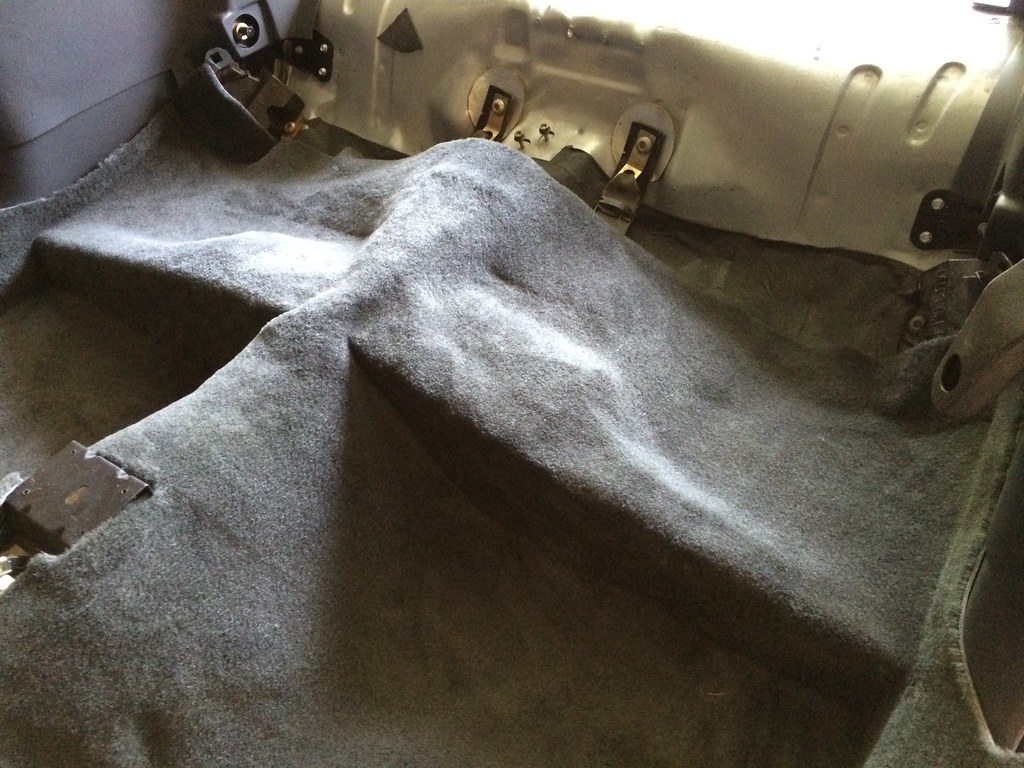
    With the tank back in (took 10 minutes this time ) I finished the RAAMmat install at the firewall and installed the cleaned up/rebuilt HVAC box.


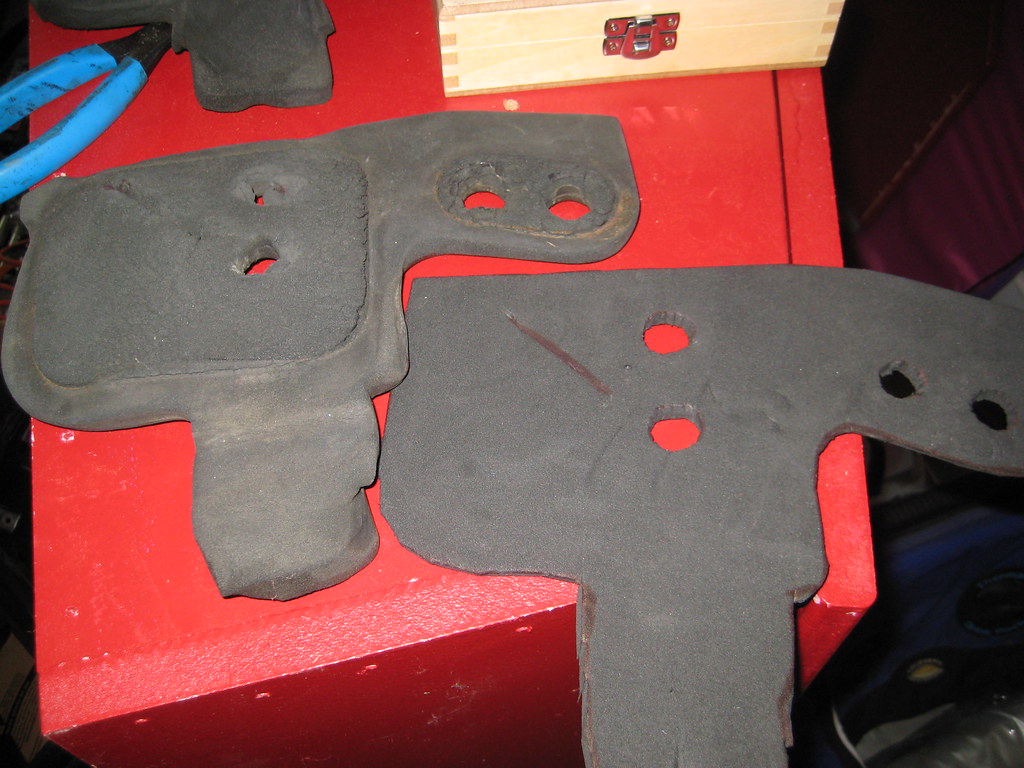
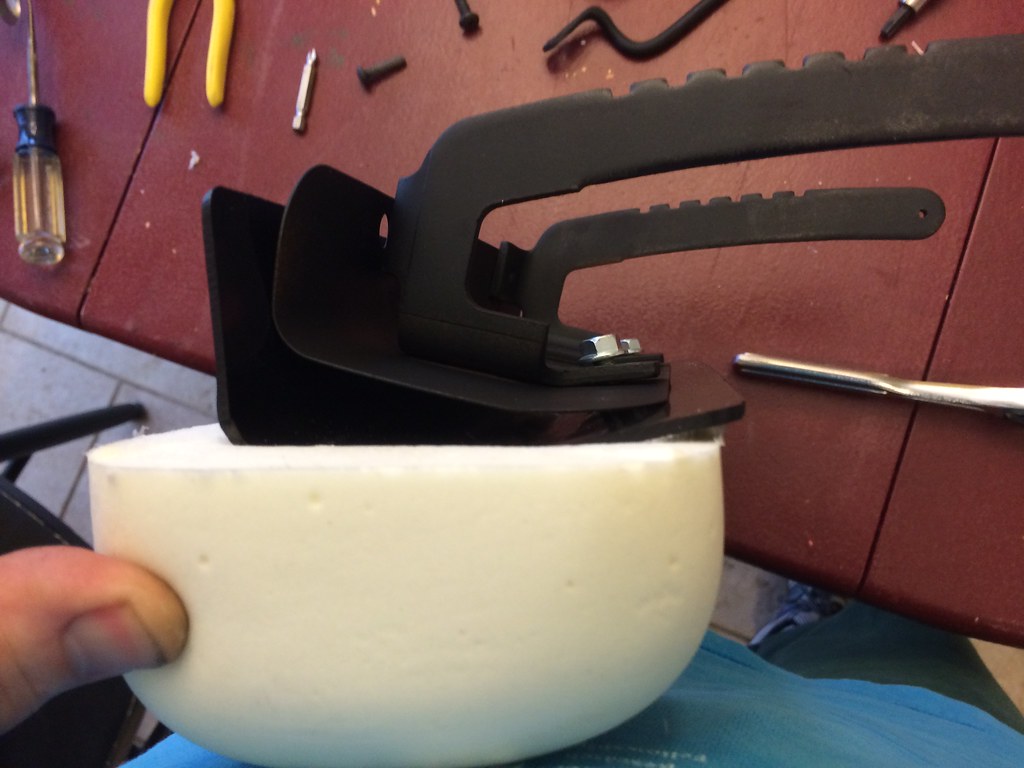
    When rebuilding the HVAC box last fall I noticed that the 'gasket' around the heater and A/C was rotted pretty badly, so I went to the local crafts store and got a piece of black foam, cut it to the same size and installed it. It is a little thicker, but not too bad.


    Not bad for a couple of hours this weekend (and almost 3 days last weekend getting the fuel lines and tank installed!


    I'm an FEP Paid Supporter and proud of it. Are you?

    1984 Capri Turbo RS - Alive after 7 years! Build Thread
    2018 Mustang GT - daily driver

  2. #302
    FEP Power Member ccurtin's Avatar
    Join Date
    Apr 2009
    Location
    Acworth, GA
    Posts
    1,462

    Default

    Did about a dozen small things this weekend, such as installing the battery tray, computer, merging the two throttle bodies into one good one, installing the throttle body etc. No new pictures, but crossed off a lot on the 'to do' list. But also added another 5-6 things!
    I'm an FEP Paid Supporter and proud of it. Are you?

    1984 Capri Turbo RS - Alive after 7 years! Build Thread
    2018 Mustang GT - daily driver

  3. #303
    86 50CPRI
    Guest

    Default

    question on the tank install? While it looks all shiny and new, isnt there supposed to be a big plastic shield between the tank and the straps?

  4. #304
    FEP Power Member ccurtin's Avatar
    Join Date
    Apr 2009
    Location
    Acworth, GA
    Posts
    1,462

    Default

    Quote Originally Posted by 86 50CPRI View Post
    question on the tank install? While it looks all shiny and new, isnt there supposed to be a big plastic shield between the tank and the straps?
    The 84's only had the smaller skid plate. You can barely make it out in the tank picture. It covers the front of the tank from the floor until about 2" up the side you can see from the rear. I think the full covers started in 87.

    Thanks,

    Chris
    I'm an FEP Paid Supporter and proud of it. Are you?

    1984 Capri Turbo RS - Alive after 7 years! Build Thread
    2018 Mustang GT - daily driver

  5. #305
    FEP Power Member ccurtin's Avatar
    Join Date
    Apr 2009
    Location
    Acworth, GA
    Posts
    1,462

    Default

    This weekend was very busy, and I even got some work done on the Capri!


    First, a few weeks ago I had all the interior parts cleaned up and painted. They came out pretty good, but 30+ years of scratches don't all come out without a lot of bondo, so I decided to remove the rough edges only.


    I started Friday by taking the day off from work and going to a junkyard. I was specifically looking for a lot of 'small' things that I need. For example a VSS clamp and bolt, seat belts that have been updated in the recall etc.


    What I found was an almost mint condition 1984 Mustang V6 hatchback. Someone had already removed the dash cover, so I'll assume it was perfect. It even had a stock radio! I stripped the console, radio, glove box, seat belt buckles, speaker covers and a few other small pieces. I debated for most of an hour as I removed all this stuff if I should take the seats. They were lowback sport seats, but in excellent condition. In the end I left them. I swear it was a little-old-lady's car, it even had the cargo cover! If I'd had the 7mm wrench I would have taken the dash shell too, but I didn't expect to find a usable dash shell!


    I did find the VSS in the remains of a Ranger and a few other parts in other places.


    Saturday was my 22nd Wedding anniversary so my wife and I went to see Foreigner and Styx and get away for the night! Sunday was spent at the pool with the kids.


    By Monday morning I was itching to do some work on the car, so I ran new speaker wires, reassembled the dash (it was taken apart when painting the entire interior) and installed it. Sounds like a quick job, but it took 5+ hours total.


    Here is the dash:


    Here are all the painted parts in the garage:


    Here are some of the parts I removed from the junk yard:


    Oh and there are boxes in my home office with new carpet and a headliner. I'll finish the interior next weekend and install those next!
    I'm an FEP Paid Supporter and proud of it. Are you?

    1984 Capri Turbo RS - Alive after 7 years! Build Thread
    2018 Mustang GT - daily driver

  6. #306
    86 50CPRI
    Guest

    Default

    Looks great!

  7. #307
    FEP Power Member ccurtin's Avatar
    Join Date
    Apr 2009
    Location
    Acworth, GA
    Posts
    1,462

    Default

    This weekend was all about the interior. After a few setbacks the last few weekends I was finally ready to install the interior.


    First up, was to remove the dash pad that I installed last weekend, since the A-pillar covers won’t go on with the dash pad installed. So out it came, again.


    Then I had to remove the cover over the steering shaft, since I forgot to hook up the intermittent wiper control. (The infamous ‘DO NOT DROP’ box.) I really hope the control works, but no way to know for a few more weeks when I get the battery attached.


    Using one of the ‘all the screws for a Mustang hatchback’ kit I got for Christmas 4+ years ago, I got started. No idea which vendor it came from, but most of what I needed was in there. The few Capri-specific screws for the bubble hatch had to be cleaned up and painted since the kit didn’t come with them.


    One day later, all the interior plastics are in, including the headliner. I did find that the overhead light is pretty banged up, so I’ll need to get a replacement at some point.


    Here is what I started the weekend with:


    One snag, which set me back a couple of hours, is the new headliner wasn’t setup for the 3 screw sun visors, but was correct for the dome light, Handy Dremel helped with that, but it took quite a while to figure out what was wrong, at first I thought it wasn’t centered!


    Next I cleaned the floor and installed the last of my RAAMat and Ensolite. I also had a minor scare when I couldn’t find the bolts to install the rear seat frames. A couple of hours of searching the same bags over and over I found them, mislabeled. Silly me.


    Last picture before the carpet:


    The carpet out in the sun for a few hours to loosen up and lose the wrinkles:


    I got the ACC Mass-back carpet from Fox Restoration, I also got matching hatch carpet and floor mats. The mass-back on the carpet was really thick and the carpet itself way oversized. I must have taken it out to trim 5 or 6 times to get the front close. Once I was able to get the front to flatten down, I could fit the four ‘molded’ areas then trim most of the excess.


    There were still a few wrinkles and I need to get the shifter seal, so I didn’t finalize any of the cuts. Probably a next weekend project.


    Passenger side, fitted to the floor:


    View from the hatch:


    Rear Seat area:


    The pieces I had to trim off:


    I ended the weekend cleaning up the garage and installing a lot of little pieces like the PCV hose from the block, the vacuum tree in the engine bay and cleaning up the VAM so I can install it soon.


    I now need to order all the light bulbs for the rear, so I can close up the interior. No rear carpet until I get the seat upholstery.


    Now the interior looks like a car again!
    I'm an FEP Paid Supporter and proud of it. Are you?

    1984 Capri Turbo RS - Alive after 7 years! Build Thread
    2018 Mustang GT - daily driver

  8. #308

    Default

    I have a 84 mercury capri rs turbo and they came with a metallic charcoal grey on top and a foot of silver at the bottom and a orange stripe around the rockers. Mustang magazine did an article on them where u can see a beautiful example of one. Just google 84 mercury capri rs turbo. In the article it says 320 were produced

  9. #309
    86 50CPRI
    Guest

    Default

    Wow..you had to trim.alot off the carpet. I did my coupe recently, with the same mass back ACC from LRS but didnt have nearly the excess. Maybe it was because I bought it two years ago ;-) Love the progress youre making! I asked you in your other thread about the door panel clips...how many do you need?

  10. #310
    FEP Power Member ccurtin's Avatar
    Join Date
    Apr 2009
    Location
    Acworth, GA
    Posts
    1,462

    Default

    Quote Originally Posted by 86 50CPRI View Post
    Wow..you had to trim.alot off the carpet. I did my coupe recently, with the same mass back ACC from LRS but didnt have nearly the excess. Maybe it was because I bought it two years ago ;-) Love the progress youre making! I asked you in your other thread about the door panel clips...how many do you need?
    Thanks Pete, ended up getting a kit from LRS when I ordered a bunch of other things. Surprised how many little things I need when I think I have most of the big stuff.

    I was a little surprised by the amount of carpet too, especially after removing it myself a couple of times!

    No update this weekend, stayed out the garage and hung out by the pool most of the day.
    I'm an FEP Paid Supporter and proud of it. Are you?

    1984 Capri Turbo RS - Alive after 7 years! Build Thread
    2018 Mustang GT - daily driver

  11. #311
    FEP Power Member ccurtin's Avatar
    Join Date
    Apr 2009
    Location
    Acworth, GA
    Posts
    1,462

    Default

    Quote Originally Posted by double22imp View Post
    I have a 84 mercury capri rs turbo and they came with a metallic charcoal grey on top and a foot of silver at the bottom and a orange stripe around the rockers. Mustang magazine did an article on them where u can see a beautiful example of one. Just google 84 mercury capri rs turbo. In the article it says 320 were produced
    According to my Marti report there were 1223 of them. Lots of people quoted 1320 for a number of years until the Marti reports became available. Link to my report here:

    http://84caprirs.blogspot.com/2012/1...-my-capri.html

    Thanks,

    Chris
    I'm an FEP Paid Supporter and proud of it. Are you?

    1984 Capri Turbo RS - Alive after 7 years! Build Thread
    2018 Mustang GT - daily driver

  12. #312
    Mike Croke
    Guest

    Default

    Looks great! Our ''84 is sitting waiting for me to finish the SN95 and Maximum Motorsports brake/suspension stuff. Keep updating this thread so I feel guilty and get back to work.

  13. #313

    Default

    Your interior looks great, well done. I'm interested to hear how you like the sound deadening and mass back carpet. Once you start really driving the car keep us posted on how quiet the ride is . I want to do that with my car but I don't know which product(s) to buy. Your feedback will help.

    Keep up the good work, the interior looks awesome!
    Cheers!

    Mike (TopGear85)


    Have:
    85 Saleen #73-GT,2R,TuTone,Cruise,Pos,5spd,Charcoal
    ***August 2015 ROTM Winner!***

    Had:
    79PC-San Jose #2890
    86GT-9L,TuTone,5spd,T-Tops,Sand Beige
    86GT-9L,TuTone,5spd,T-Tops,Charcoal
    90LX-Oxford Wht,5spd,Sunroof,5.0 Hatchback
    90GT-Oxford Wht,5spd

  14. #314

    Default

    http://issuu.com/foxmustangmagazine/...705724/4402606

    Here is my link of production numbers.
    But I have a question about yours...... That number in yours is for all mercury's made that year with the charcoal paint code. But the 293 number in your link is for the paint and trim code. Witch that code was only used on the 84 2.3t rs. With the silver rocker stripe and the orange stripe? Right? Or as in your link says the coral orange stripe code.

  15. #315
    FEP Power Member ccurtin's Avatar
    Join Date
    Apr 2009
    Location
    Acworth, GA
    Posts
    1,462

    Default

    Sigh. First time in months been able to work on the car. Went to install the clutch cable and MM fire wall adjuster. Got distracted by one of the kids and split the shrink wrap tubing I was trying to melt on the cable. And the diameter is greater than anything I have at the house.. So much for getting anything done after that. I wanted to do the clutch cable, then the driveshaft, then put her back on the ground. Oh well. Maybe next weekend.
    I'm an FEP Paid Supporter and proud of it. Are you?

    1984 Capri Turbo RS - Alive after 7 years! Build Thread
    2018 Mustang GT - daily driver

  16. #316
    FEP Power Member ccurtin's Avatar
    Join Date
    Apr 2009
    Location
    Acworth, GA
    Posts
    1,462

    Default

    A few updates since last time: clutch cable is on and adjusted, Tri-Ax is installed and aluminum driveshaft is in.

    Today all I was able to do was install the headlights. No power to drive them, but getting closer!

    IMG_0458 by Curtin Family, on Flickr
    I'm an FEP Paid Supporter and proud of it. Are you?

    1984 Capri Turbo RS - Alive after 7 years! Build Thread
    2018 Mustang GT - daily driver

  17. #317
    FEP Member
    Join Date
    Aug 2014
    Location
    South Boston, Virginia
    Posts
    473

    Default

    Thanks so much for such a detailed build log. My hats off to you, most people would have parted it out with the amount of rust. Awesome work man. Keep it up, can't wait to see this on finished.

  18. #318
    Mike Croke
    Guest

    Default

    So shiny.

    Are you going to add relays for the headlights?

  19. #319
    FEP Power Member ccurtin's Avatar
    Join Date
    Apr 2009
    Location
    Acworth, GA
    Posts
    1,462

    Default

    Quote Originally Posted by Mike Croke View Post
    So shiny.

    Are you going to add relays for the headlights?
    Eventually. The goal for the fall before the weather turned was to get the wiring and battery done so I could get a good idea of whether there are wiring problems or not. Then go back and do upgrades. I'd rather know they were working before I screwed it up
    I'm an FEP Paid Supporter and proud of it. Are you?

    1984 Capri Turbo RS - Alive after 7 years! Build Thread
    2018 Mustang GT - daily driver

  20. #320
    FEP Power Member ccurtin's Avatar
    Join Date
    Apr 2009
    Location
    Acworth, GA
    Posts
    1,462

    Default

    Today is her 31st birthday.
    I'm an FEP Paid Supporter and proud of it. Are you?

    1984 Capri Turbo RS - Alive after 7 years! Build Thread
    2018 Mustang GT - daily driver

  21. #321

  22. #322
    FEP Power Member ccurtin's Avatar
    Join Date
    Apr 2009
    Location
    Acworth, GA
    Posts
    1,462

    Default

    After a thread on Facebook in the TurboFord group about stock tensioners falling apart, I took advantage of the year of year Esslinger sale and bought a new tensioner and adjustable cam gear.

    Used the old 'white out' trick to mark the belt location on all 3 pulleys and installed the new parts.

    Here is a picture of the cam gear, and the pair installed.


    IMG_0677 by Curtin Family, on Flickr


    IMG_0678 by Curtin Family, on Flickr
    I'm an FEP Paid Supporter and proud of it. Are you?

    1984 Capri Turbo RS - Alive after 7 years! Build Thread
    2018 Mustang GT - daily driver

  23. #323
    FEP Power Member ccurtin's Avatar
    Join Date
    Apr 2009
    Location
    Acworth, GA
    Posts
    1,462

    Default

    Big project over the Christmas break was to install new foam and upholstery. Since the car was a shell when I got her, the only seats/foam I had was the two back seat uppers. After looking for months for matching back seat bottom online and in the forums, I gave up and reached out to a couple of vendors to get quotes to build new upholstery out of the original materials. $1200 estimates just for the covers and upholstery derailed that idea.

    Instead I went with the 2003/2004 Cobra Upholstery and foam upgrade for Fox Sport Seats from TMI. I bought mine from Late Model Restoration.


    First, if you are thinking about this, watch this video a couple of dozen times to understand what you are getting yourself into!


    https://www.youtube.com/watch?v=yj7F-wLQFSA


    Following these instructions I had no problems taking the old upholstery off the 85/86 front seats and 84 back seats I had acquired from a lot of sources.


    I did encounter a few challenges while doing the upholstery.


    First, starting with the back carpet on the back seats, the carpet bought from LMR is cut a good 1/2 to 3/4" inch wider than the original and there was no way to get the pushpins to seat without stapling and trimming it. (The video above says you don't need to.) I ended up positioning the carpet, installing the latch bracket, then stapling the carpet to the plastic frame. I then notched the carpet around the push pin holes so it went in easier.


    The rest of the backseat was easy to do.


    Next challenge was the foam and rods on the front seat backs. No matter what I tried I could not get the J clips on the upholstery to install. The reason was the foam, and the rods, would keep trying to come off the frame as I squeezed it together. I ended up zip-tying the rods and foam to the frame to get the J clip to catch. I then cut the zip ties (easily reached from the bottom.)


    Final challenge was that the knee bolsters included in the kit assume that you are using the 87+ style, where the foam is attached to the bracket with 4 bolts. Instead the 85/86 have two bolts and two screws through the handle.


    The fix was easy once I figured out what was wrong. I removed the two speed nuts from the TMI plastic mount, widening the holes, then screwed the handles in.


    These pictures show the problem.


    IMG_0669 by Curtin Family, on Flickr


    IMG_0670 by Curtin Family, on Flickr


    Installation was then pretty easy (once I figured out how to mount the hinges, I really should have taken a lot more pictures of some of the things I took apart!.)


    The seats aren't completely installed, since I want to make sure the wiring is okay on all the interior pieces. I also want to install some gauges in the console before installing it. But I was able to get in and make 'vrooming' noises


    IMG_0672 by Curtin Family, on Flickr


    IMG_0673 by Curtin Family, on Flickr


    IMG_0675 by Curtin Family, on Flickr


    --
    Thanks,

    Chris

    I'm an FEP Paid Supporter and proud of it. Are you?

    1984 Capri Turbo RS - Alive after 7 years! Build Thread
    2018 Mustang GT - daily driver

  24. #324
    FEP Power Member ccurtin's Avatar
    Join Date
    Apr 2009
    Location
    Acworth, GA
    Posts
    1,462

    Cool WE have power! (Electrical, but still power!)

    Final task for 2014 was to finish the wiring under the hood and install the battery.

    I was really happy when I tightened down the quick connect on the negative side of the battery and the door chime started screaming at me!


    Quickly confirmed I had side lights, brake lights and head lights. Though trying the headlights in various combinations, showed the headlight switch and turn signal switches are probably bad. I could get hazards, but no turn signals and only every 3 or 4 tries would the headlights come on.


    Still, for a car that I KNOW hasn't had a battery in it for at least 11 years, this is pretty cool.


    IMG_0679 by Curtin Family, on Flickr
    I'm an FEP Paid Supporter and proud of it. Are you?

    1984 Capri Turbo RS - Alive after 7 years! Build Thread
    2018 Mustang GT - daily driver

  25. #325
    FEP Power Member ccurtin's Avatar
    Join Date
    Apr 2009
    Location
    Acworth, GA
    Posts
    1,462

    Default

    Once again I was overly optimistic in how much time I'd have over Spring Break to work on the Capri and how much I'd get done.

    Looking at the remaining boxes I think I got pretty far.


    Projects I wanted to do
    - Installed radiator, first had to sand and paint all the brackets for it and and condenser
    - installed the special silicon hoses for the turbo water feed/return.
    - installed the VSS, speedometer cable and reverse light harness
    - install radiator hoses
    - install 3G alternator, trigger wire and charge wires
    - install Stinger 3" flange and downpipe
    - Figure out the turn signal on the Passenger side
    - fill the engine and prime
    - install the power steering pump, cooler and all new lines
    - refurbish the Marchal fog lights and get the installed
    - change out the boots and springs on the COP for the 06 Mustang GT.


    Results:


    Radiator and hoses was easy once I got the brackets cleaned up and painted.
    Silicon hoses was easy
    VSS - not so much. Poor documentation led me to fighting for over an hour to get the wire that holds the speedometer cable into the VSS. (Hint for someone reading this, install the wire THEN PUSH the cable through it.)
    Power Steering went fine. Needed to get more hose since the one I got was only to the cooler.
    Alternator was a pain. Had to remove the bracket and grind it down again (I thought I did this years ago when I built the engine but I had to remove another 1/16" or so)
    Then I found that the Green/Red trigger wire was hacked off the harness in its previous life and I couldn't reach the new harness. Had to take the battery out to get to the harness enough to get my hands in there to add a longer piece of wire. Ran out of time to get the power wires run.
    Trial fit the downpipe. Looks great. Have a temporary band clamp to hold it to the flange for when I fire it up for the first time.
    The passenger turn signal turned out to be a bad socket in the turn signal light in the dash. At least I learned about how to check grounds
    Marchal cleanup went okay. Having some more wiring issues with it now. Will need a new switch since my is flaky and pretty rusty. More to come on this.
    No oil or priming. No PS priming.


    No work on the 06. (Did get my wife and teenage daughter to help clean out the attic!)


    Not a lot to show, but getting much closer to running!


    Name:  16495143023_b2e3f60812_c.jpg
Views: 279
Size:  109.1 KB


    Name:  16929102709_2c17b0b845_c.jpg
Views: 281
Size:  178.2 KB


    --
    Thanks,

    Chris
    I'm an FEP Paid Supporter and proud of it. Are you?

    1984 Capri Turbo RS - Alive after 7 years! Build Thread
    2018 Mustang GT - daily driver

Page 13 of 17 FirstFirst ... 31112131415 ... LastLast

Tags for this Thread

Posting Permissions

  • You may not post new threads
  • You may not post replies
  • You may not post attachments
  • You may not edit your posts
  •