


I had the drill bits, the tap was $35 or so....Originally Posted by Zap's 85 GT

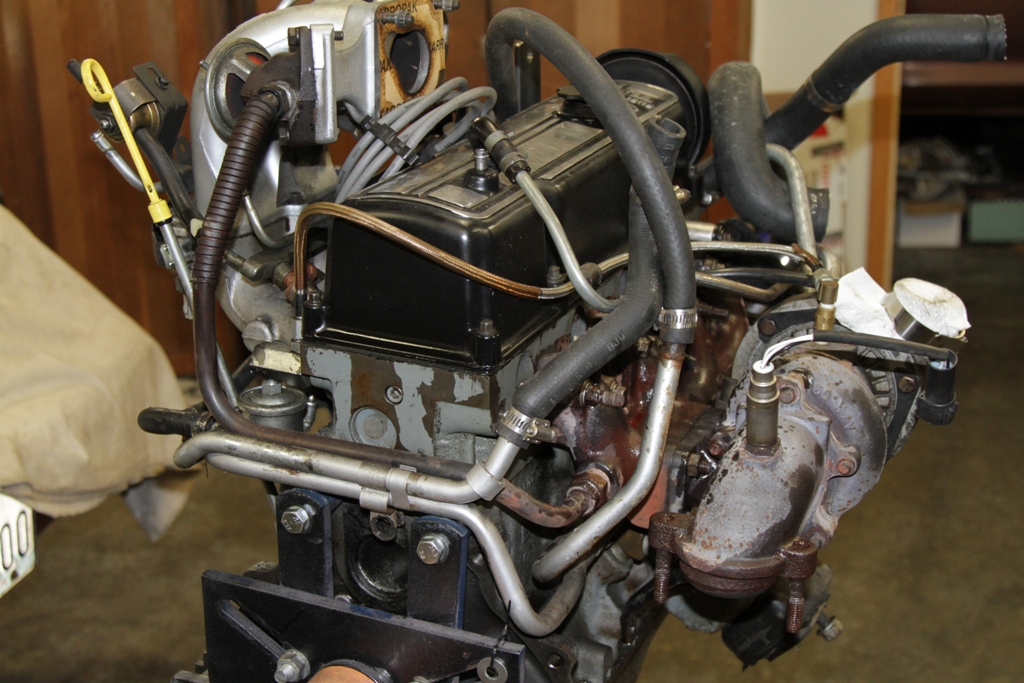
The line for the boost gauge I tapped into the factory boost gauges line under the dash. Its black with a red line, it hides up under the sterring colume...


 Reply With Quote


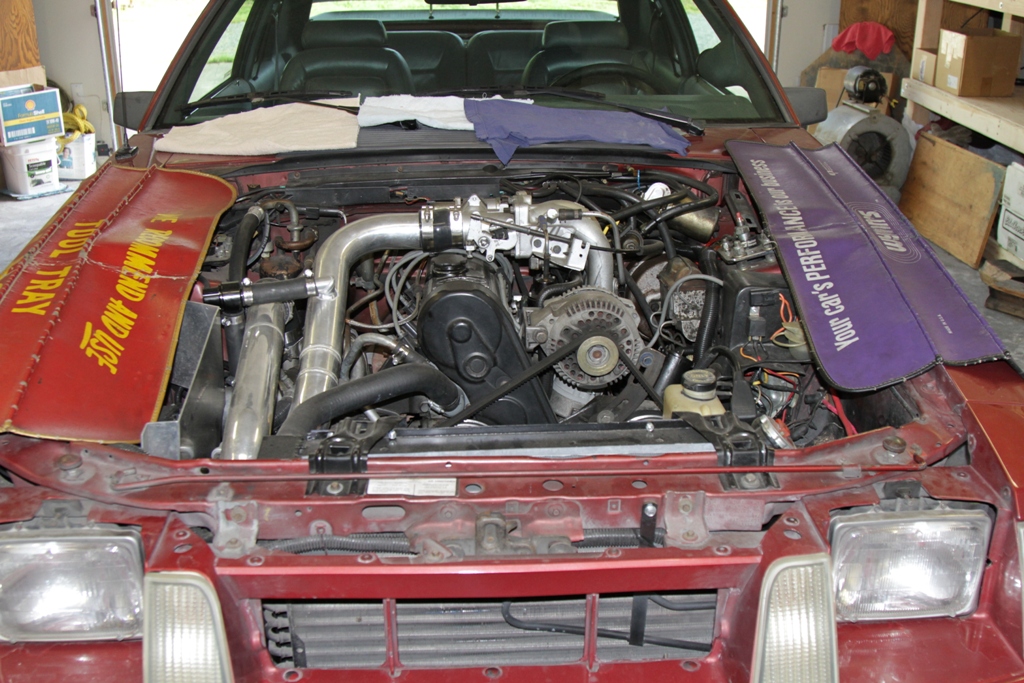

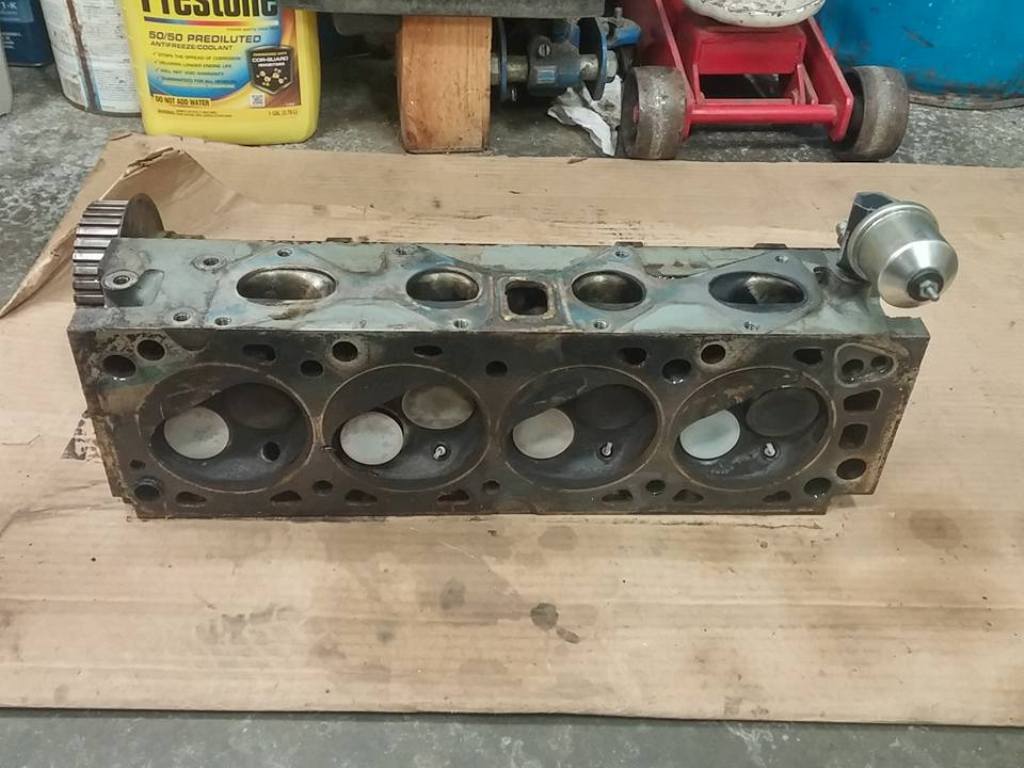
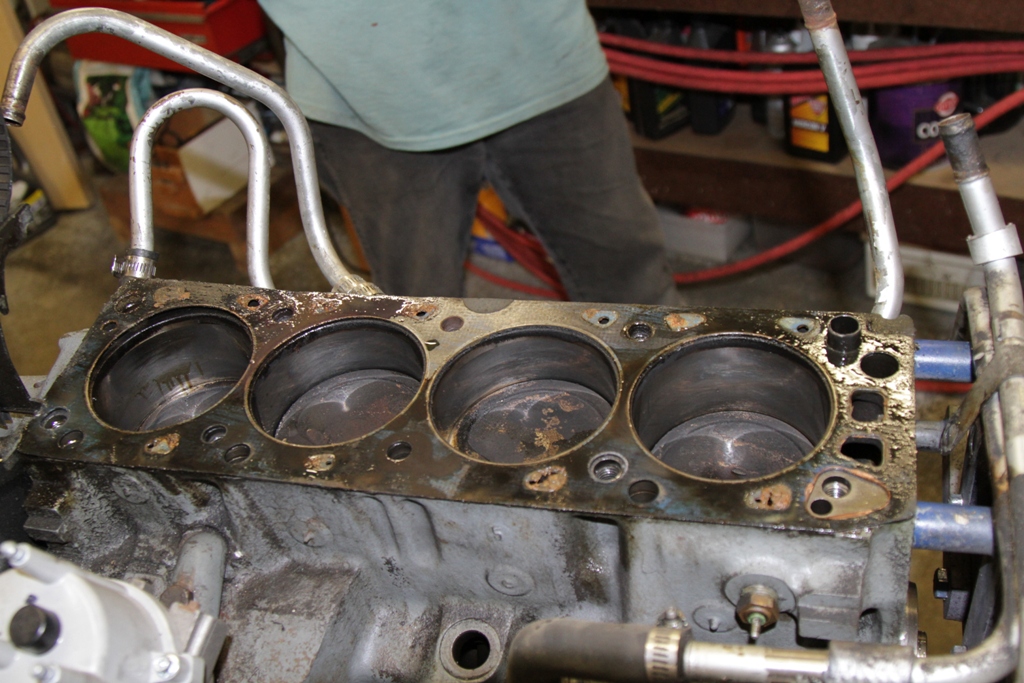
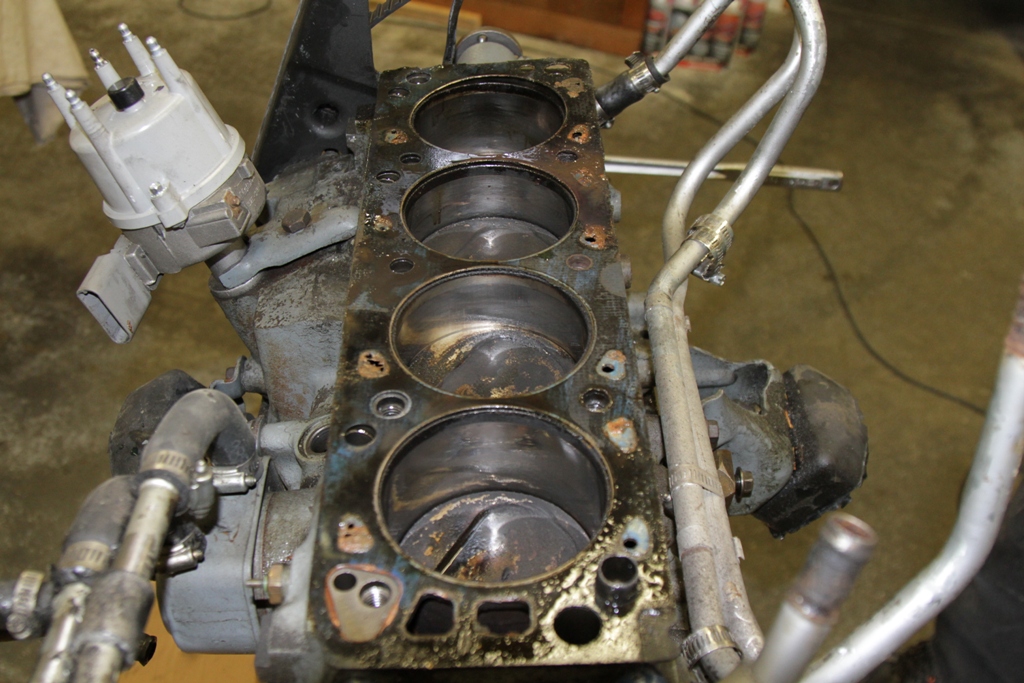
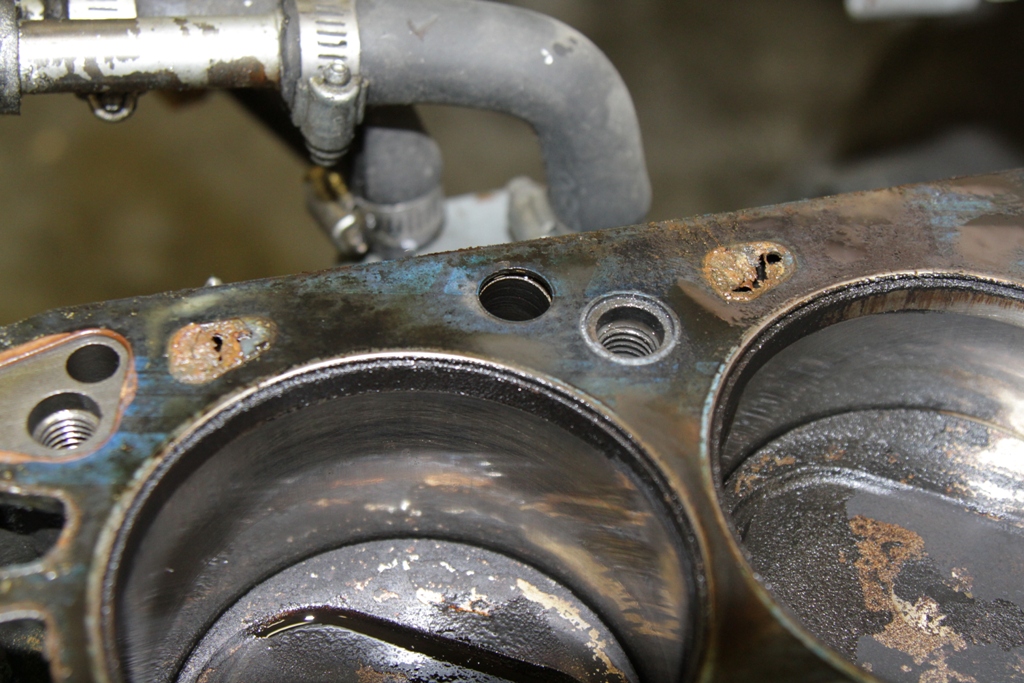
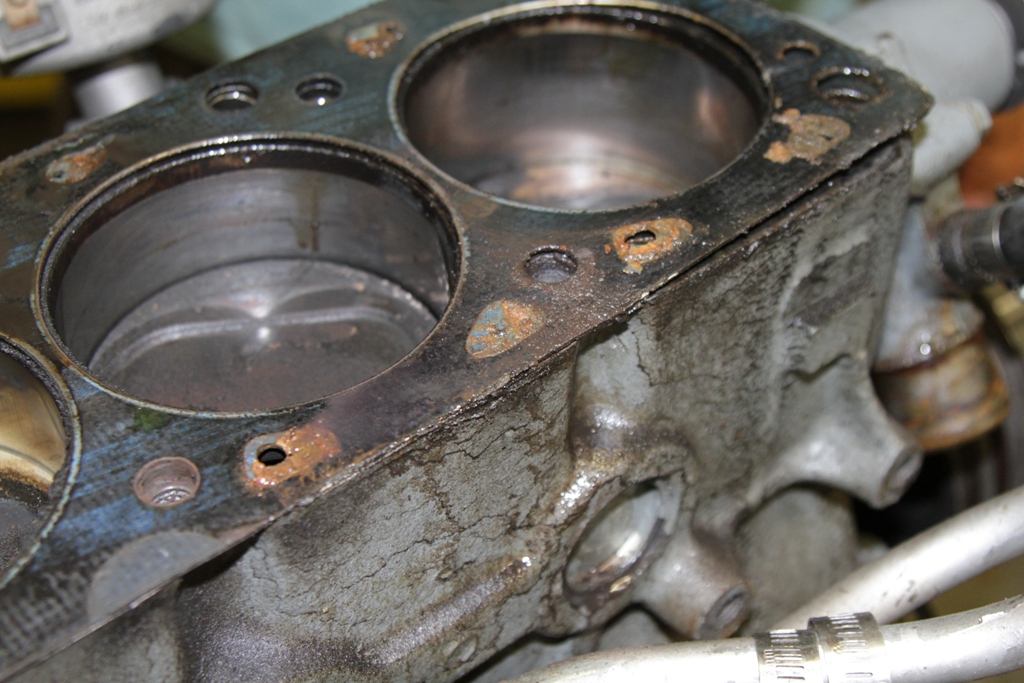
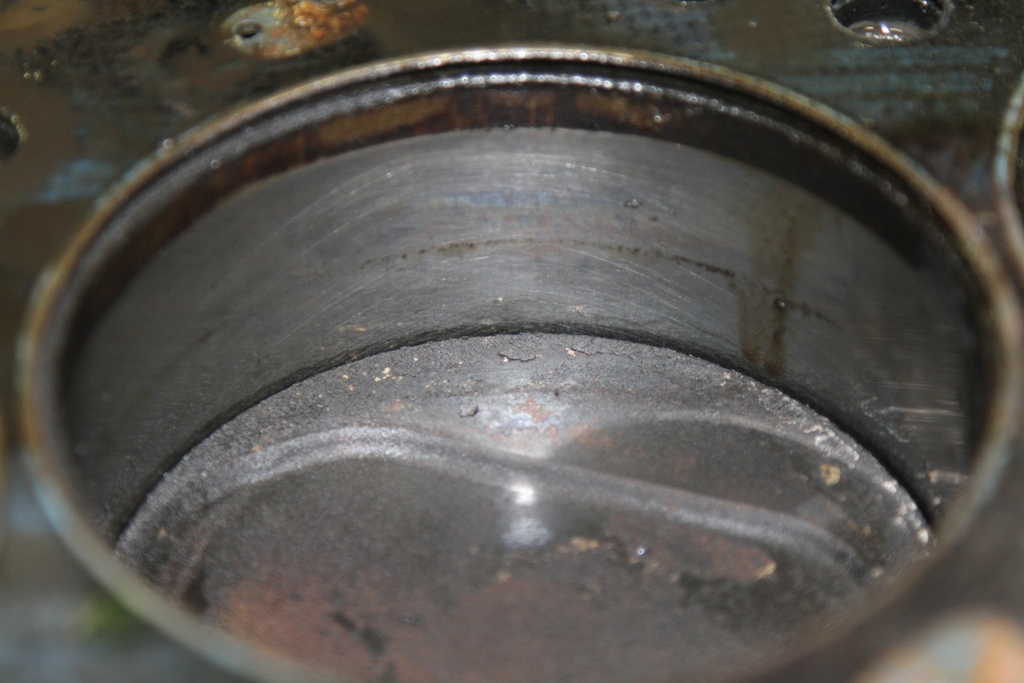
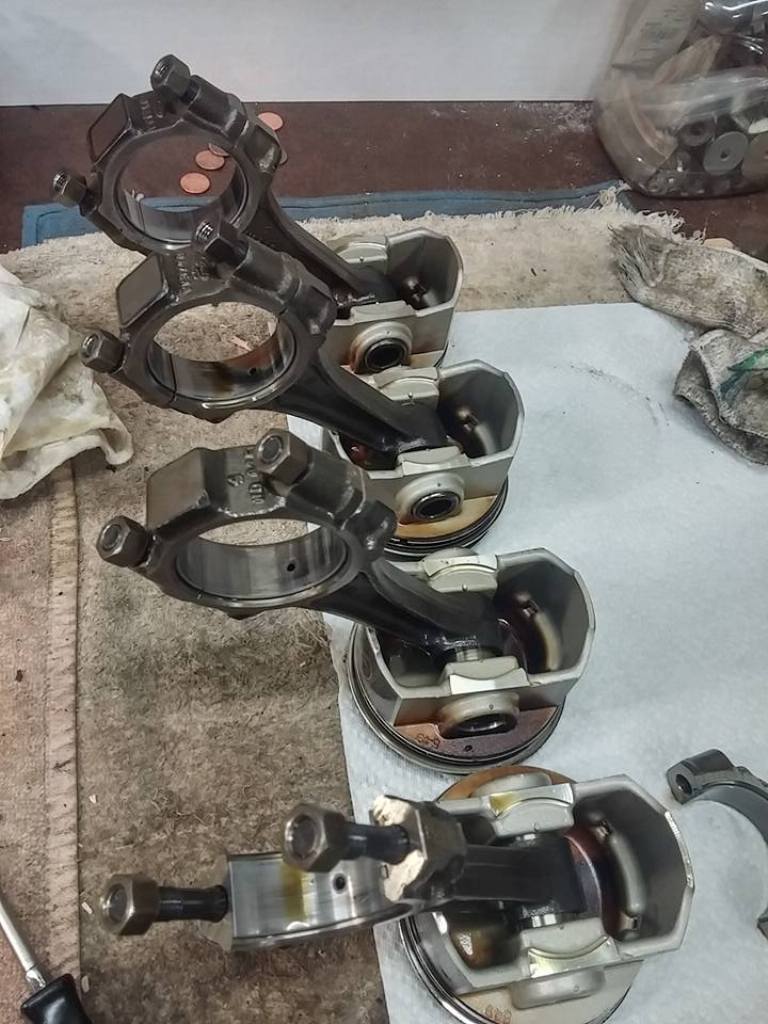
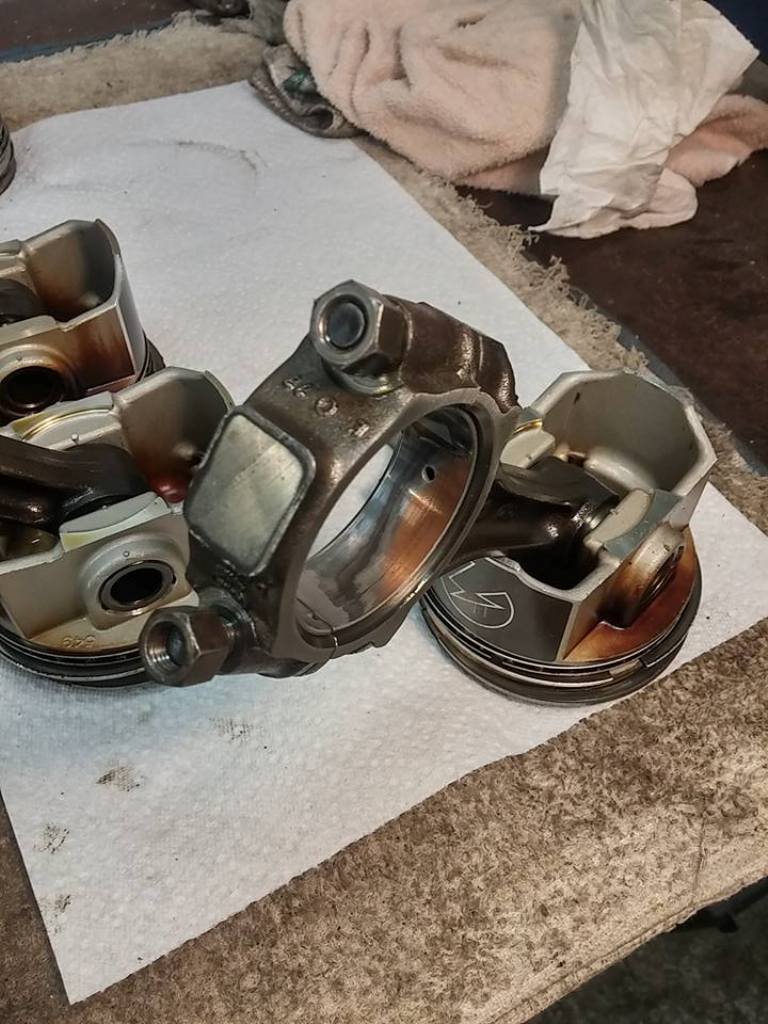

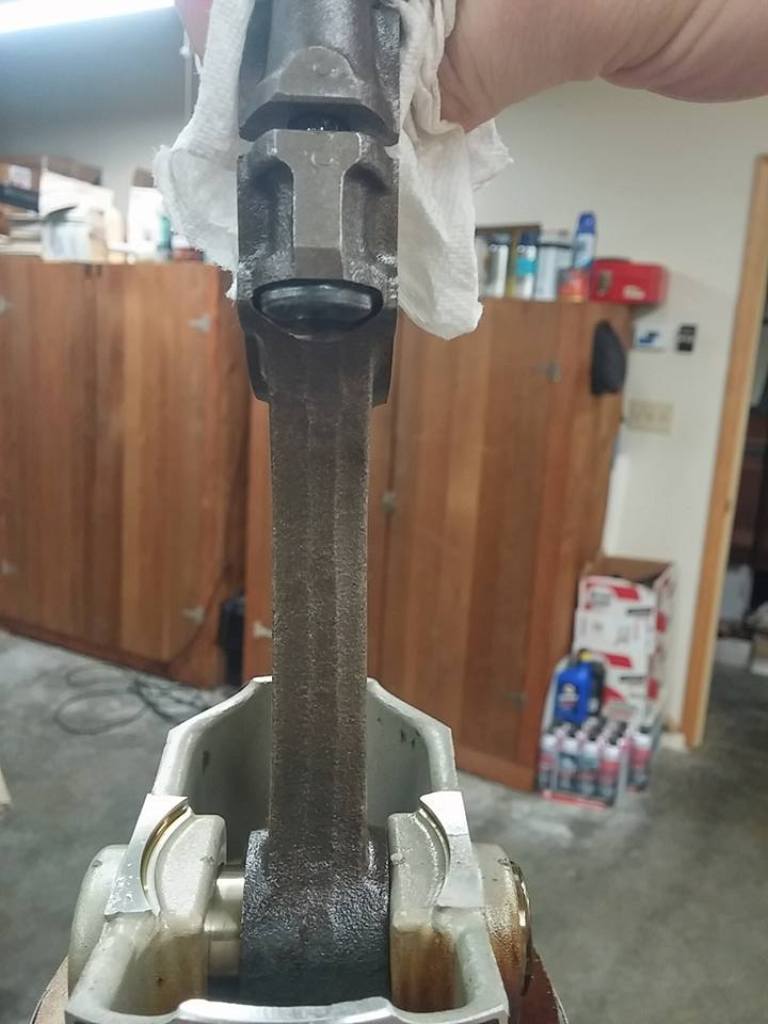

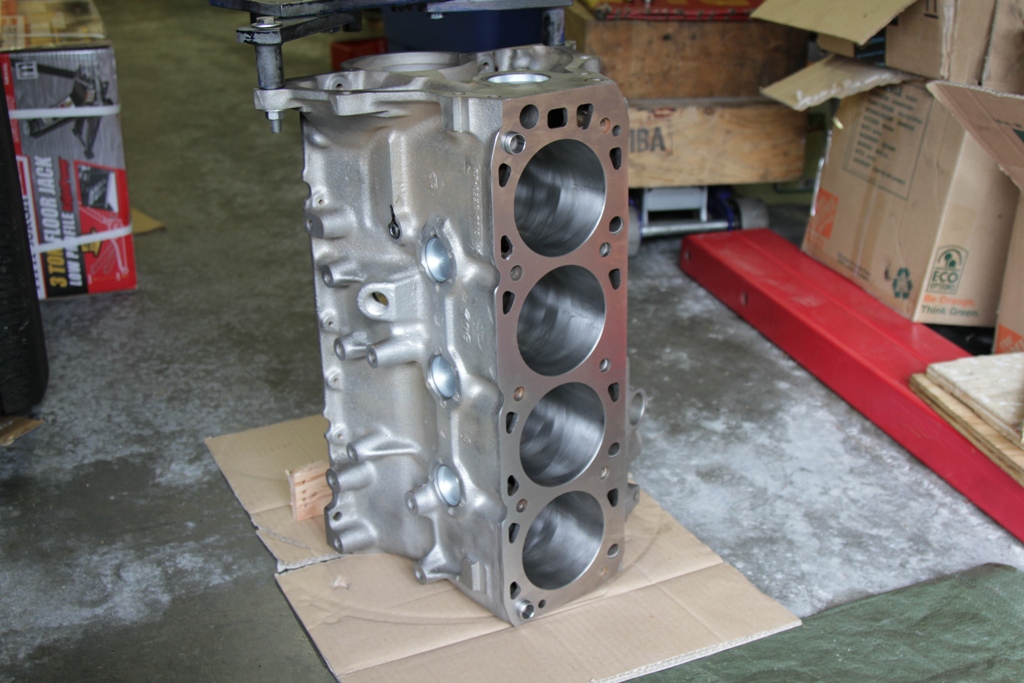
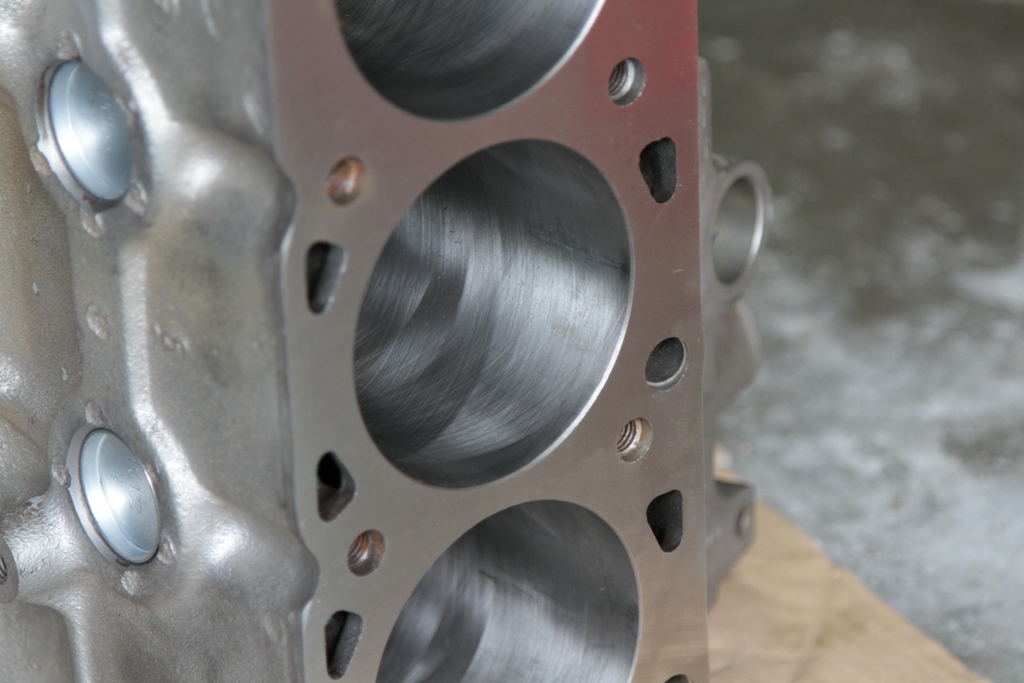
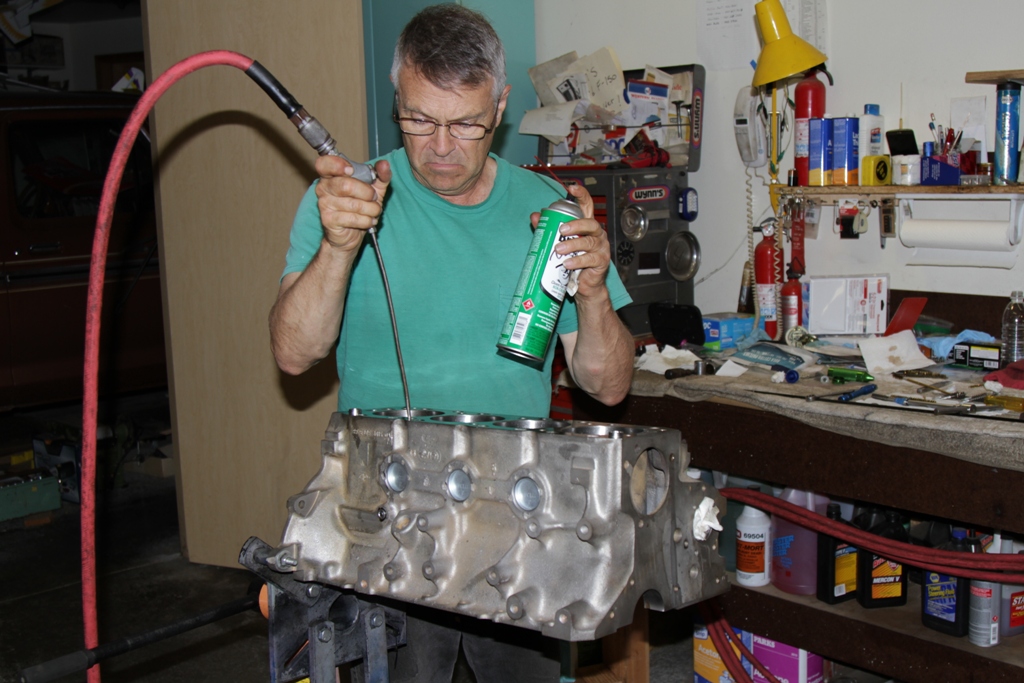
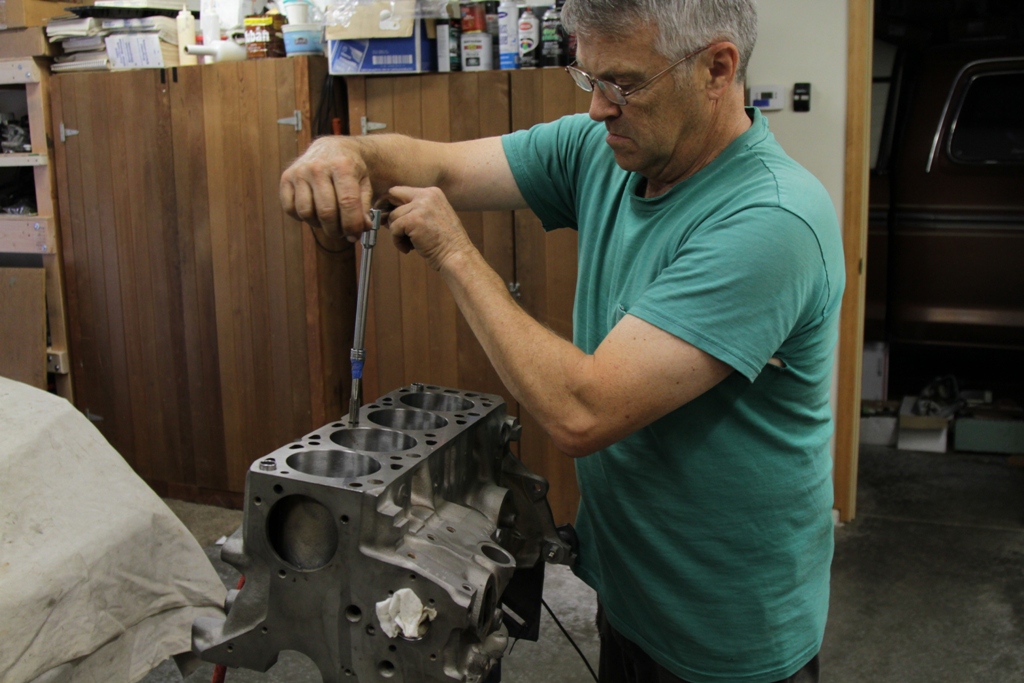
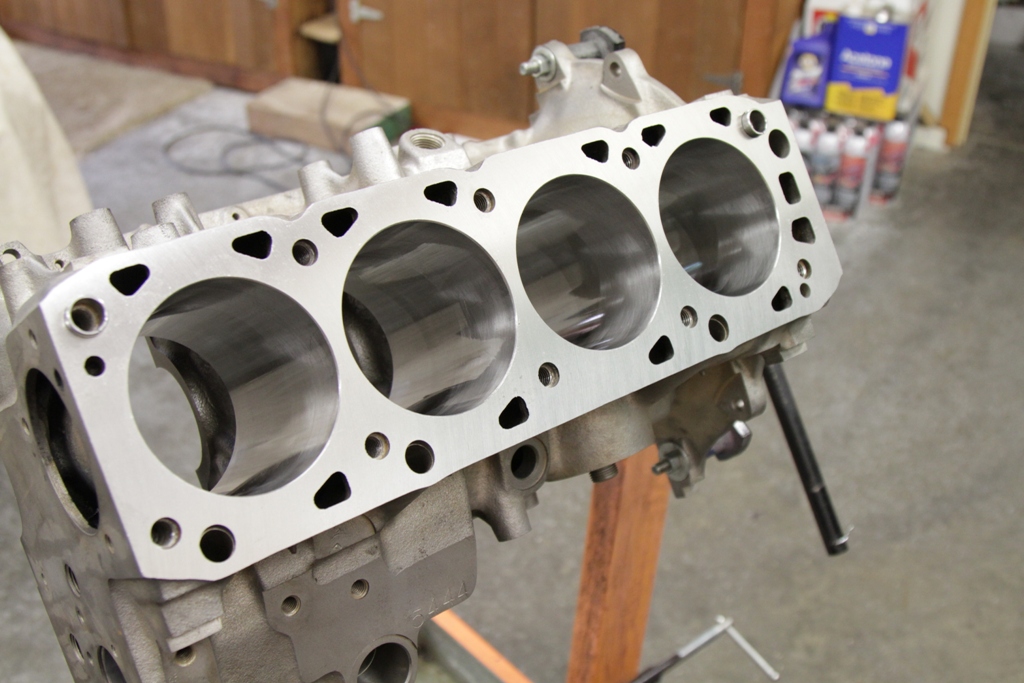
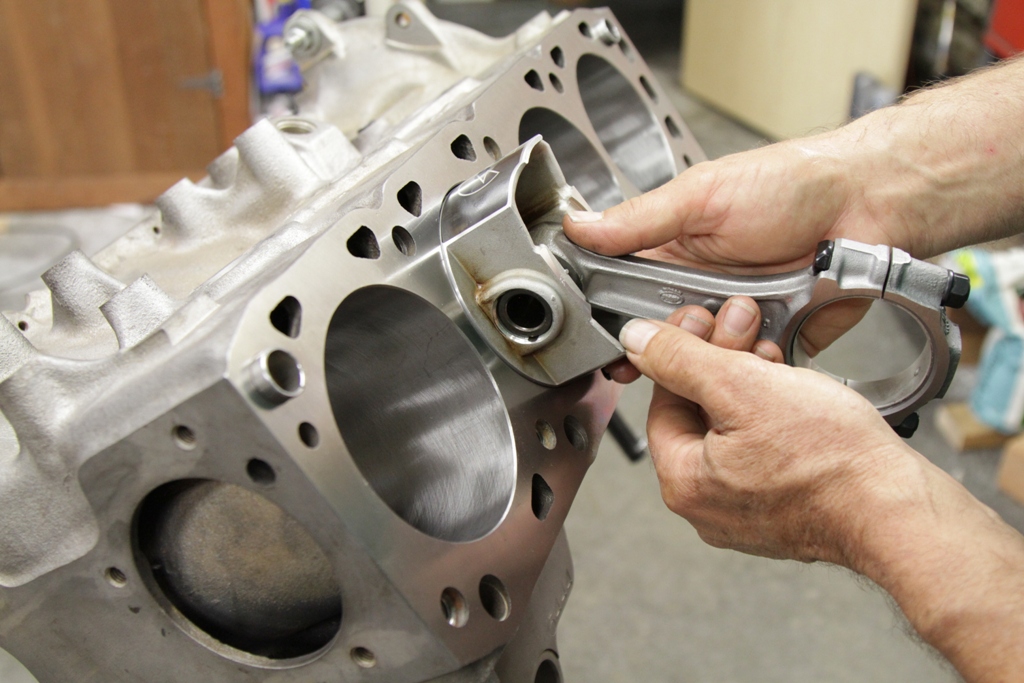
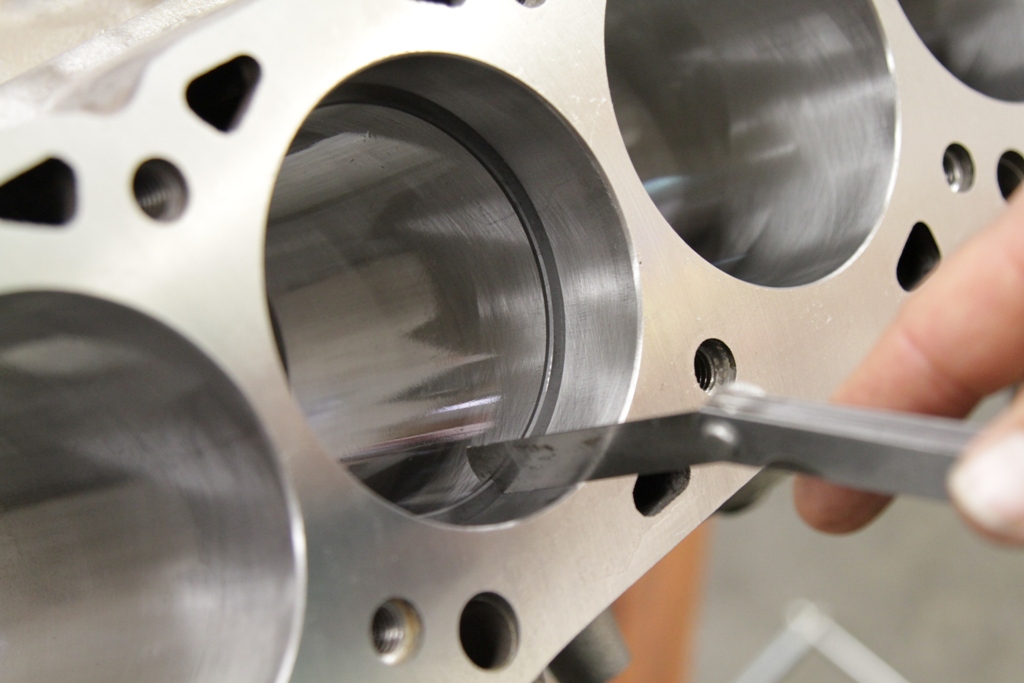
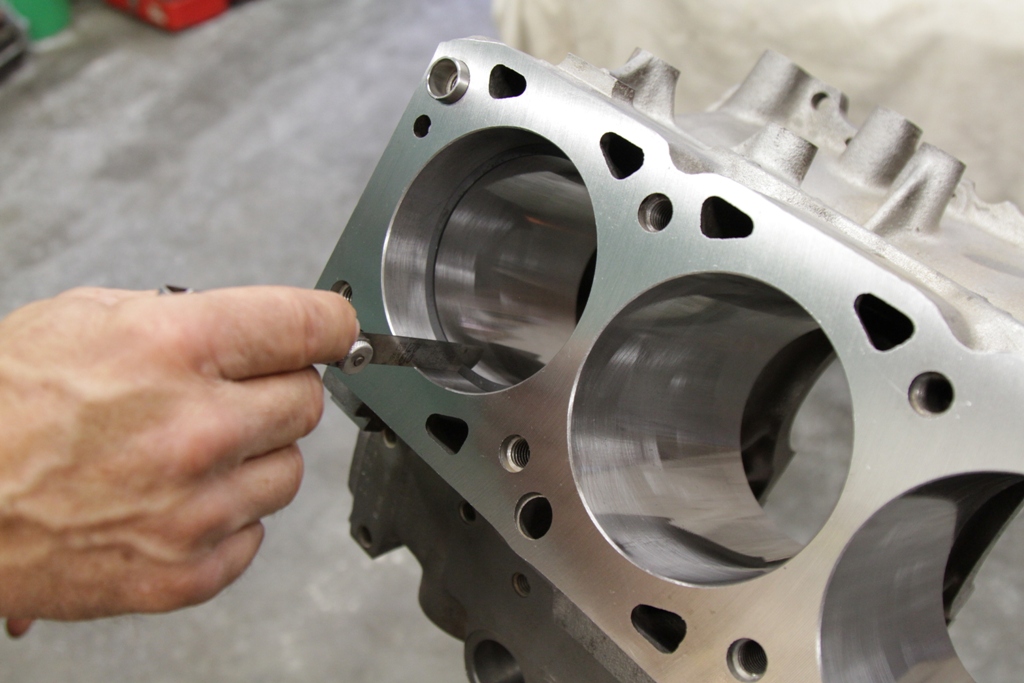
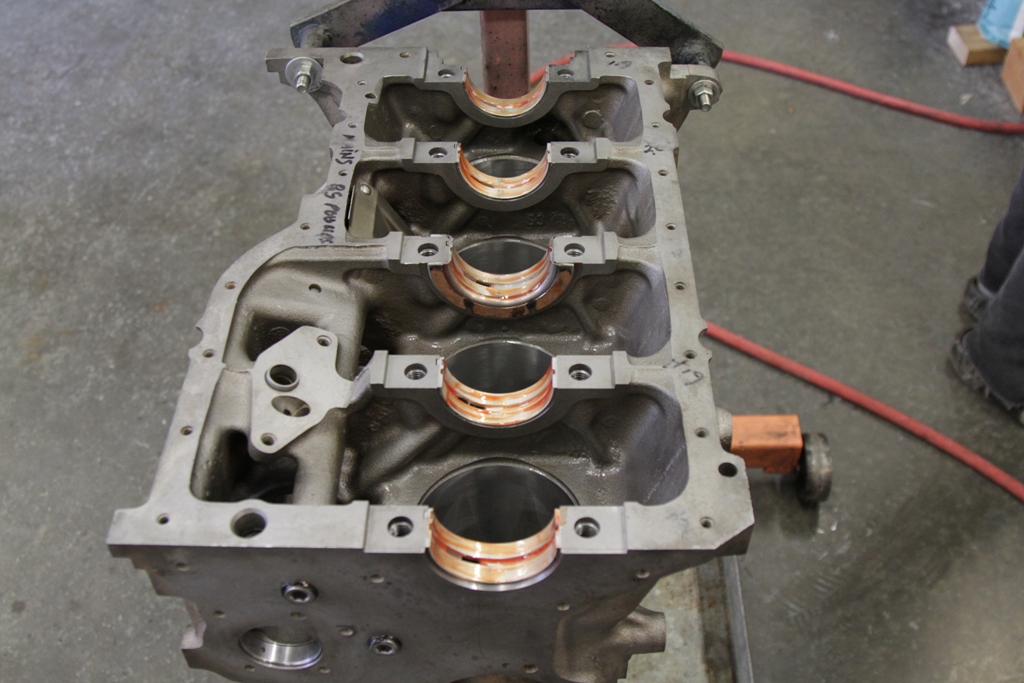
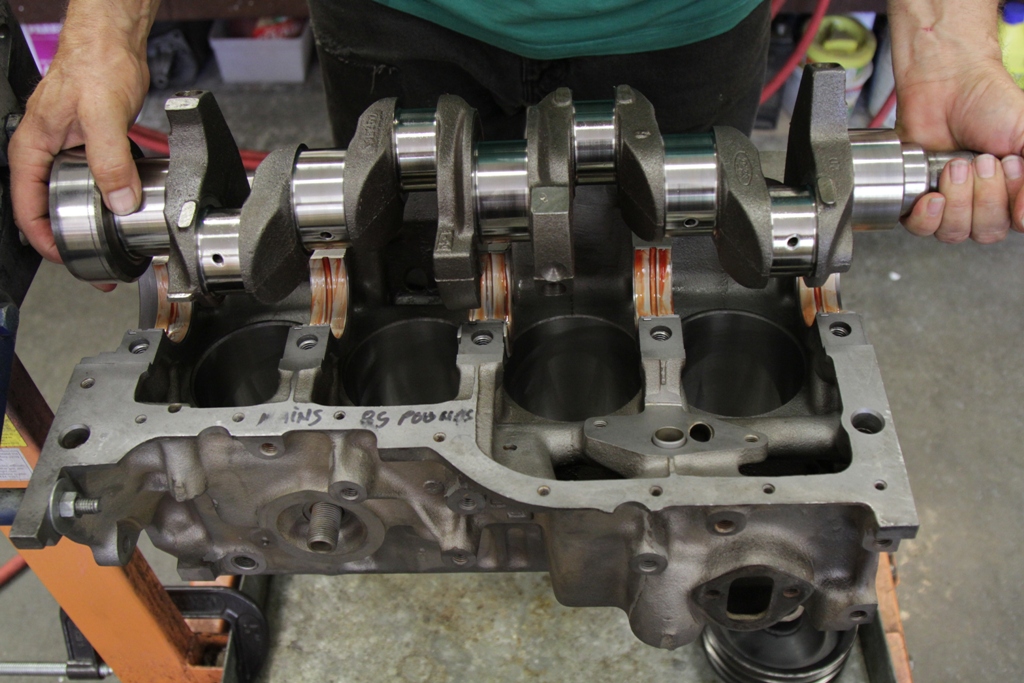
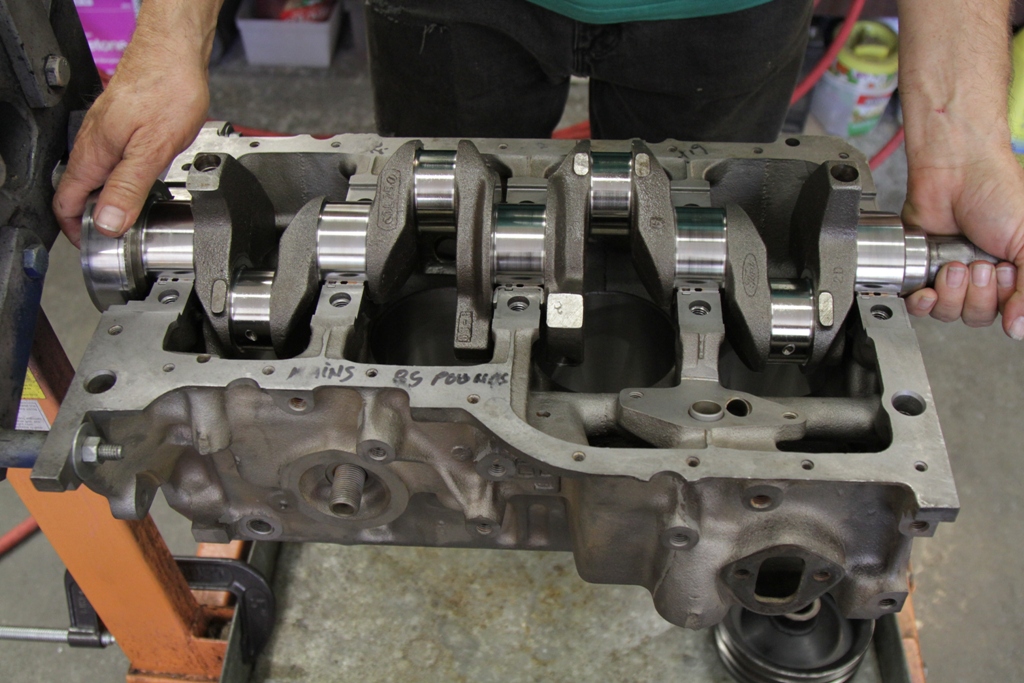
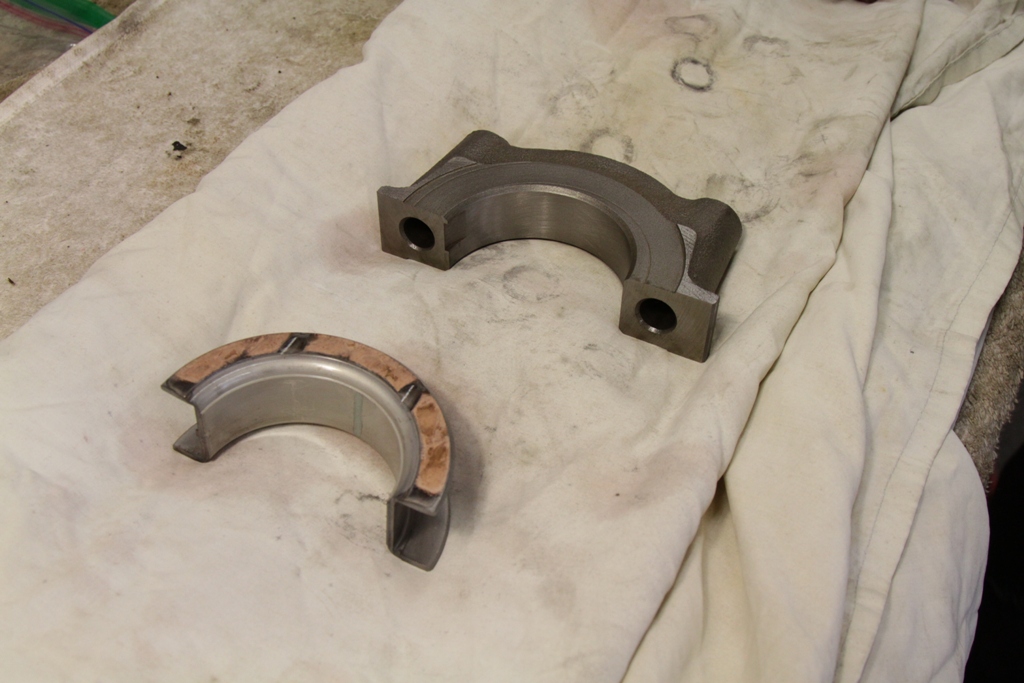
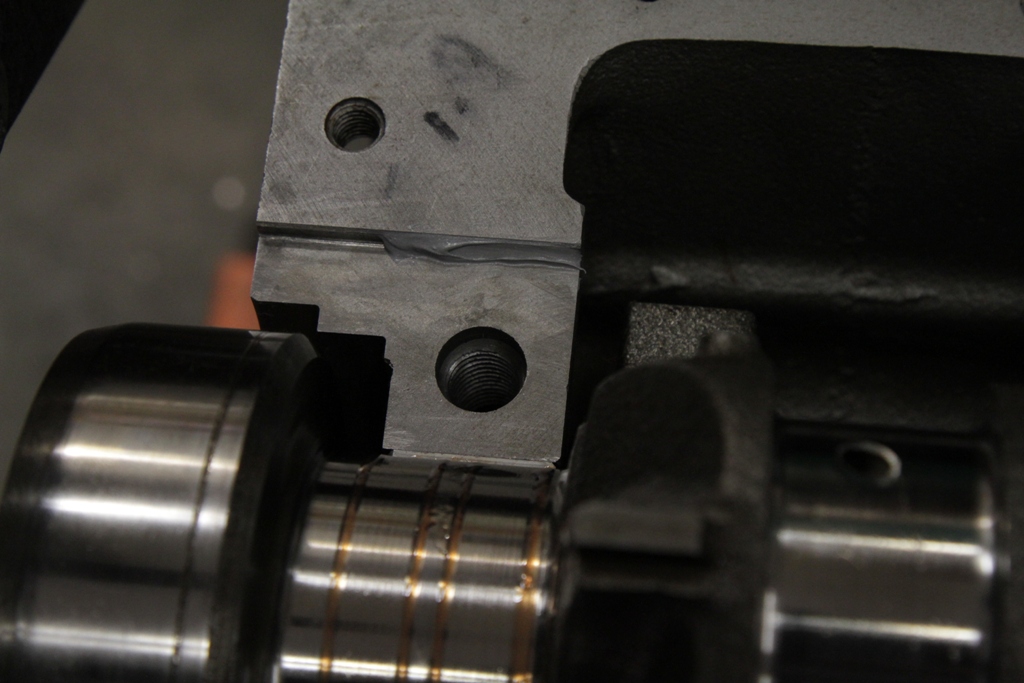
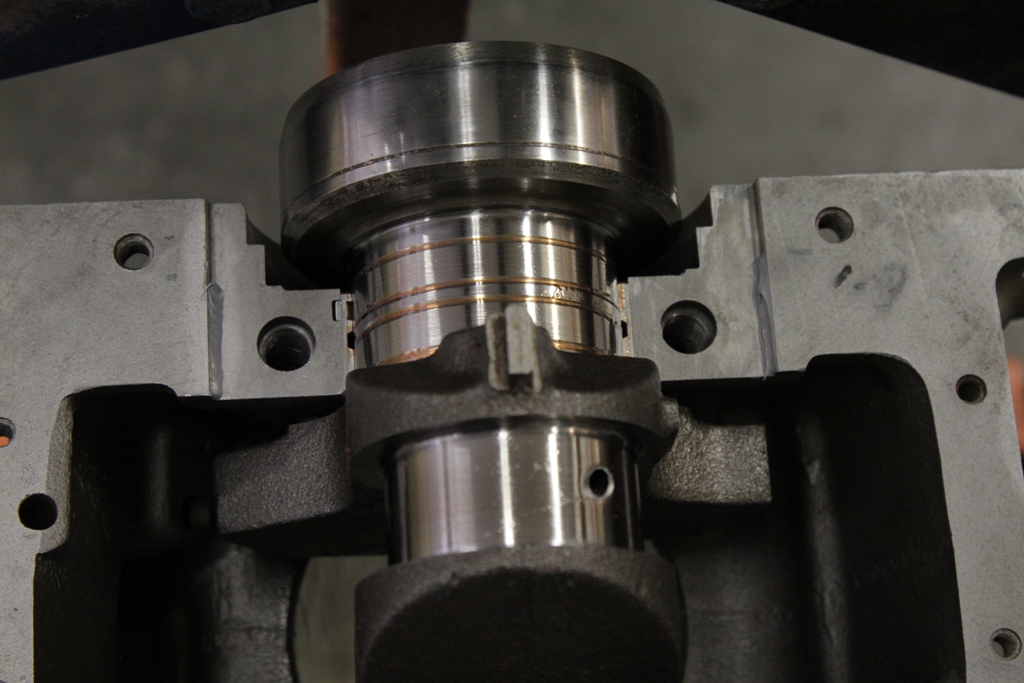
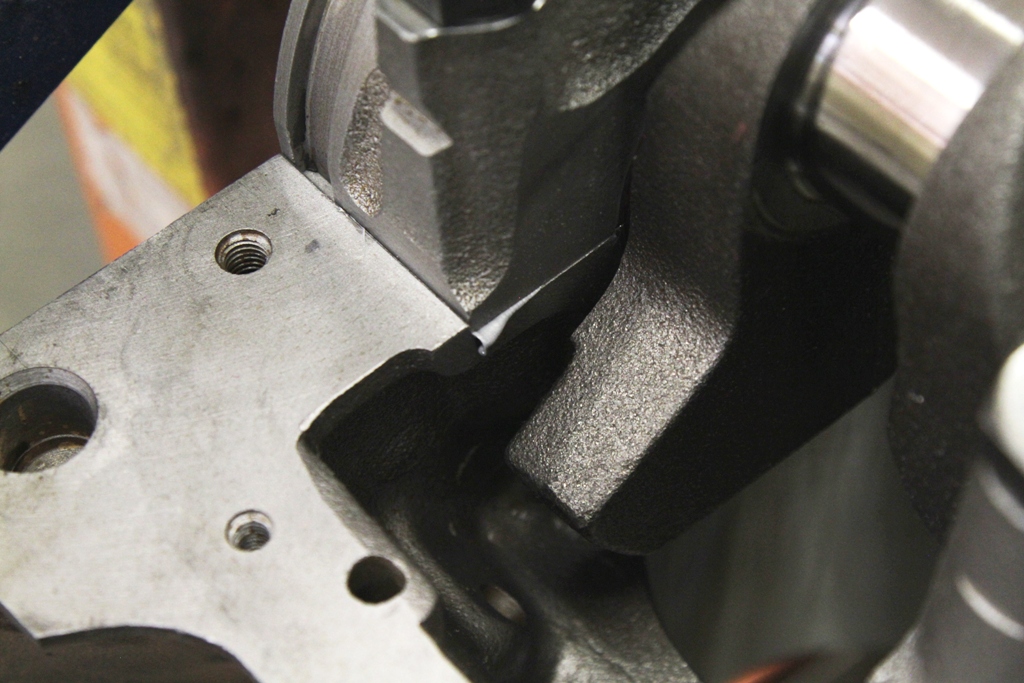
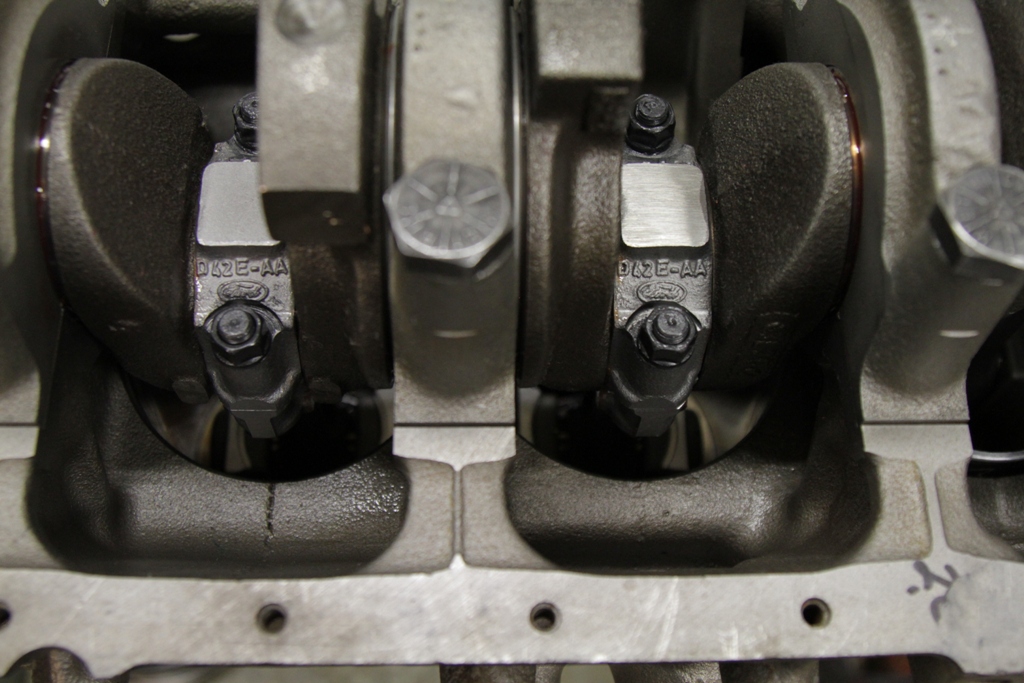
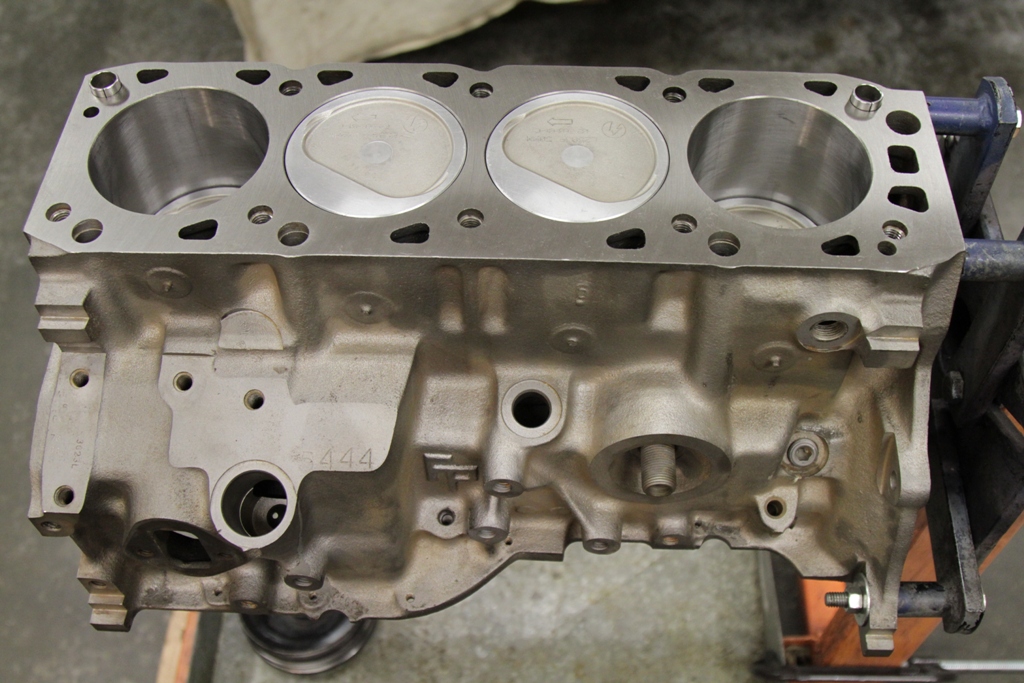
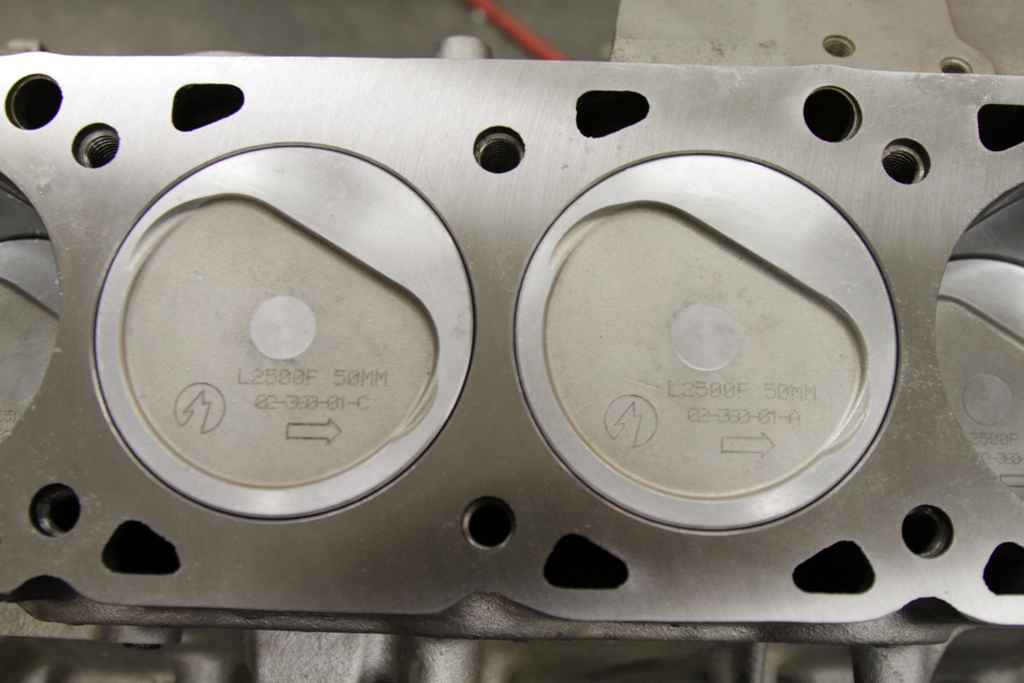
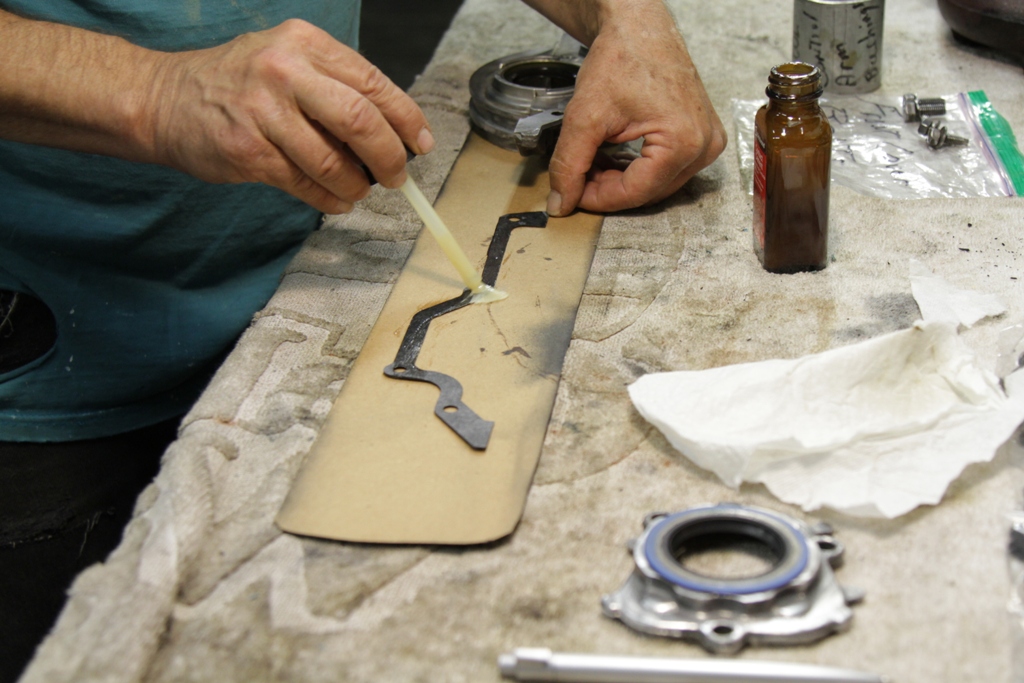
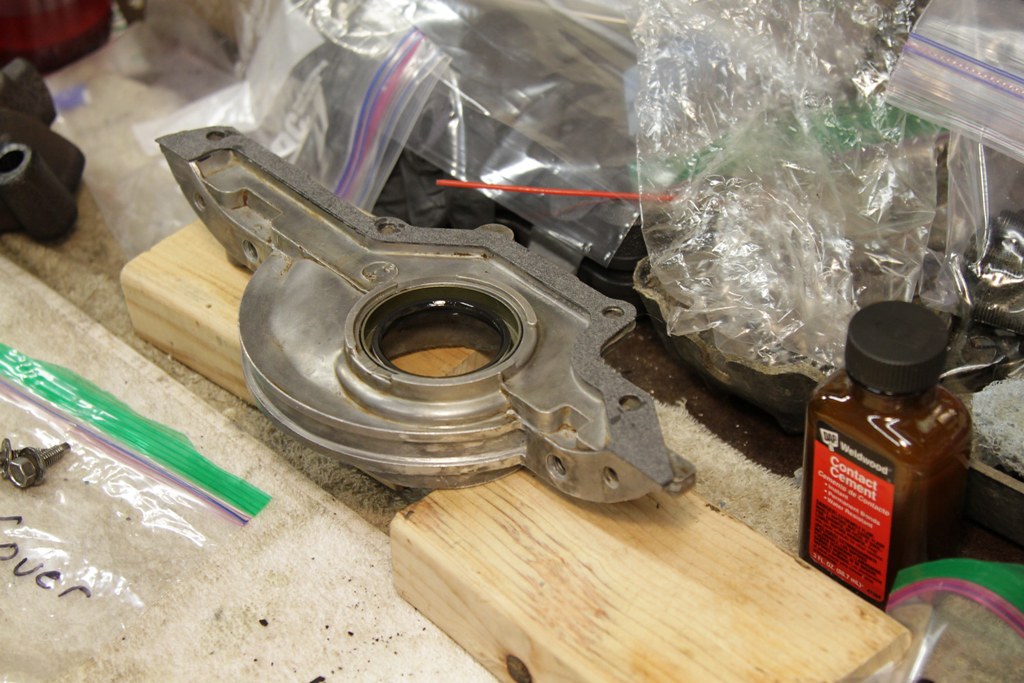
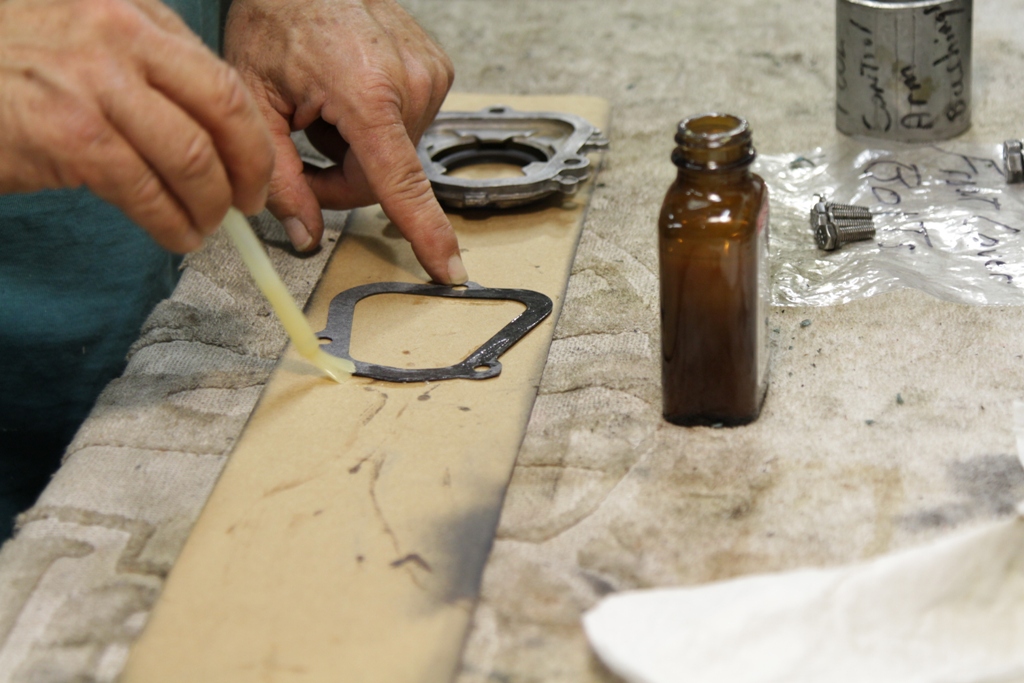
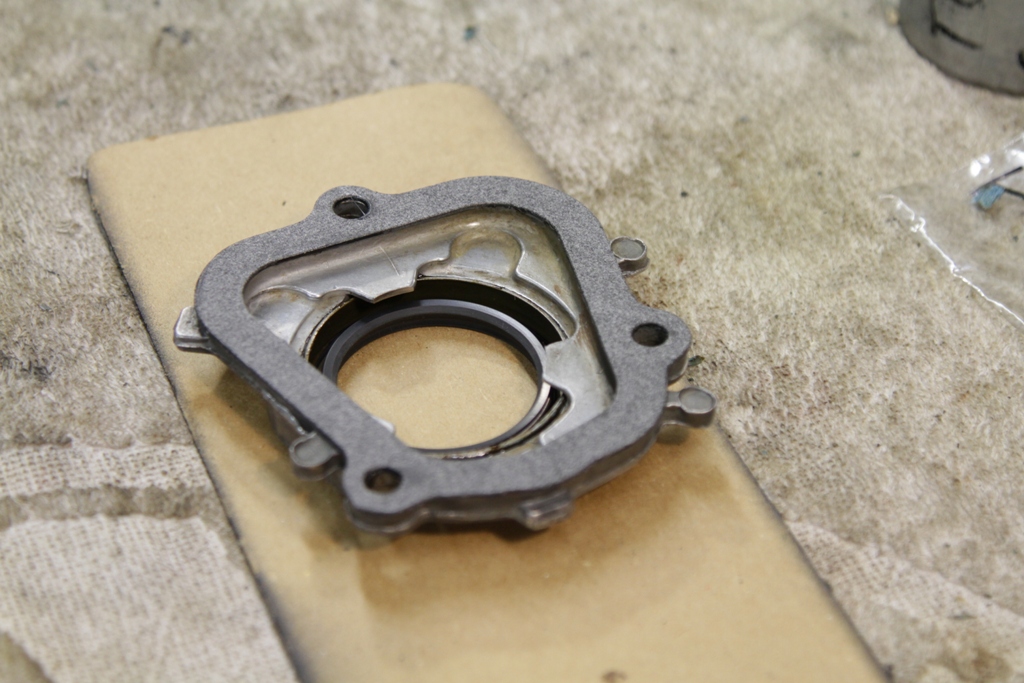
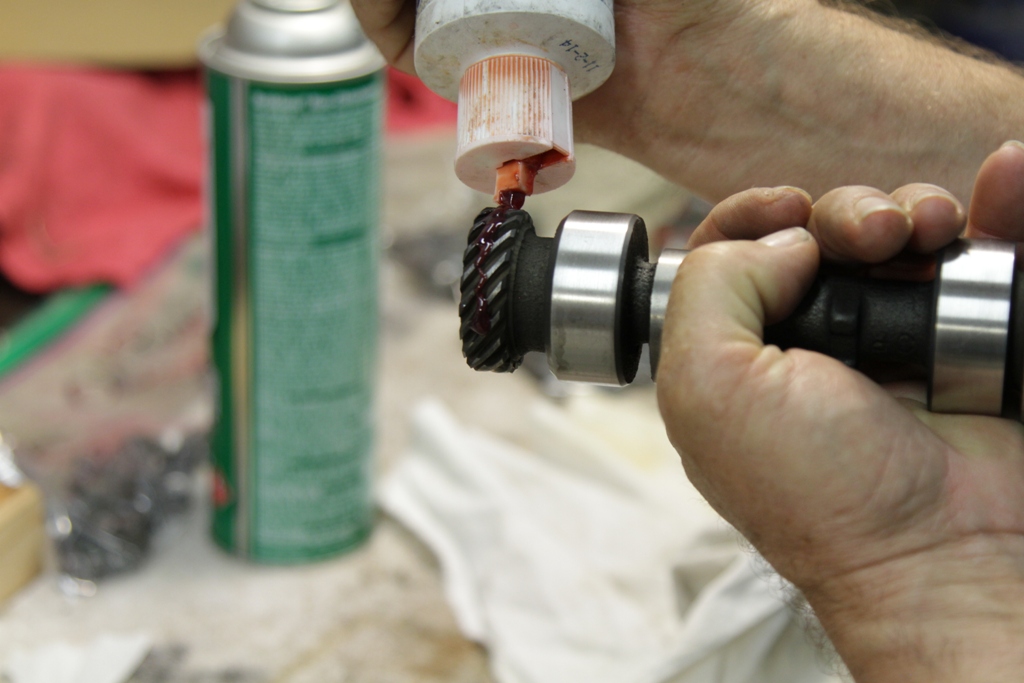
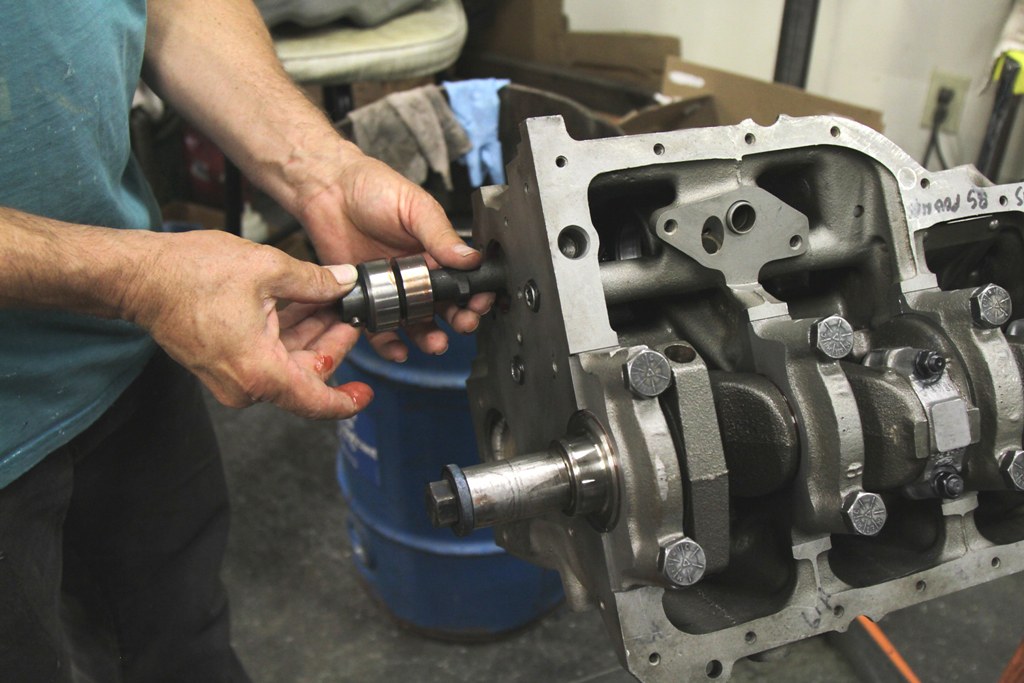
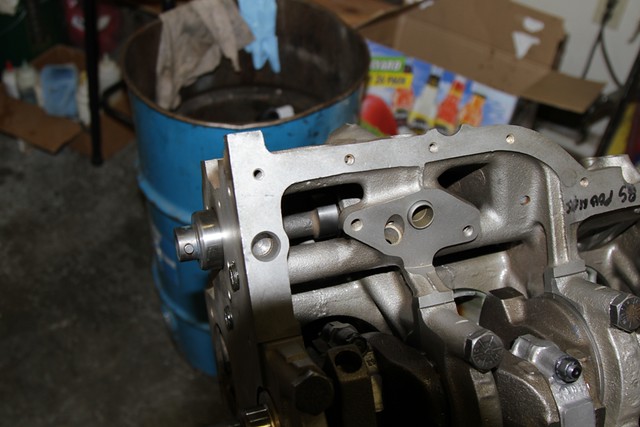
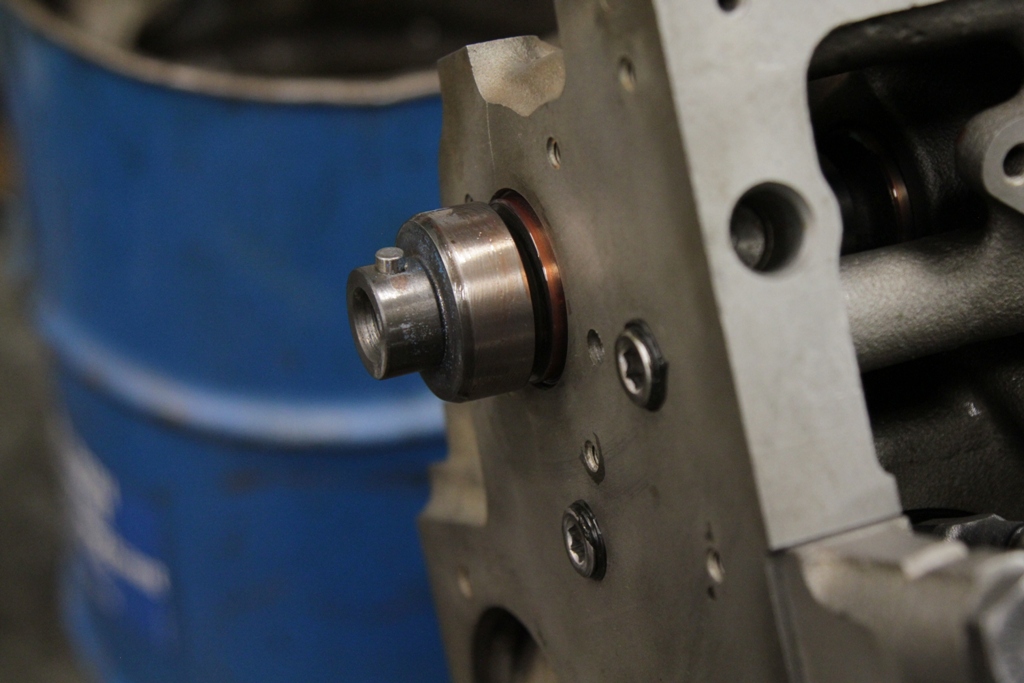
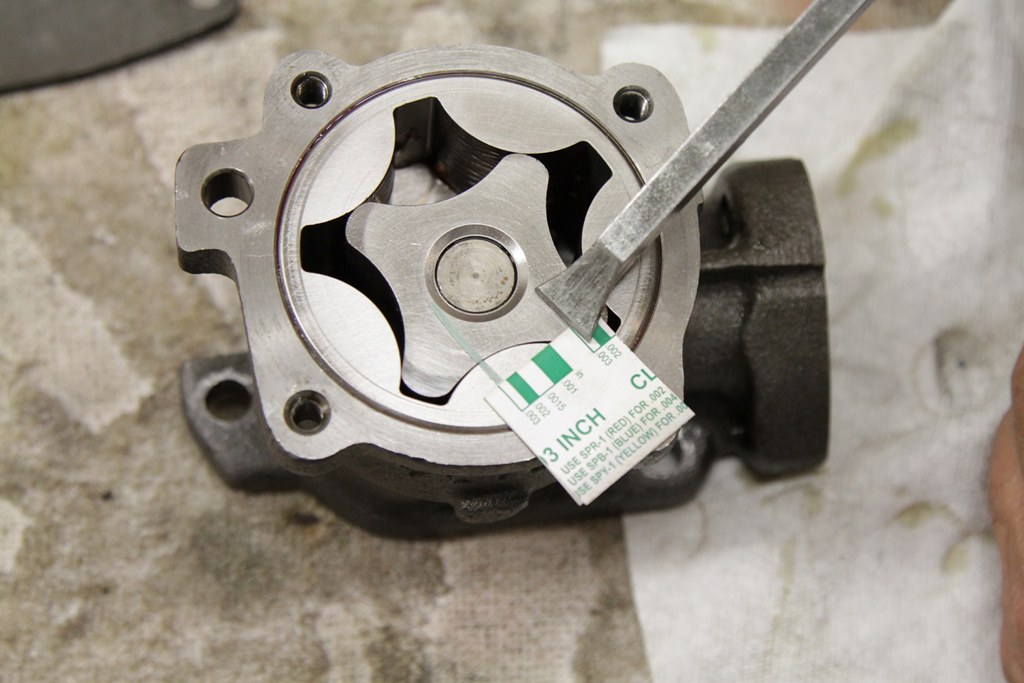
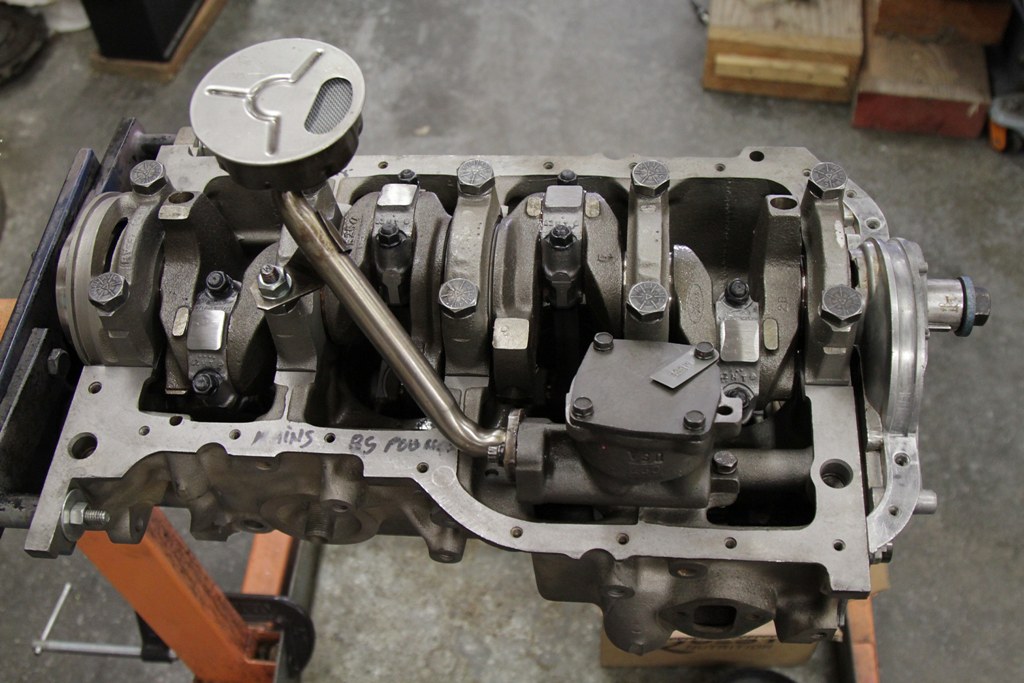
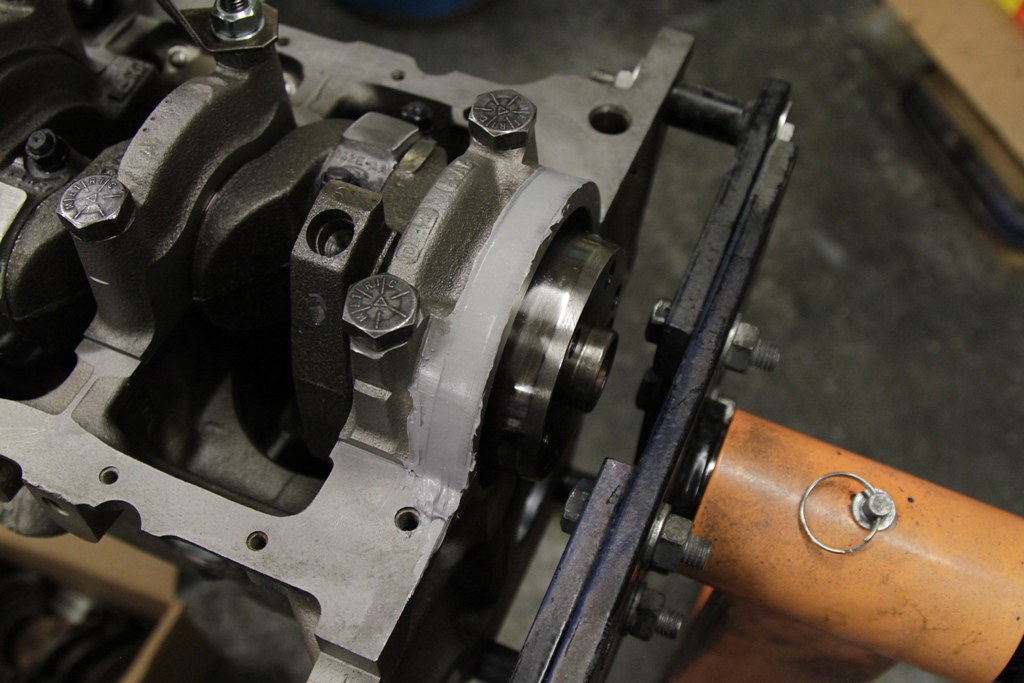
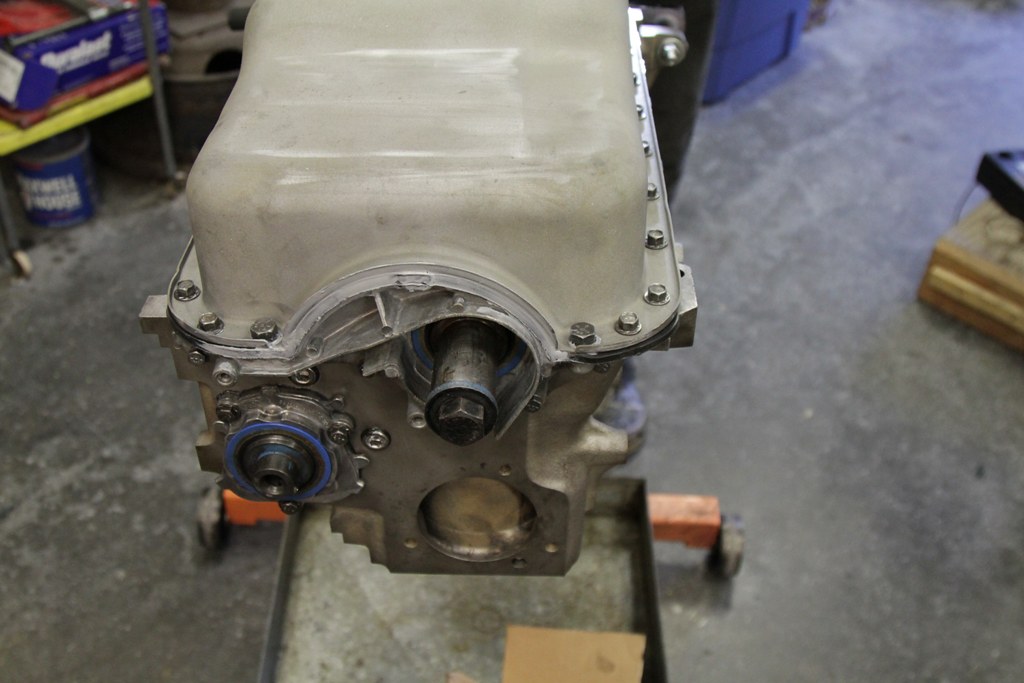
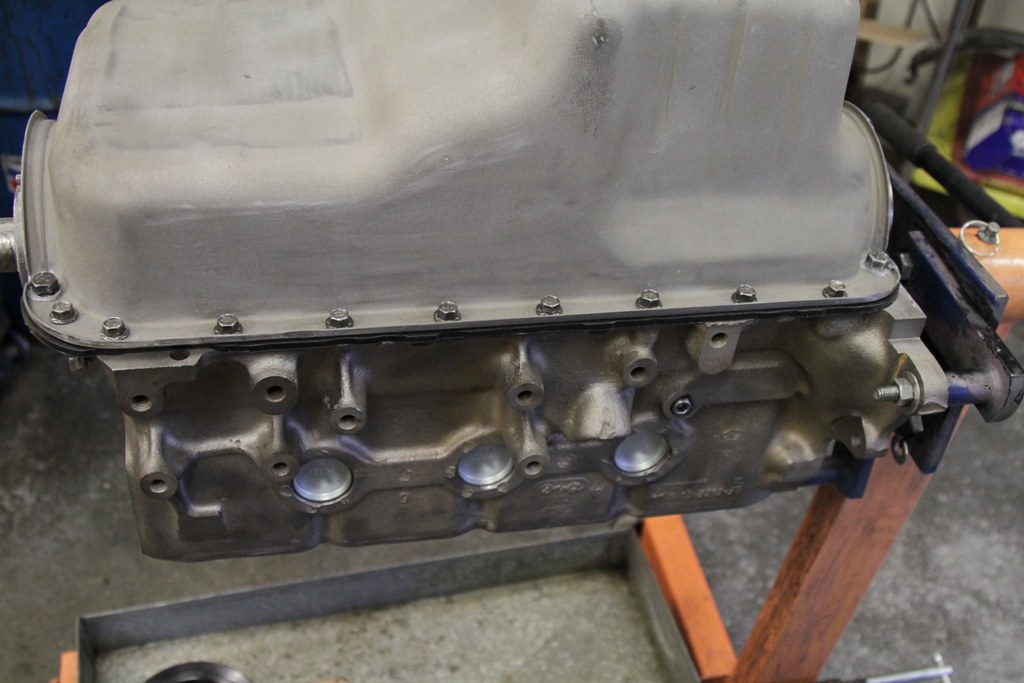
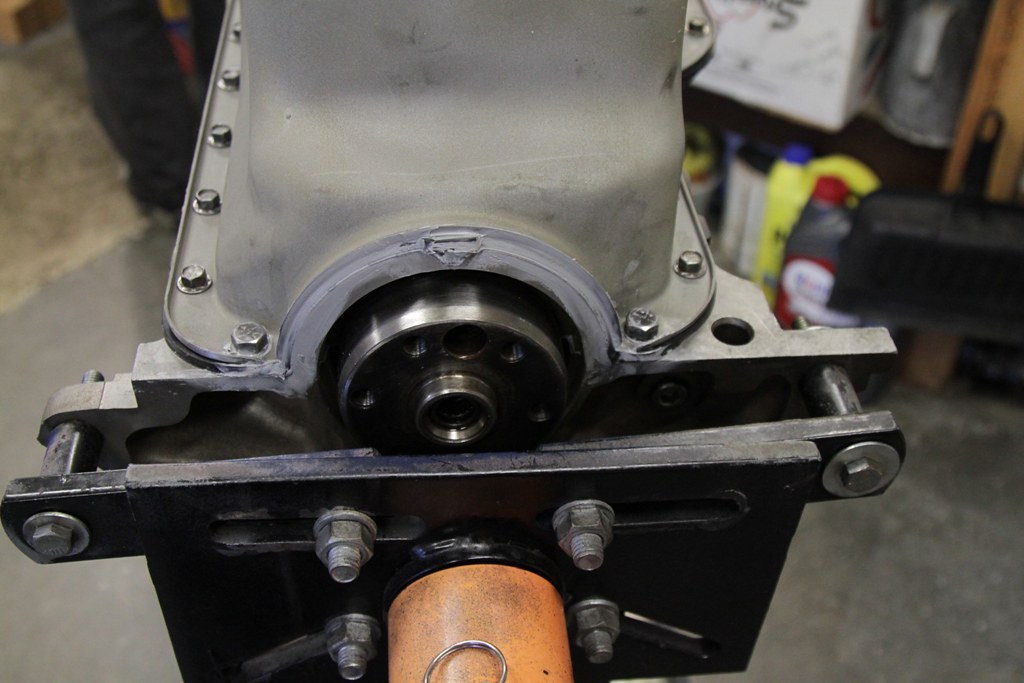
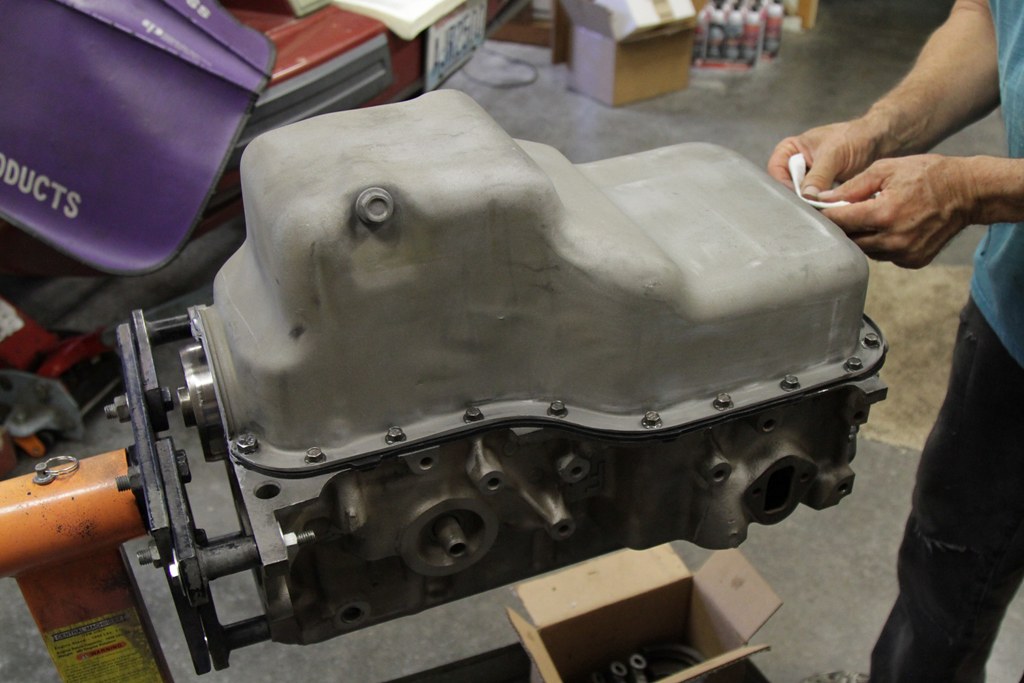
 We took it down to the machine shop as soon as it was in our hands and it checked out! We had a bit of a fight with the machinist as he wanted to give us a piston to wall clearance of 5thousands just like the last guy did on the first motor. So after a day of arguing with him, he finally agreed to 3thousands when I showed the spec sheet that came with the pistons. He also installed a bad batch of bearings for the aux cam so those had to be replaced. Then for his final F' UP he thought the valve job in the head I got from Steve Scholdes was no good so he started grinding them without asking permission first. This destroyed all the work that steve put into the 4 angle valve job.
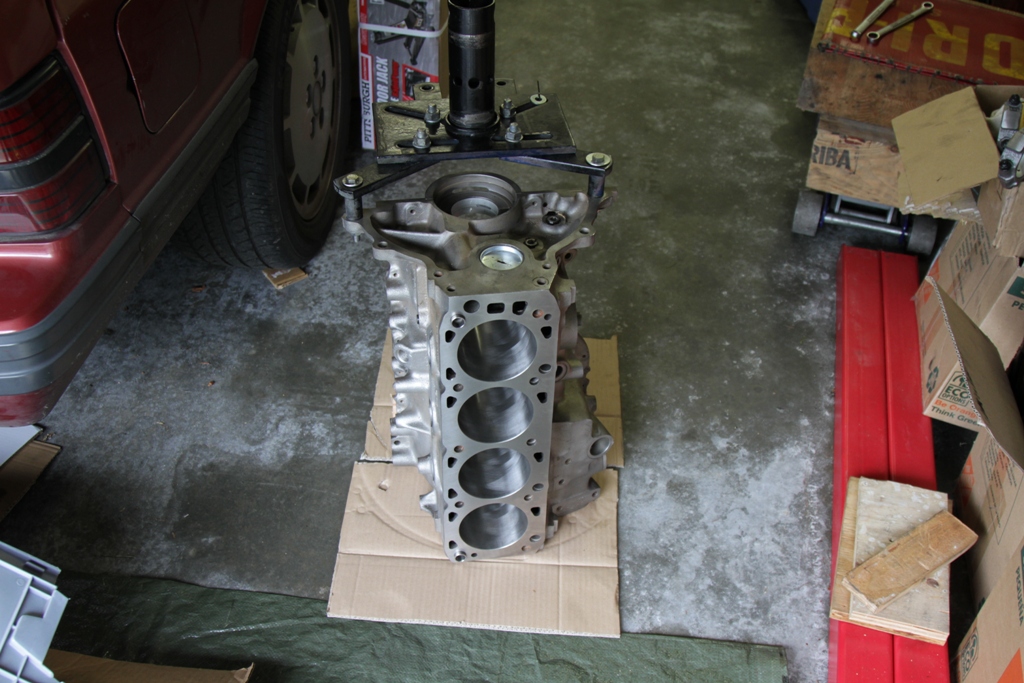


Connect With Us