


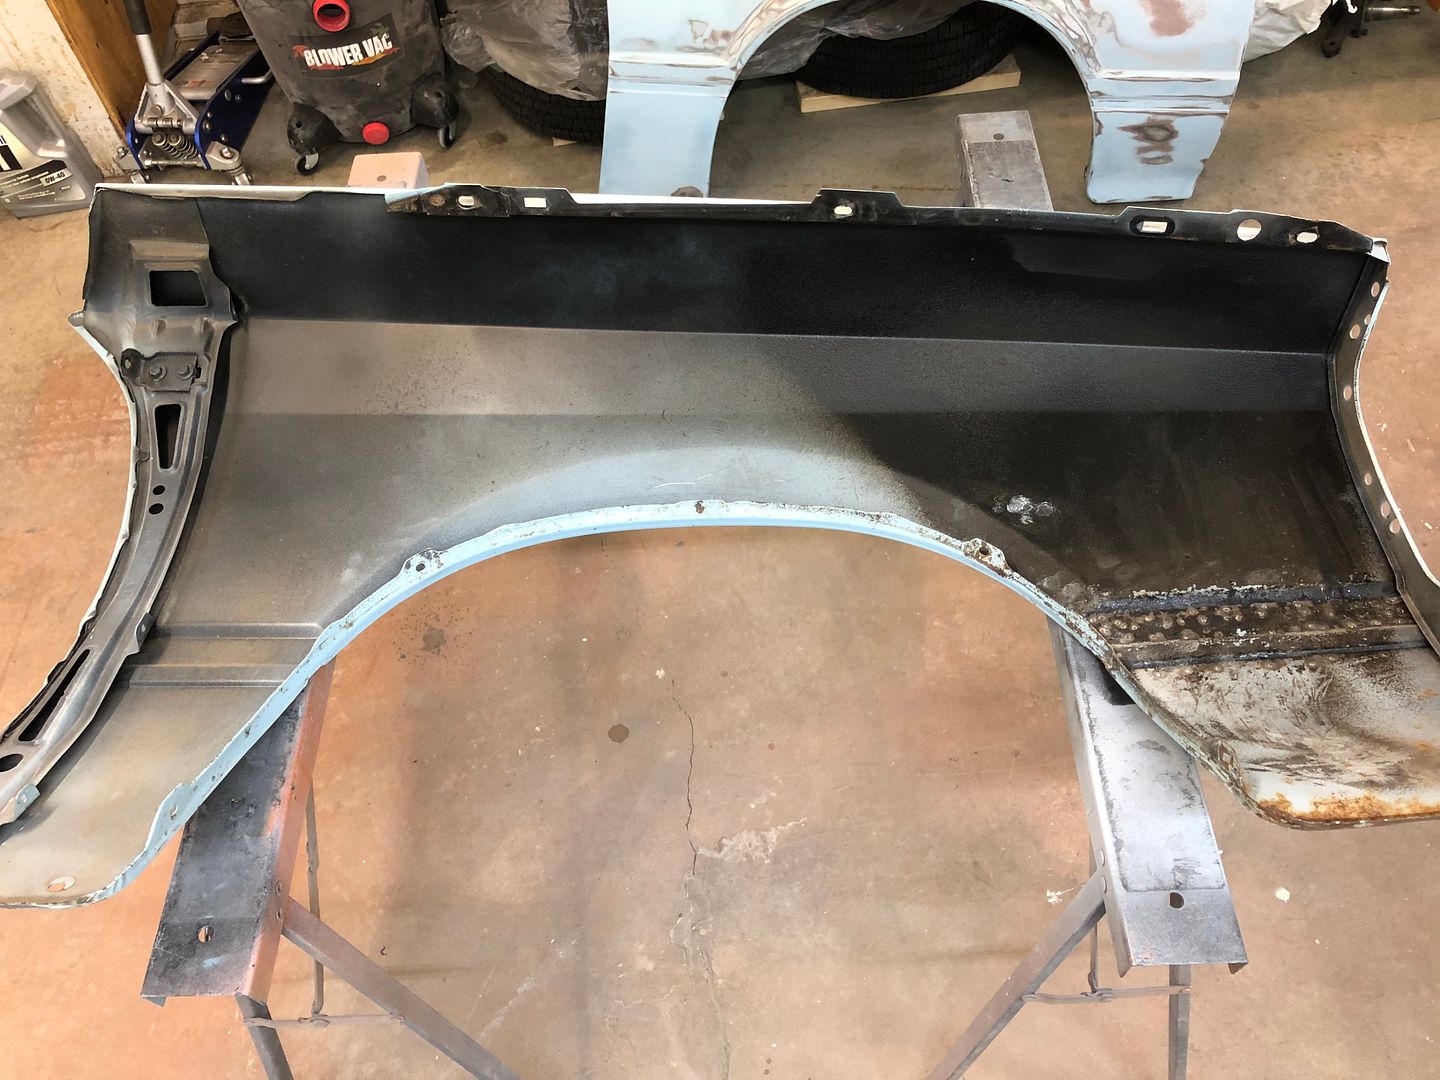
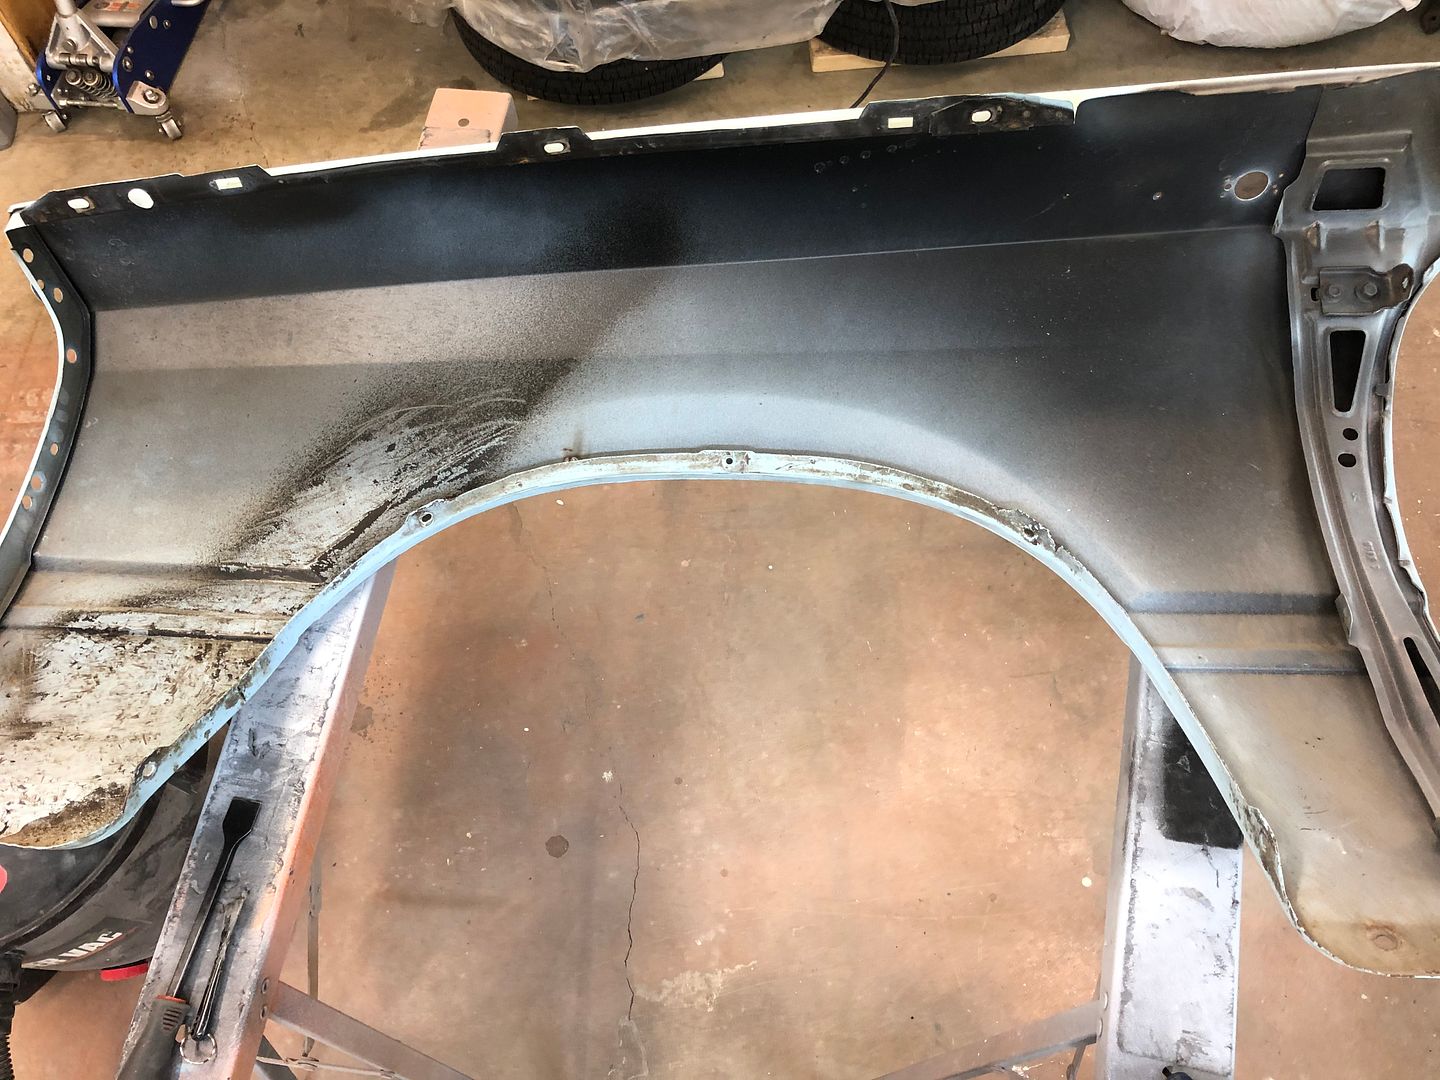
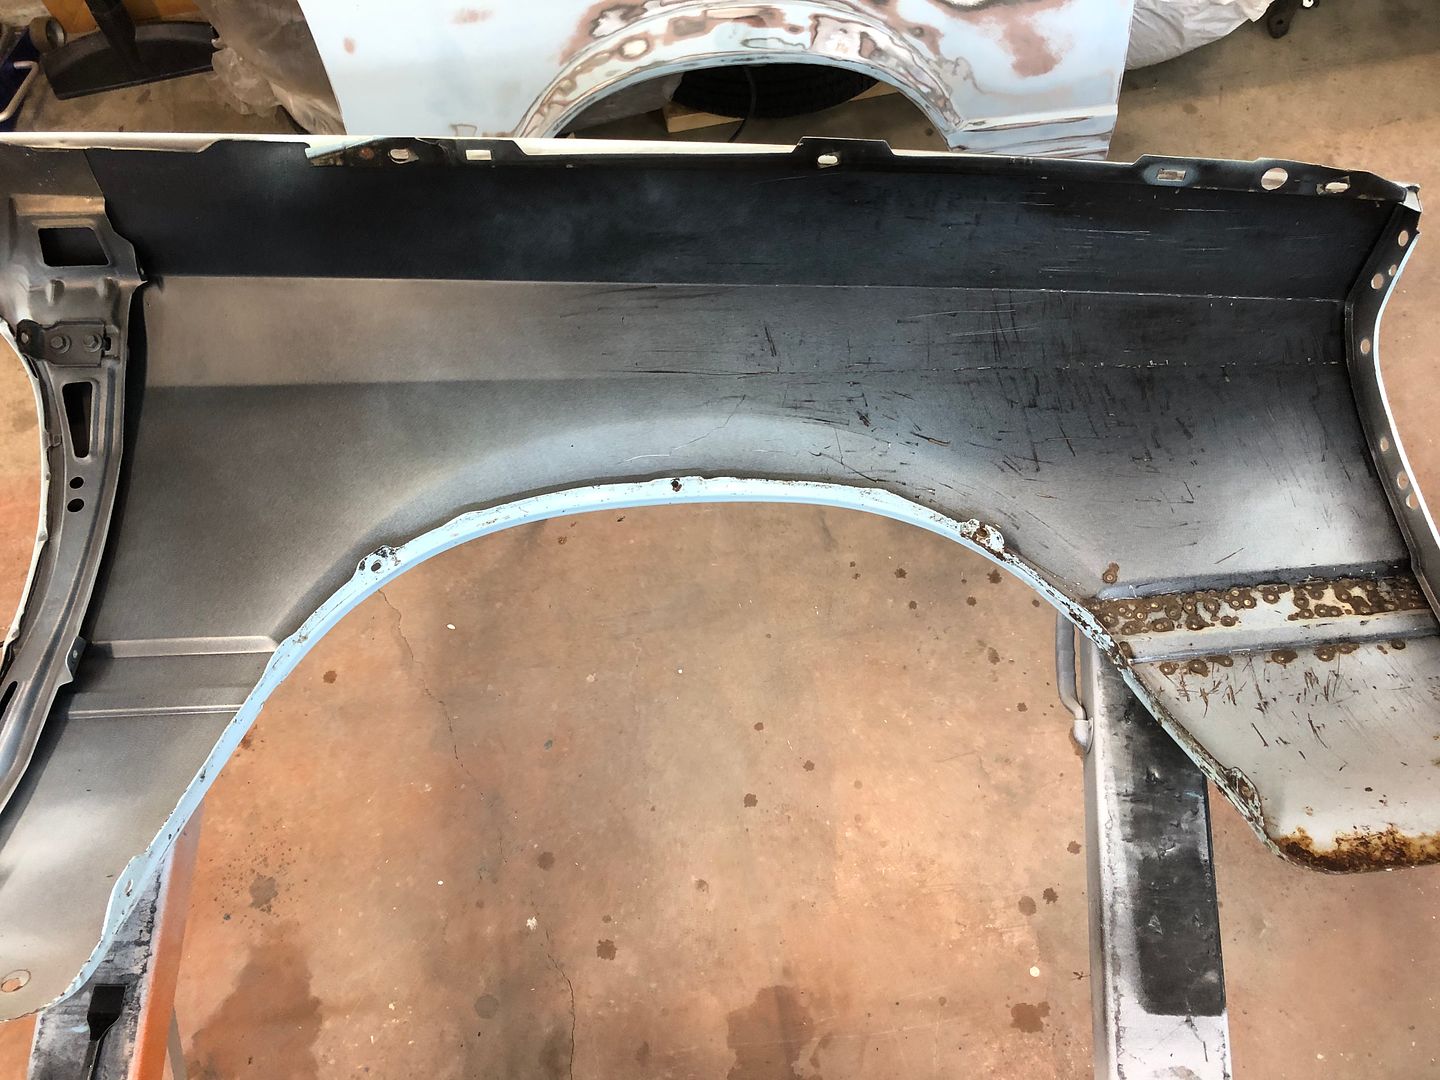
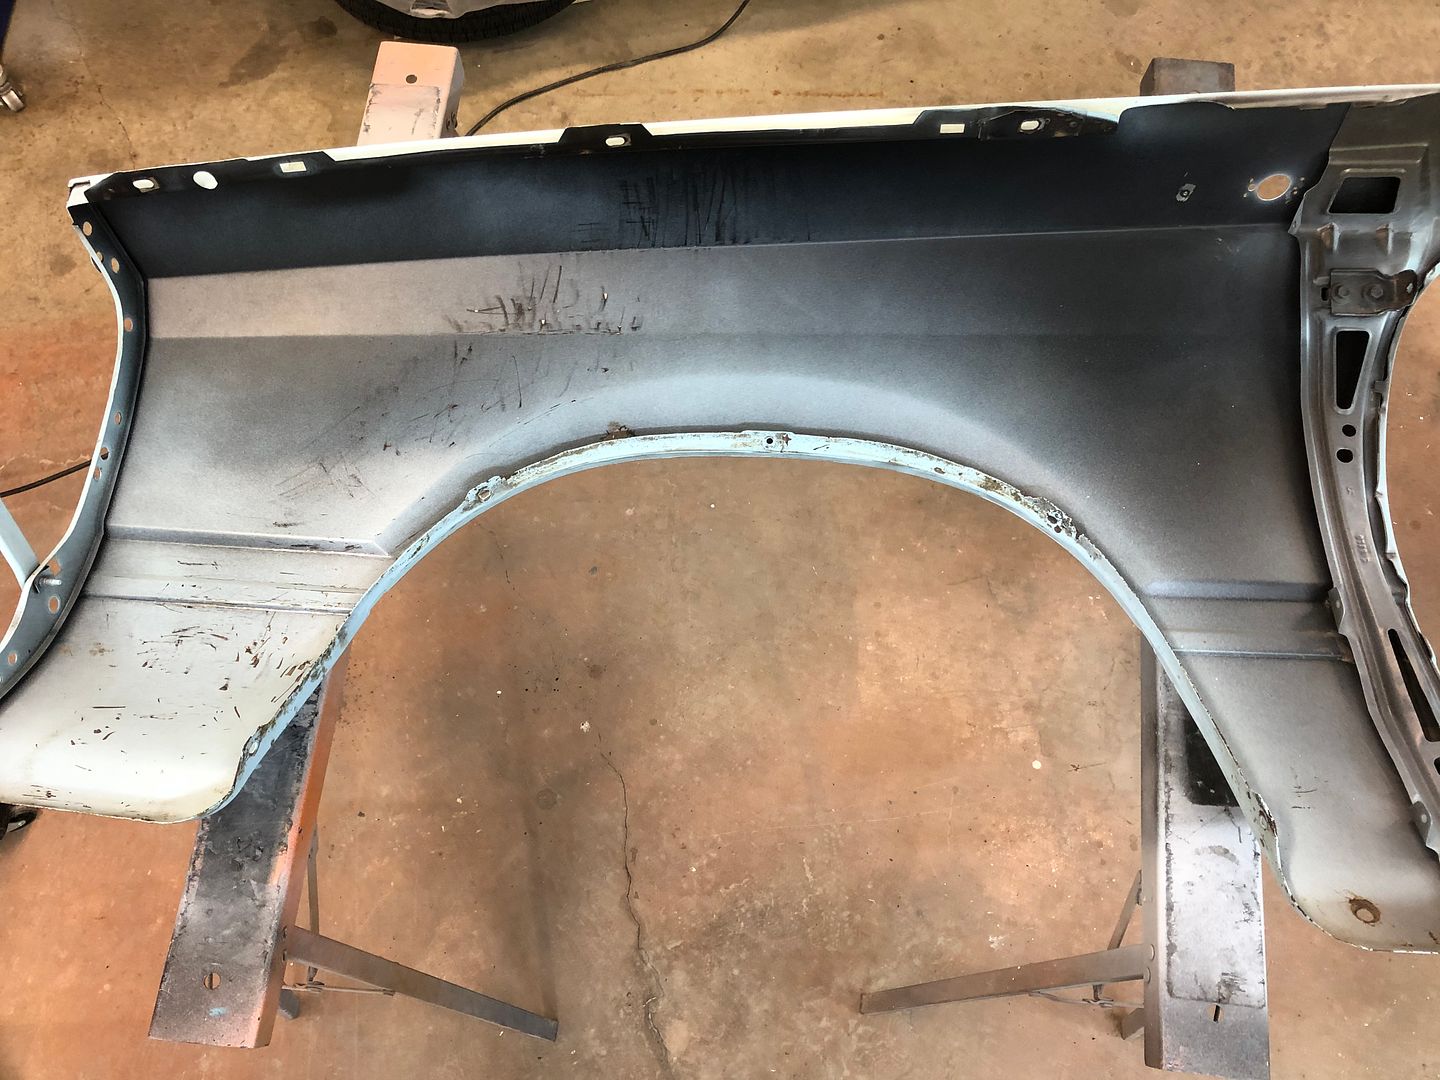
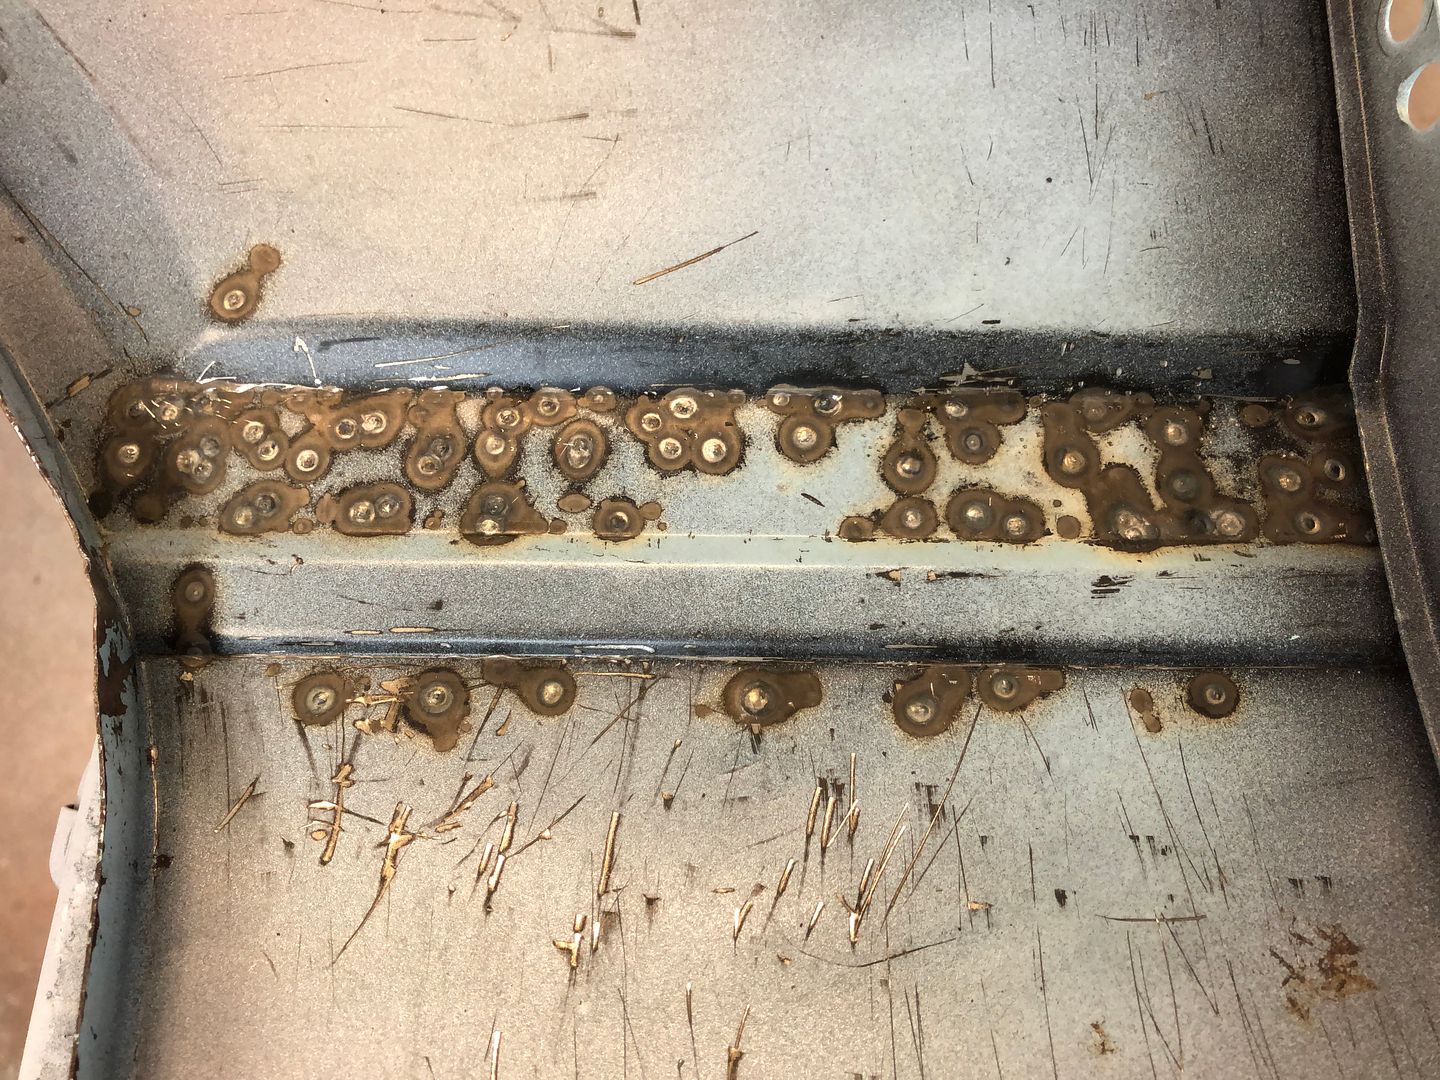
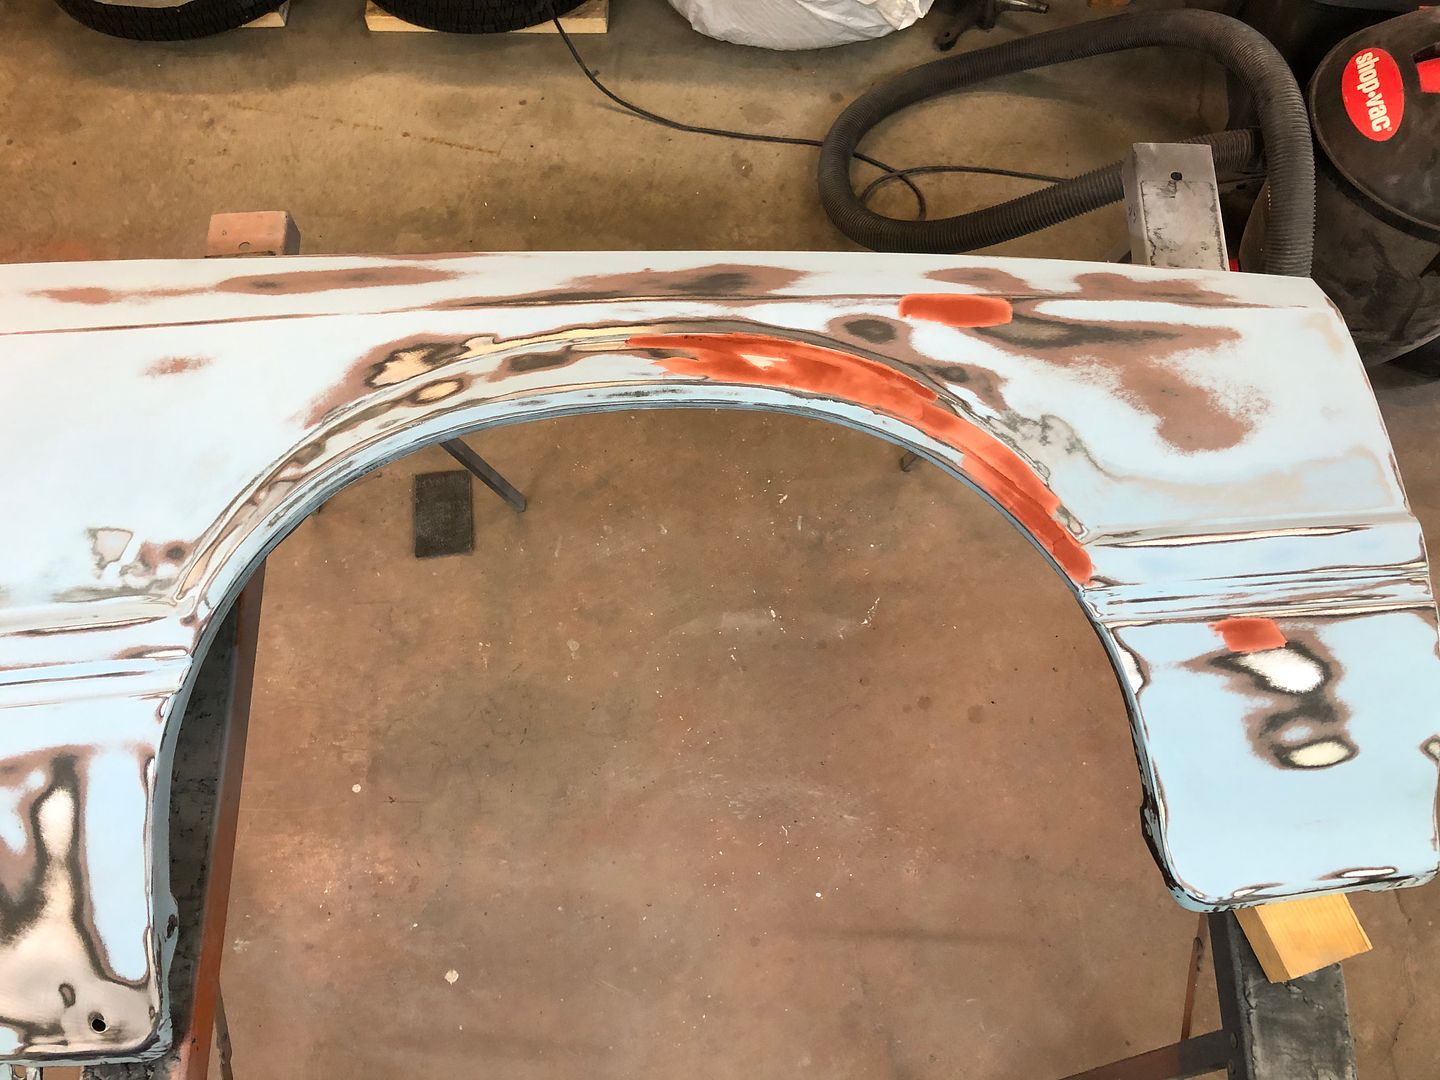
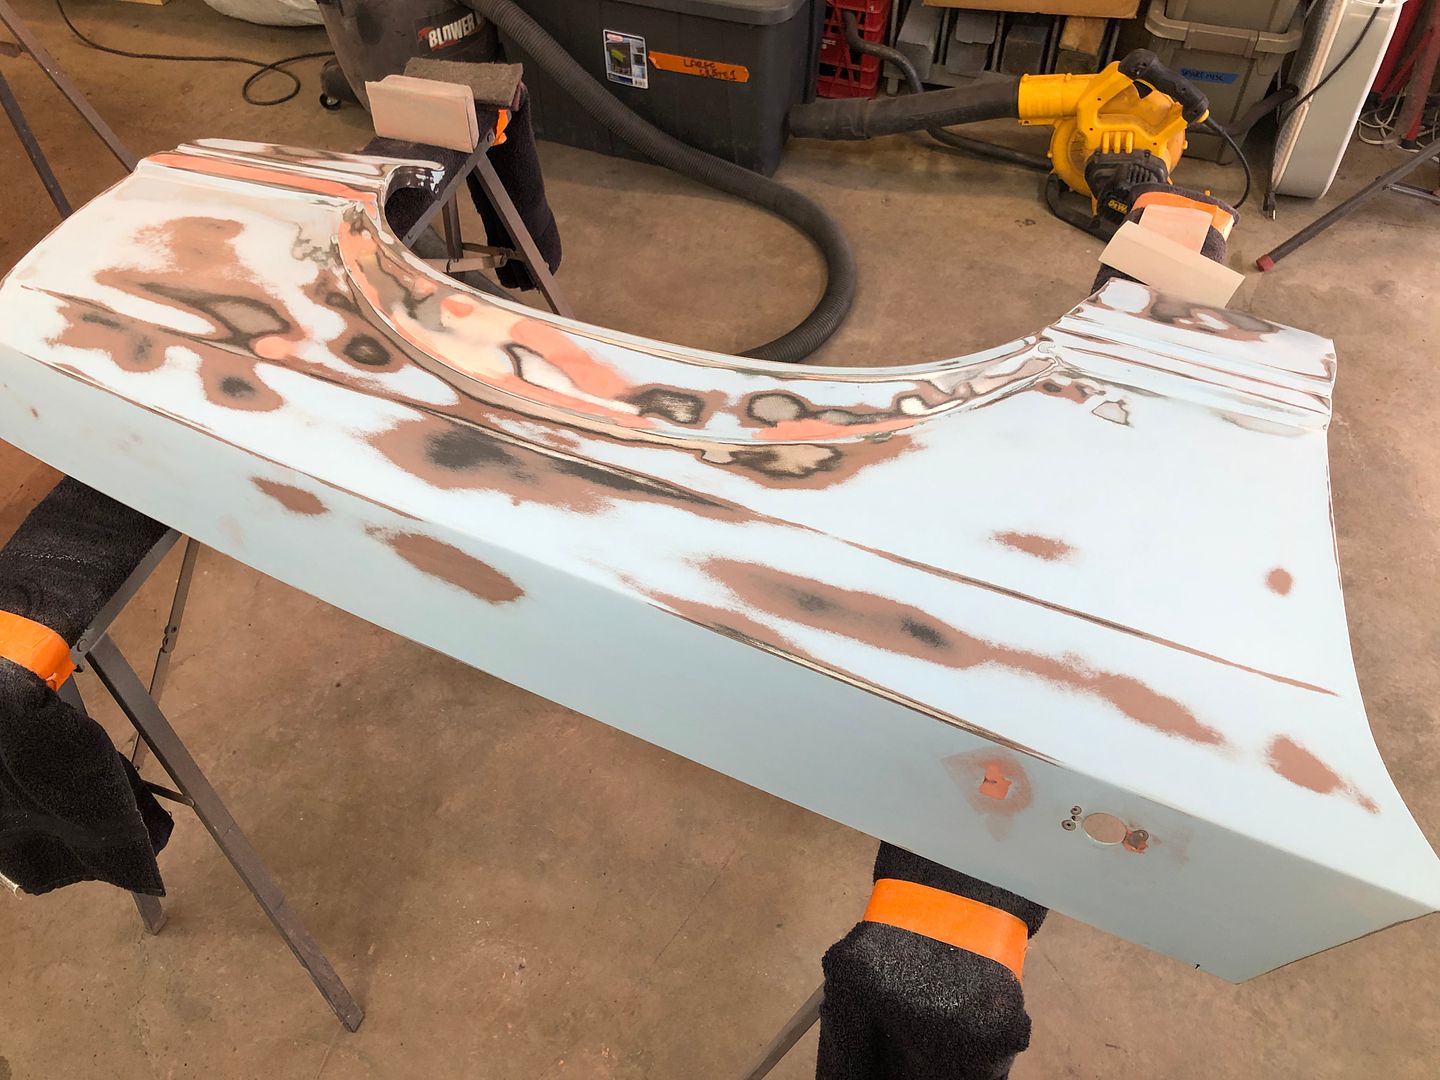
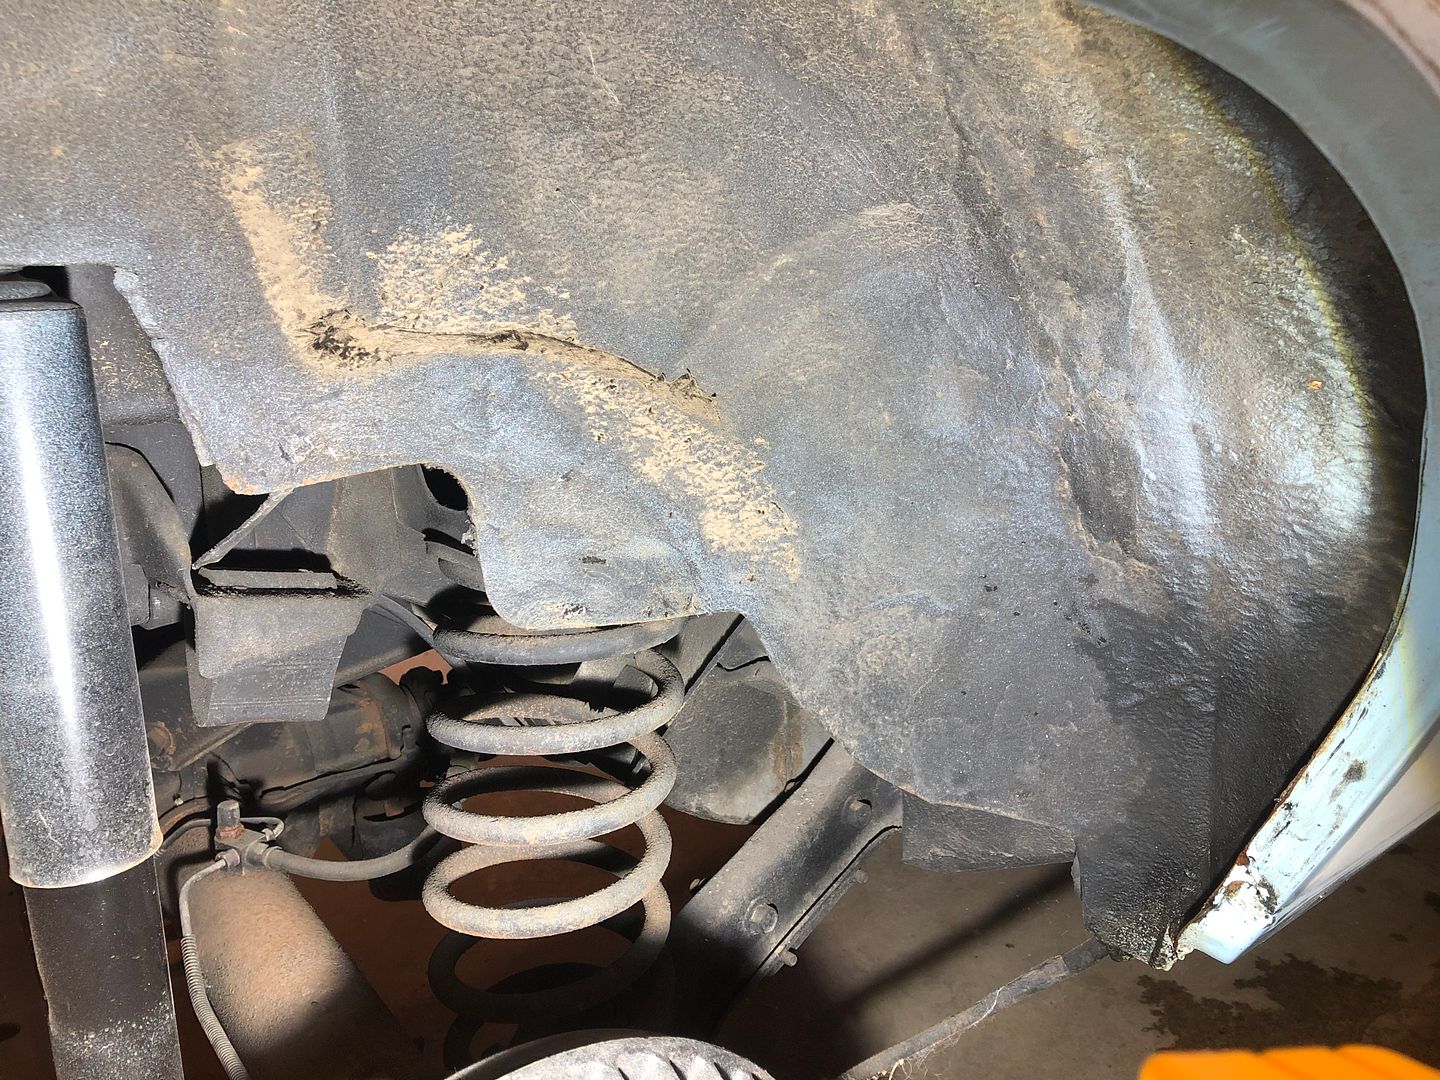
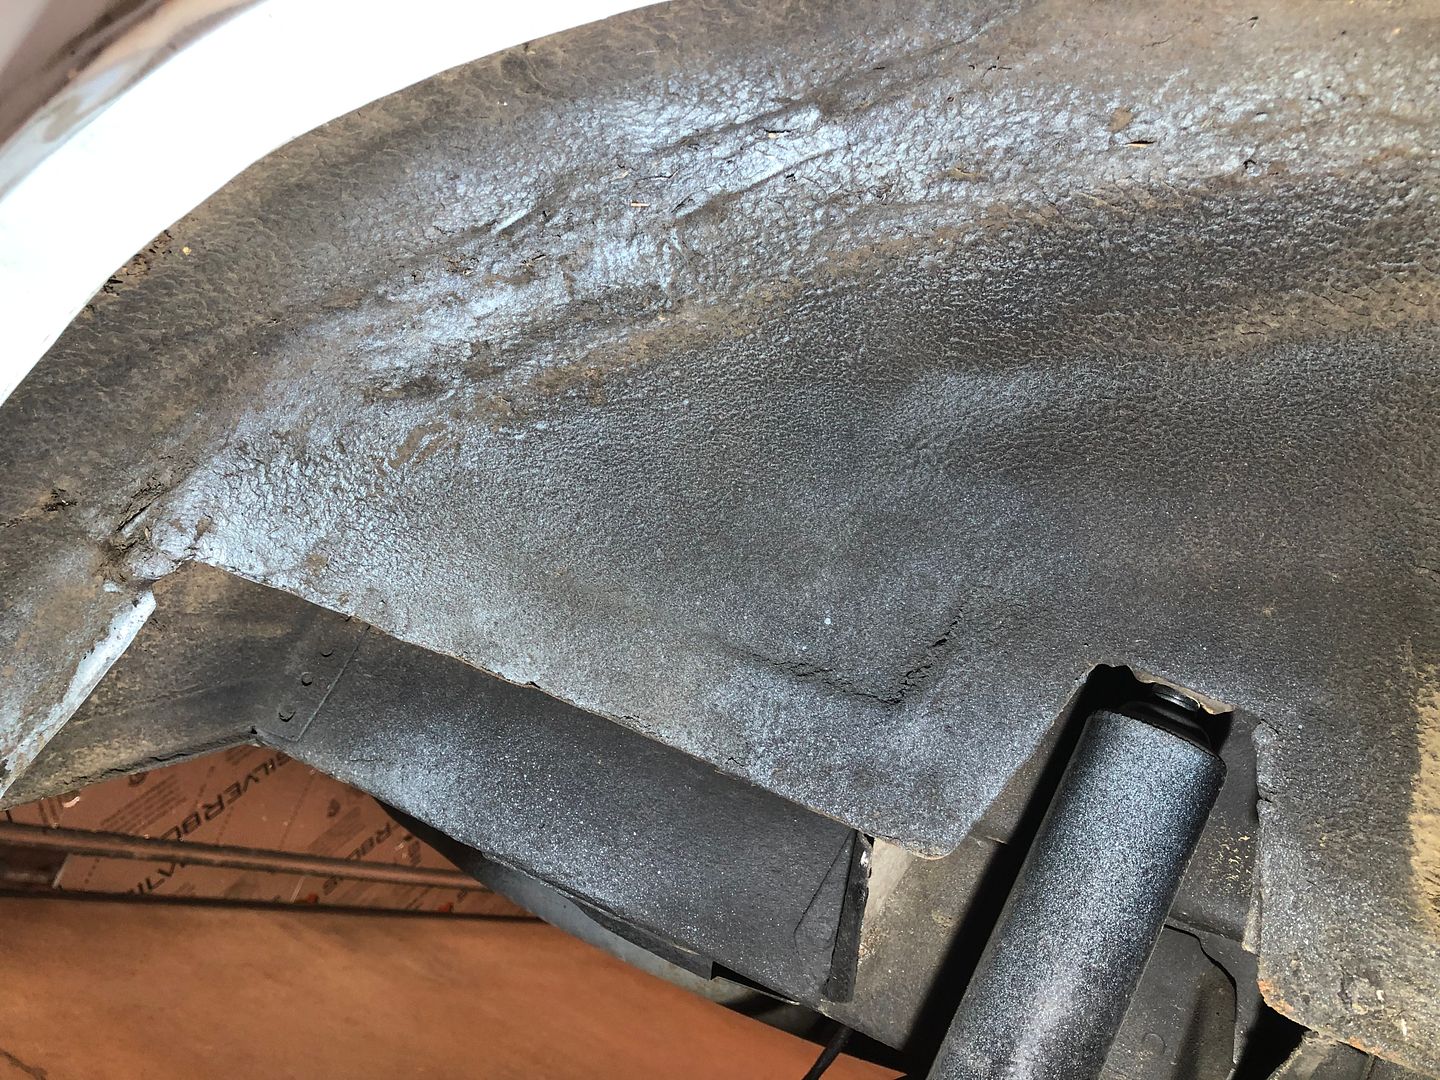
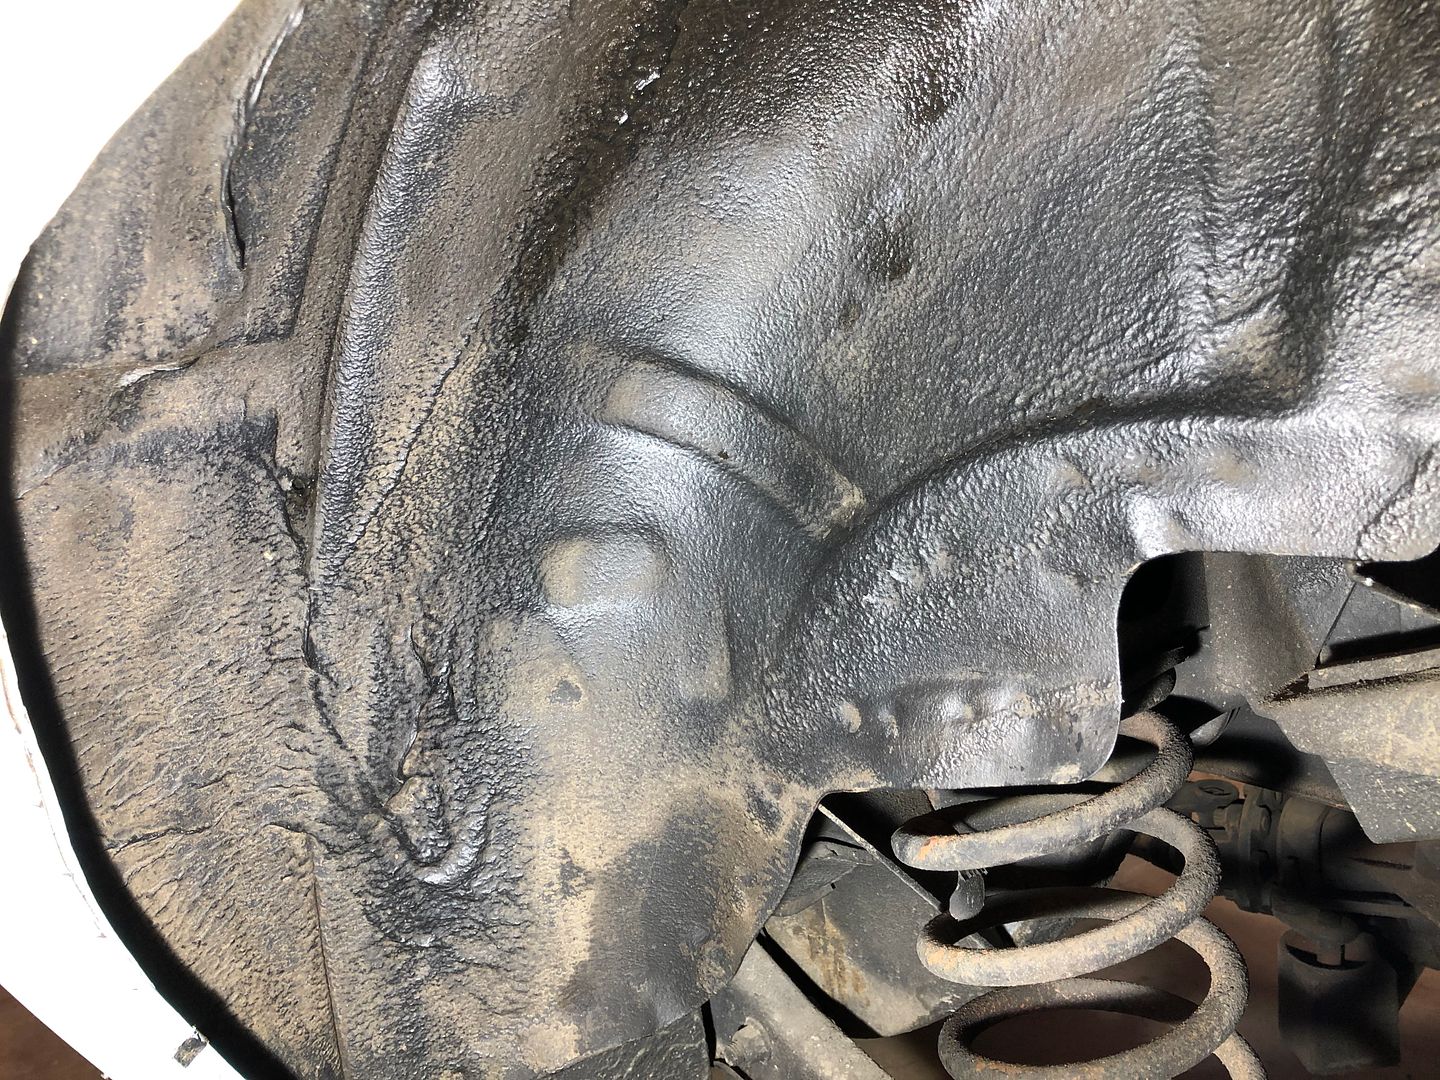
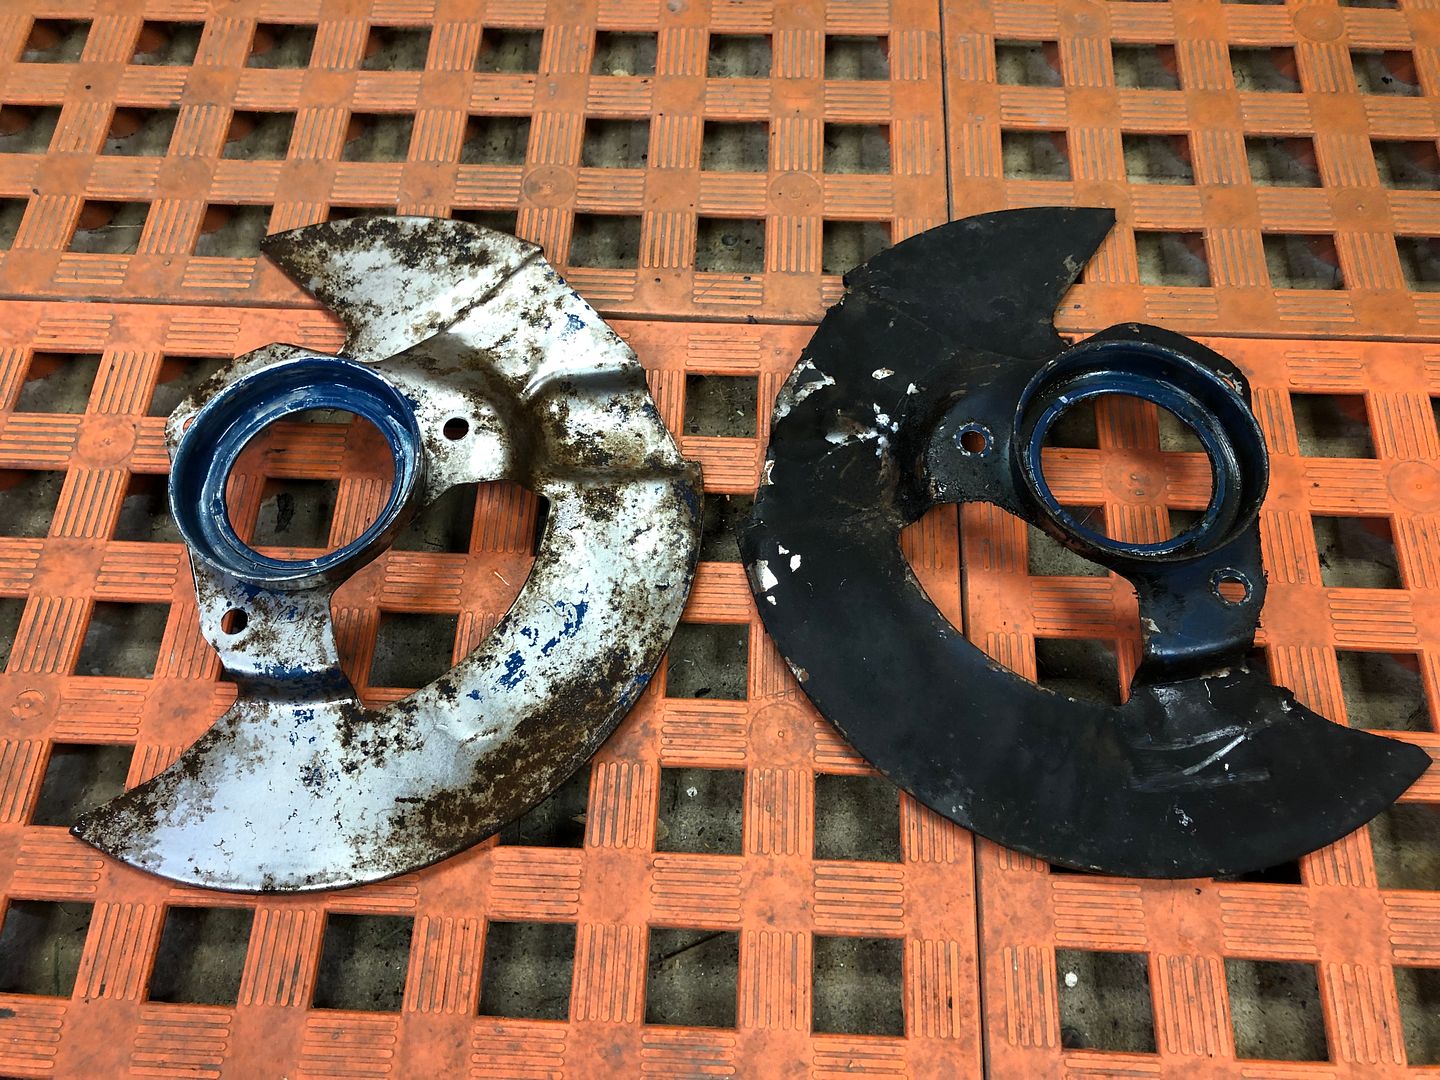
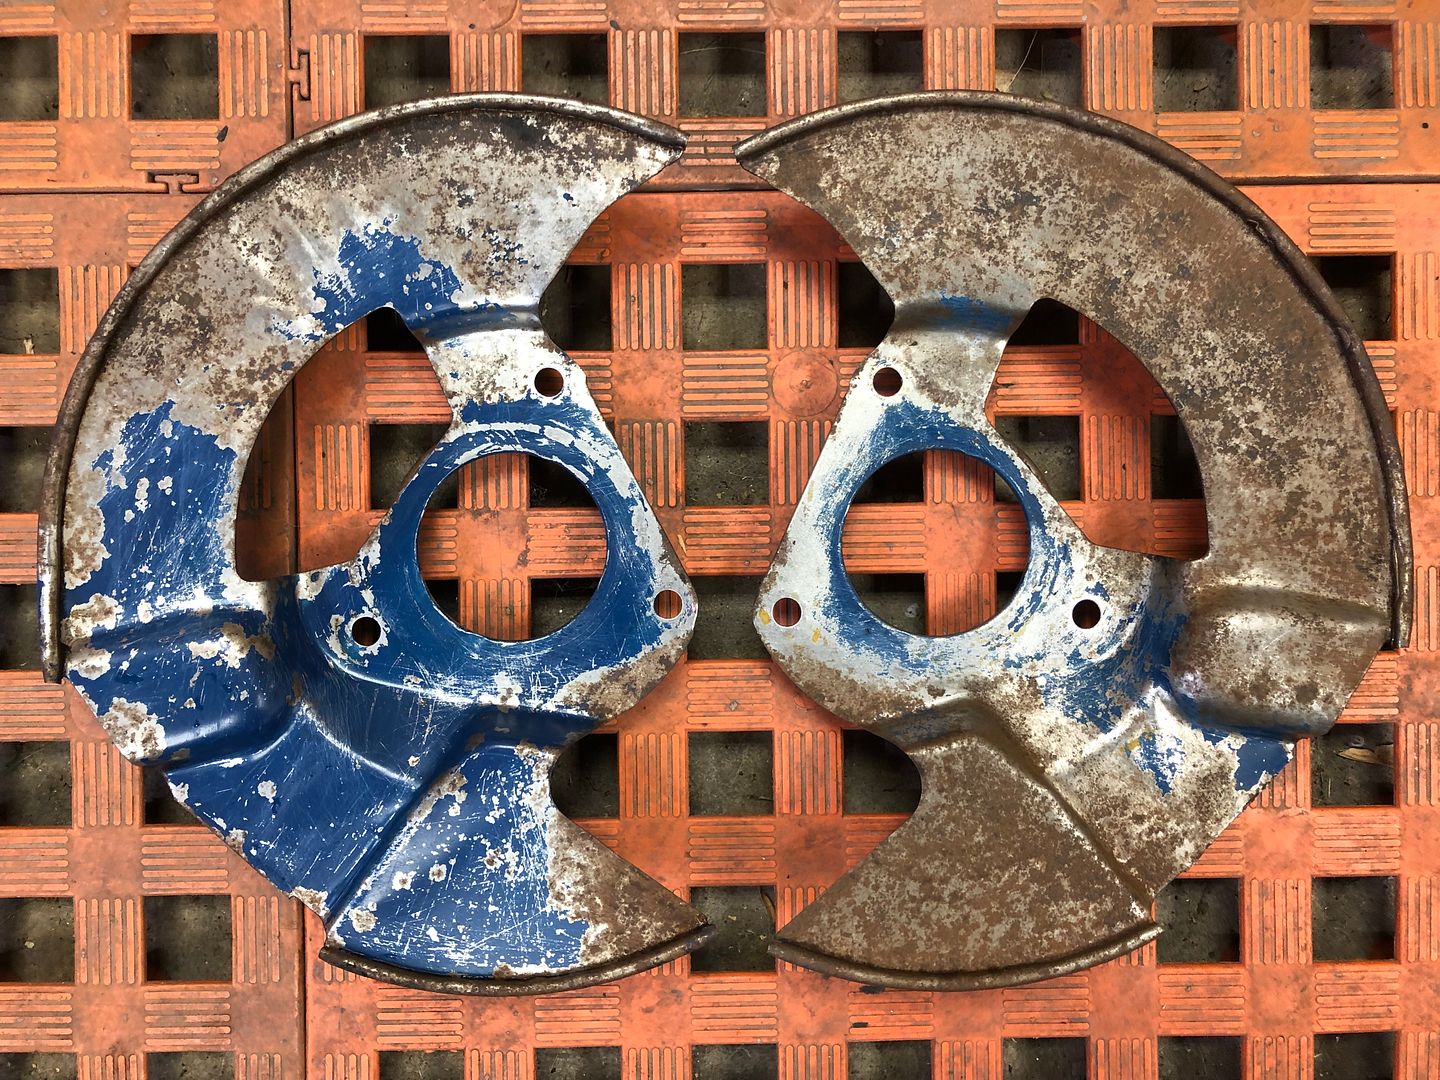
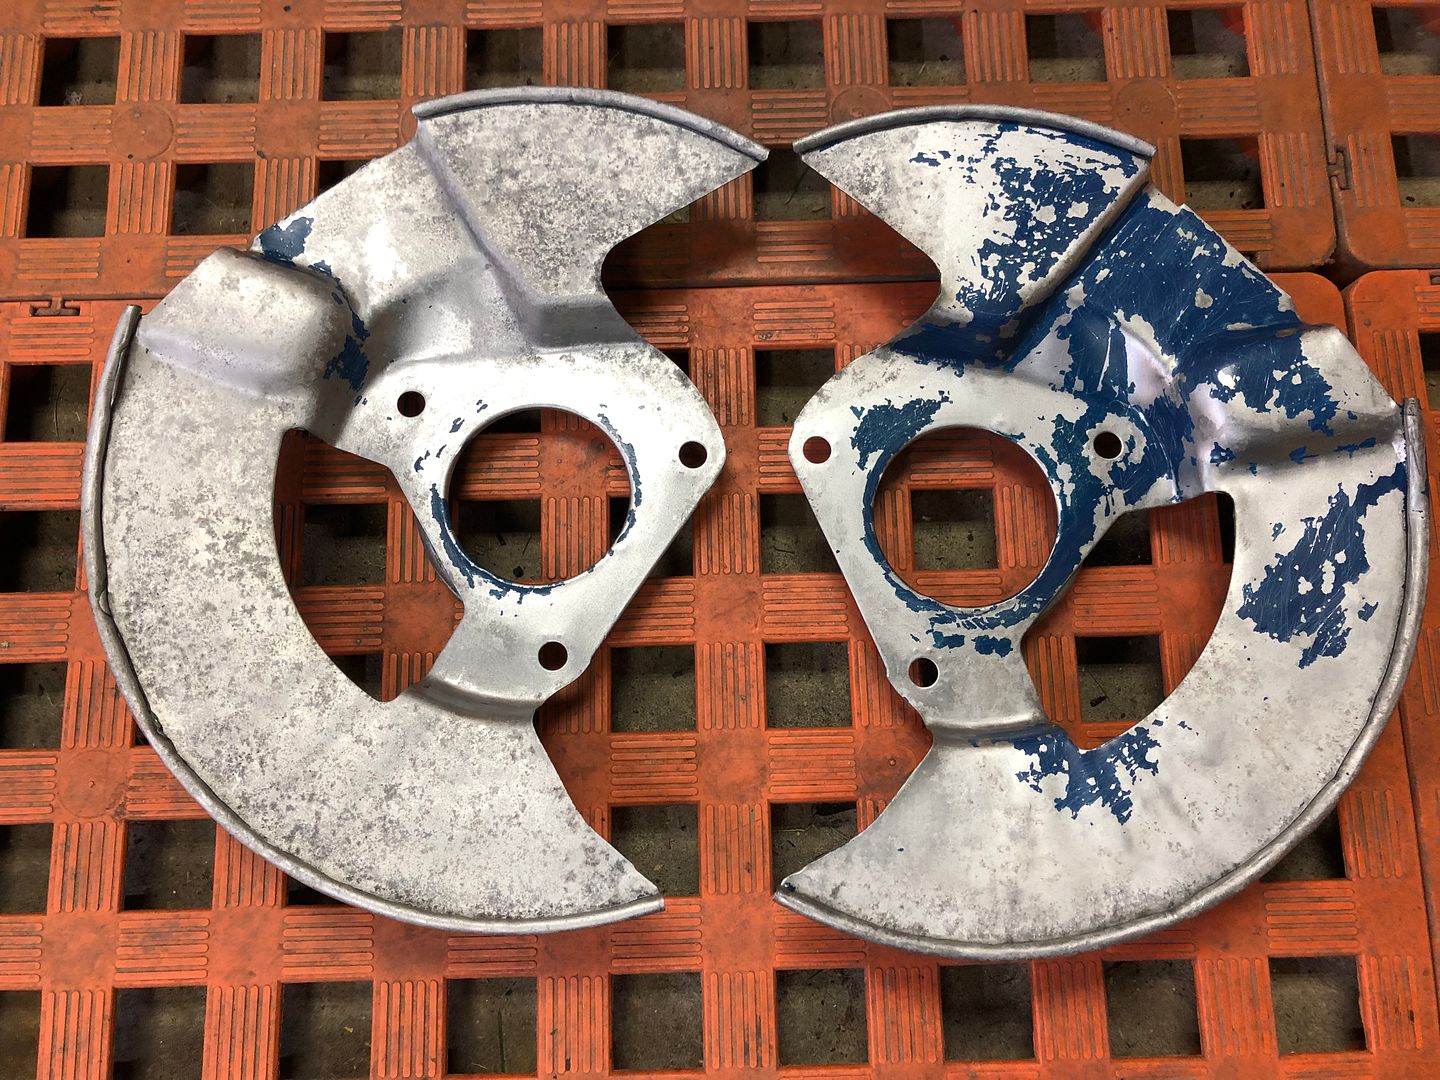
These are both the original 1979 fenders with the couple of subtle differences.
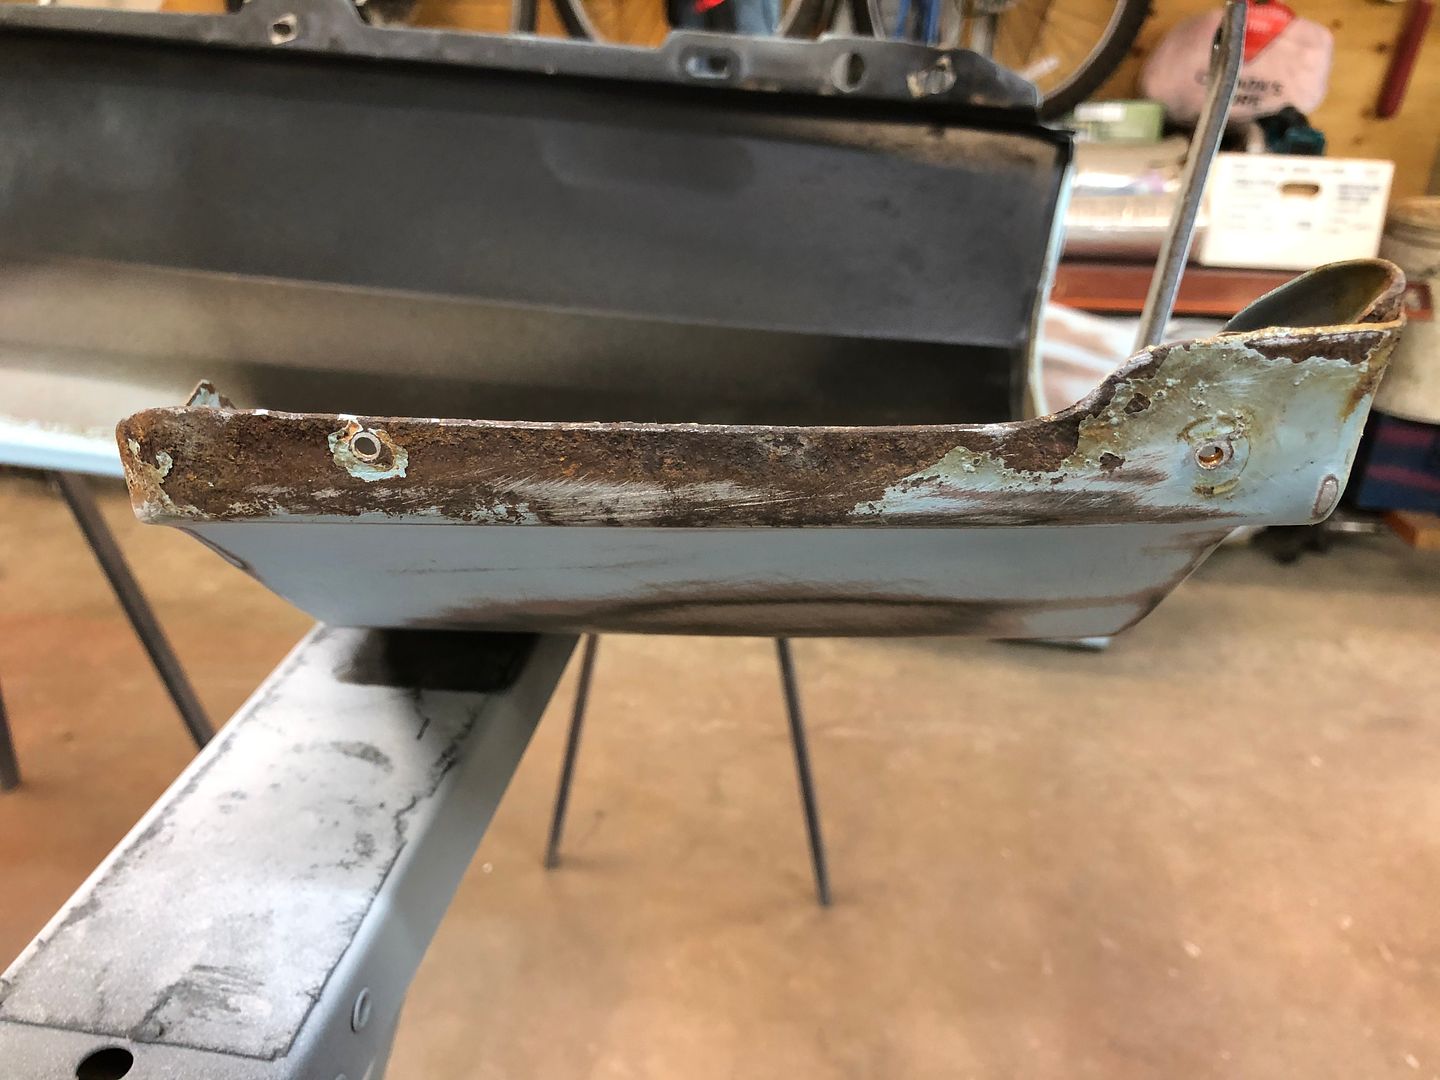
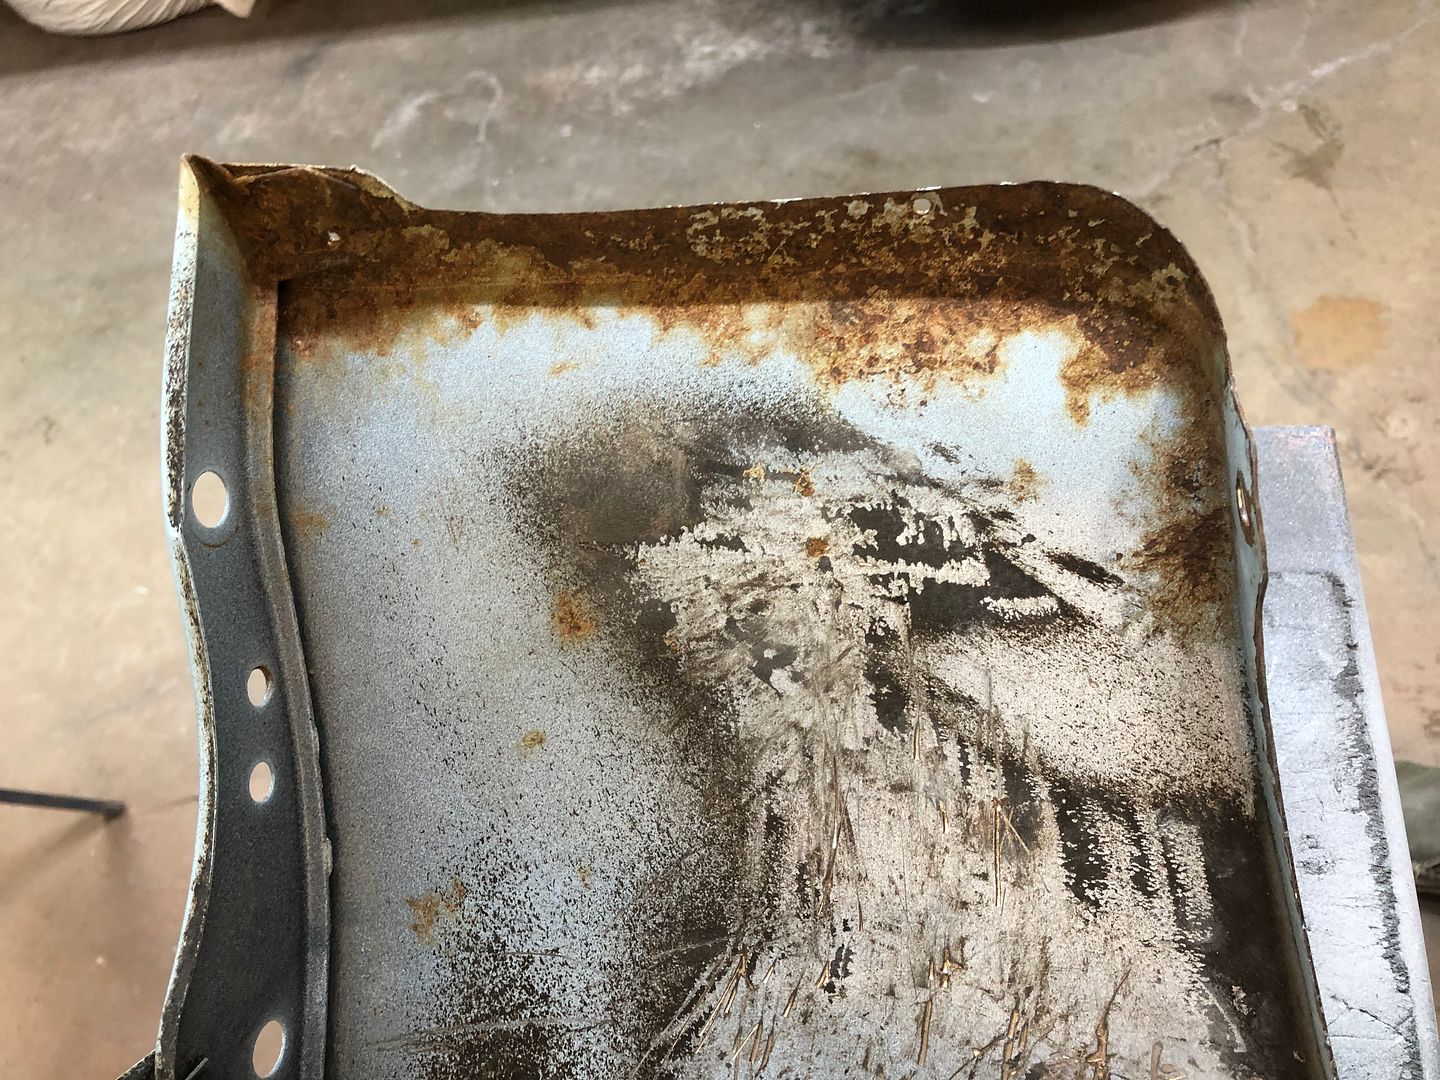
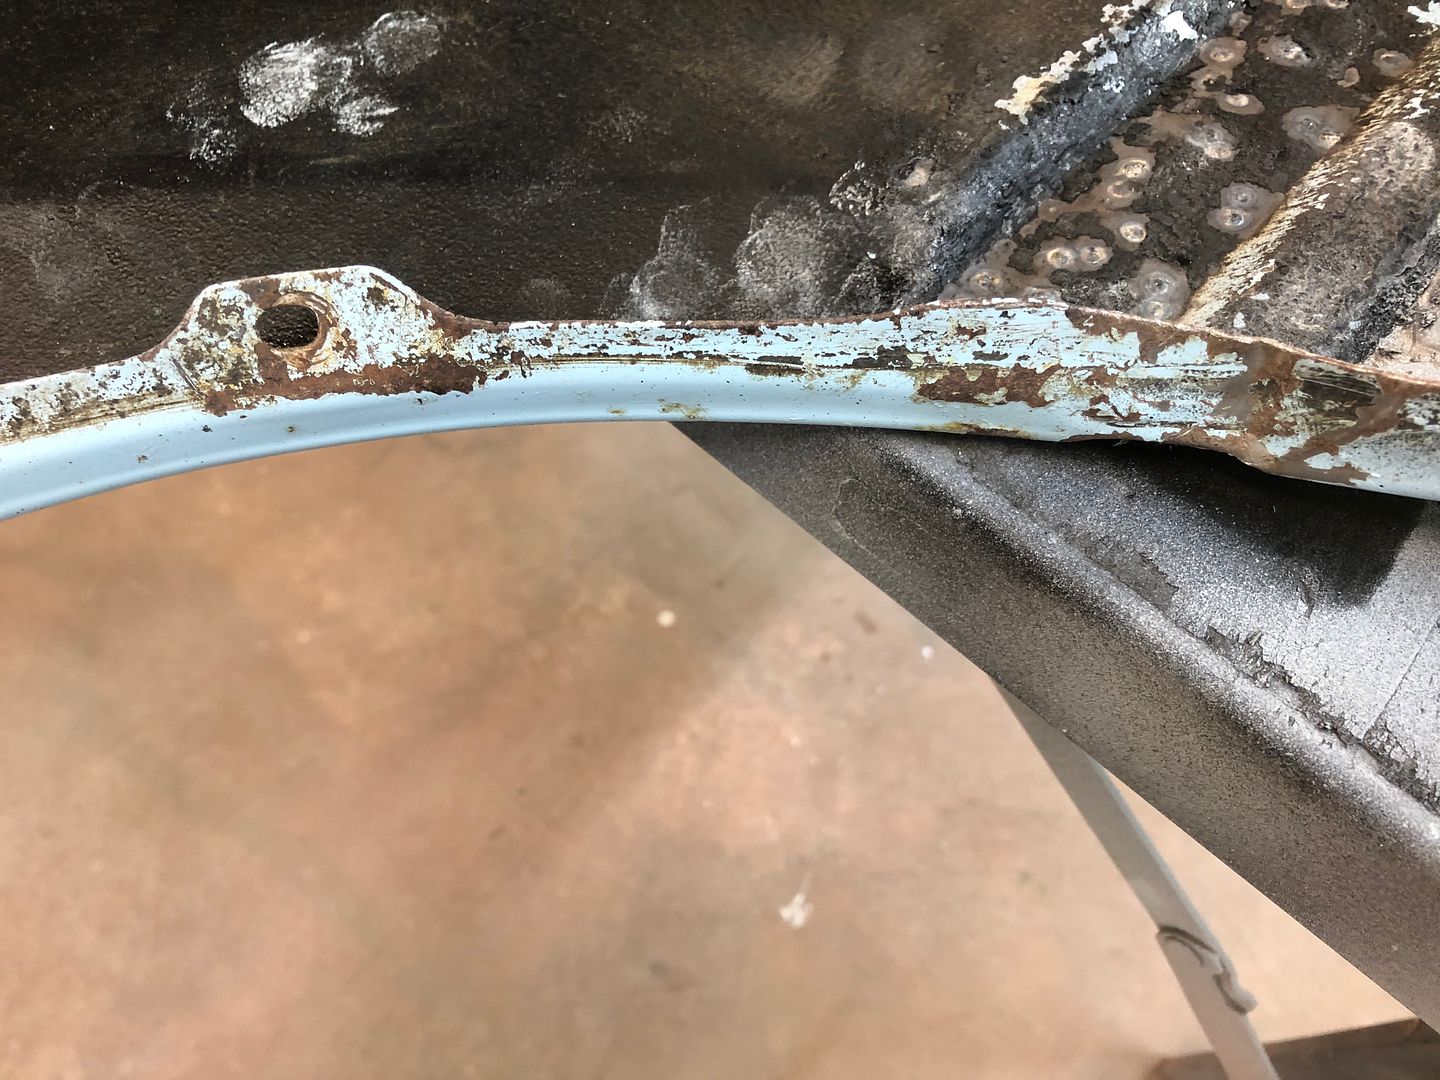
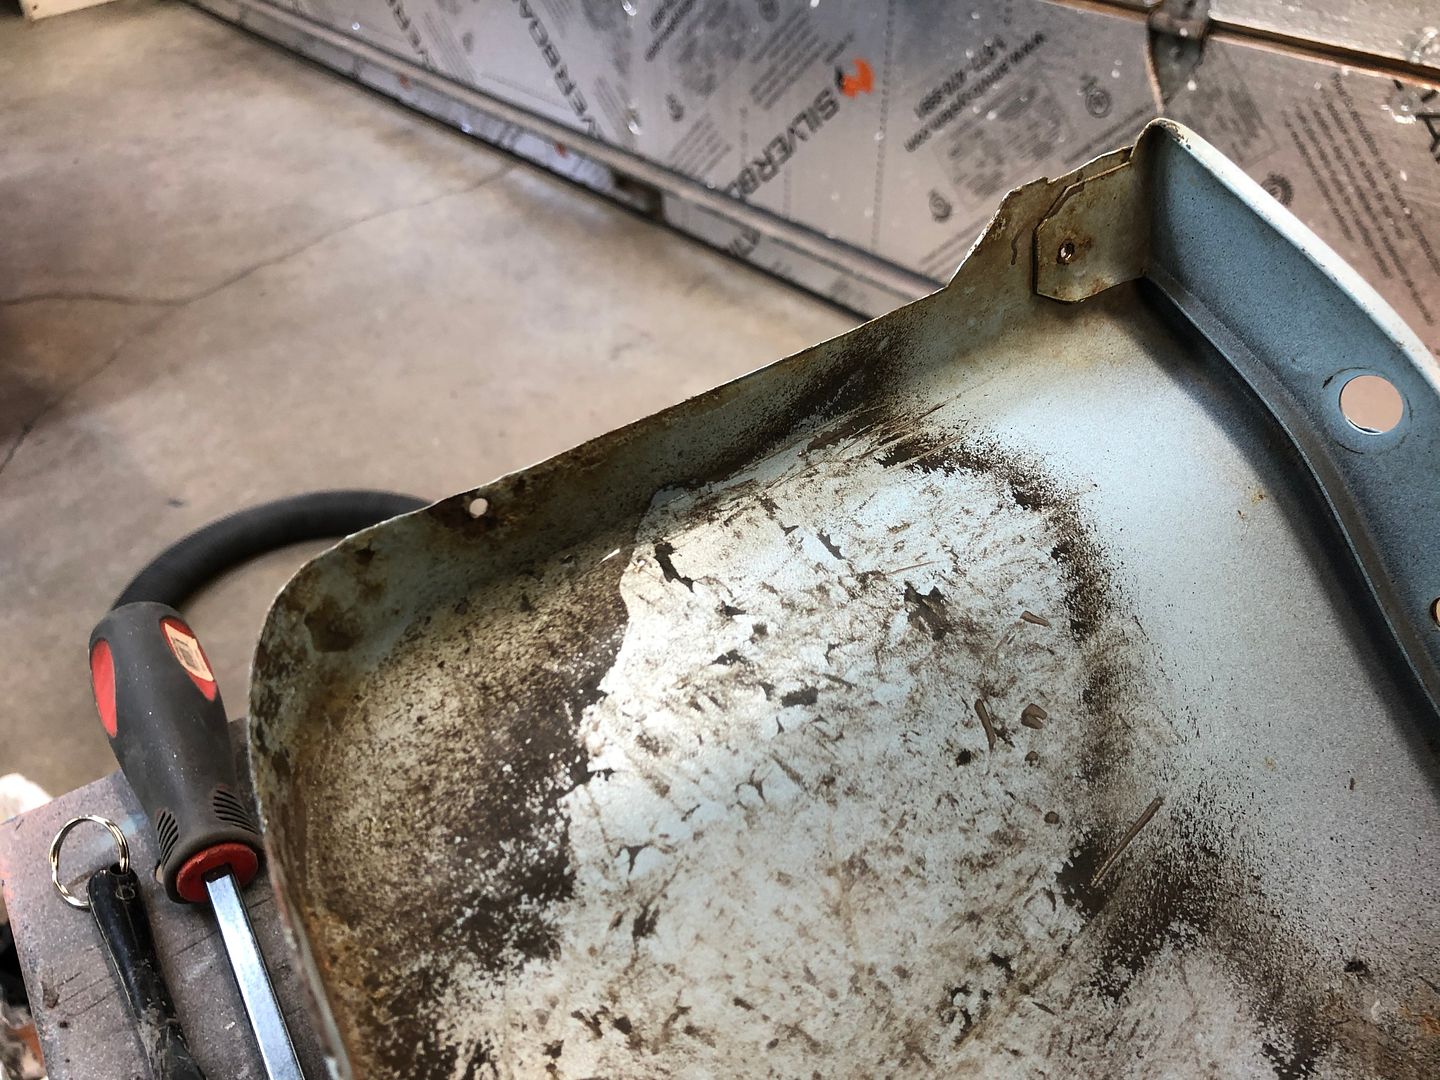
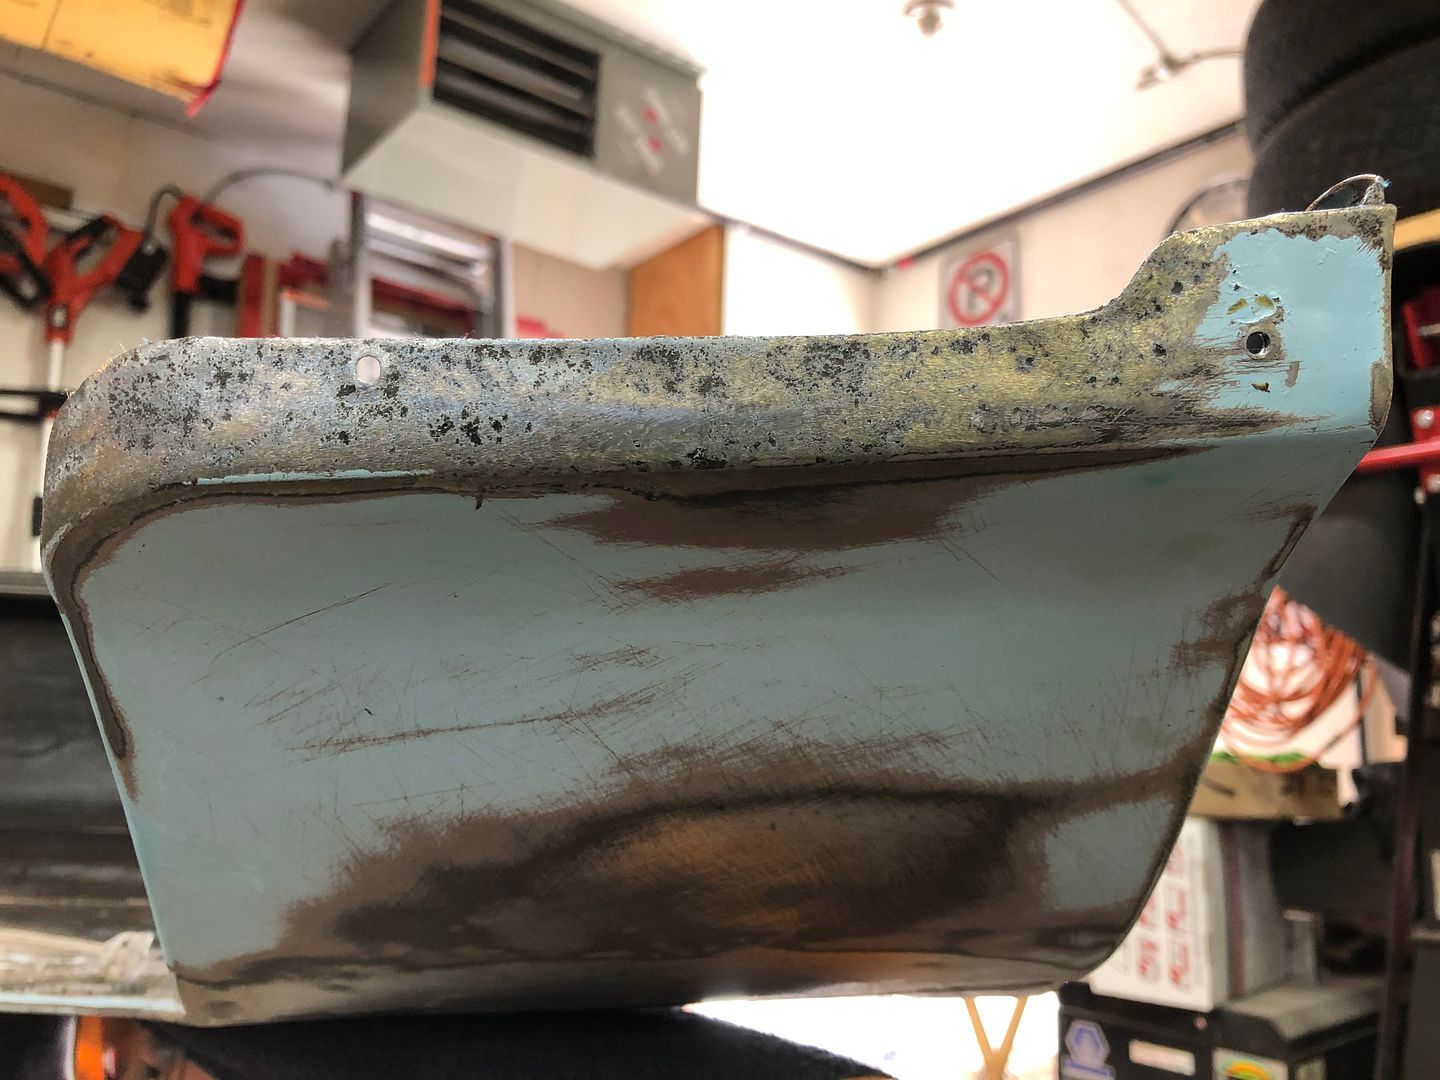
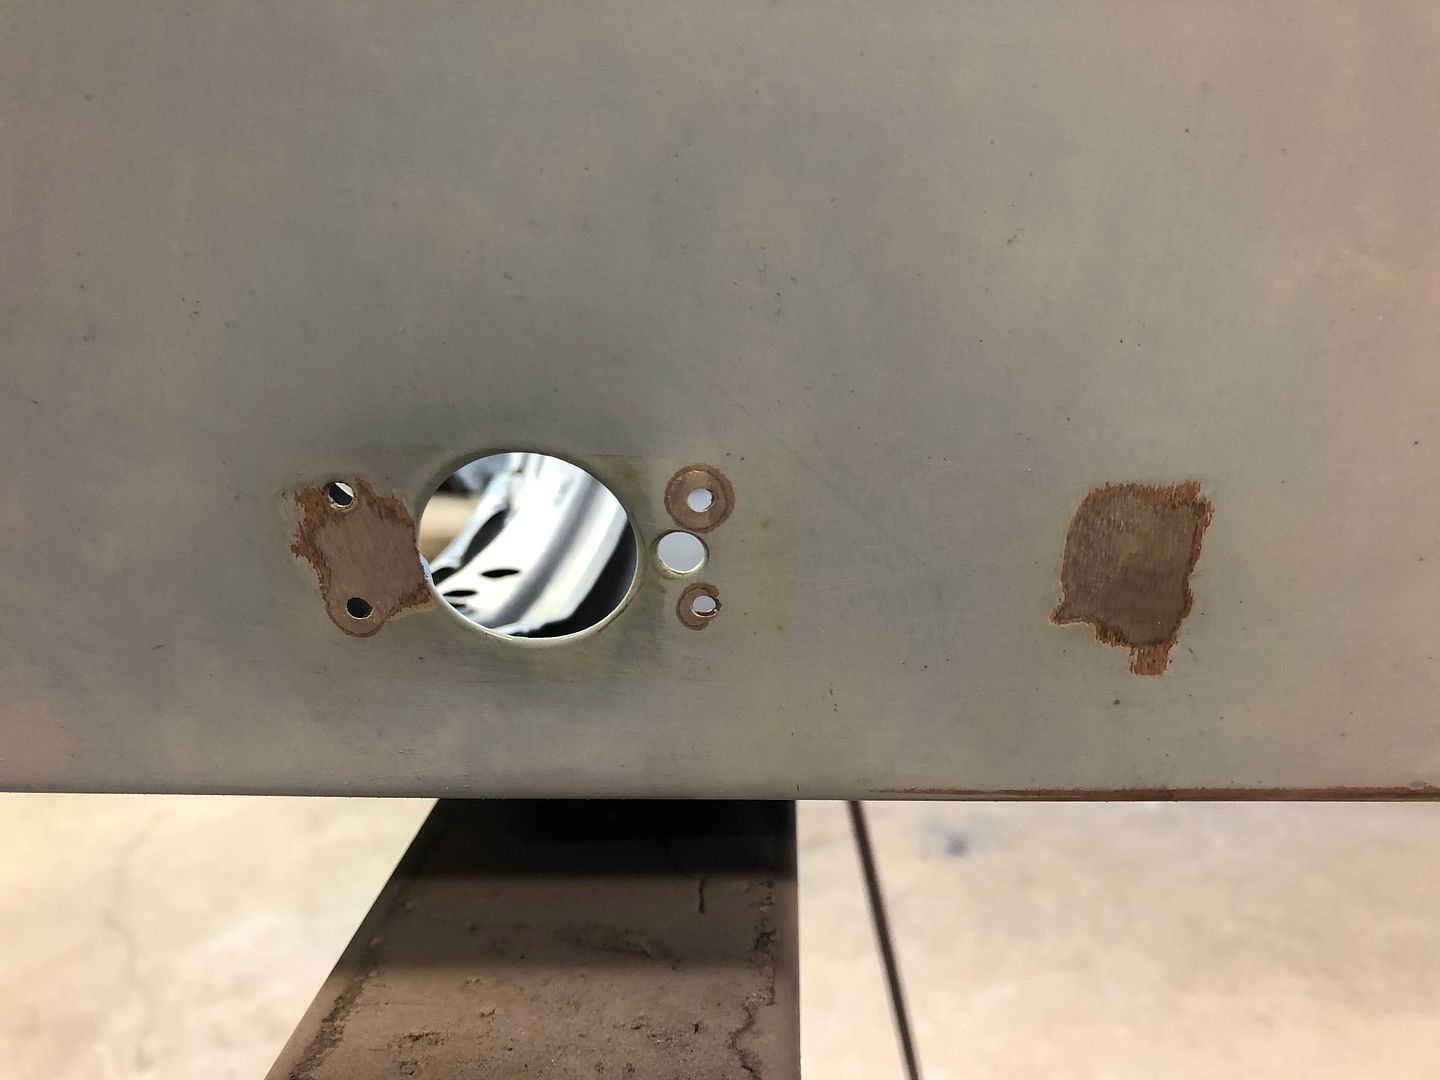
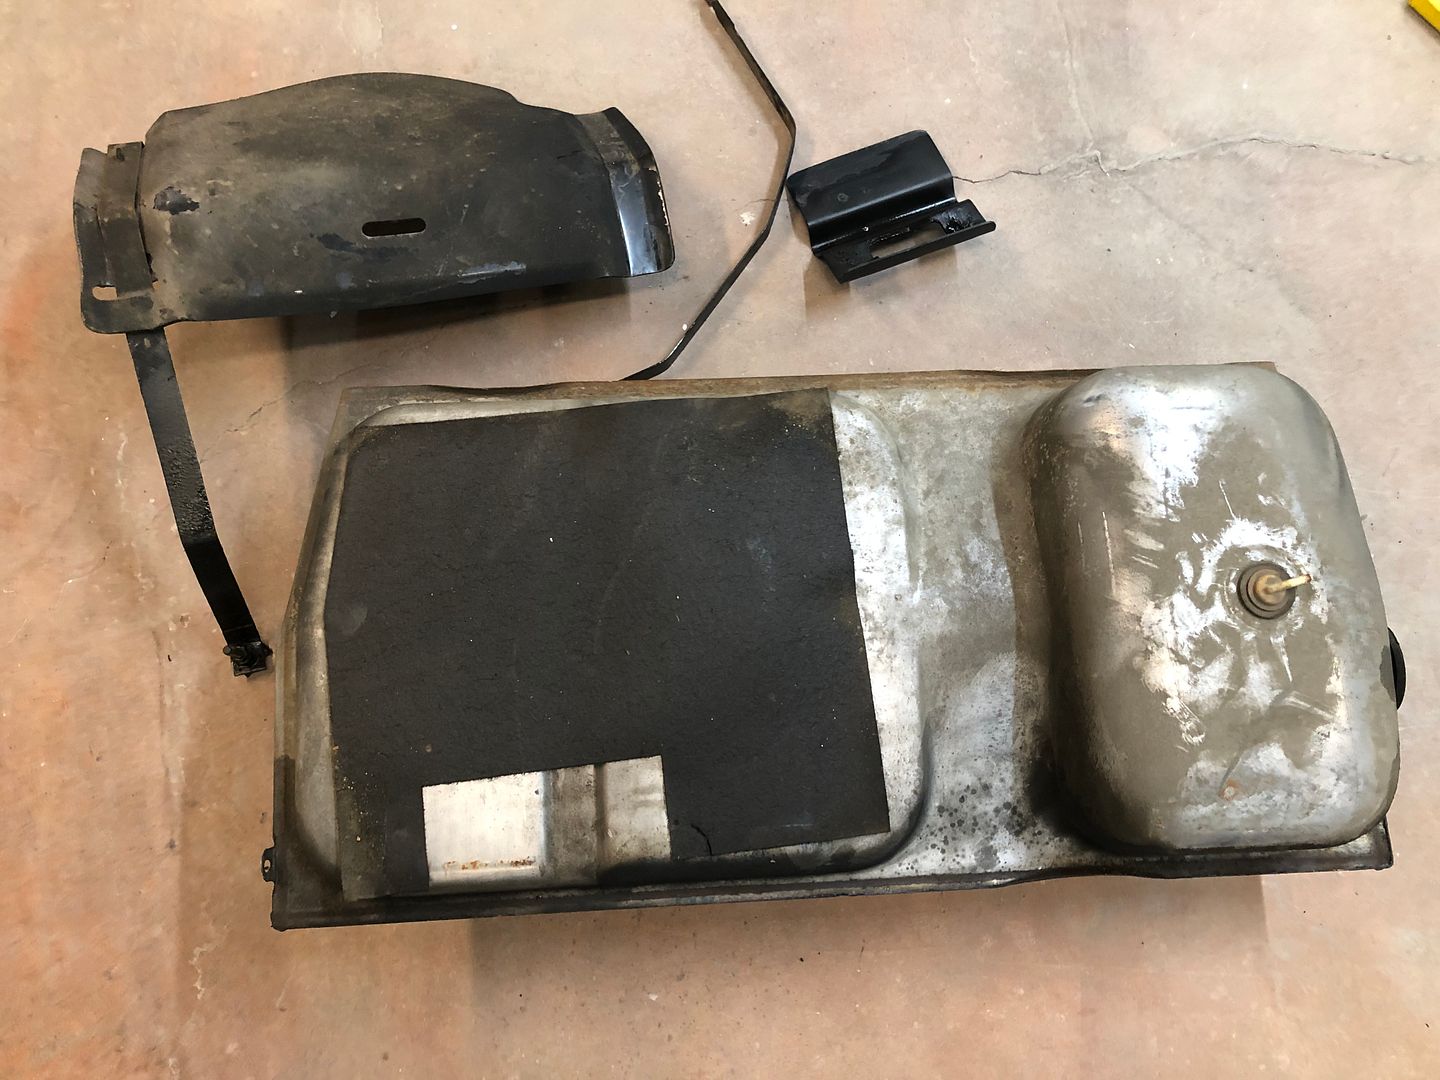
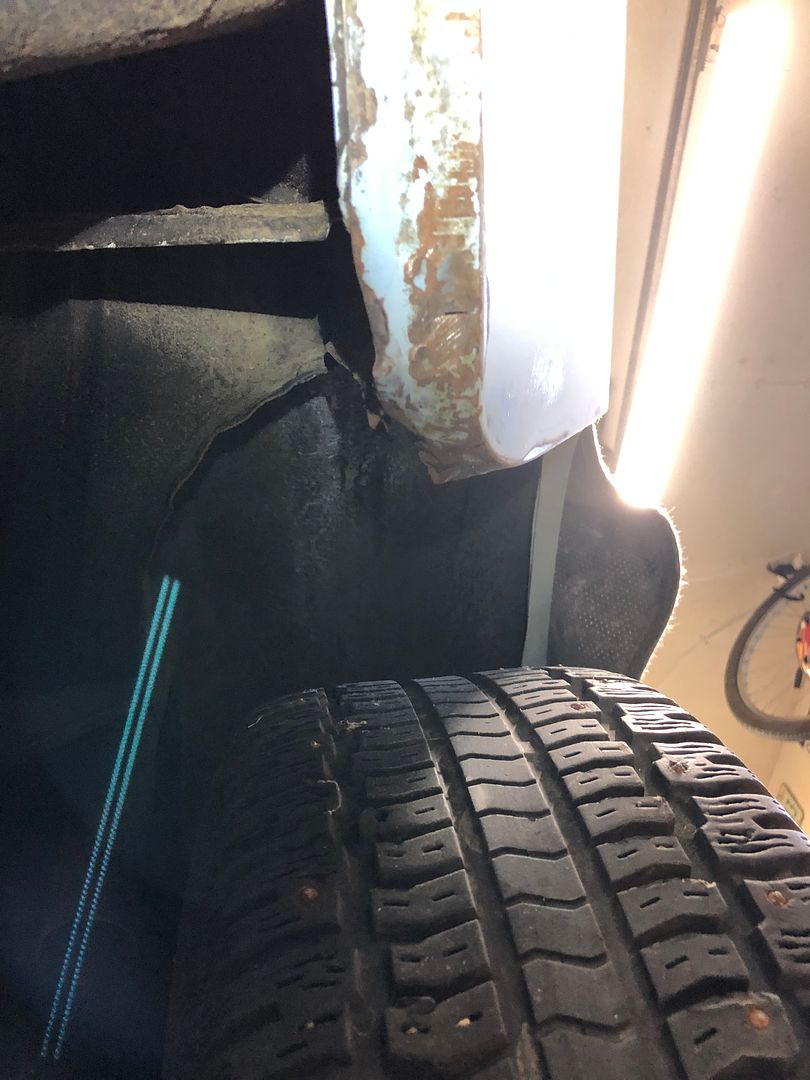
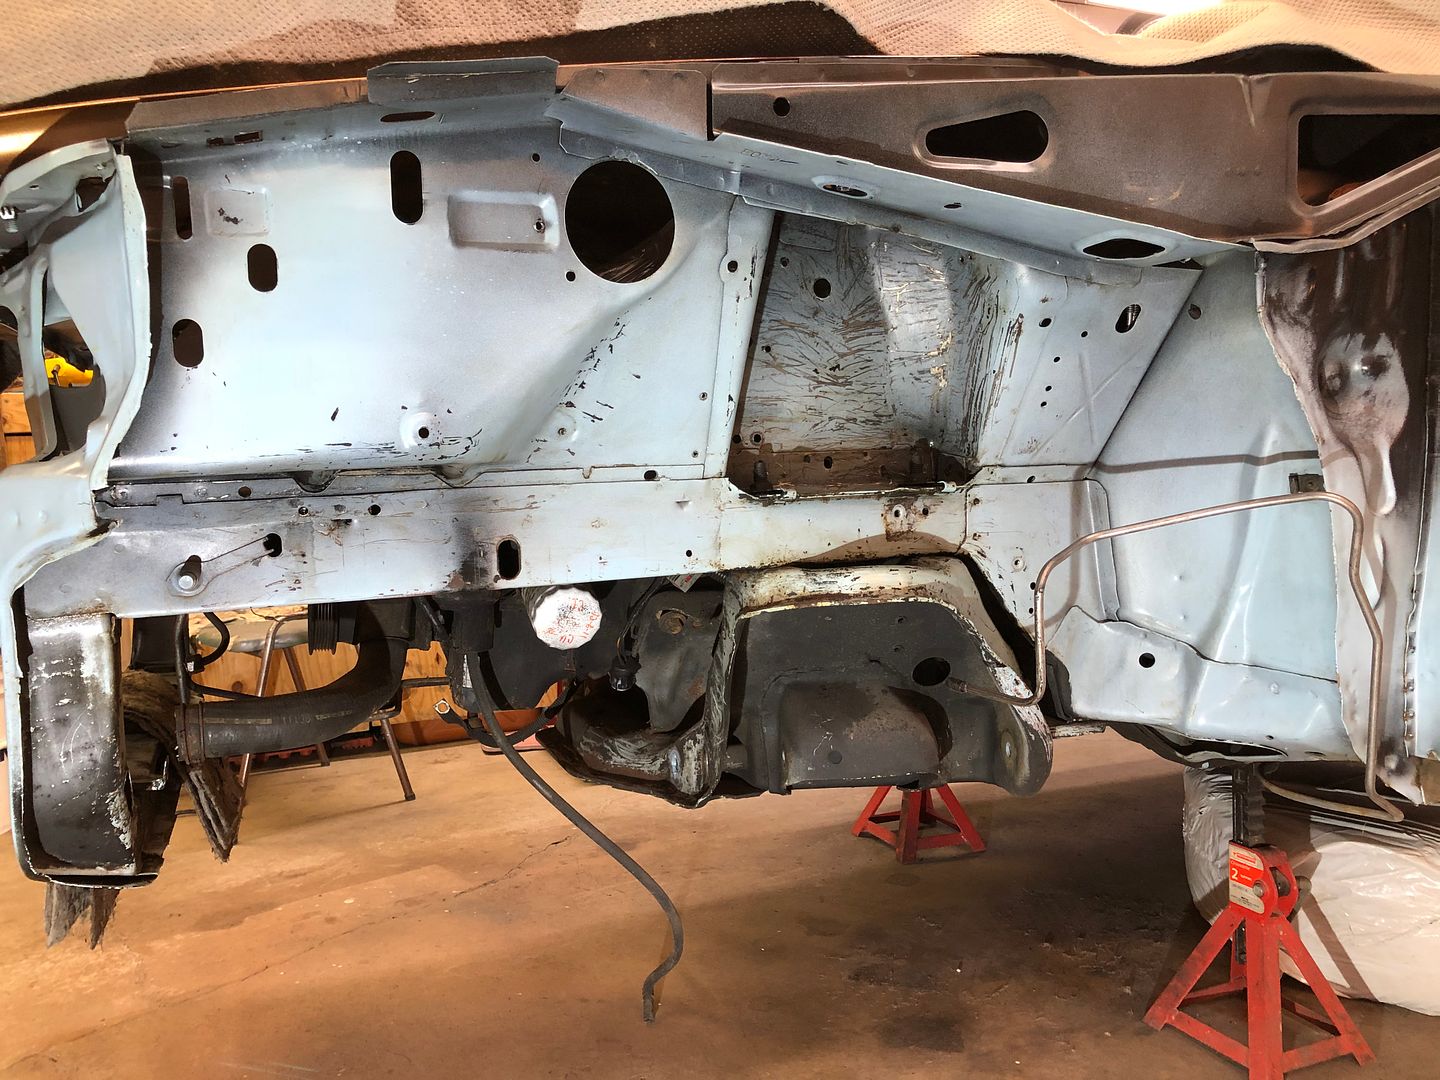
Overall really good shape other than that dent. As noted on other undercarriage parts, there was the start of some rusting on the lower front under where splash shield and front cover meet. Just on the drivers side though.
Driver side:
https://s1337.photobucket.com/user/8...qkkqj.jpg.html
https://s1337.photobucket.com/user/8...8yltc.jpg.html
https://s1337.photobucket.com/user/8...n9fwf.jpg.html
https://s1337.photobucket.com/user/8...sjscw.jpg.html
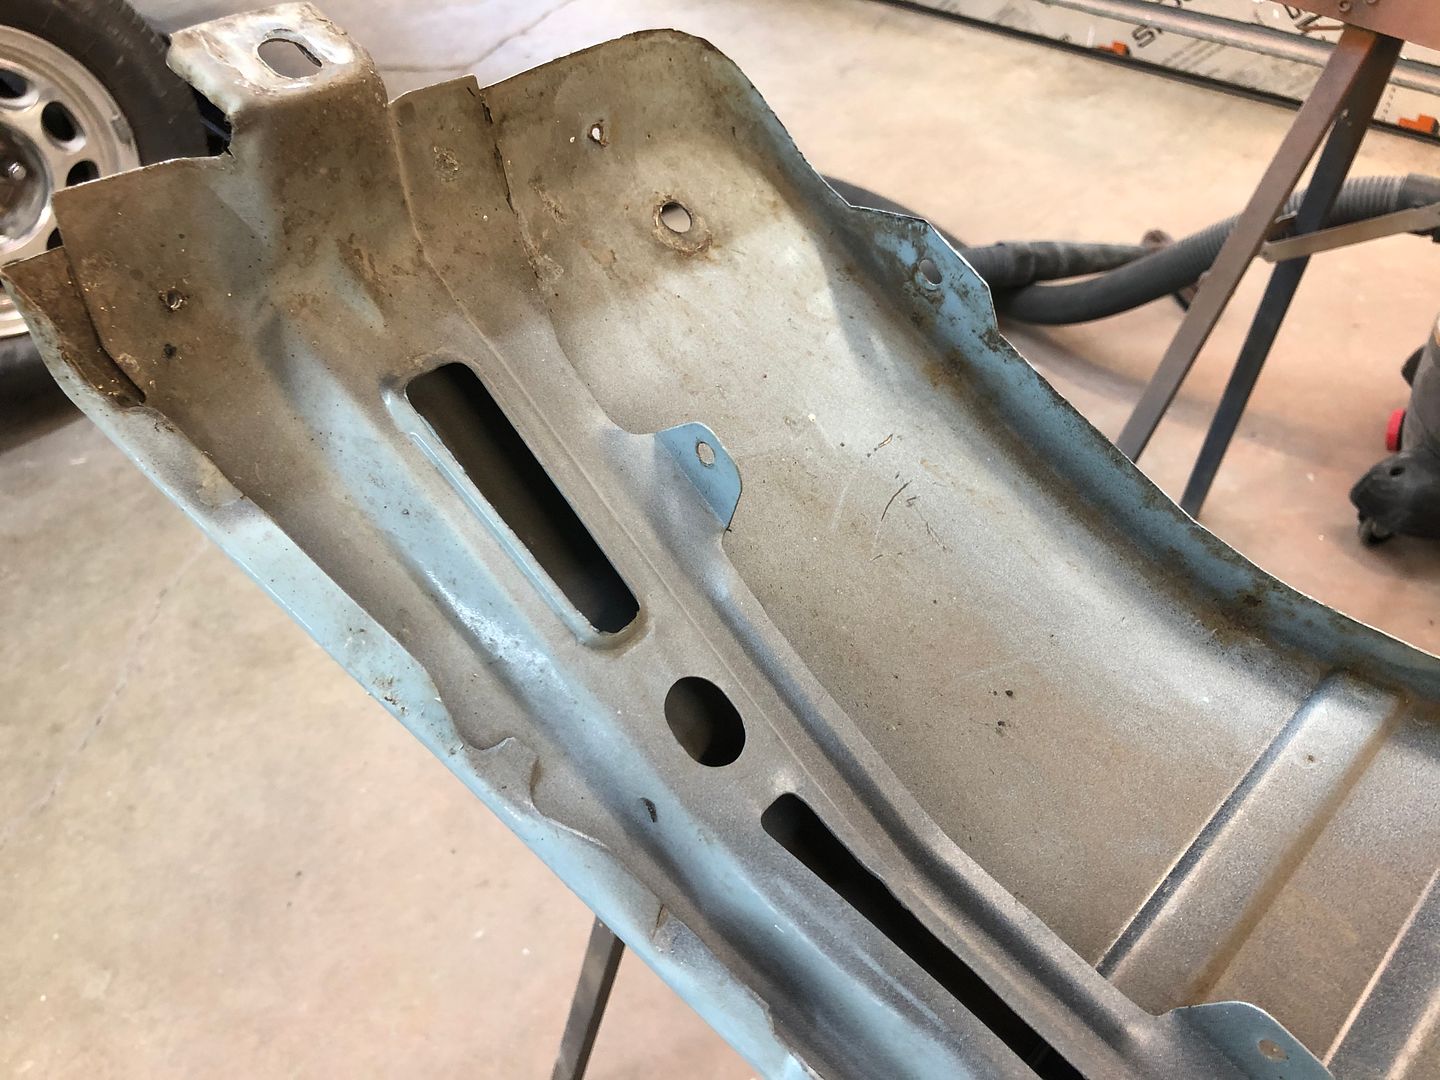
Passenger side is cleaner and less of that rusting:
https://s1337.photobucket.com/user/8...xoaeo.jpg.html
https://s1337.photobucket.com/user/8...ghlgy.jpg.html
https://s1337.photobucket.com/user/8...06zhw.jpg.html

 Reply With Quote
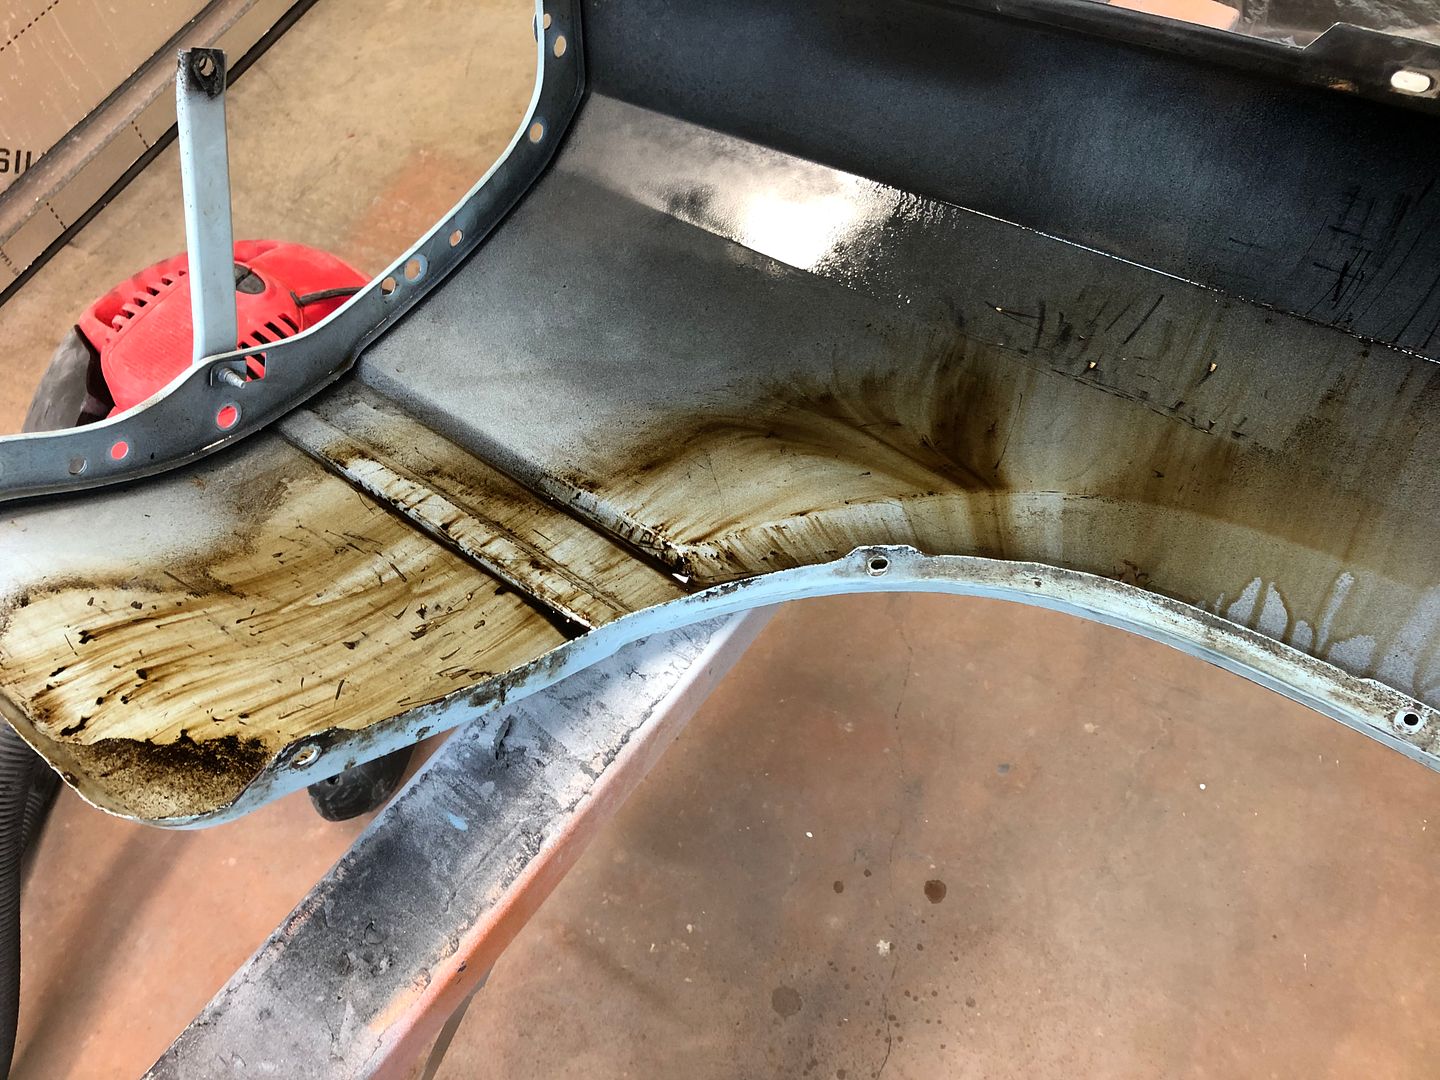

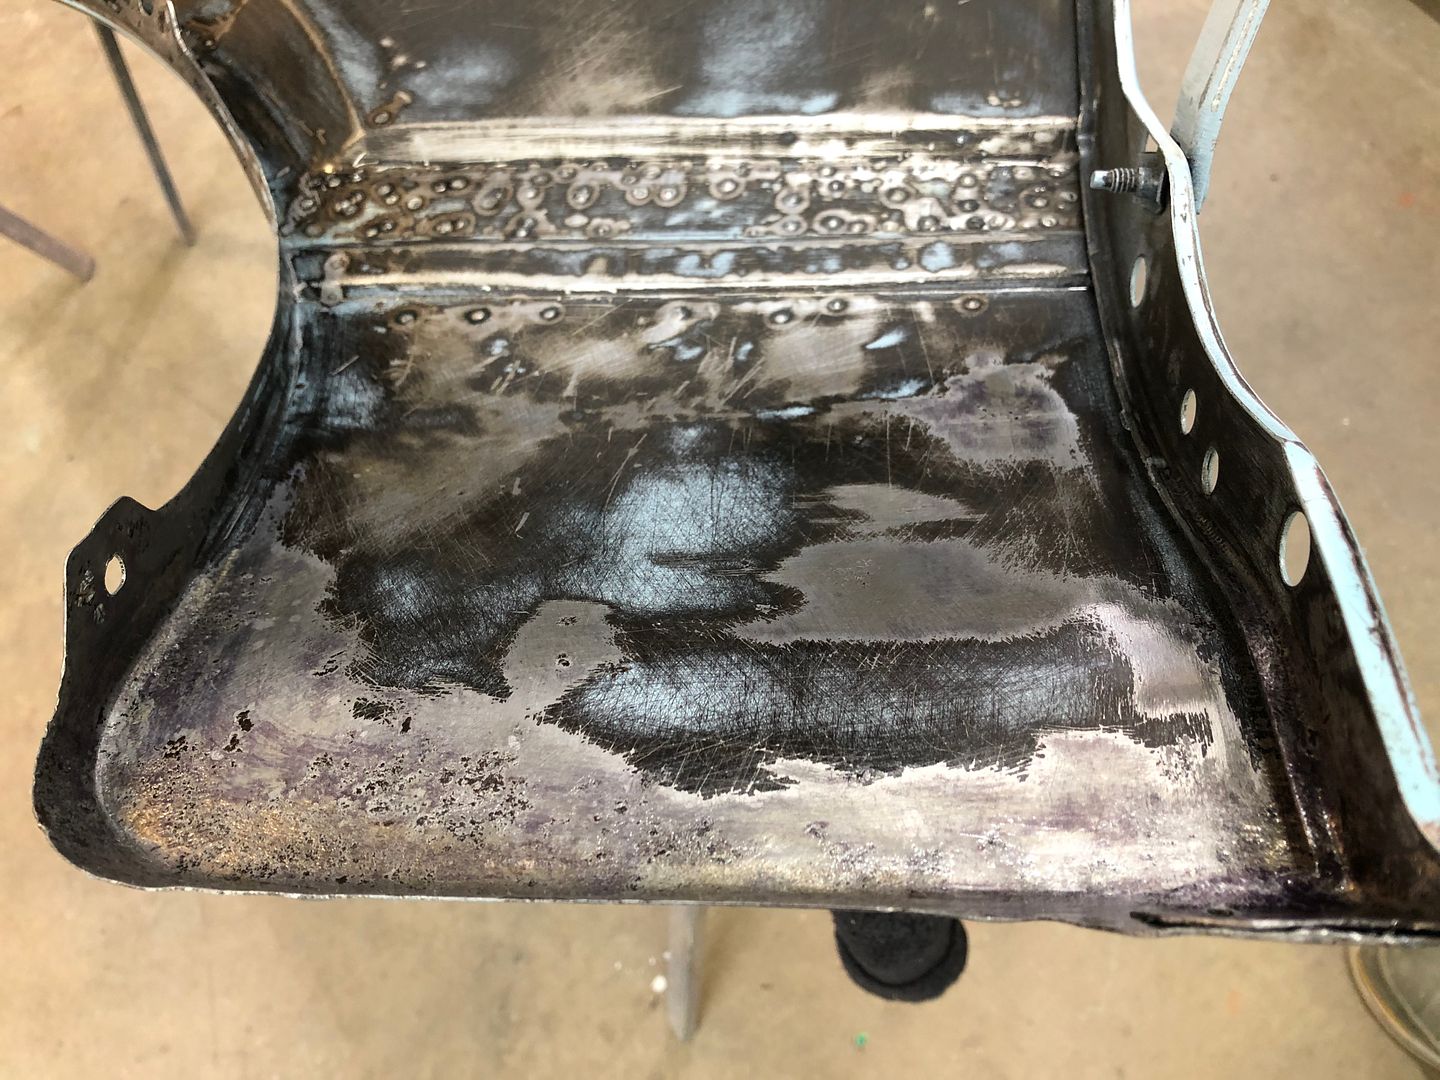


 Pics can't show that though
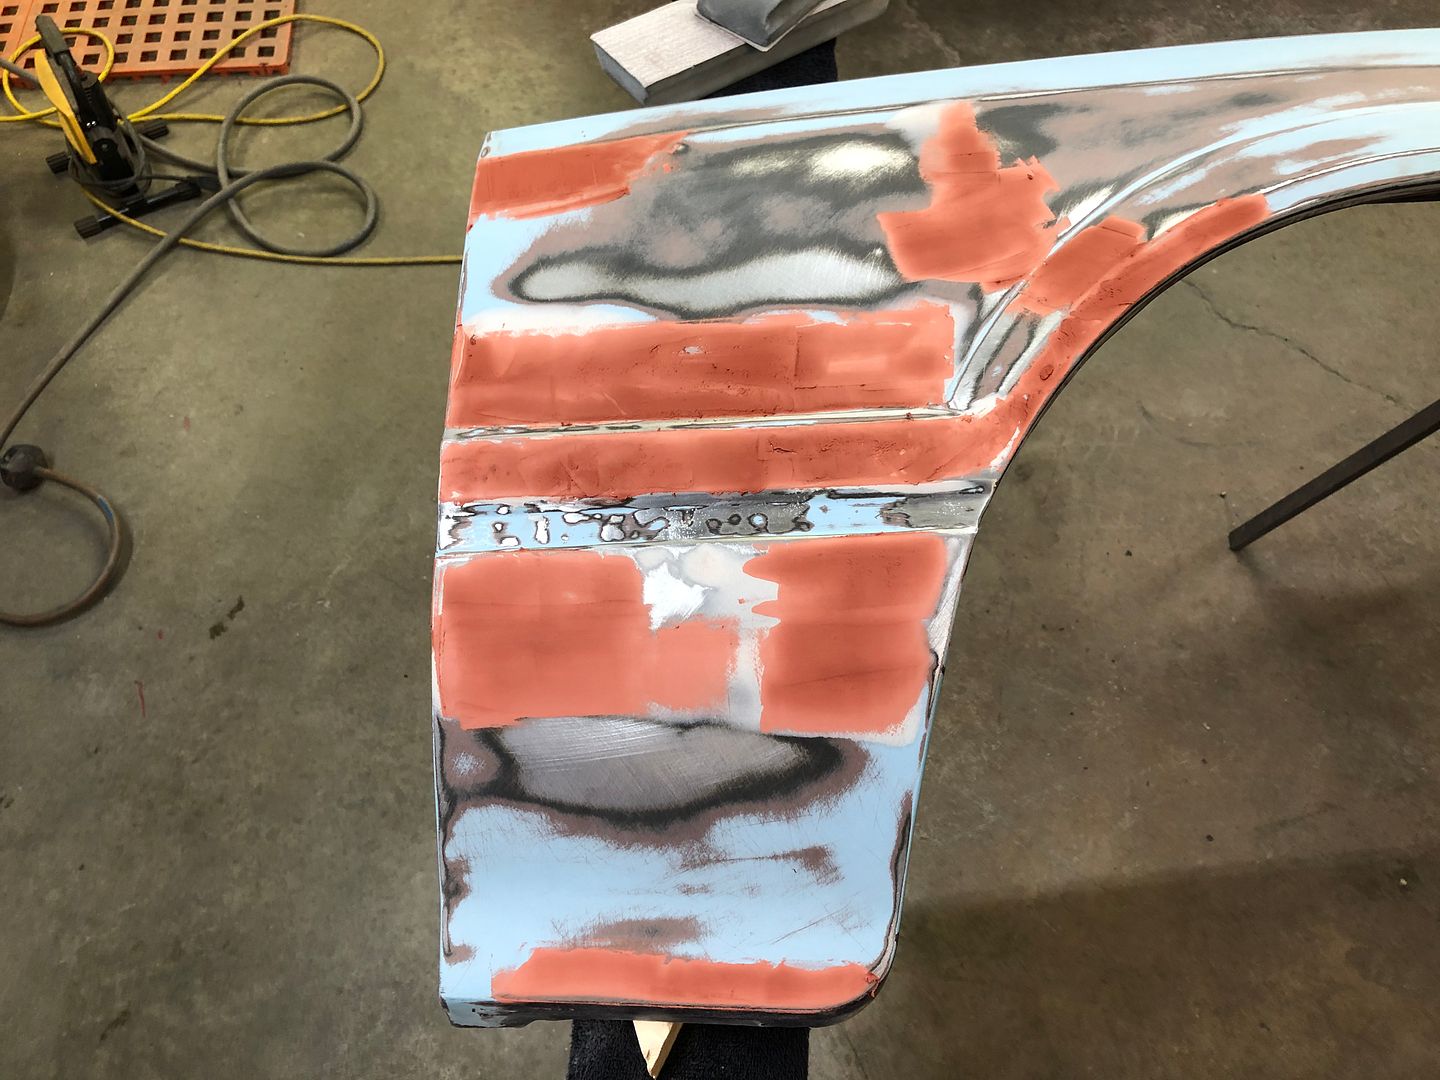
 What's dozens more hours to removing undercoating?
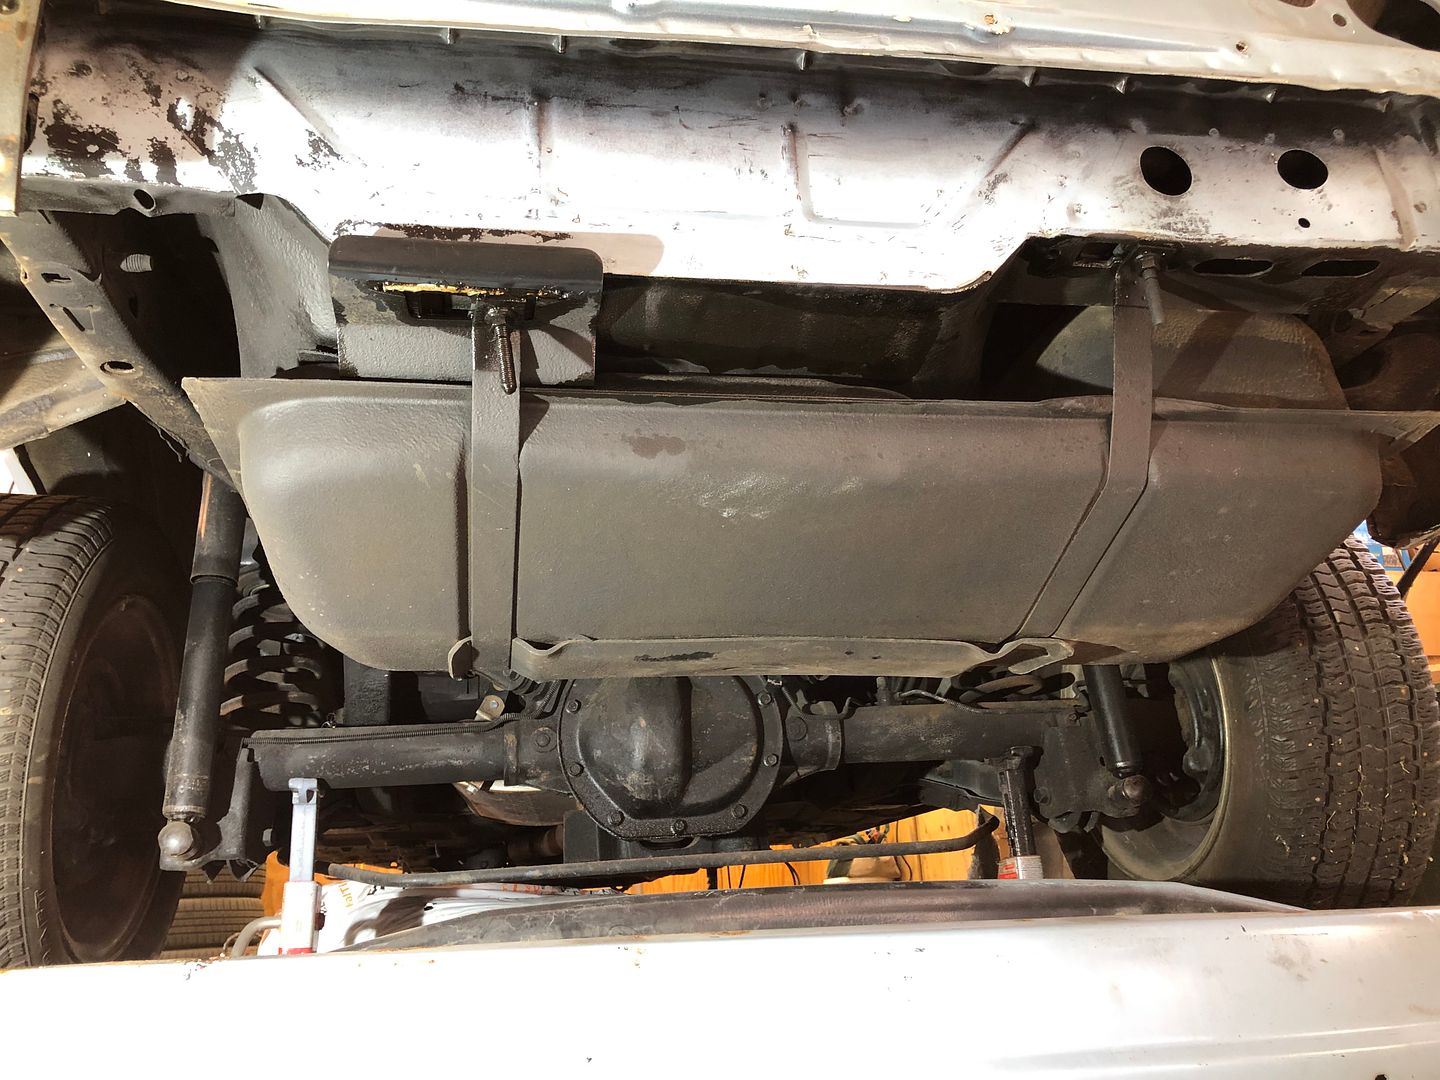

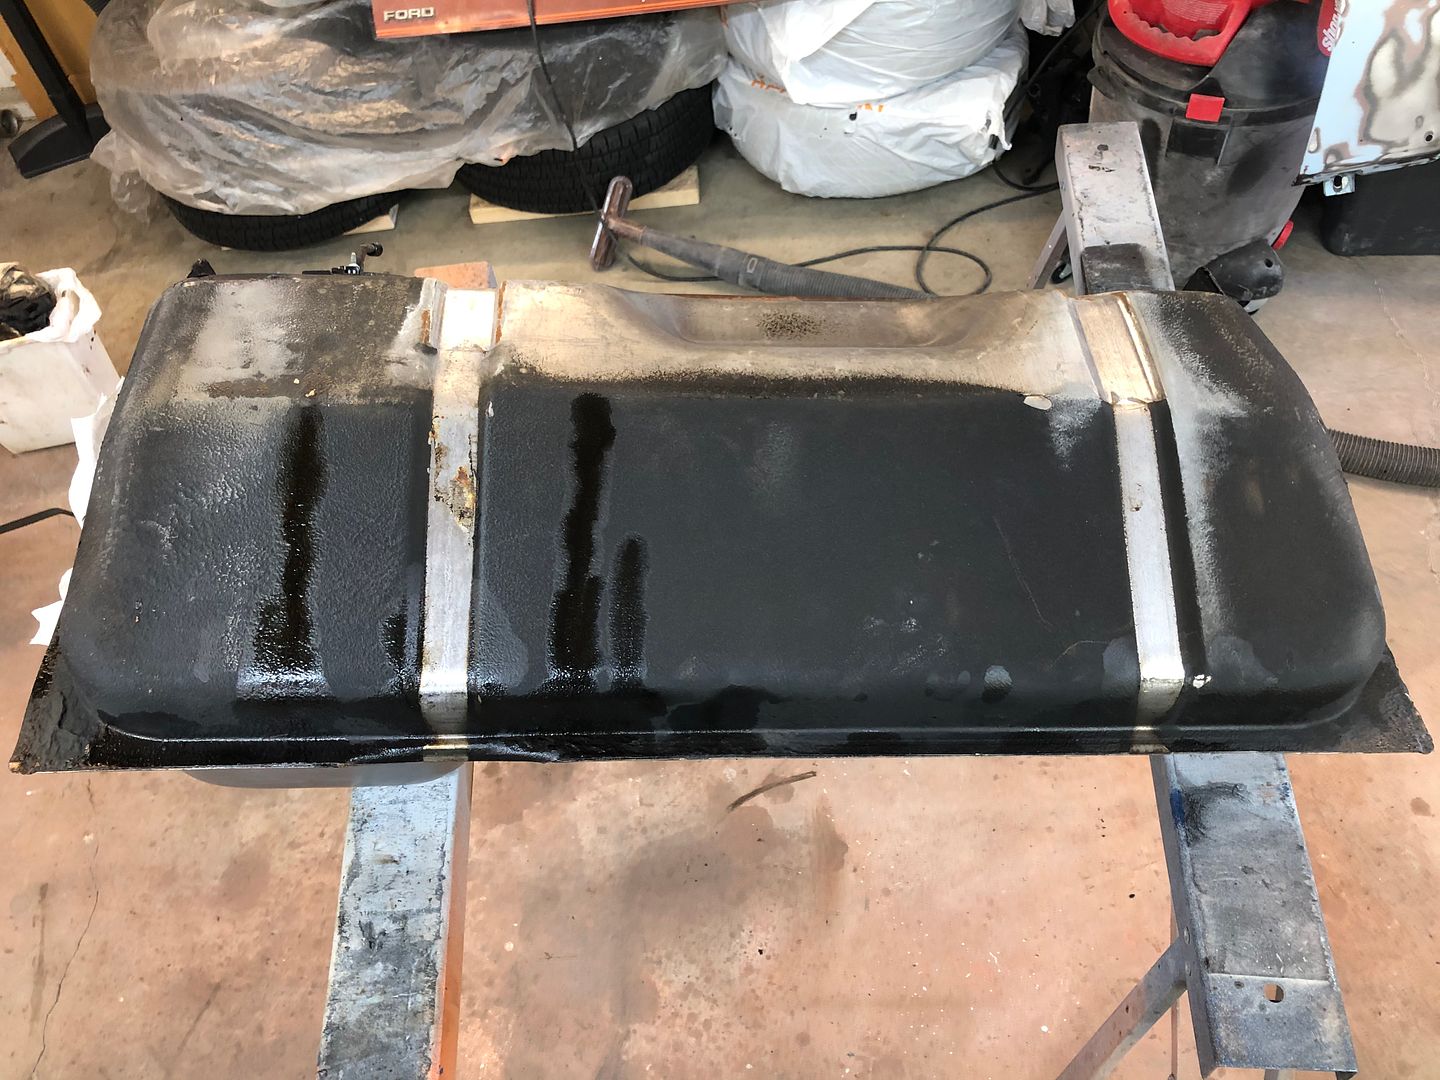
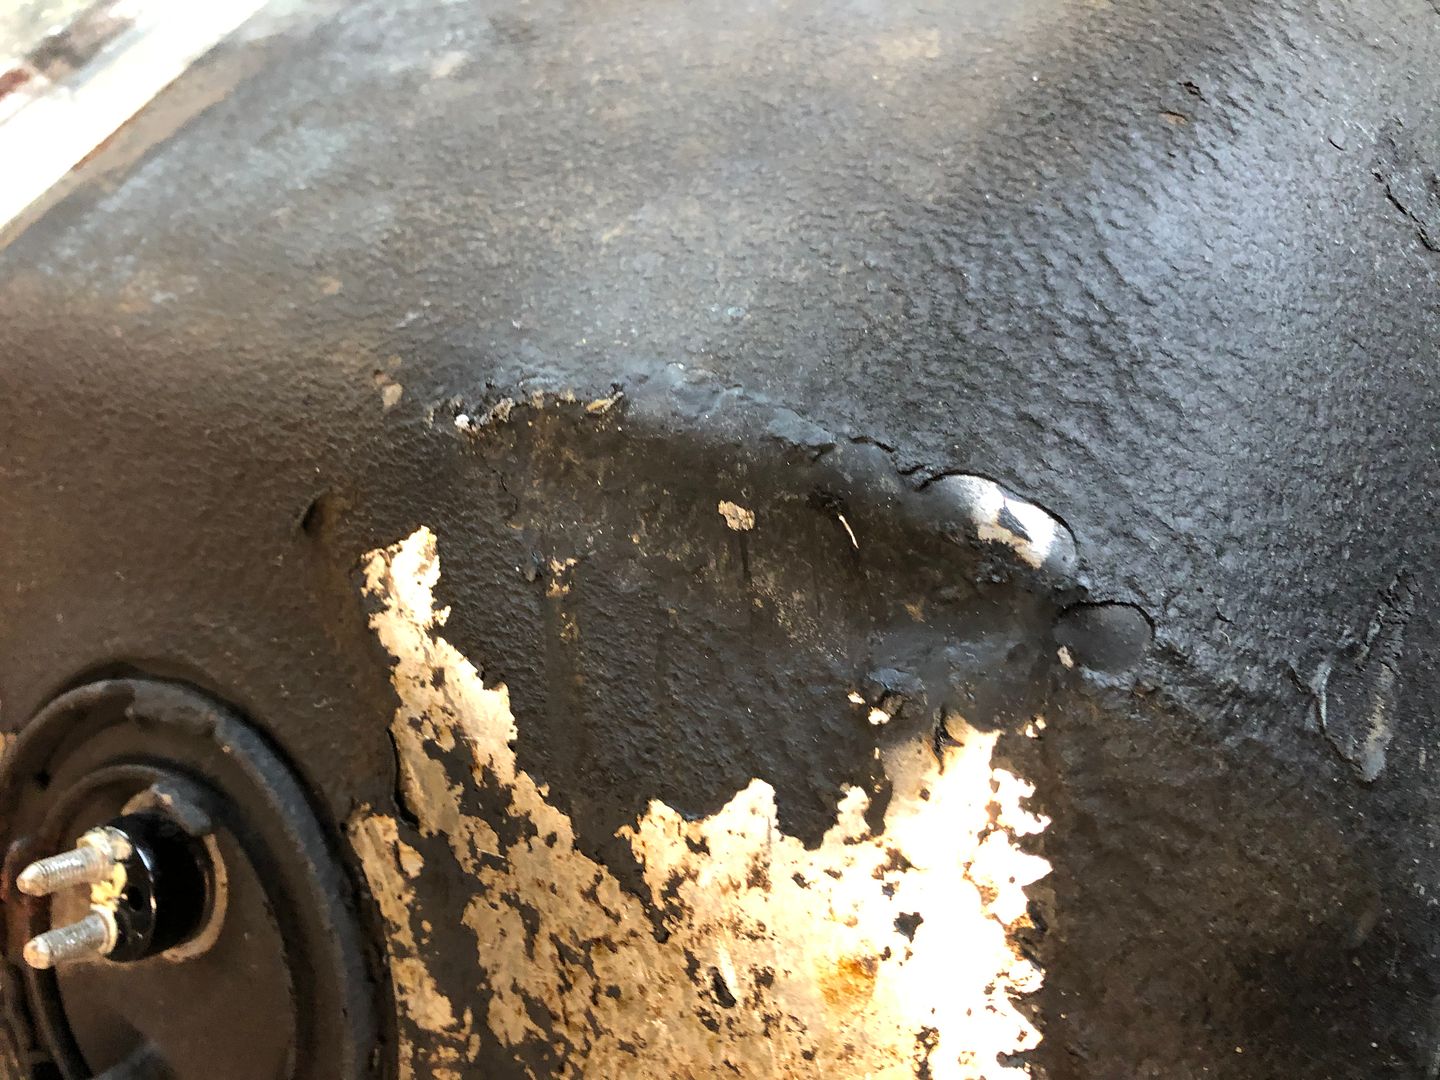
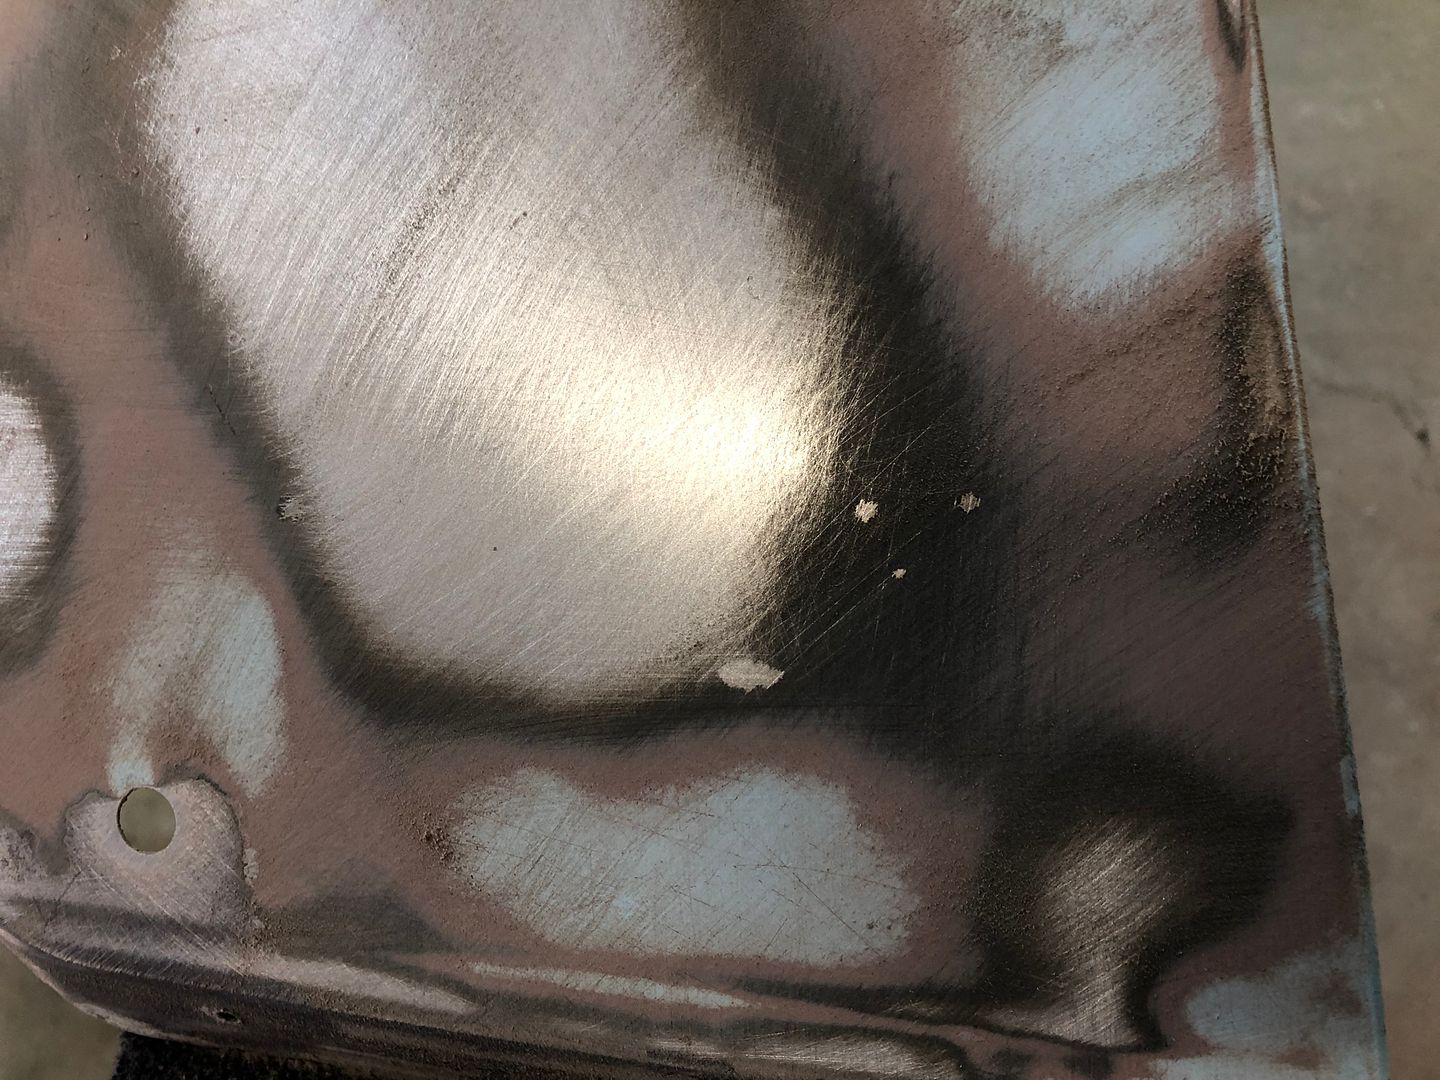
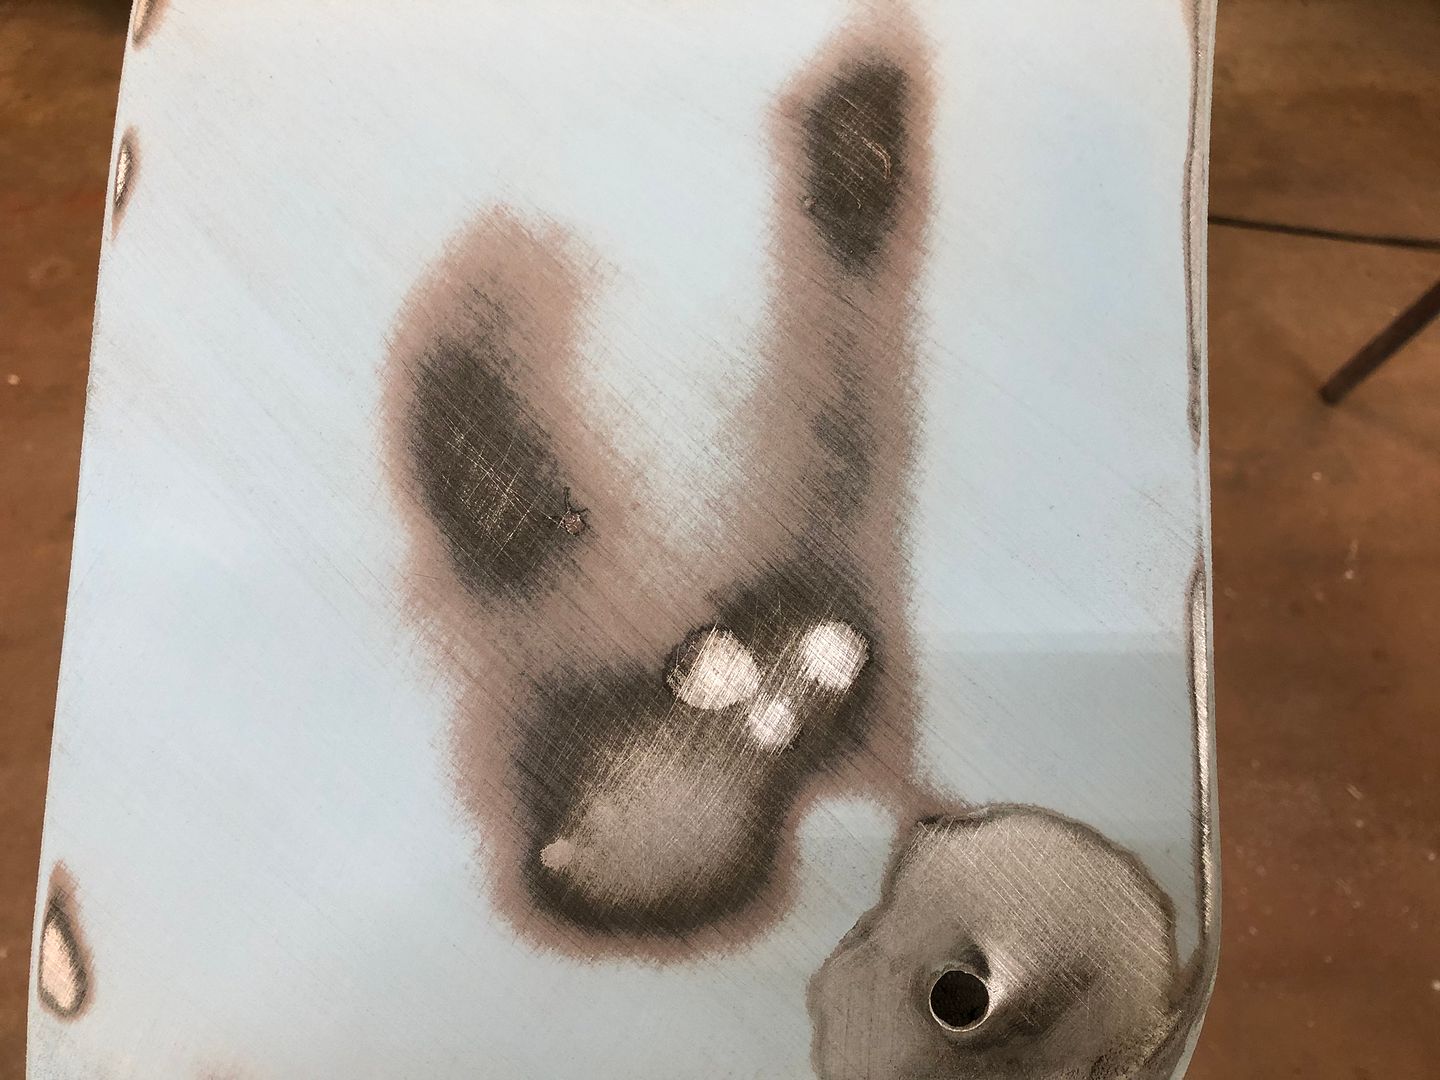
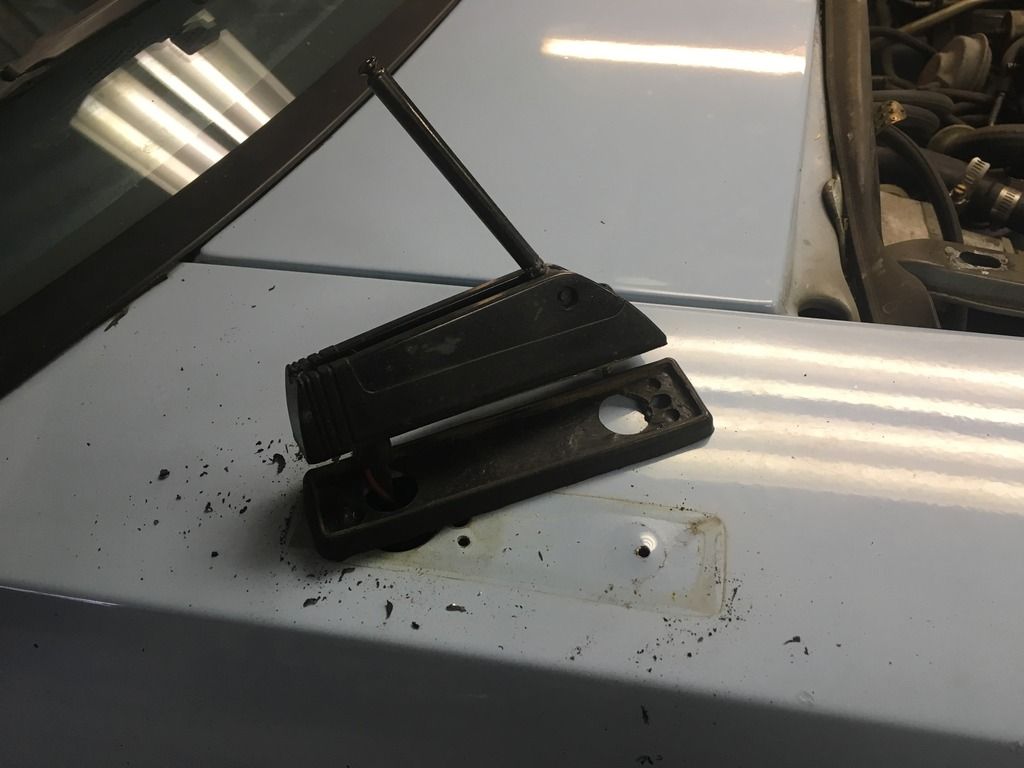
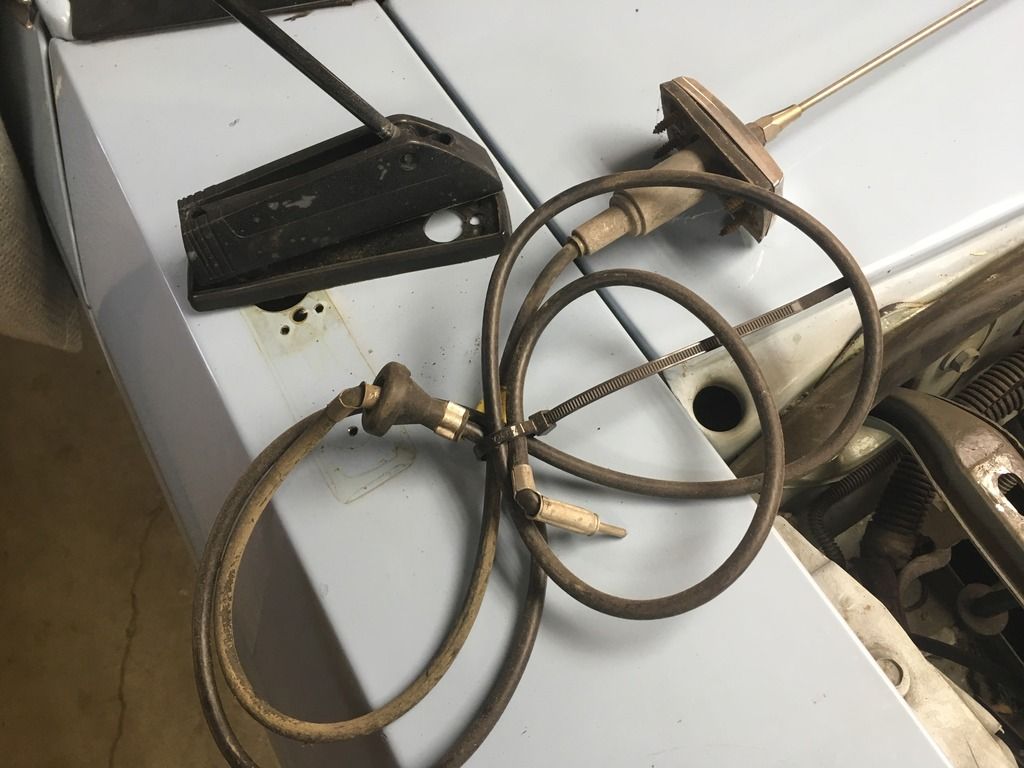
 I knew not to go overboard with hard scraping to start. I wanted to be careful with any finishes underneath.
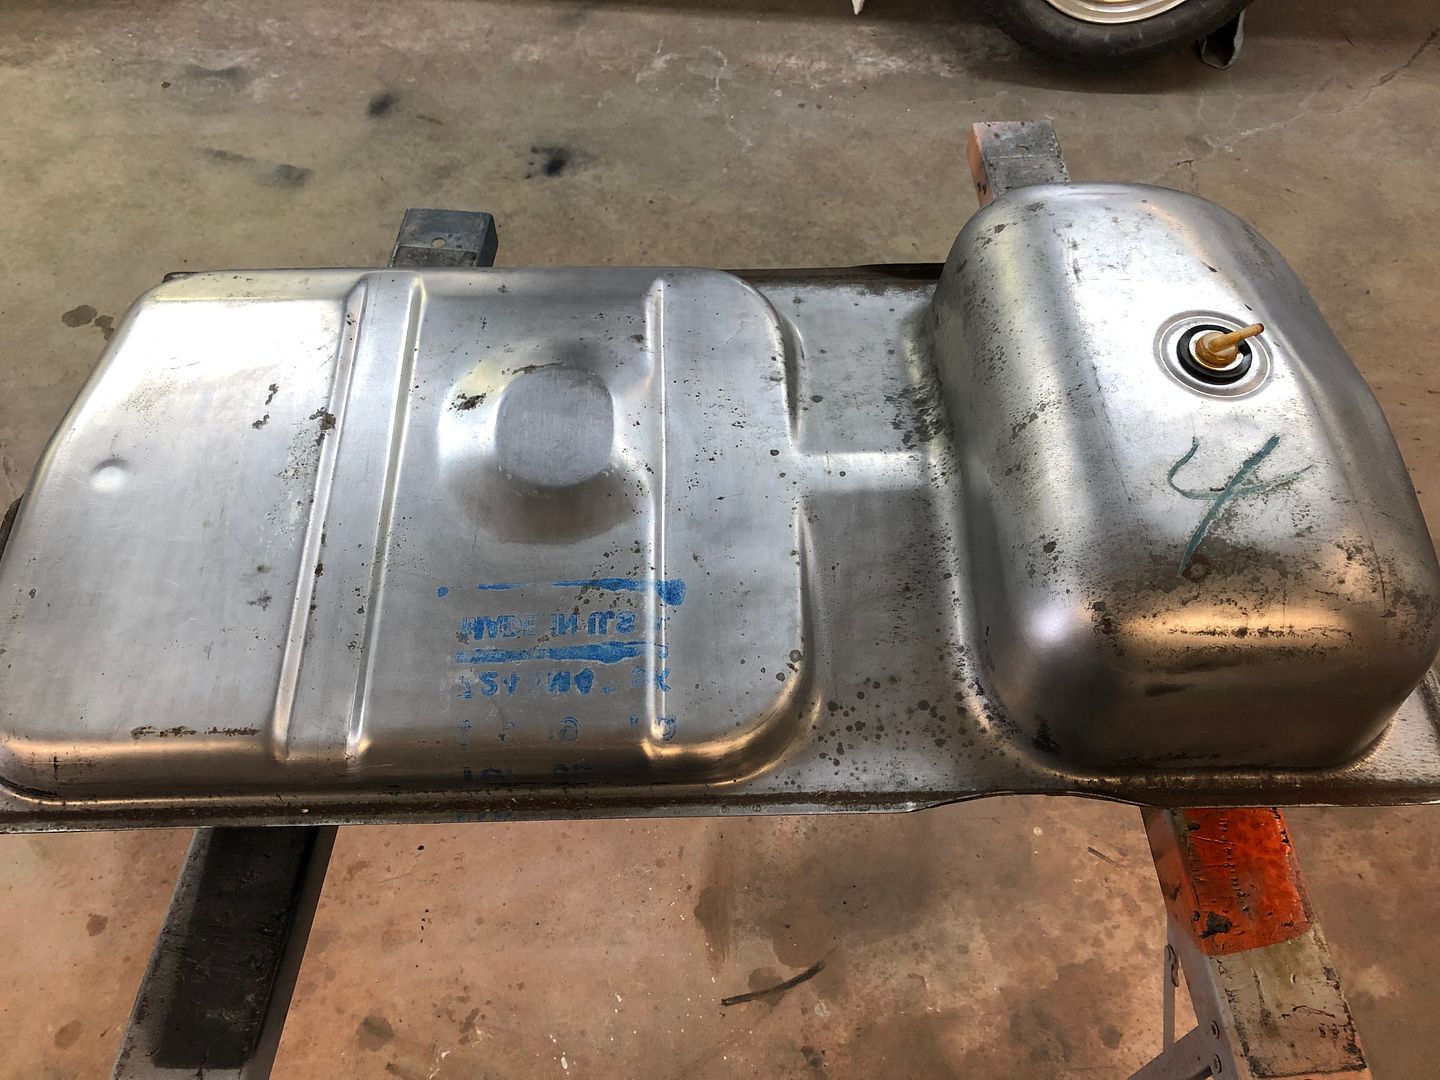


.JPG?width=1920&height=1080&fit=bounds)
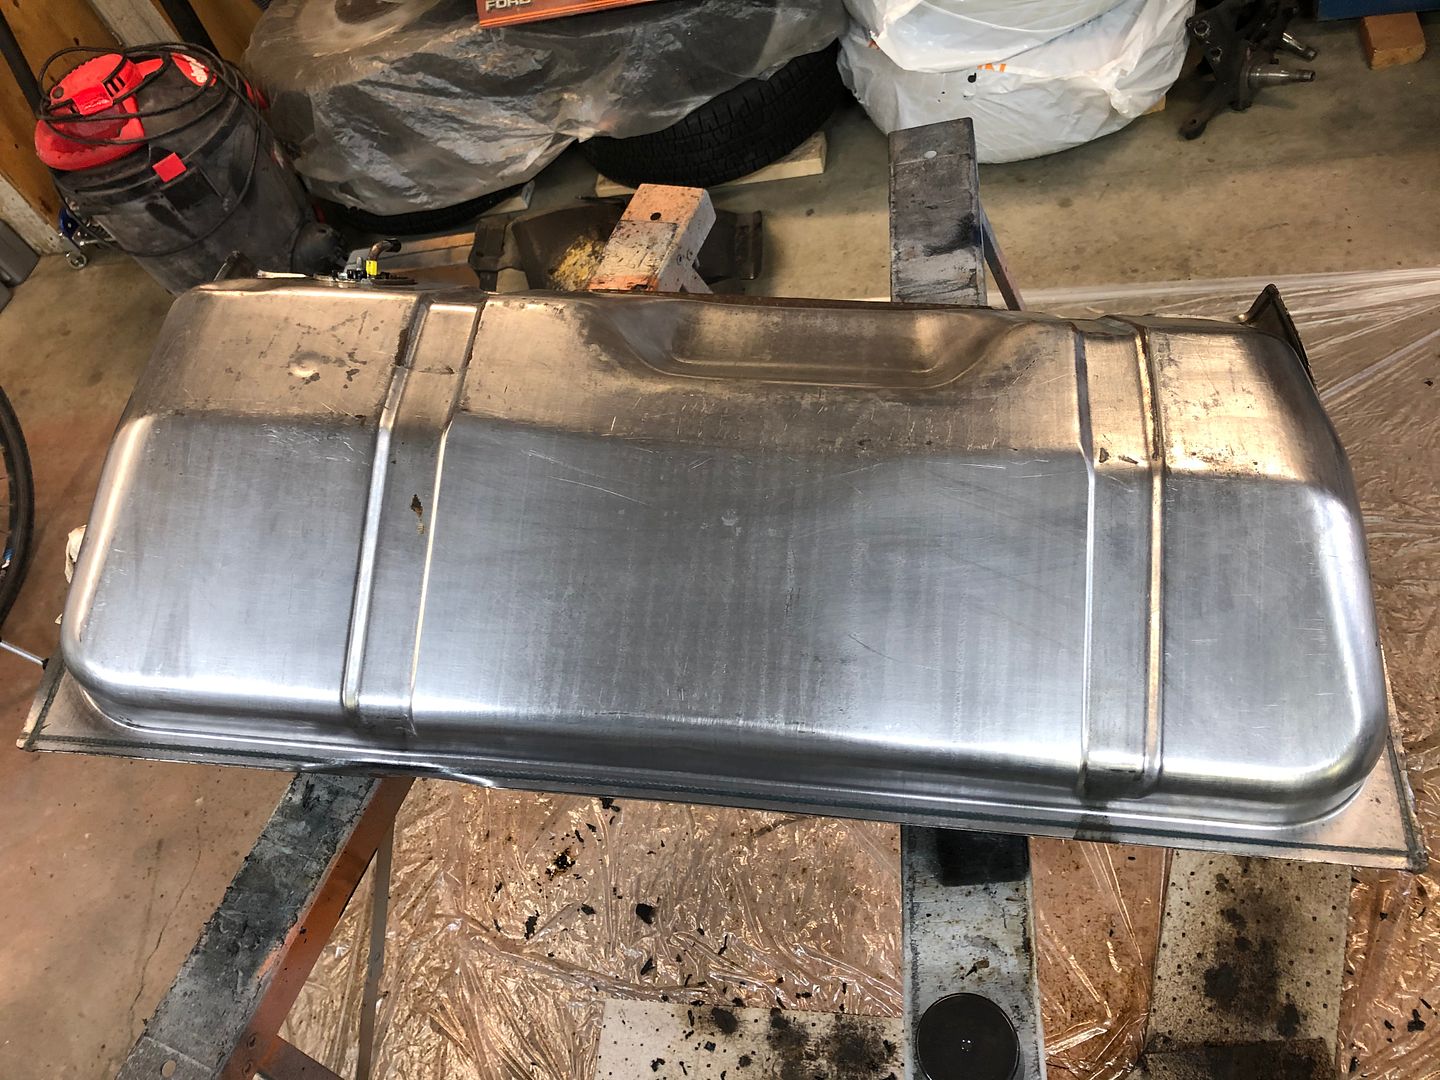
.JPG?width=1920&height=1080&fit=bounds)
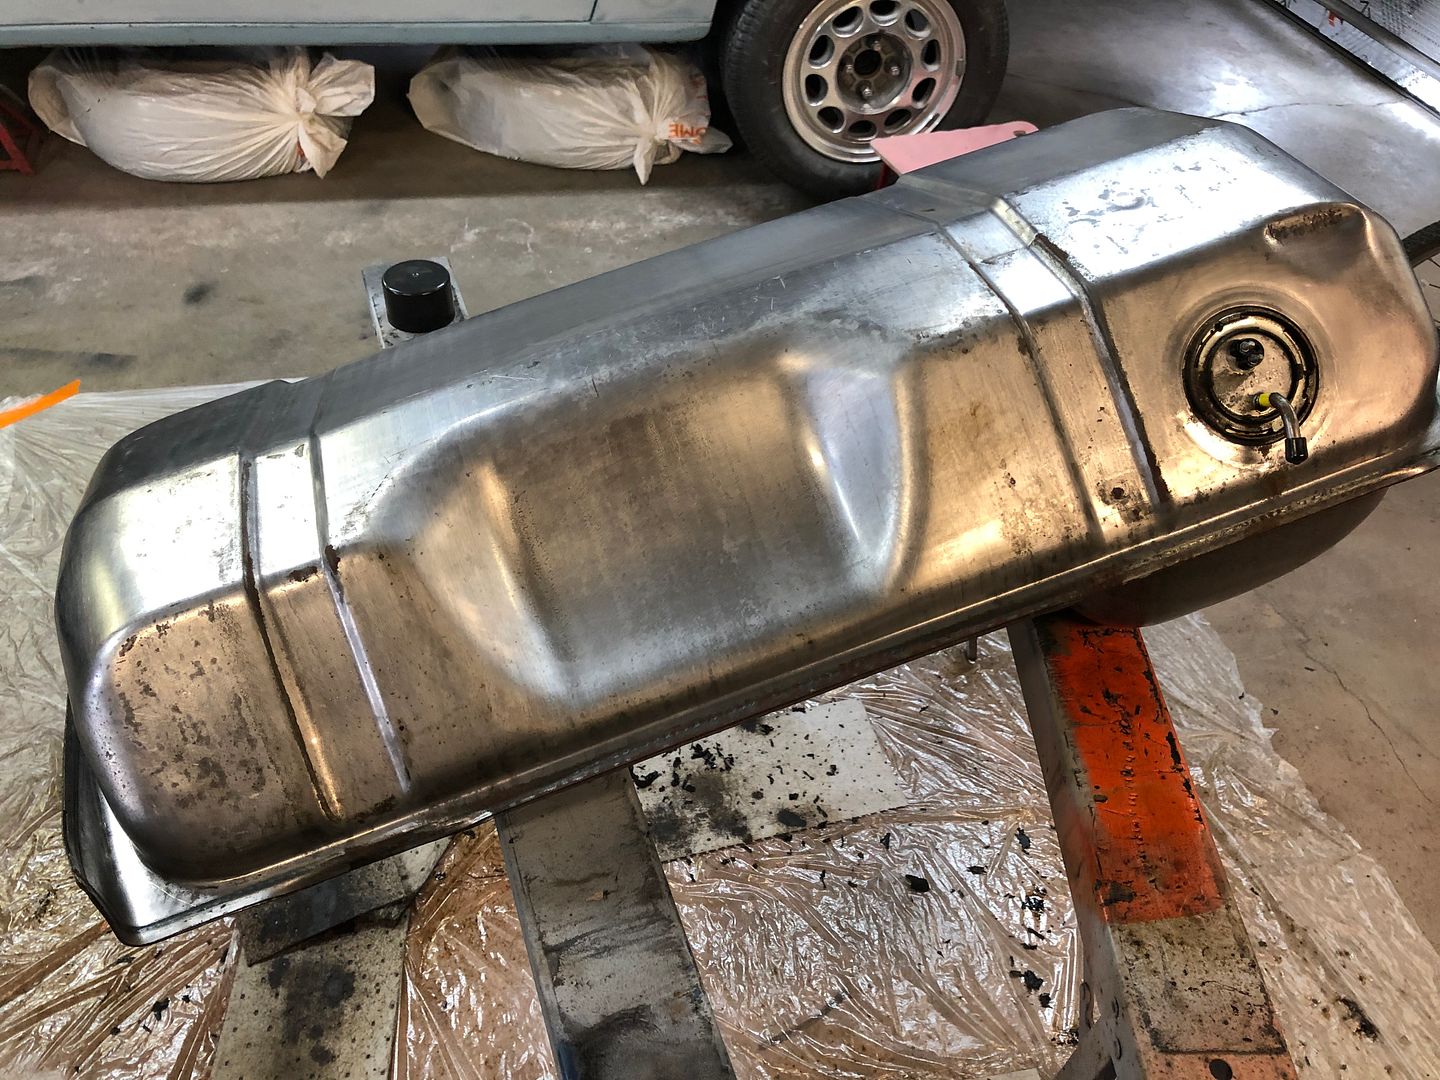
.JPG?width=1920&height=1080&fit=bounds)


Connect With Us