Close


Page 1 of 25 12311 ... LastLast
Results 1 to 25 of 606
  1. #1
    FEP Senior Member TeeJayTee's Avatar
    Join Date
    May 2012
    Location
    Minnesota
    Posts
    639

    Default '79 Fairmont Build

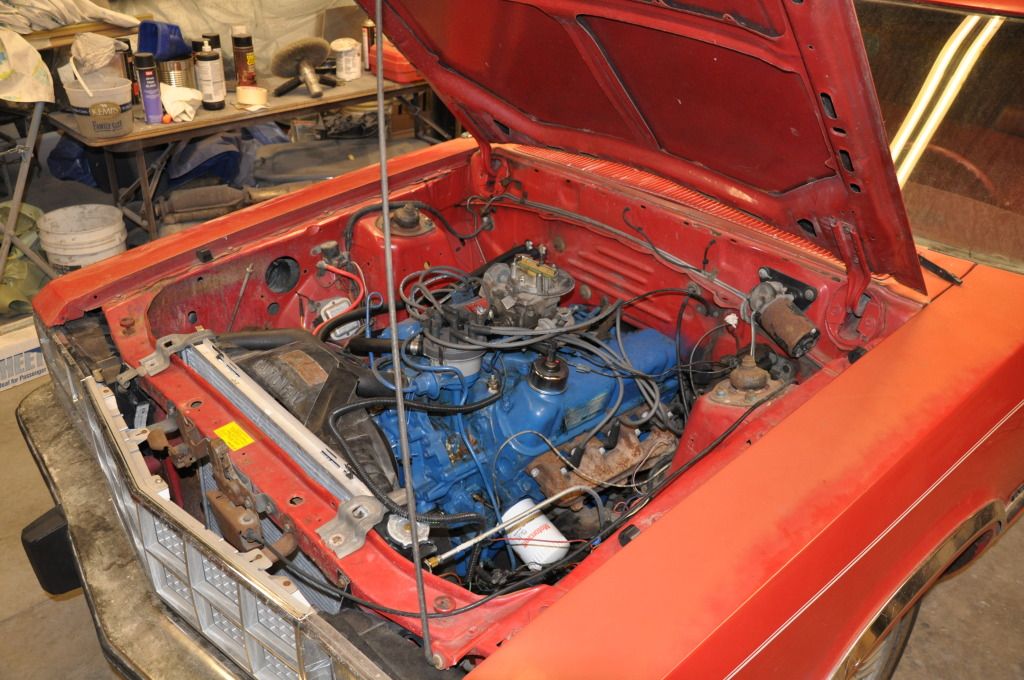
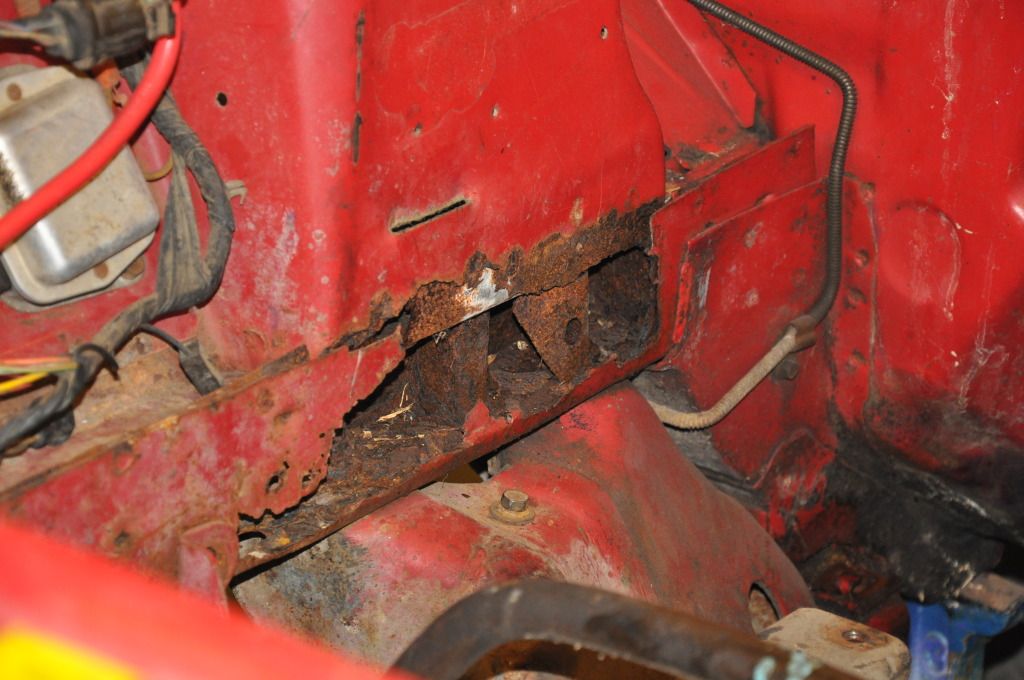
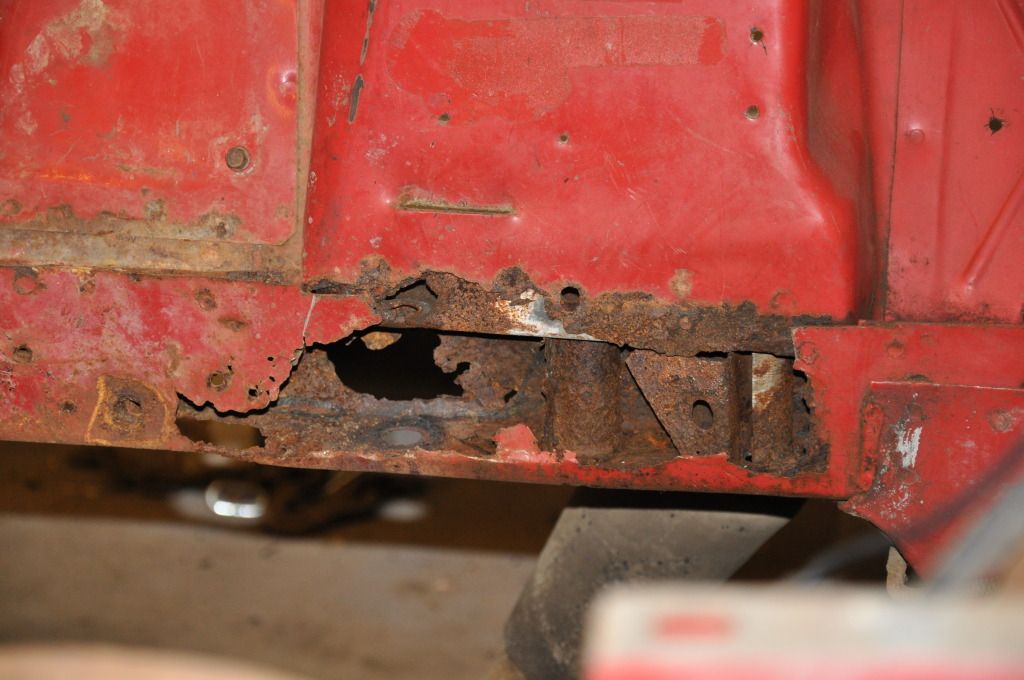
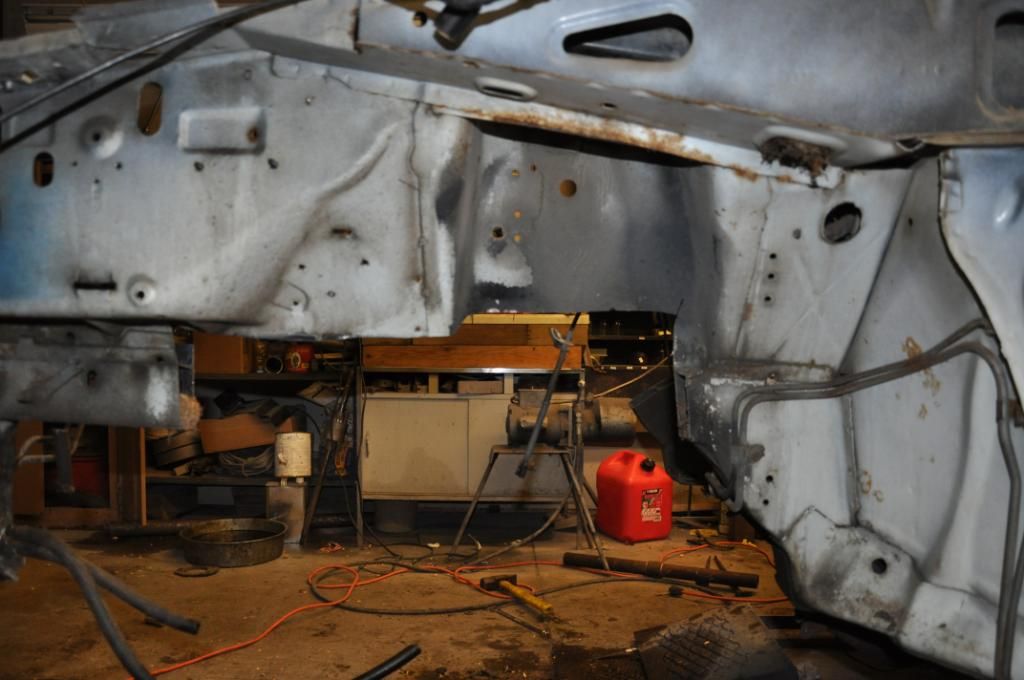
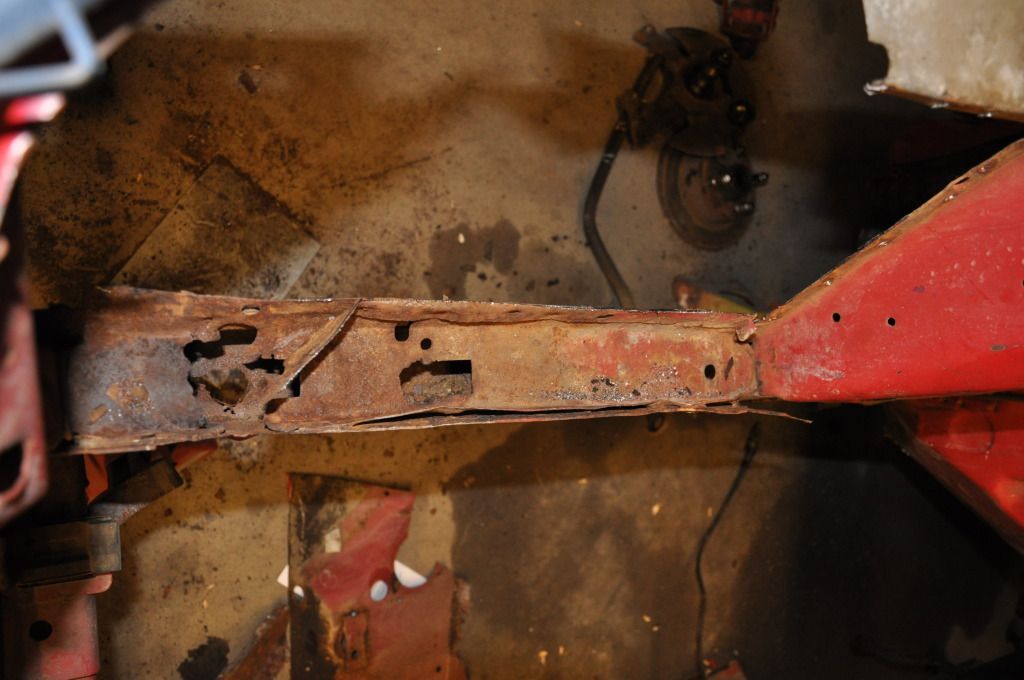
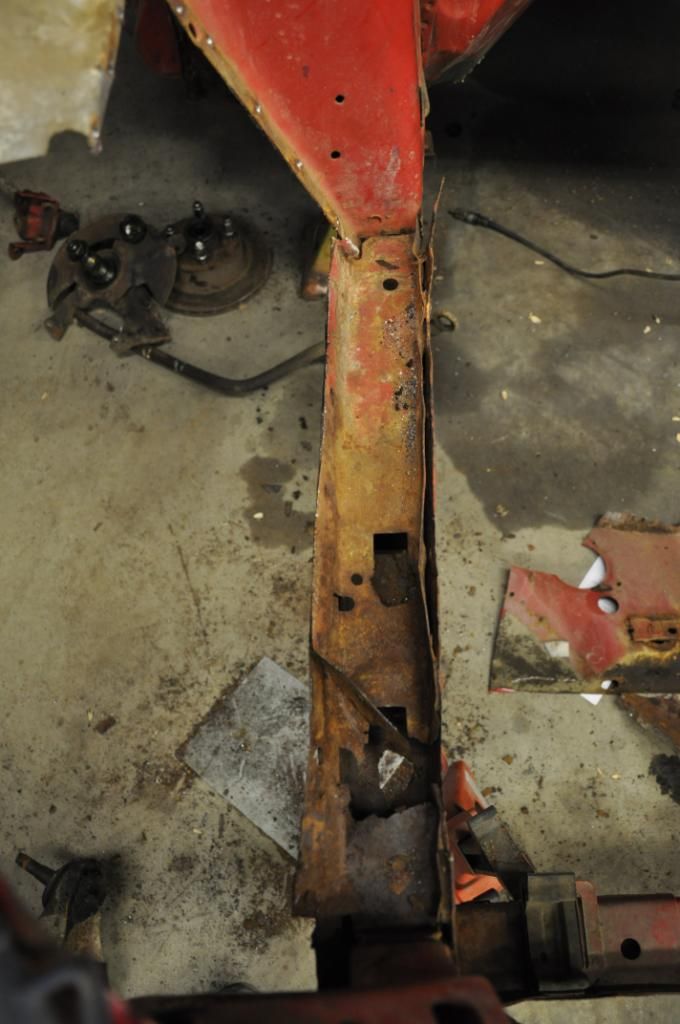
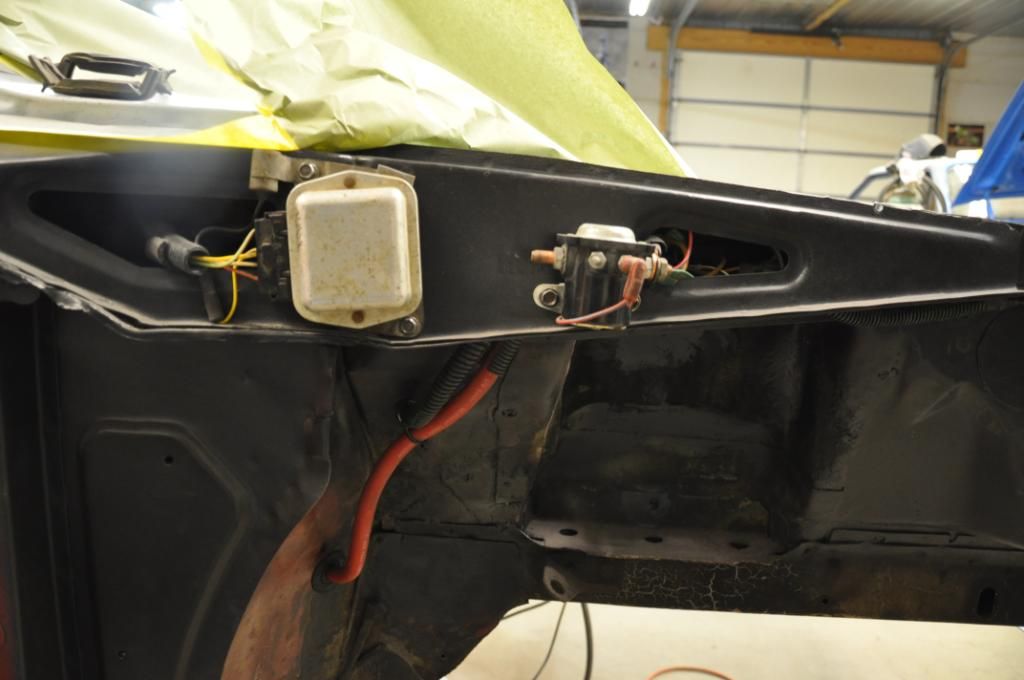
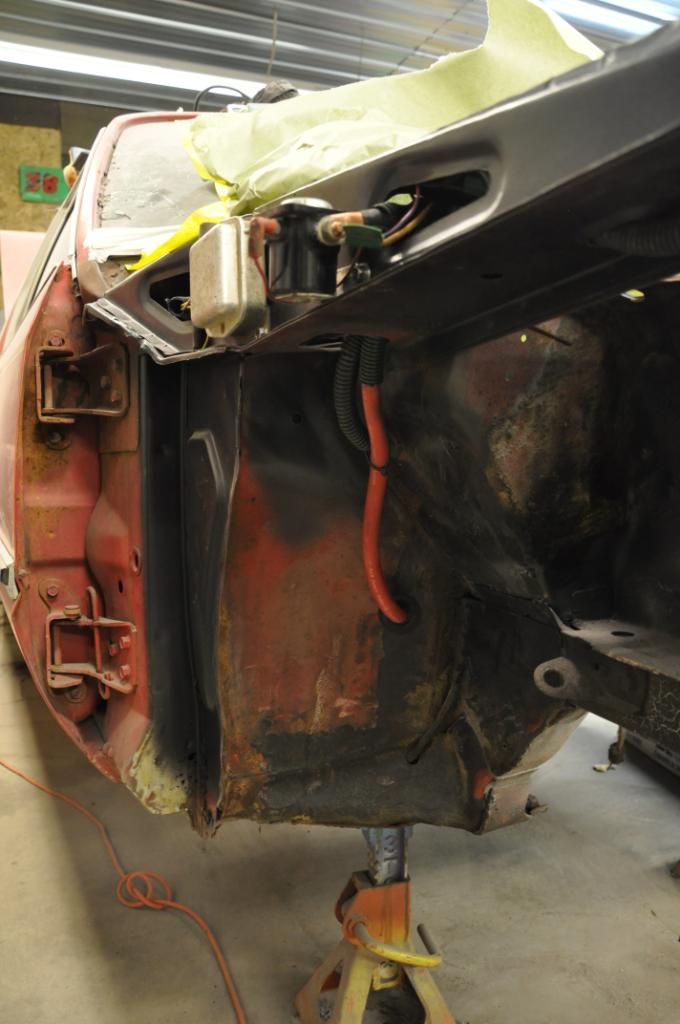
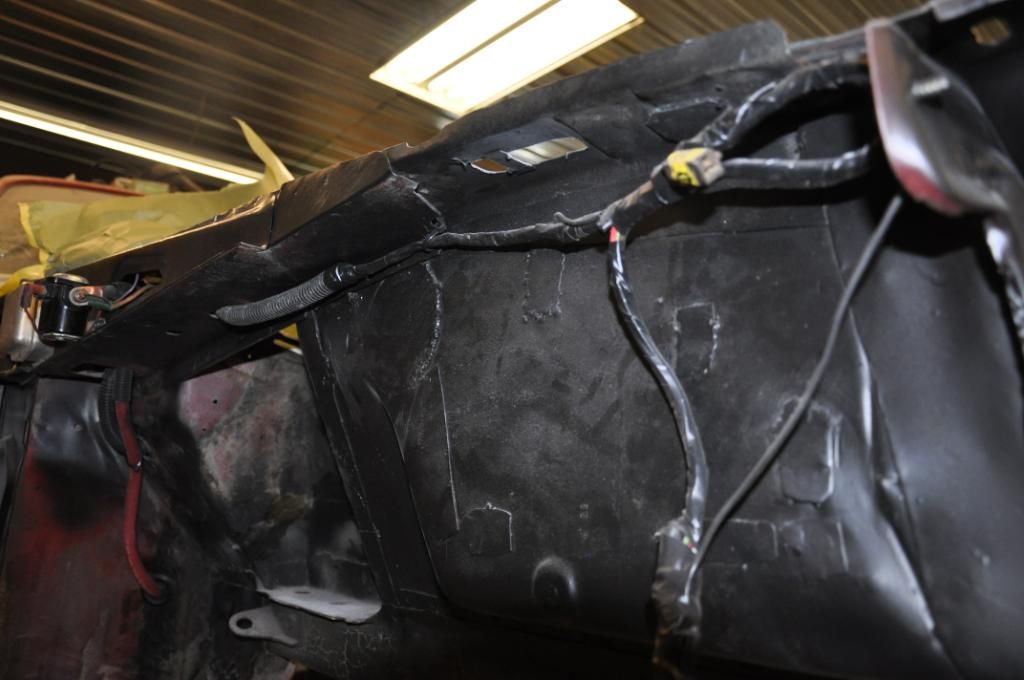
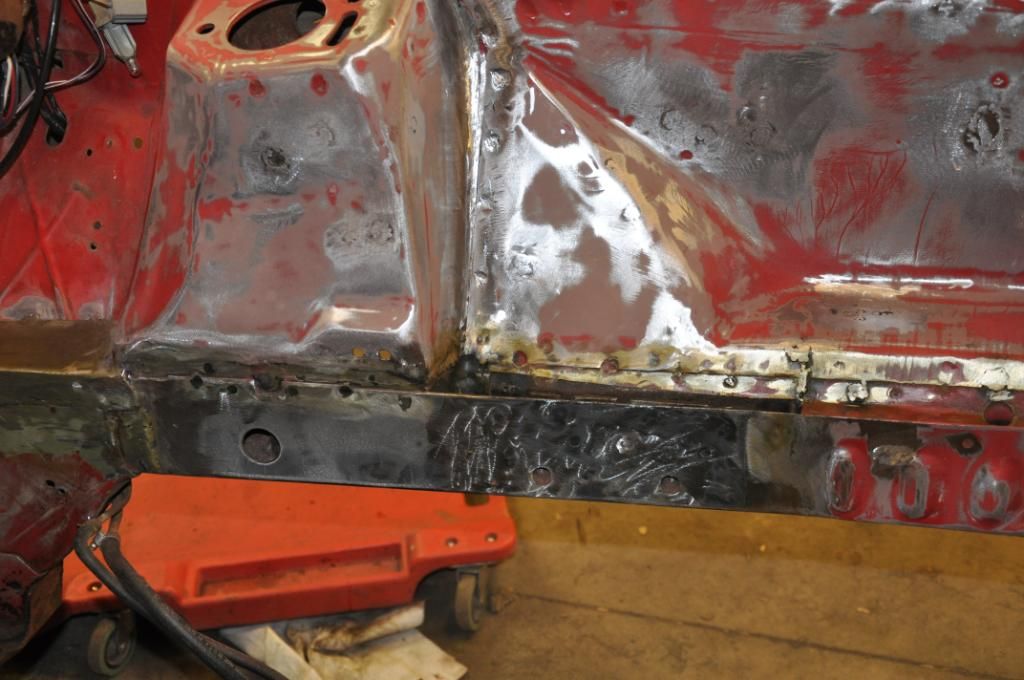
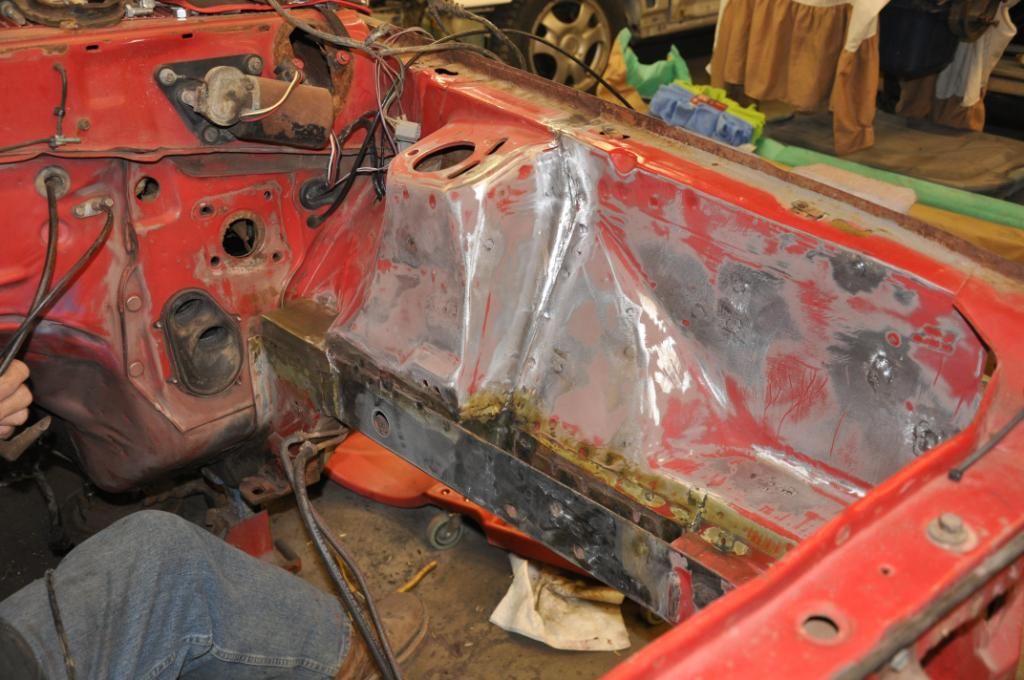
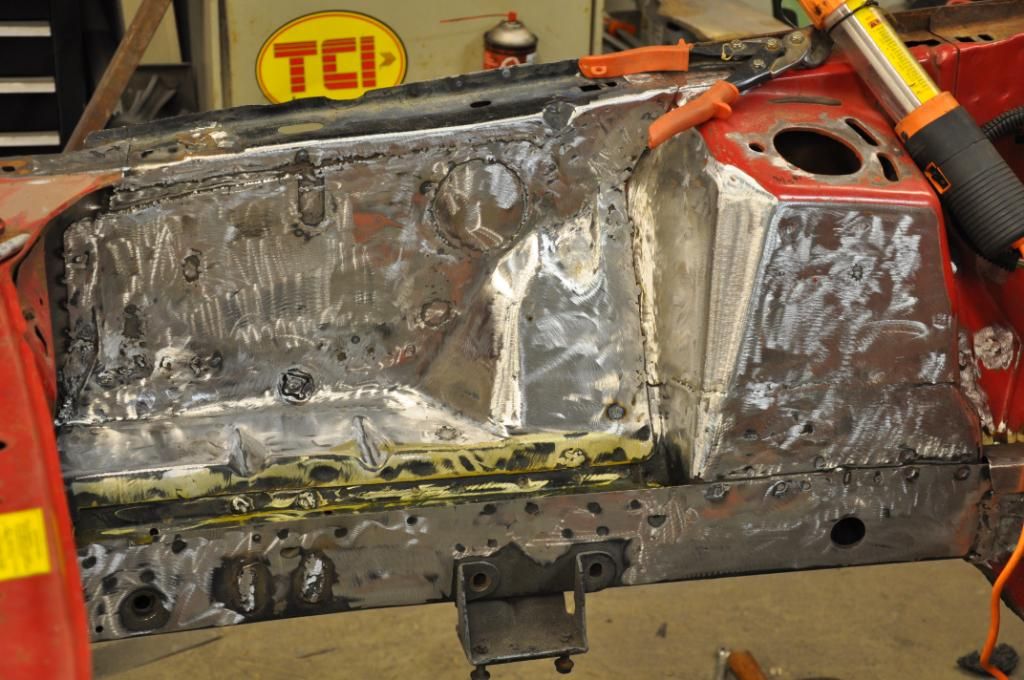
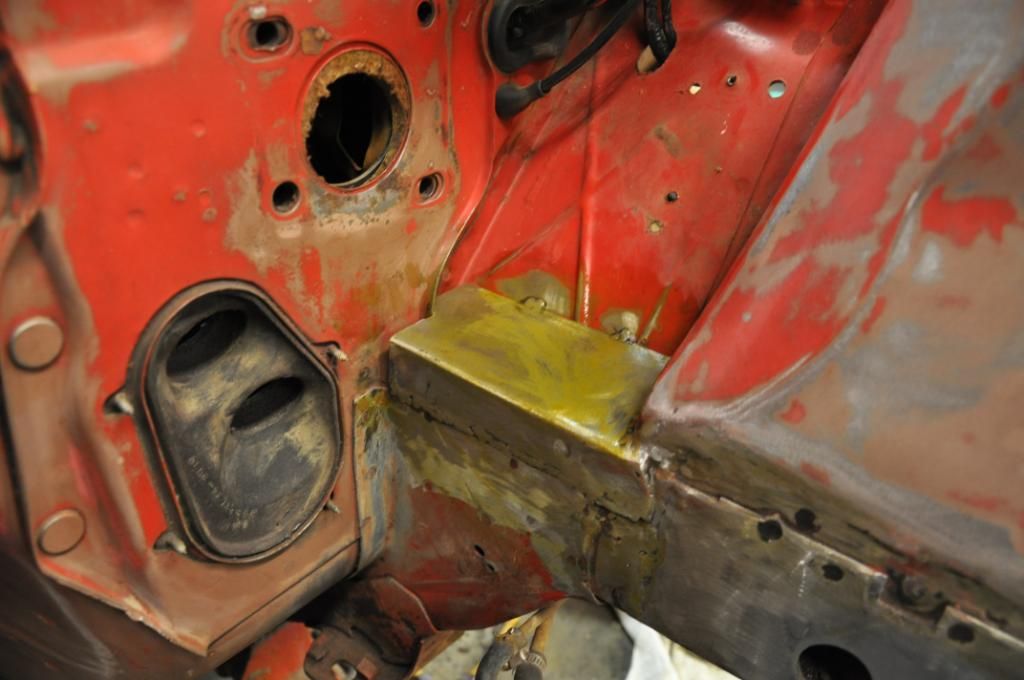
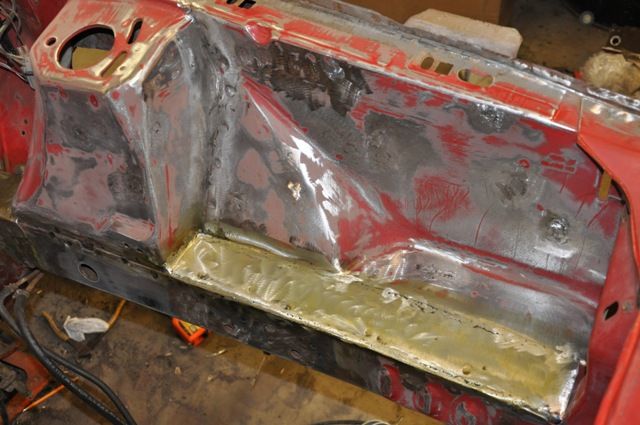
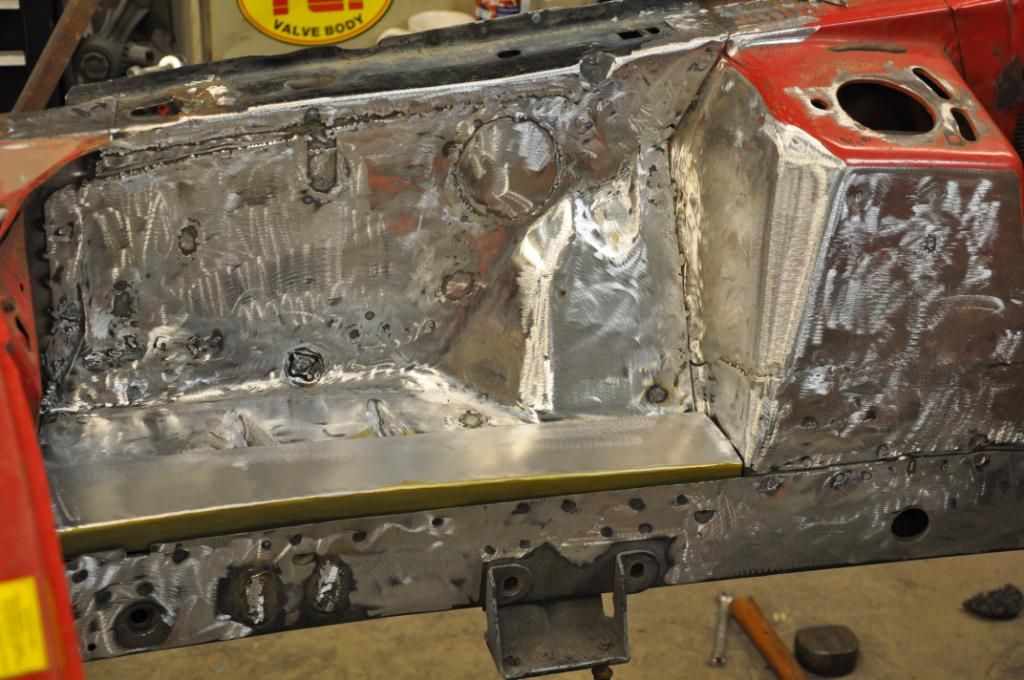
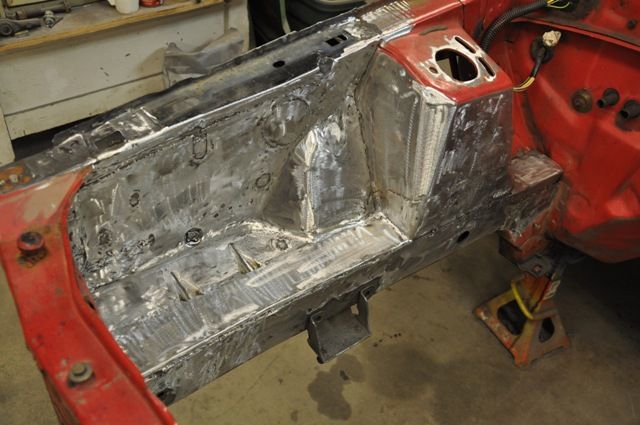
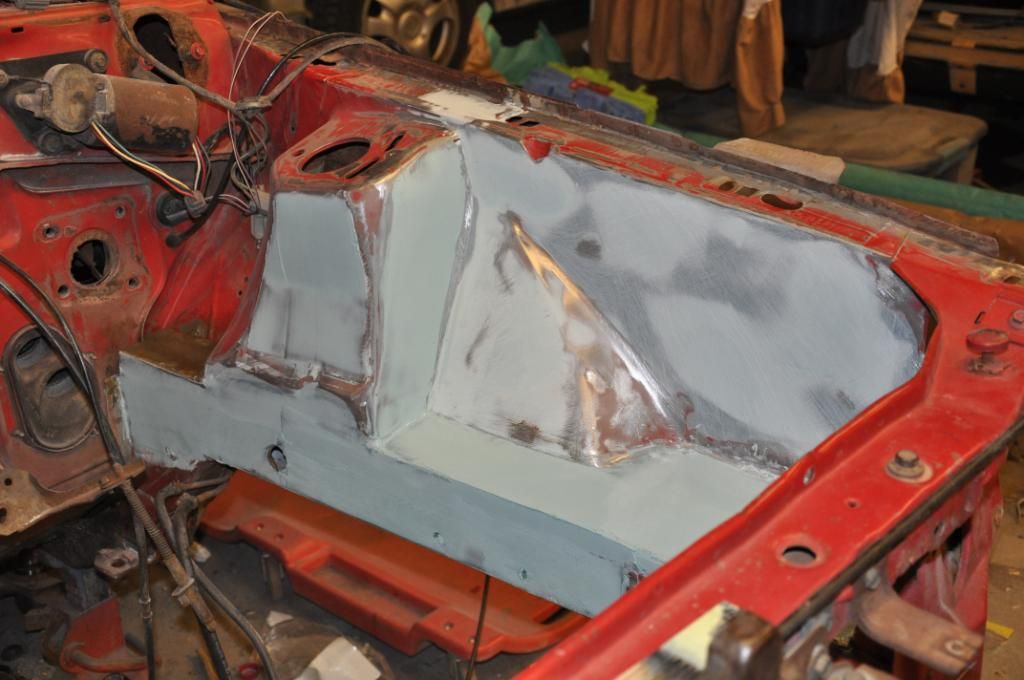
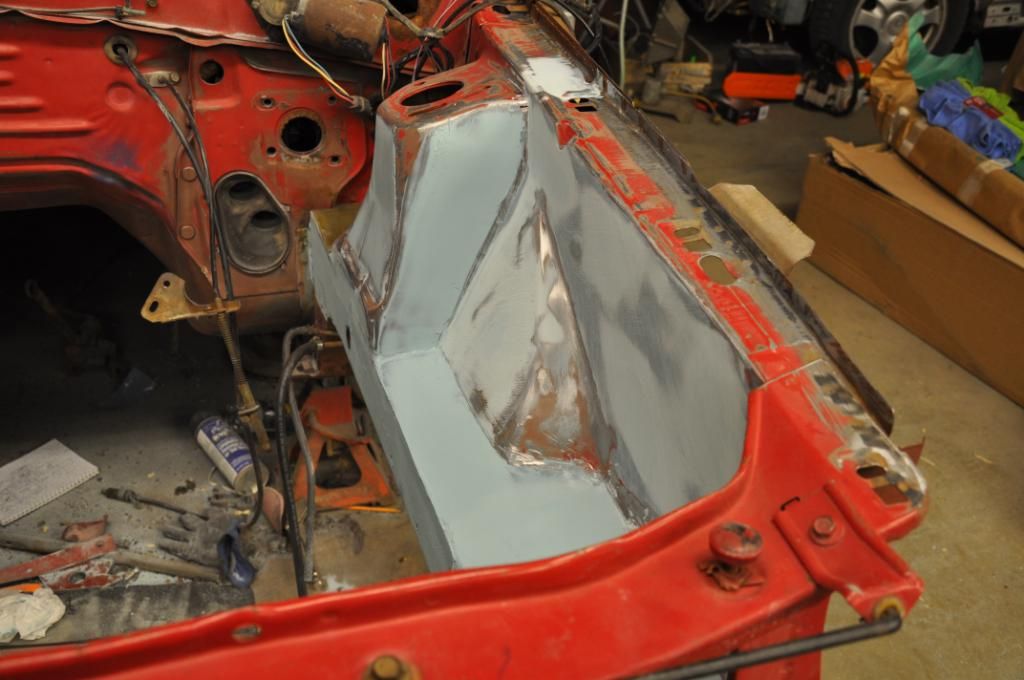
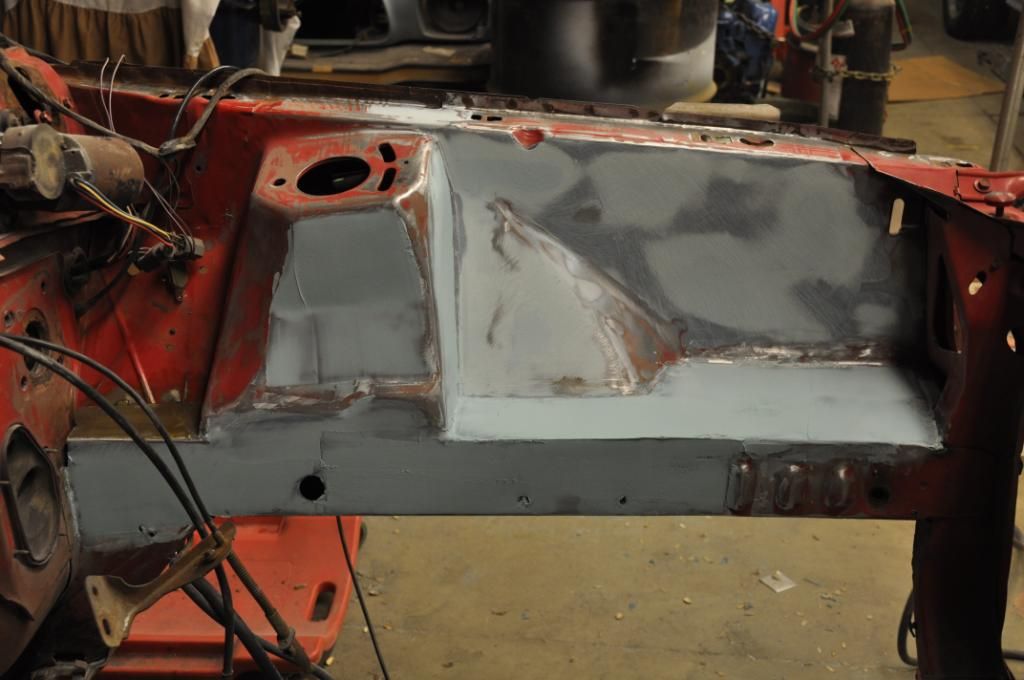
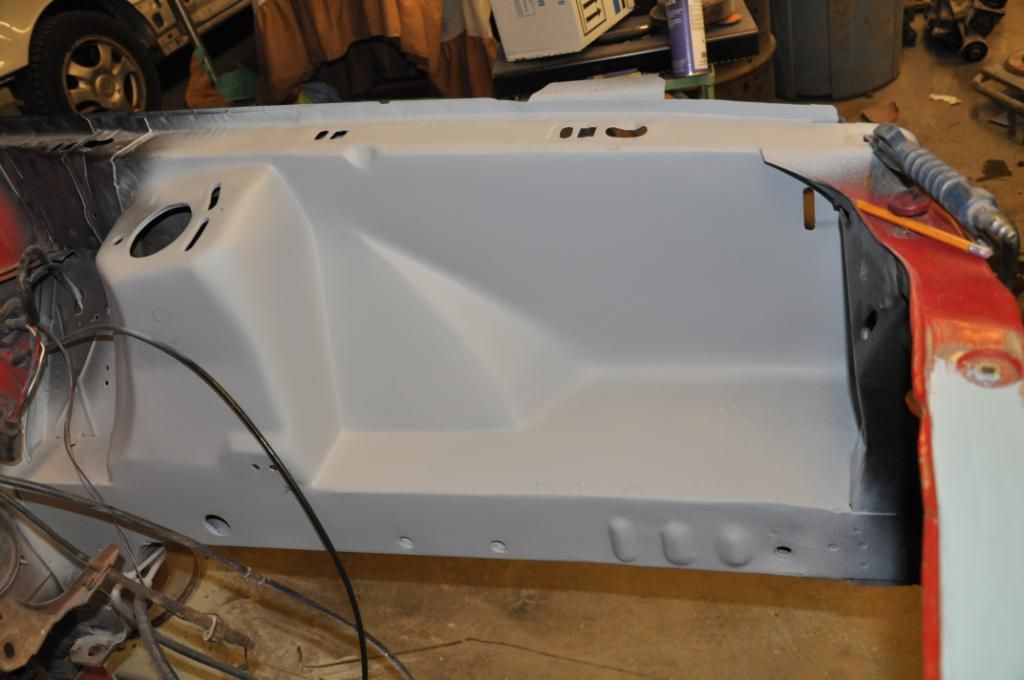
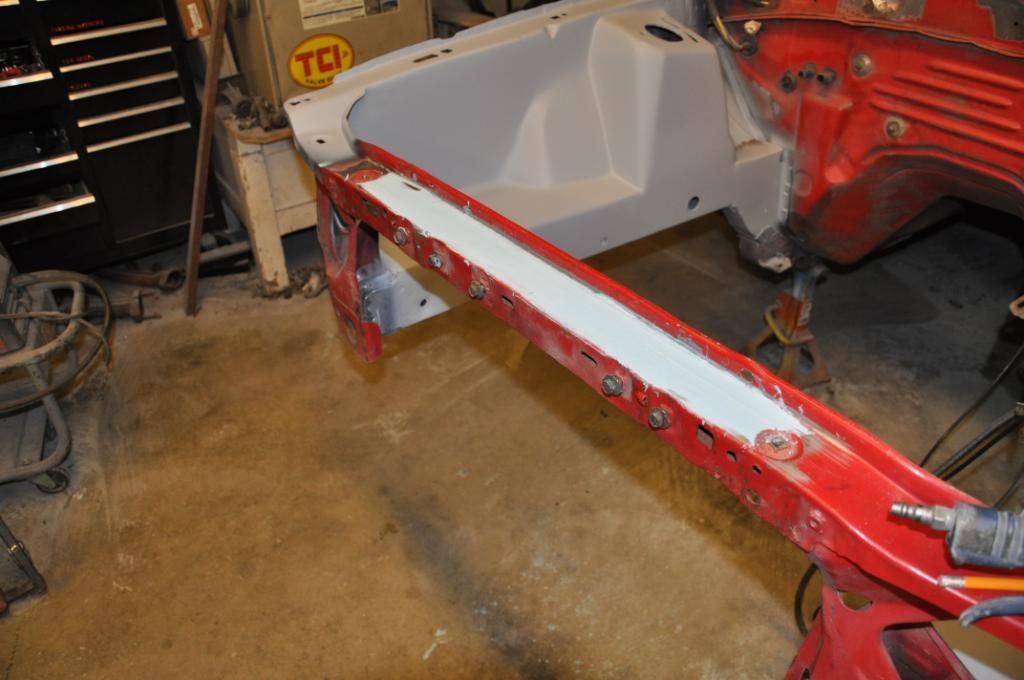
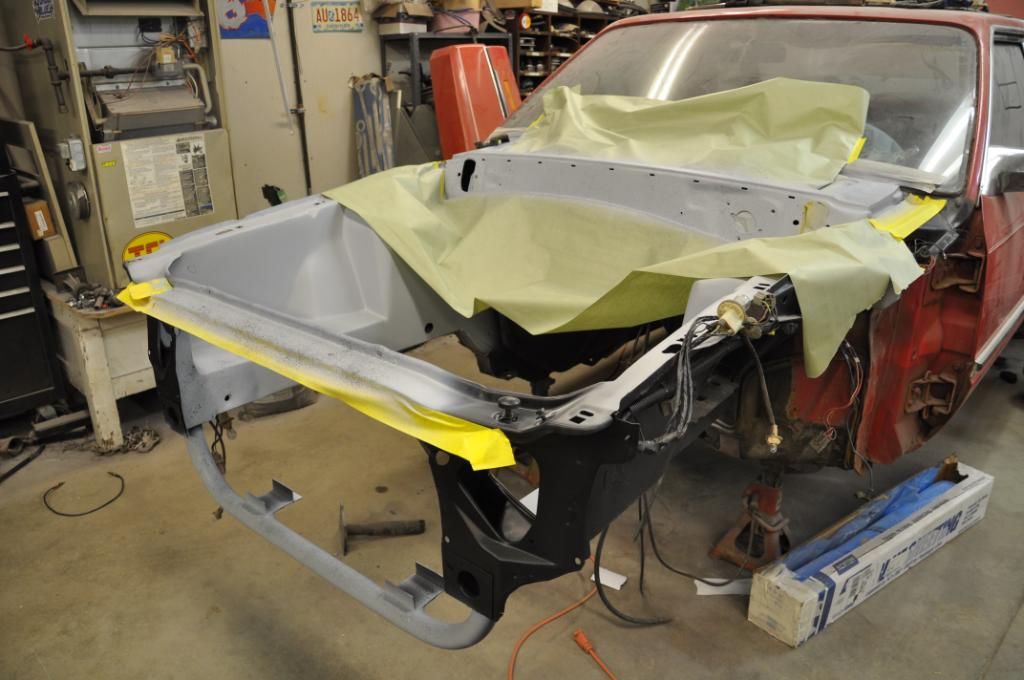
    I've been looking to get my Fairmont on a forum for quite some time to show off my work/progress on my fairmont. I am also looking for any advise or opinions people might have. I'm 17 years old and this is my first car that i've bought with my own money. Bought it for $950 in early winter. It had a junk 302 motor out of a truck, but the body didn't seem to be in that rough of shape.... until we got it home and into the shop and started looking at it. i thought it would be a fast, "clean the car up, put an engine and tranny in and have a fun old car.. haha anyways the frame rails in the front were rusted out and needed to be replaced. i felt like it was a major set back.. but my dad (auto body for 30 years) said it's just a bump in the road and that there's always more to fixer-uppers than ya think. so then we started looking for frame rails.. i was lucky enough to find a 1987 mustang for 200 bucks that had good rails and some other parts we could use. so we took the rails and the right side engine bay tray/panels and fit them up to our car. (although it actually took us about a week to trim, weld, and make everything right). We finaly had a front end again. the tray out of the mustang was a little short, so we just fabricated a piece to fill the gap. turned out great and i thank my dad a ton for doing a lot of the work and doing such a great job.

    anyways i could go on for hours about the work and things my dad and i have done, but i wanna start a build log. not sure how it's supposed to work, but i'm gonna try it. anyways i'll try to make a steady trickle of pics.

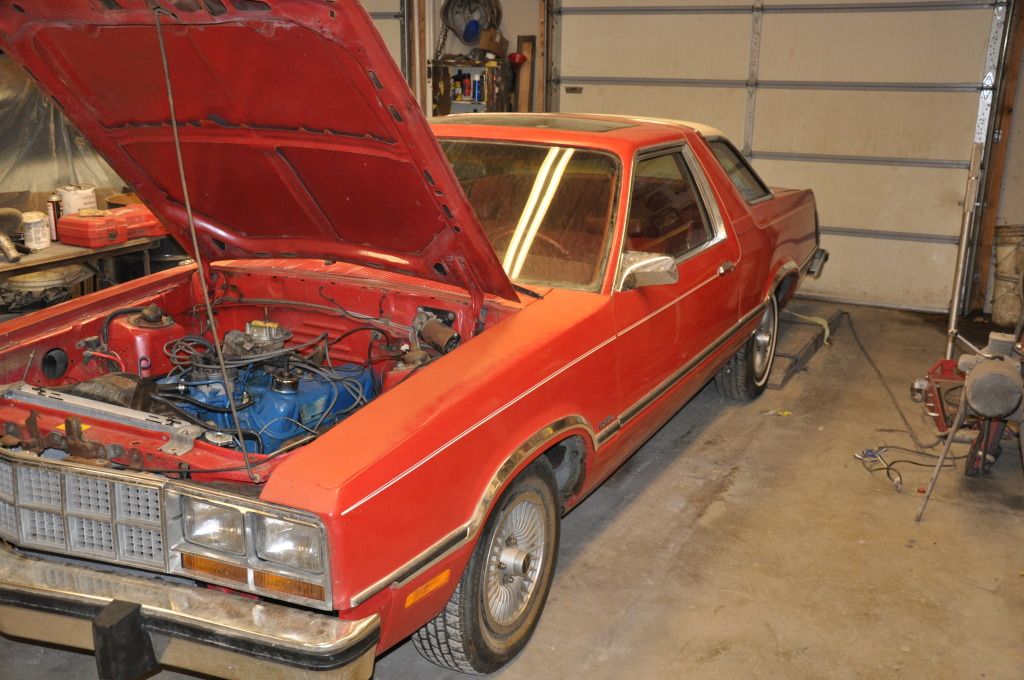
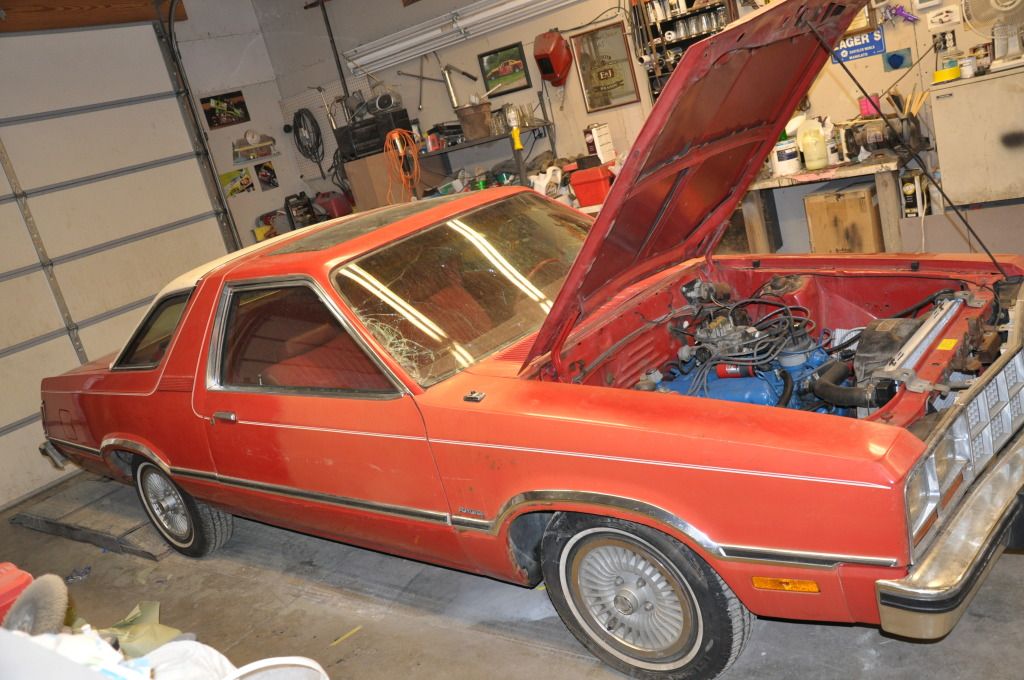
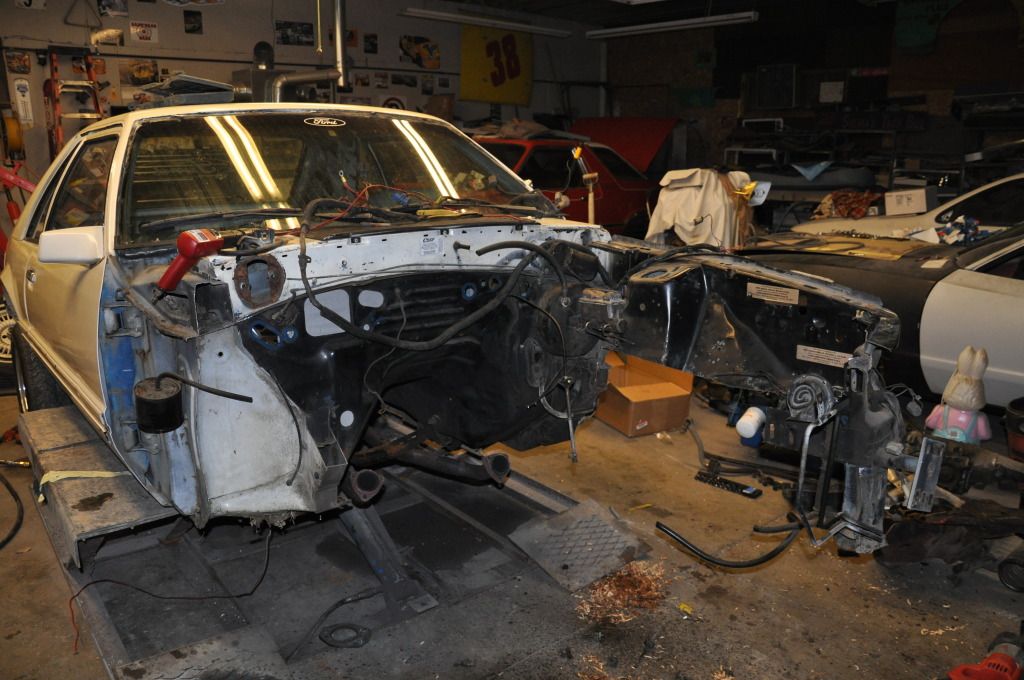
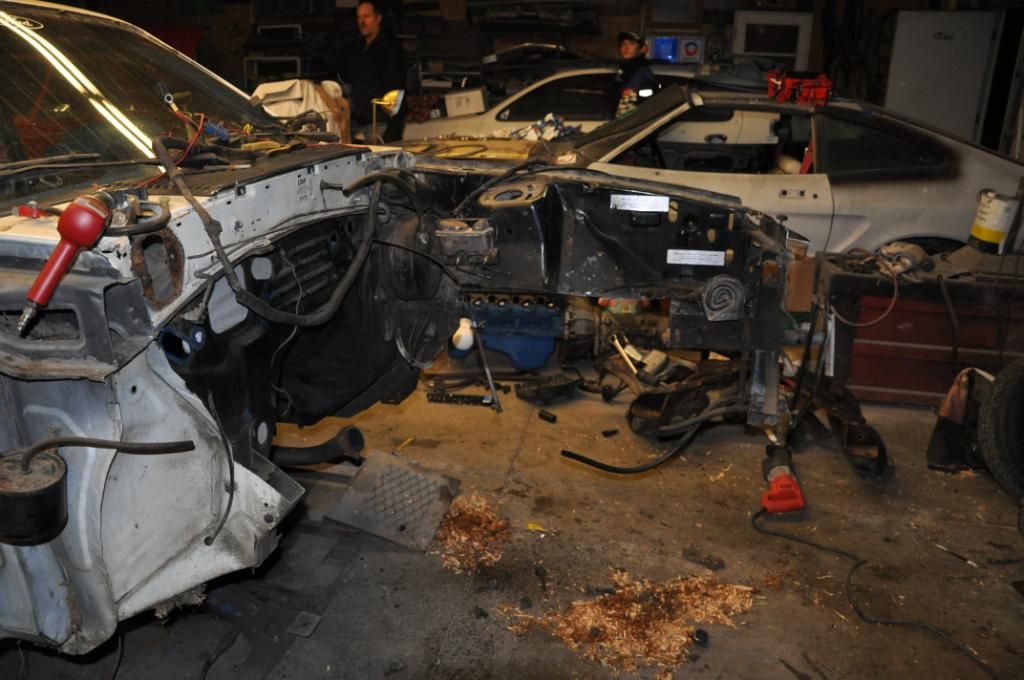
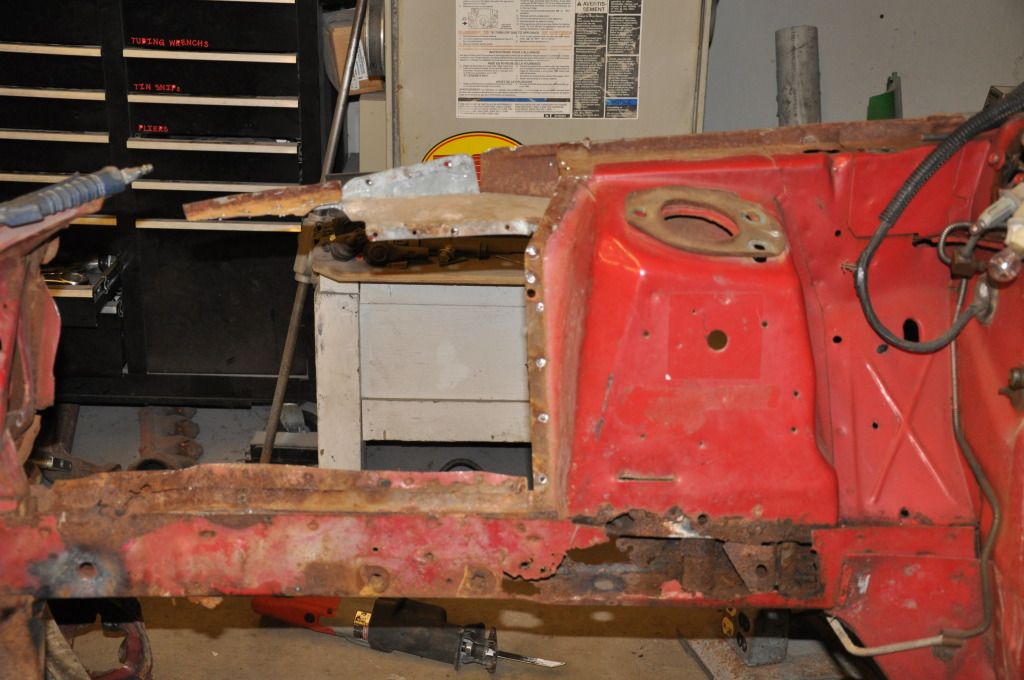
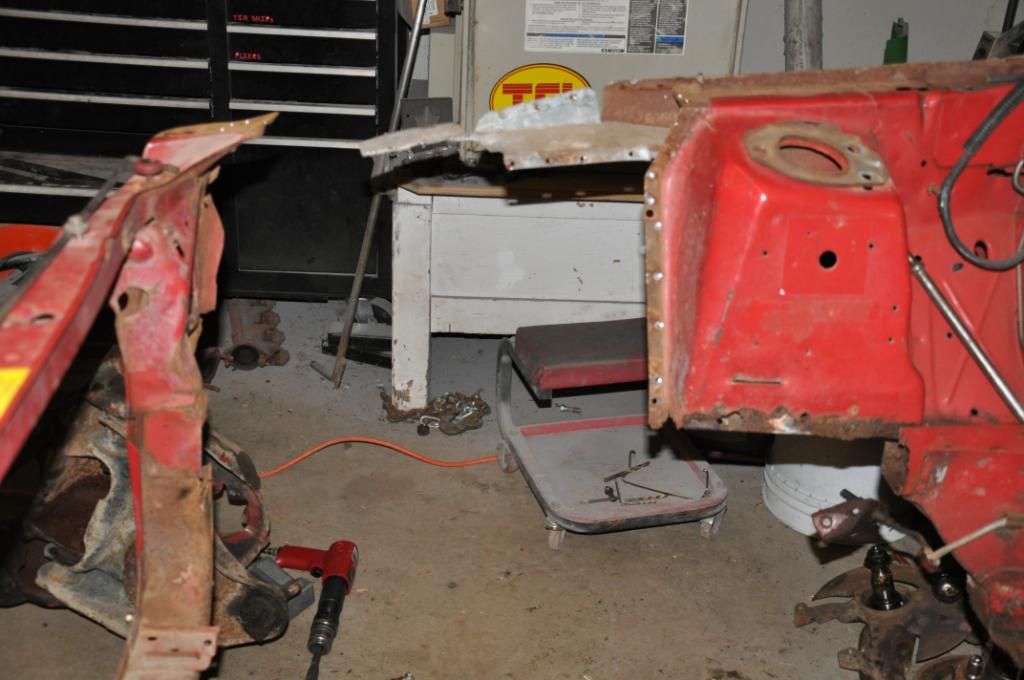
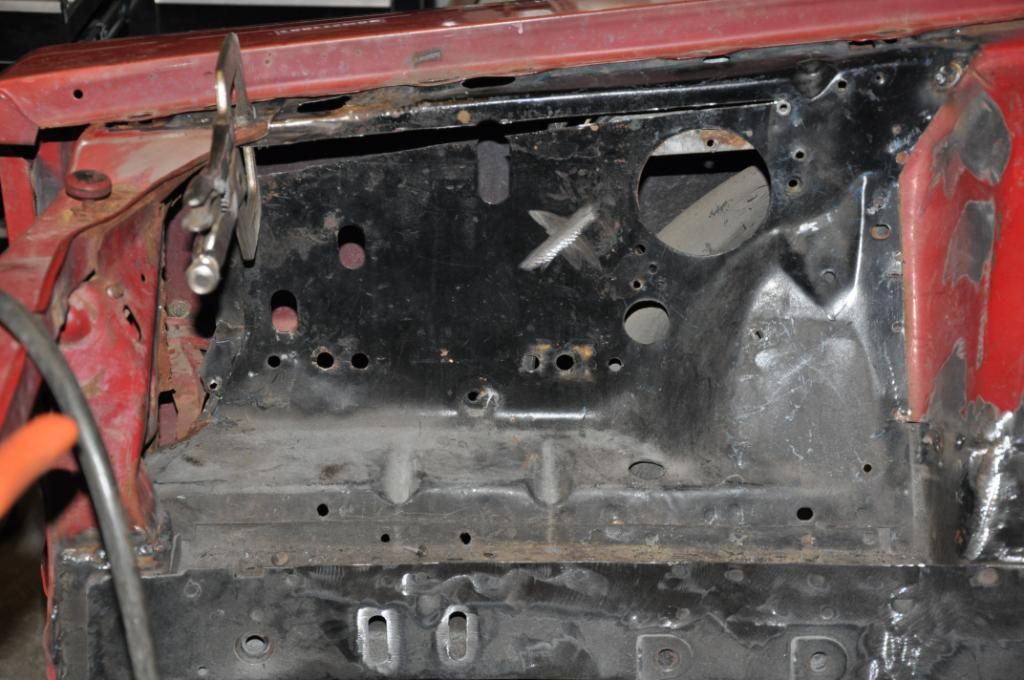
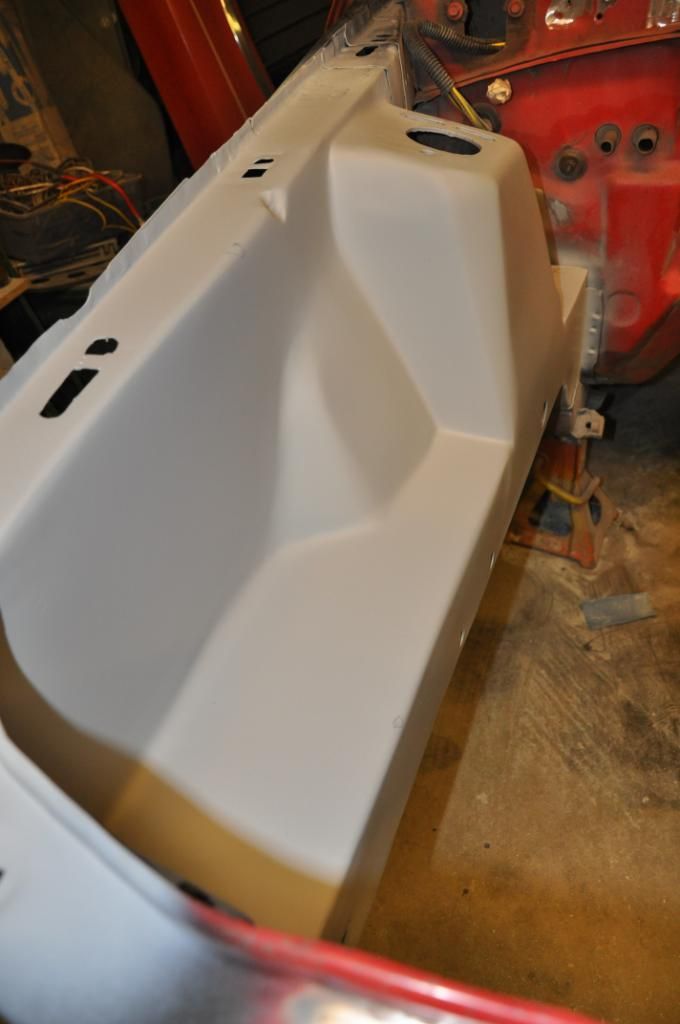
    I'll start off with just a few pics..


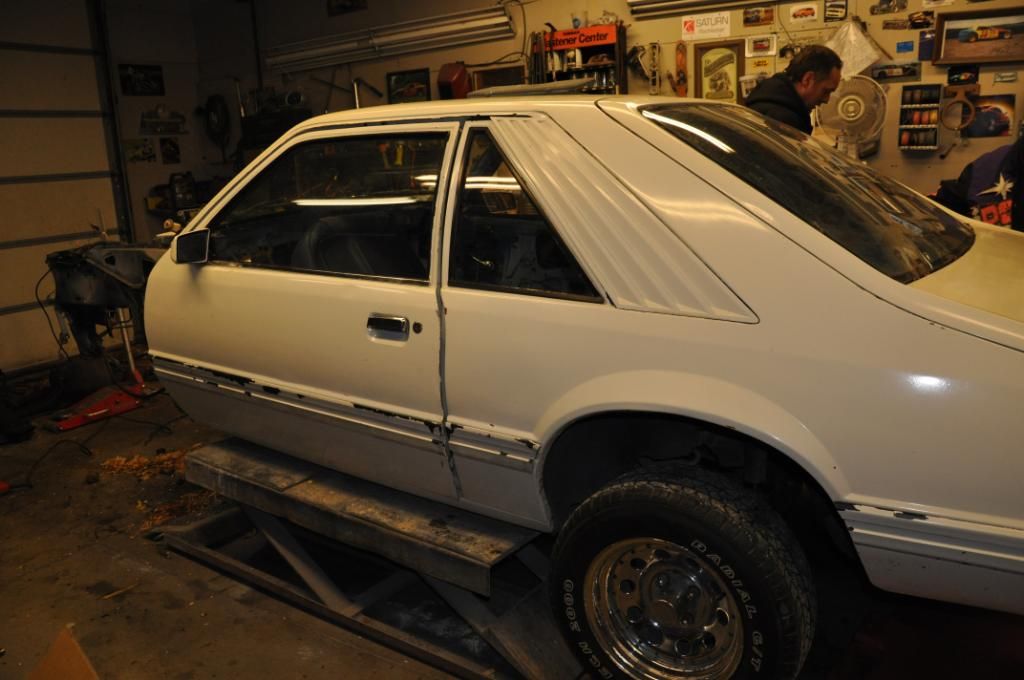
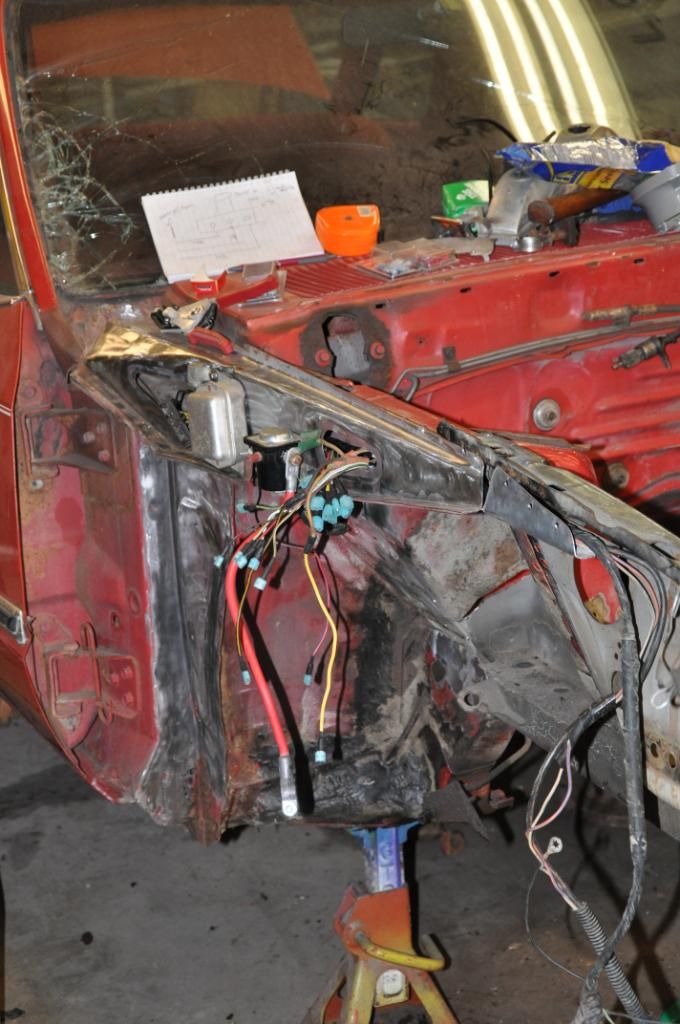
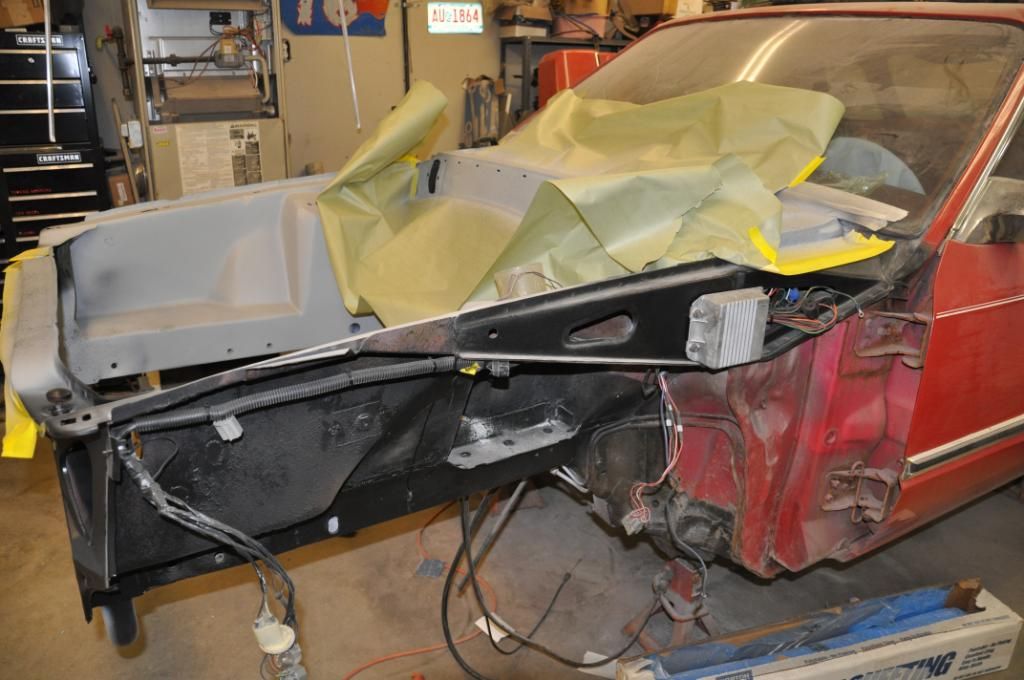
    The day we got the car in the shop..


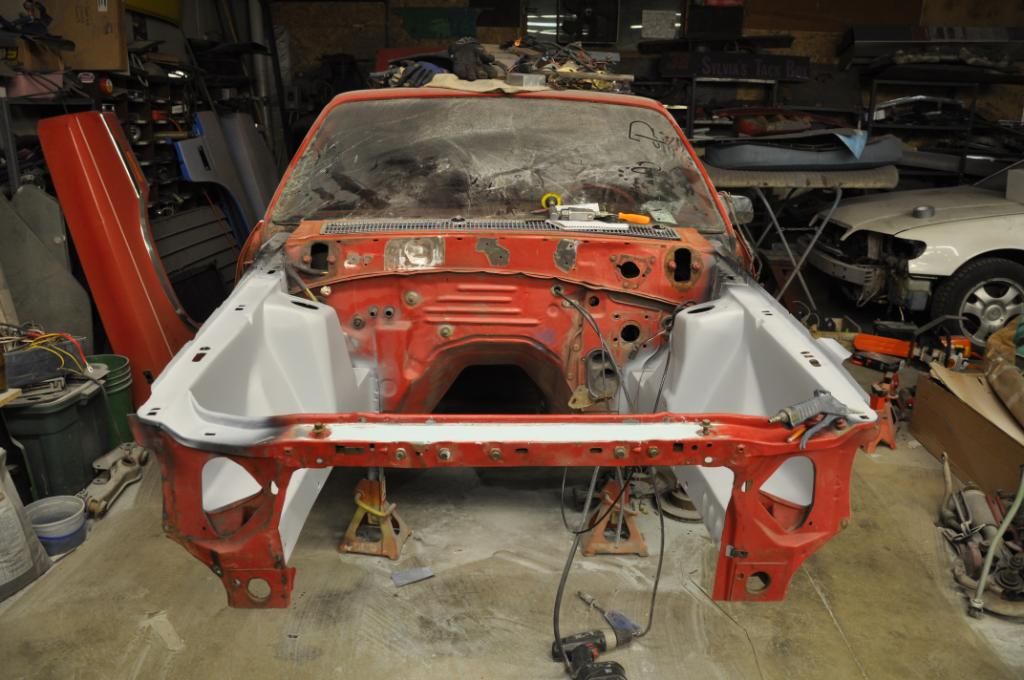
    There will be more to come. as you can see the car looks like its been painted once before.. orange/red car haha love it!!

  2. #2

    Default

    Wow.That's a nice first car for sure. Post up some pics of the frame rail replacement. That looks like a factory sunroof too. Very neat ride.
    Liberty once lost is lost forever.

    John Adams
    July 7, 1775

  3. #3
    FEP Senior Member FuturaGuy's Avatar
    Join Date
    Jan 2005
    Location
    Windsor, CT
    Posts
    835

    Default

    Congratulations - you made a great find. The best part is you and your father are working on it TOGETHER. My dad and I did several car projects when I was a teenager, and the resulting bond between us smoothed out a lot of potential conflicts that can occur between fathers and their teenaged sons. Years from now you'll look back and remember these times fondly.

  4. #4
    FEP Senior Member 4EYED85's Avatar
    Join Date
    Mar 2012
    Location
    Round Rock, Tx
    Posts
    707

    Default

    Great choice. Looks like you and your Dad have a great project car.

  5. #5
    FEP Senior Member TeeJayTee's Avatar
    Join Date
    May 2012
    Location
    Minnesota
    Posts
    639

    Default

    Thanks guys!!

    Alright so here are some pics of the frame rust with the engine out and the rusted through frame rails..

    Drivers side


    The worst: passenger side


    K-Member dropped


    So the frame was pretty bad haha we didn't even notice the frame rust when we looked at the car!! But being that my dad is a pro at frame and body work it wasn't even a problem. Like i said i bought a 80's (i think '87) Mustang for $200. it had a fiberglass 2'' cowl hood on it that we sold for $150, it had a set of chrome American Racing wheels on it that we sold for $100, we scrapped the car and some other miscellaneous junk for about $200, and i got an electric holly fuel pump (i'm not sure if it works, but i'm gonna try it, because it's money saved). Ohh and the guy that came from Wisconsin to buy the hood also bought the tail lights and some other stuff off the car for $50. Hah, i think it's easy to say we made our money back on that one. (plus we got the frame rails). --the things you can find on Craigslist--

    And here are the pics of the donor mustang:


    Section of frame we needed for the right side.


    The left side section (drivers side)


    And the wheels we managed to sell


    And now it's time for bed! i'll get those pictures of the frame getting put in and the cuts we made. Then after that i'll go through the smoothing of the engine bay and wire tuck.

    Thanks for the comments guys. it really is a blast working on the car with my dad. He actually has a 1979 Fairmont Futura also! i'll post some pictures of that sometime too.

    More pics coming!!!

  6. #6
    FEP Senior Member weaverkb's Avatar
    Join Date
    Dec 2010
    Location
    Gainesville, Fl
    Posts
    576

    Default

    Nice car to start off with. I have mixed feelings about cutting up what looks to be a fairly decent 4 eye stang but hopefully it will live on in your build. Keep us posted on it's progress.
    Kelly
    84 L hatch was 3.8/C5 now 5.0/T5,soon to have 8.8/3.73
    Having fun, flappy roof and all...

  7. #7
    FEP Senior Member TeeJayTee's Avatar
    Join Date
    May 2012
    Location
    Minnesota
    Posts
    639

    Default

    The Mustang had been butchered by another owner and it had no interior, the wiring was all hay-bailed and the body was really rough. It would have taken a lot of work to get it back on the street. Good donor car.

  8. #8
    FEP Senior Member TeeJayTee's Avatar
    Join Date
    May 2012
    Location
    Minnesota
    Posts
    639

    Default

    Now onto the frame repairs and sectioning in the new frame.

    First we drilled out all the pinch welds on the frame and tray then removed the rusted through tray.


    The guy before us replaced the battery, but i'm guessing the one before that was pretty leaky..


    Right side with the brakes stripped off and some grinds started for filling in the holds


    Frame removed


    Right side removed


    After we got the old frame pieces cut out we made sure the old section and the new section we perfectly the same measurements. it took a few test fits and a little grinding, but they lined up perfectly in the end.

    The right side put in.


    you can see that we cut part of the strut tour to ensure that we had a good line to fallow. (theres a little lip sort if cut in the tower and thats what we went off.


    New tray


    Didnt seem to have a pic of the right side rail getting put in, but here's the old section and new section:


    Next will be the filling of all the holes and smoothing out the engine bay.

  9. #9
    FEP Super Member PaceFever79's Avatar
    Join Date
    Feb 2009
    Location
    Western PA
    Posts
    9,618

    Default

    Helluva project for a 17 year old!

  10. #10
    FEP Senior Member
    Join Date
    Apr 2008
    Location
    Tucson, Arizona
    Posts
    938

    Default

    Looking good! Also awesome to see another Futura being saved!
    1977 Oldsmobile Vista Cruiser

  11. #11
    FEP Senior Member TeeJayTee's Avatar
    Join Date
    May 2012
    Location
    Minnesota
    Posts
    639

    Default

    Alright so the frame was put in and it worked out perfectly. as you can see in the pictures of the right side.. the tray from the mustang is shorter than the fairmont's old tray. We looked for a different tray at a few ford junk yards, but had no luck. SO, we just decided to weld in a piece to make it long enough.


    Now we move on to my most favorite part!! (that i've done so far). SMOOTHING OUT THE ENGINE BAY!! This took us a very long time to do, but we took our time and did it right. and i think it turned out pretty darn good. (most of this work is my dad's with me helping and learning along side). The idea to smooth out the engine bay and tucking the wires was my idea.. my dad made it happen.

    First i'll start with the wire tuck and throw in the battery relocation.

    Started off with cutting all the wires and putting male/female ends on them and shrink wrapping every one.


    Then i ran the wires through the oval shaped hole behind the strut tower and through the frame. mounted the voltage regulator and the starter solenoid.


    Battery box in trunk with 1/0 KnuKonceptz power wire ran.


    Plugged all the wires together and tucked them into the rail. then cleaned everything up.


    Light harness taped up and ran to the front.


    And the drivers side.


    Now for the smoothing!!

    Guess i did have a pic of the frame put in on the drivers side. anywyas here it is! we first grounded all the holes and prepped them for welding. The we went over and welded all of them shut and made patches for the ones that were to big to weld. after that there was a ton of grinding to do... took a long time, but it came together nicely.

    PICTURES!!!


  12. #12
    FEP Senior Member TeeJayTee's Avatar
    Join Date
    May 2012
    Location
    Minnesota
    Posts
    639

    Default

    After all the welding and grinding was finished we made covers for the frame so there wasn't that ugly "valley" in the frame rail:


    The cover for behind the strut tower.. (it's the same on the other side)


    For in front of the tower:


    Passenger side:


    Welded in:


    This took a very long time.. haha but it was totally worth it!!

    Also i know that it probably would have been easier to just get some sheet metal and make our own smooth trays, but we were up for the challenge of doing it this way.

    **The lime/puke green color on the covers is acid etching primer. My dad loves the stuff and puts it down on everything he paints or does body work to. very nice protection if you're doing a restoration or build.

  13. #13
    FEP Senior Member TeeJayTee's Avatar
    Join Date
    May 2012
    Location
    Minnesota
    Posts
    639

    Default

    Now lets lay some body filler!!


    For some reason i didn't upload all my pictures onto photo bucket. anyways this is what it's turning out to look like. i think it looks great!!

    Now for some primer. (we put sealer down first then primer, but the sealer pics are the same, just black)


    Decided we needed to smooth out the top part of the radiator support too


    ^^you might notice that there is no lower radiator support... that'll be next along with fixing the cowl and finishing up/painting the engine bay!

  14. #14
    FEP Super Member TWR2003's Avatar
    Join Date
    Dec 2007
    Location
    Eastern MA
    Posts
    2,838

    Default

    Nice, nice, very nice.

    I hate to see one Fox sacrificed to save another but Im glad to see your good efforts on that one.
    MF: Shoot pool Fast Eddie.
    EF: Im shootin' pool Fats. When I miss you can shoot.

  15. #15
    FEP Member Jay 8850's Avatar
    Join Date
    Feb 2010
    Location
    Downers Grove, IL
    Posts
    307

    Default

    I was thinking of re-bodying/scrapping my 88 notch for the rusty framerail and shocktower on the right and the tweaked one on the left from a minor accident, but this thread is giving me some inspiration to fix it. I have very little welding/bodywork skills and would like to learn, afterall, ive had the car 20 years and would like to pass it on to my son when he is able to drive, he is 7 now.

    Excellent work!
    Current rides:
    88 Notch 12.52@108 - Coming soon - to be beaten on again on a regular basis

    2000 Explorer 4x4- New Daily driver and kid hauler

  16. #16
    FEP Senior Member 4EYED85's Avatar
    Join Date
    Mar 2012
    Location
    Round Rock, Tx
    Posts
    707

    Default

    Are you going too have to remove your fenders to service your electrical system? If so, I would rethink that and move it all to the trunk. Looks like you guys are doing a great job.

  17. #17
    FEP Member 1982gt's Avatar
    Join Date
    Jan 2008
    Location
    port perry ontario canada
    Posts
    158

    Default

    Cool build,my son just turned 16 and we are looking for something to work on together.
    Keep the pics and the commentary coming

  18. #18
    FEP Power Member Vinnietbird's Avatar
    Join Date
    Apr 2009
    Location
    Ardmore,Oklahoma
    Posts
    1,373

    Default

    Awesome project !!! Great work,too. I have GOT to learn to weld !!!!
    '88 T-Bird Sport Twisted Wedge heads,3G,,Trick Flow R intake,Scorpion rockers,Ed Curtis cam,BBK headers,Mass Air with 24's,X-Pipe, Flomaster mufflers,75mm t-body,T-5, MGW shifter,Mach 1 chin spoiler,Bullitt gas lid,deep Cobra R wheels,Taurus fan,3.73 gears,140mph speedo,CHE control arms, custom Hood with ''72 Torino scoop, custom trunk lid with integrated spoiler

  19. #19

    Default

    I agree with all of the above. Great job on that car! You are taking your time and doing it right, please keep posting pictures and info on your progress and you go. They are awesome pics.
    -Joe

  20. #20
    FEP Super Member dburdyshaw's Avatar
    Join Date
    Jul 2005
    Location
    Florida (sometimes Arkansas)
    Posts
    17,559

    Default

    Quote Originally Posted by TheBossIsBack View Post
    I agree with all of the above. Great job on that car! You are taking your time and doing it right, please keep posting pictures and info on your progress and you go. They are awesome pics.
    -Joe
    Agreed. Amazing. Awesome.
    13 Dodge Dart
    09 Shadow Sabre
    08 Caliber
    05 Aztek
    02 Avalanche
    02 Thunderbird
    01 Cadillac ETC
    98 Explorer
    96 Suzuki X-90
    89 Fleetwood
    89 Continental
    88 Town Car
    86 Silverado
    84 Fiero
    83 Town Car
    82 LN7
    82 EXP
    80 Mustang
    65 Continental
    62 Galaxie 500
    54 Packard

    Stock never goes out of style.

  21. #21
    FEP Senior Member TeeJayTee's Avatar
    Join Date
    May 2012
    Location
    Minnesota
    Posts
    639

    Wink

    Quote Originally Posted by Jay 8850 View Post
    I was thinking of re-bodying/scrapping my 88 notch for the rusty framerail and shocktower on the right and the tweaked one on the left from a minor accident, but this thread is giving me some inspiration to fix it. I have very little welding/bodywork skills and would like to learn, afterall, ive had the car 20 years and would like to pass it on to my son when he is able to drive, he is 7 now.

    Excellent work!

    Sounds like a got plenty of time to learn how to fix the car up

    I will have to say that it is pretty scary cutting apart the frame.. especially on the car you're keeping.. but with the right pace and patience it will all come together in the end!!

    Good luck!

  22. #22
    FEP Senior Member TeeJayTee's Avatar
    Join Date
    May 2012
    Location
    Minnesota
    Posts
    639

    Default

    Quote Originally Posted by 4EYED85 View Post
    Are you going too have to remove your fenders to service your electrical system? If so, I would rethink that and move it all to the trunk. Looks like you guys are doing a great job.
    My dad and i did talk about the wires being behind the fender and the potential problem of changing something if it goes out. We came to the conclusion that we can always pull the inner fender out and get to the wires/voltage regulator/solenoid, etc. shouldn't be that big of a problem. i'm also going to be driving the car before the body is painted and finished so the fenders will be coming off again anyways. If we run into problems than we'll just have to do what we gotta do haha. And i do like your idea of moving it all to the trunk..... but that's a lot of work and wires to run..!!! but good idea!!

    Thank you for your comment and idea sir

  23. #23
    FEP Senior Member TeeJayTee's Avatar
    Join Date
    May 2012
    Location
    Minnesota
    Posts
    639

    Default

    For the bottom radiator support.. (there's a story here)

    So the bottom radiator support on my fairmont was all bent up and twisted from being used as a jacking point.. 
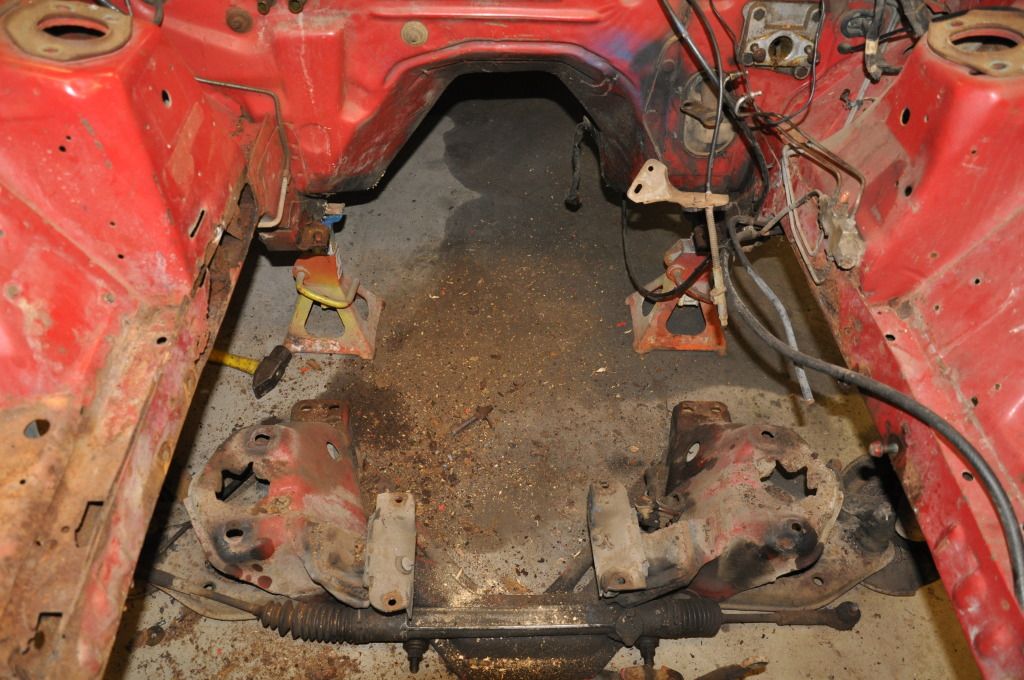
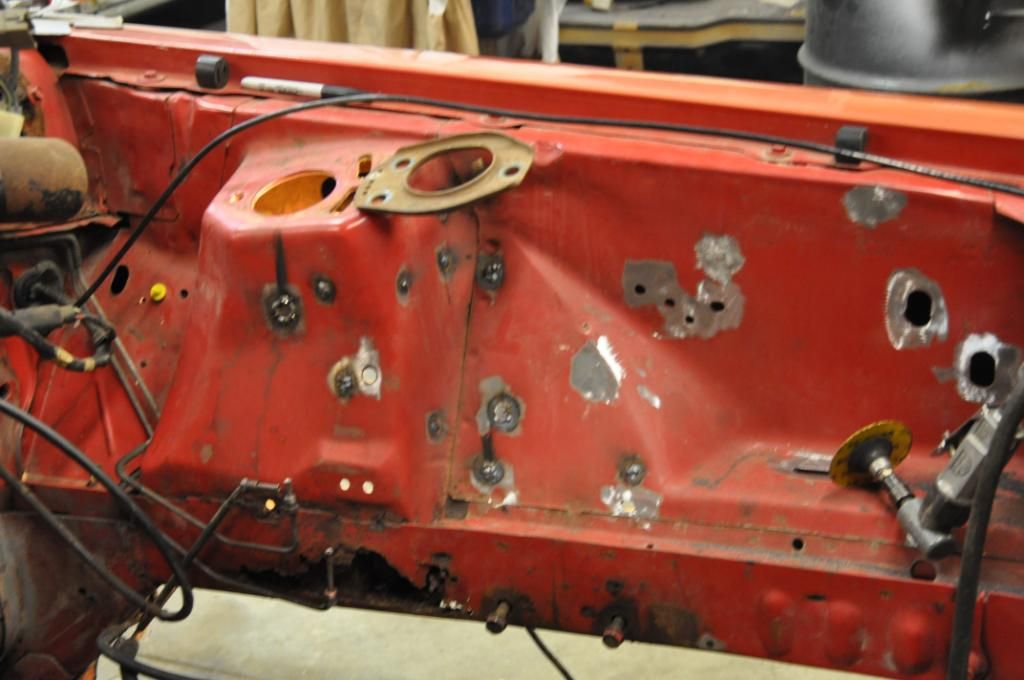
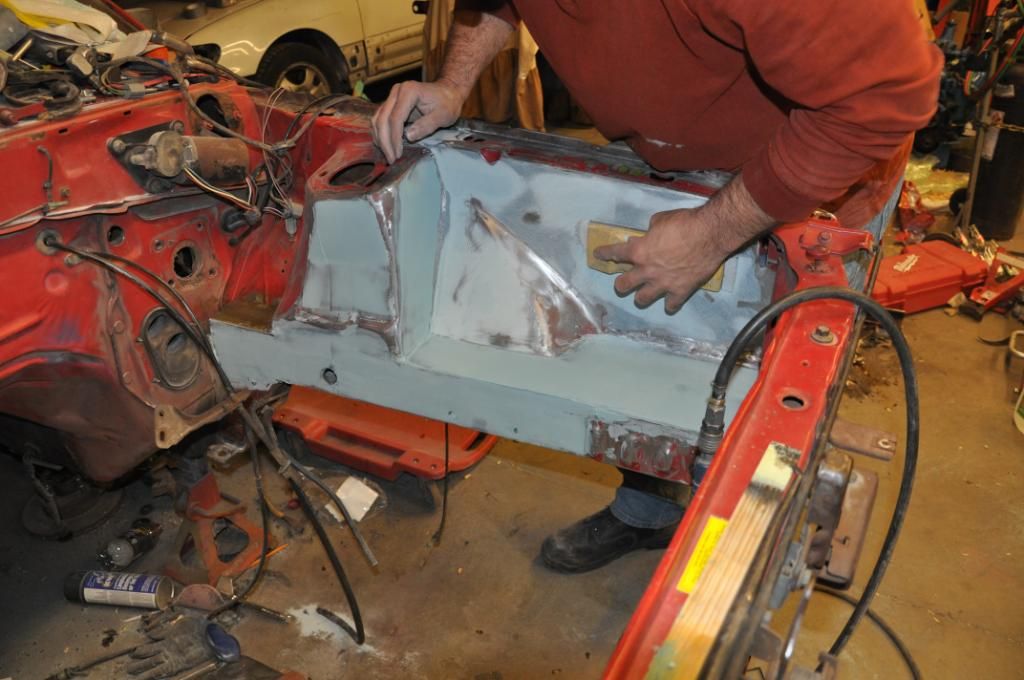
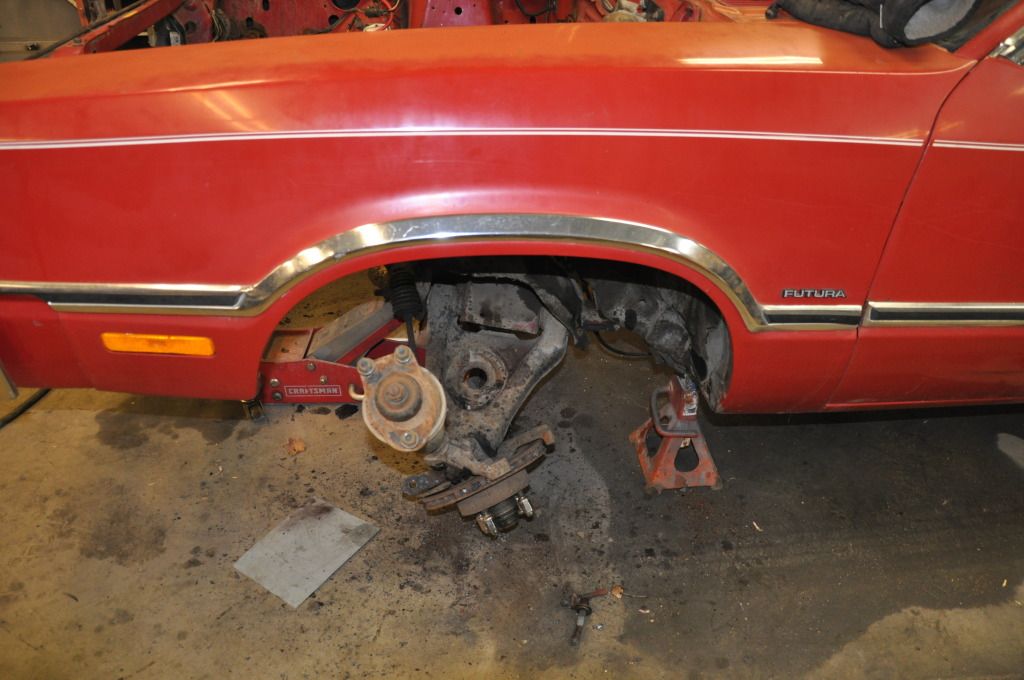
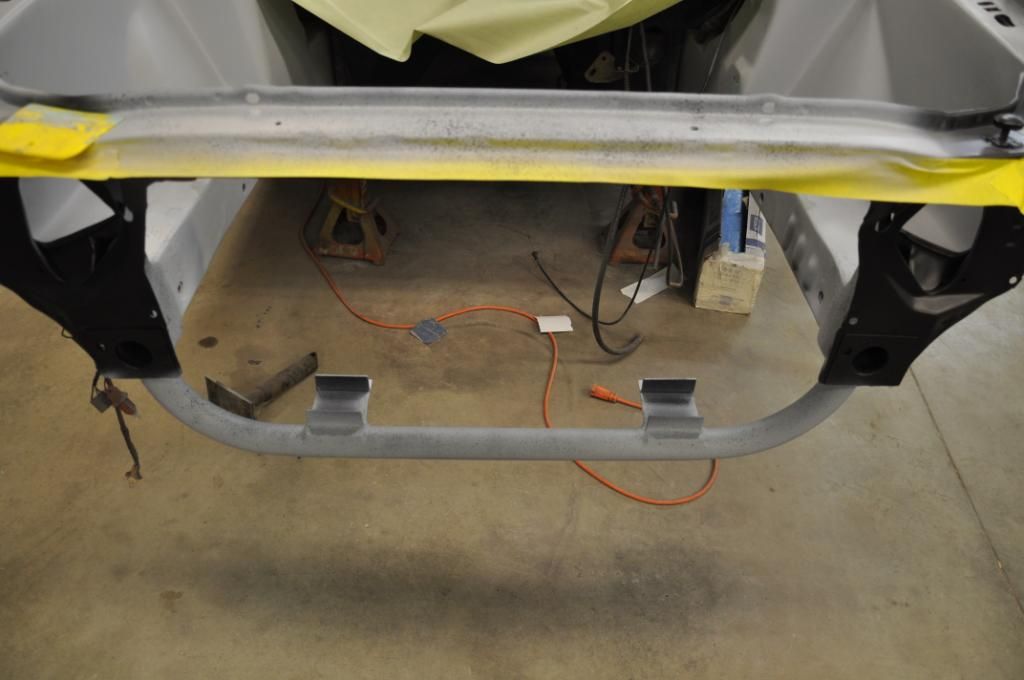
we looked at the one from the donor stang, but it was also shot.. Then as my dad and i were looking for parts on the computer we rand into Team Z. I wont tell you yet what we were really looking for, but we came across a tubular bottom radiator support. it was 150 big smackers!! i believe it was made out of like 1/4'' or 1/2'' tubing and had some flimsy radiator mounting brackets.. my dad and i loved the idea, but for 150 it didnt seem strong enough.. so we made our own!
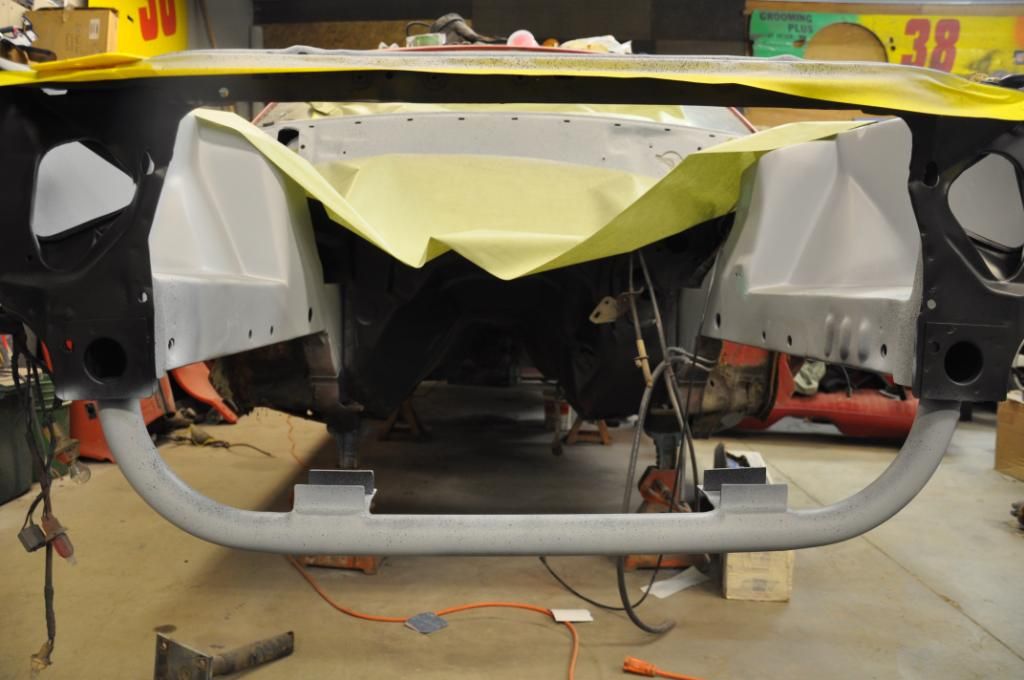
 My dad used to race dirt track and had some extra 3/4'' or 1'' tubing laying around and we thought that would probably be strong enough.. so we took it to a guy and had it bent to match up perfectly with the old support off the car.

    Anyways i've probs rambled enough.. haha on with the PICs!!

    After we fitted the tube to the car and welded it into place we made 2 (very sturdy) brackets, made out of strap steel.


    We made the brackets a little longer on the backside incase we need something to mount our electric fans on.


    In between making the brackets and test fitting the radiator my dad decided that i/we needed a 2'' aluminum radiator.. (he ordered it without even telling me and footed the bill)


    That's all for now. Again thank you for the comments!! the comments and people enjoying my thread/build makes my build even more enjoyable!!


    **keep in mind that none of this happened over night. we are about 6 to 7 months into this build right now and i am just building up to the point where i'm at now on this thread.**

  24. #24

    Default

    excellent thread

  25. #25
    FEP Senior Member 4EYED85's Avatar
    Join Date
    Mar 2012
    Location
    Round Rock, Tx
    Posts
    707

    Default

    Quote Originally Posted by TeeJayTee View Post
    My dad and i did talk about the wires being behind the fender and the potential problem of changing something if it goes out. We came to the conclusion that we can always pull the inner fender out and get to the wires/voltage regulator/solenoid, etc. shouldn't be that big of a problem. i'm also going to be driving the car before the body is painted and finished so the fenders will be coming off again anyways. If we run into problems than we'll just have to do what we gotta do haha. And i do like your idea of moving it all to the trunk..... but that's a lot of work and wires to run..!!! but good idea!!

    Thank you for your comment and idea sir
    If you run MSD ignition and a 3g alt. you can make the job alot easier and have a better elect. system. Just throwing ideas out there while your in the building stage. You guys sre doing a outstanding job on the car.

Page 1 of 25 12311 ... LastLast

Posting Permissions

  • You may not post new threads
  • You may not post replies
  • You may not post attachments
  • You may not edit your posts
  •