Close


Results 1 to 14 of 14
  1. #1
    FEP Power Member Mikestang's Avatar
    Join Date
    Aug 2013
    Location
    Firestone, CO
    Posts
    1,172

    Default Ford Manual Rack HELP

    I am really hoping to find some help here... Here is a quick story

    I am rebuilding a 1981 Mustang SCCA A-Sedan race car. The car has a manual OE Ford Rack and pinion. I took apart the rack to clean all the dirt out of it (it was ran with no inner tie rod boots)... Putting it back together it appears I may have lost a bushing, the one that goes on the driver side of the rack, inside the rack between the housing and the rack main shaft. I am pretty meticulous when it come to keeping track of this kind of stuff. Part of my issue is that now I am wondering if there was even a bushing on that side?

    I am hoping that someone has a rack that can snap a pic for me, or possibly has a diagram. As I assume most know, OE Ford racks are VERY hard to come by.

    Here are a few pics

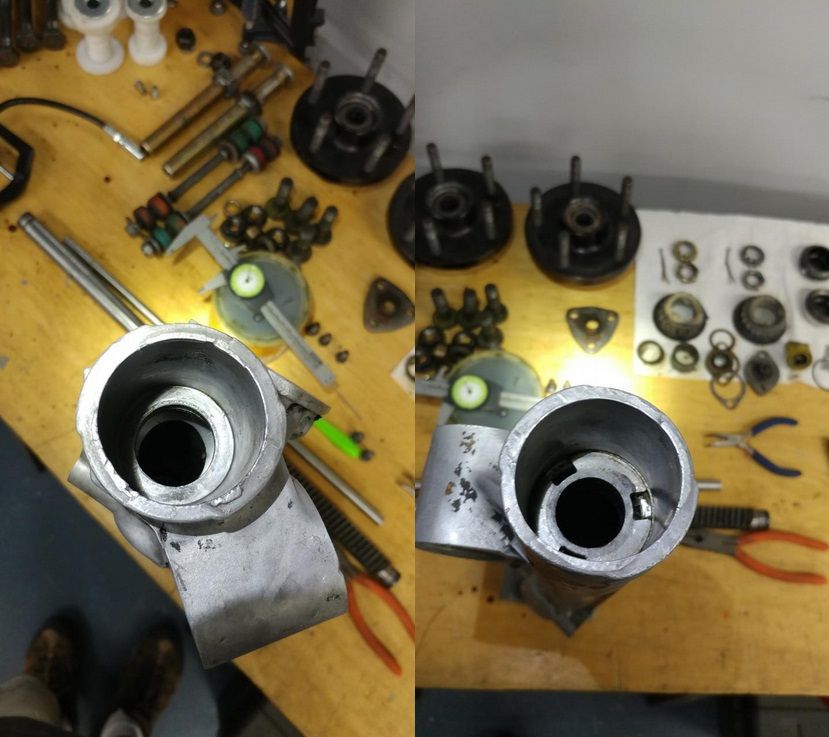
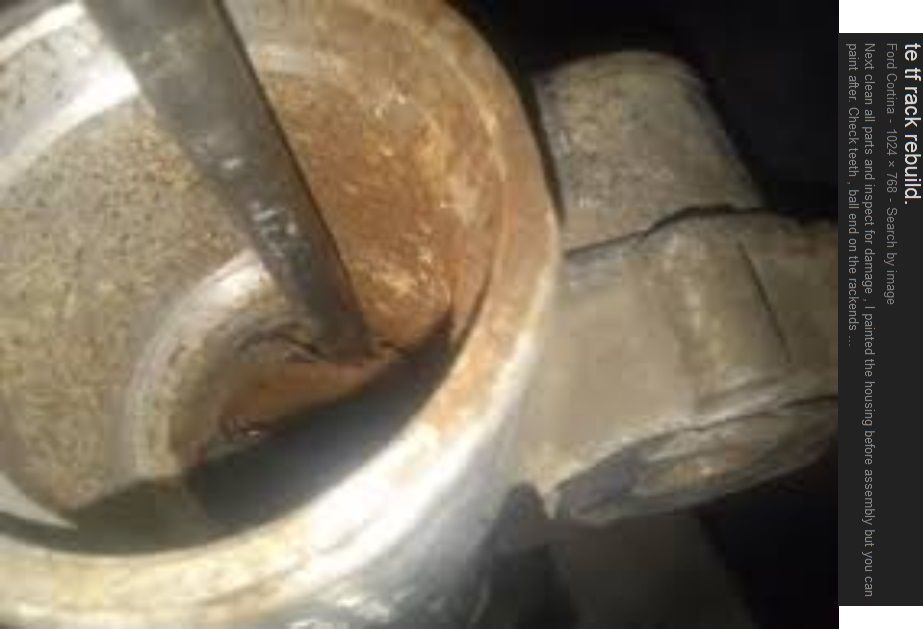
    This is the passenger side that has the bushing. I was pretty sure the on in the driver side looked identical
    Name:  20170707_214207.jpg
Views: 266
Size:  64.5 KB

    This is the driver side where I believe the bushing to be missing
    Name:  20170707_214241.jpg
Views: 268
Size:  84.5 KB

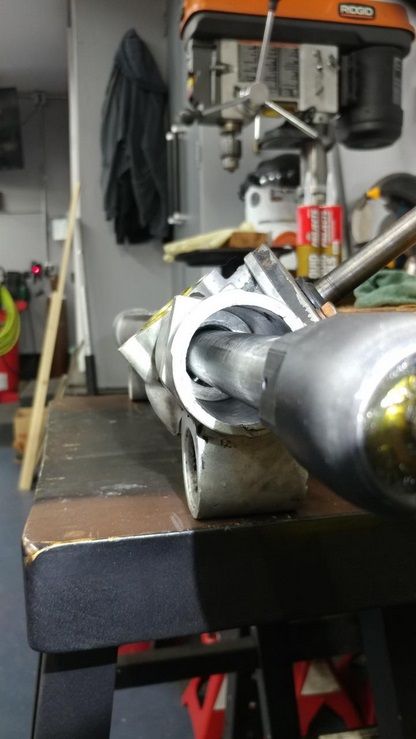
    Here is a pic of the driver side with the rack main shaft installed. If someone could get a pic of this view or their rack I could see if there should even be a bushing on this side
    Name:  20170707_220056.jpg
Views: 264
Size:  79.4 KB

    I REALLY hope someone can help!
    1986 Ford Mustang GT-

    Not much stock stuff left
    347 NA power, CNC ported heads, Extrude honed Trick Flow Intake, Custom Cam
    Suspension, custom k- member, TQ arm/pan hard rod... Much more
    Restored and ready to race, made to go fast while cornering

    1981 Mustang GT-

    Old SCCA A-Sedan National Champ car
    In the middle of rebuild

    1986 LX Sedan-

    Plans to be determined...

    "Every day I learn how much I don't know"

  2. #2
    FEP Power Member Mikestang's Avatar
    Join Date
    Aug 2013
    Location
    Firestone, CO
    Posts
    1,172

    Default

    Sorry, pics are all rotated the wrong direction, I have no idea how to fix it
    1986 Ford Mustang GT-

    Not much stock stuff left
    347 NA power, CNC ported heads, Extrude honed Trick Flow Intake, Custom Cam
    Suspension, custom k- member, TQ arm/pan hard rod... Much more
    Restored and ready to race, made to go fast while cornering

    1981 Mustang GT-

    Old SCCA A-Sedan National Champ car
    In the middle of rebuild

    1986 LX Sedan-

    Plans to be determined...

    "Every day I learn how much I don't know"

  3. #3
    Moderator wraithracing's Avatar
    Join Date
    Jun 2010
    Location
    Grand Junction, CO/RR TX
    Posts
    14,209

    Default

    I am down in TX right now. I have an old Capri here that might have a Ford manual rack. I don't remember, but I will try and remember to check it out either tomorrow or Tuesday and see. If so, I can try and get you some pictures.
    ​Trey

    "I Don't build it hoping for your approval! I built it because it meets mine!"

    "I've spent most of my money on Mustangs, racing, and women... the rest I just wasted."

    Mustangs Past: Too many to remember!
    Current Mustangs:
    1969 Mach 1
    1979 Pace Car now 5.0/5 speed
    1982 GT Stalled RestoModification
    1984 SVO Still Waiting Restoration
    1986 GT Under going Wide Body Conversion Currently

    Current Capris:
    1981 Capri Roller
    1981 Capri Black Magic Roller Basket Case
    1982 Capri RS 5.0/4spd T-top Full Restoration Stalled in TX
    1984 Capri RS T-top Roller
    1983-84 Gloy Racing Trans Am/IMSA Body Parts

  4. #4
    FEP Super Member xctasy's Avatar
    Join Date
    Jun 2012
    Location
    Dunedin 9011, New Zealand, South Pacific
    Posts
    3,961

    Default


    Hmmmm. Its just the Australian Cortina TE/TF and Holden Commodore VB/VC/VH/VK steering rack.

    The powered ones and manuals, the same the world over. GM's T car rack was reheated for the GM V car in Australia because they didn't want to use the Recirculating ball steering.So the Aussie Cortinas and Commodores use the same manual steering box from 1978 to 1983 or so.

    http://vb.foureyedpride.com/showthre...44#post1827644


    Sadly, the pictures have dropped off the web, but the link is here. http://fordcortina.com.au/newforum/i...p?topic=1979.0


    There were 23 pictures.


    Quote Originally Posted by winton

    Te tf manual rack rebuild, other racks will be similar to build.
    This is a guide only.
    The te tf manual racks share the same bearings, bush, preload bush, boots and I think rackends as early commodores vb vc pretty sure the vh vk are also the same but not 100% sure, vl is definitely different. This also applies to the p/s racks.

    Replaceable parts
    The rack bush
    Preload bush <<< I reused the original , they are cheep but the place I get my steering, trans and diff parts didn't have one in stock.
    Top seal<<< i reused the original
    Bearings <<< I reused the original, depending on condition
    Boots
    Rackends <<< I reused original, depending on condition
    The rack I had to rebuild looked to be poor condition but one it was apart was really good inside .


    Tools needed

    Side cutters
    Drill and drill bit 5/32
    Stilsons and it big multigrips
    Centre punch
    Half inch spanner
    Big spanner say about a 18mm
    Flat head screwdriver
    Hammer
    Loctite
    Beer


    Remove boots, locate lock pins hit with a center punch and drill out.

    Loosen off the lock nut and unscrew the rackend, use stilsons or big multigrips.


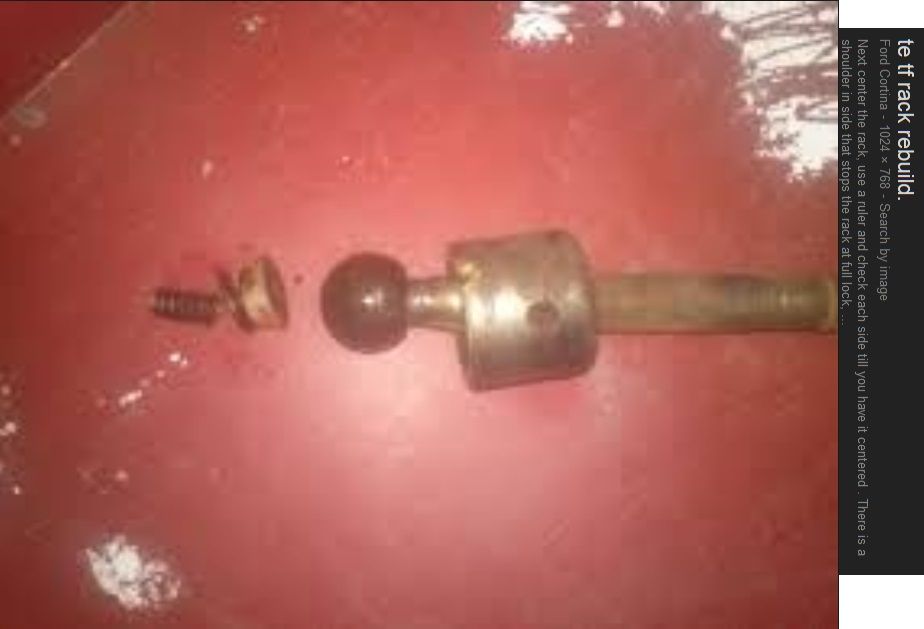
    Next center the rack, use a ruler and check each side till you have it centered .
    There is a shoulder in side that stops the rack at full lock, this is where the measurement is taken from.


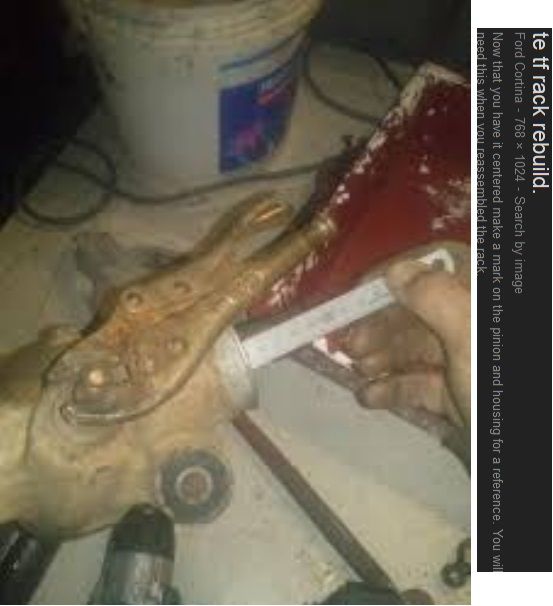
    Now that you have it centered make a mark on the pinion and housing for a reference.
    You will need this when you reassembled the rack.
    Can't see the marks that well in the picture, use either a punch or a file to mark it.

    Next remove the preload bush.
    Remove the retaining plate.
    There will be shims in there a spring and the bush, you can get replacement preload bushes.
    I reused the old one.

    Next removing the pinion.
    Remove the retaining plate , there will be a ring then shims a bearing the pinion a spacer and another bearing.
    You will need to use a center punch in the hole in the top knock out the bearings.
    If they go cockeyed they will wedge in and won't come out so keep them straight as you knock them out.

    Pop out the top seal put it aside to reuse it, pretty sure you can still get them but it's not like the are under any pressure, just there to keep the dust out.
    Put the pinion in upside down from the top to knock out the top bearing .

    Next pull out the rack shaft , may need to use some force.
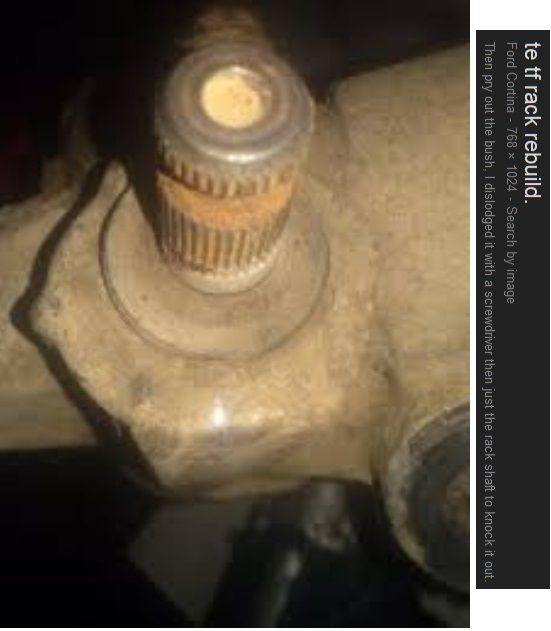
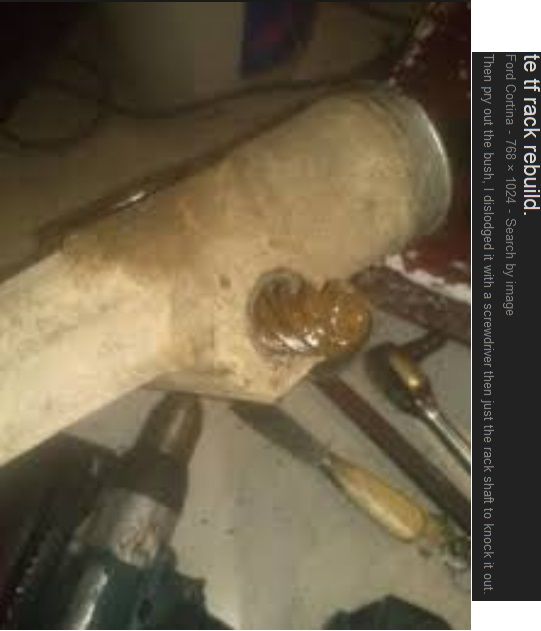
    Then pry out the bush, I dislodged it with a screwdriver then just the rack shaft to knock it out.

    Next clean all parts and inspect for damage , I painted the housing before assembly but you can paint after.
    Check teeth , ball end on the rackends , bearings etc for wear/damage .
    The best way to check the bearings is to hold in your palm and with other hand push with your thumb and rotate it , if it feels notchie it had pit marks in it. Should still be able to get them new, mine were good .
    Time to put it back together .
    First set up the preload on the pinion. Pack the bearings with grease, wheel bearing will be fine.
    Top bearing spacer as in picture push into housing, then lower bearing fits opposite to the top sorry no picture then shims ring and retaining plate.

    When fitted it should spin freely with no up or down movement and no side to side movement .
    I set it up with all the shims that come out of it but it was too loose and I didn't have any more shims so I made one out of sheet metal, ended up not having to use all the shims after that.
    You can see it sitting on the end plate.

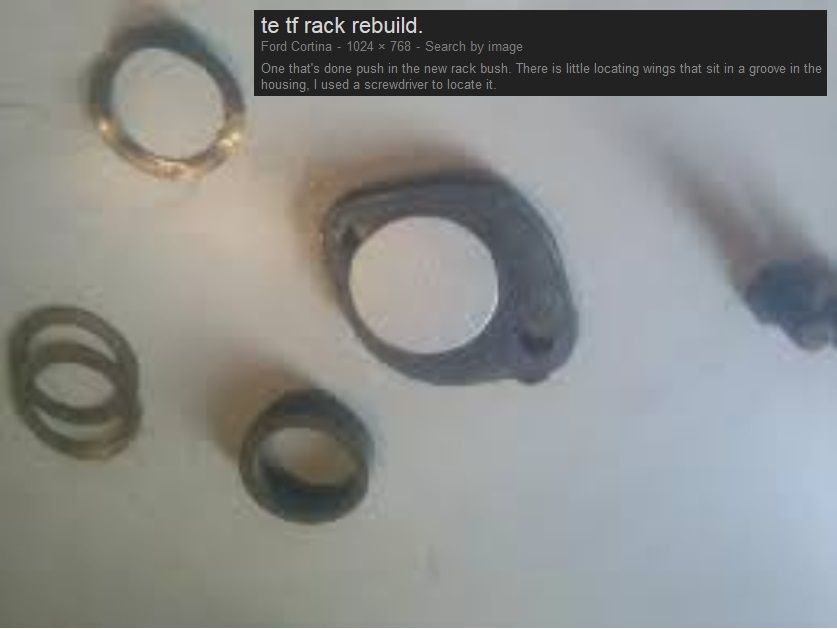
    One that's done push in the new rack bush. There is little locating wings that sit in a groove in the housing, I used a screwdriver to locate it.

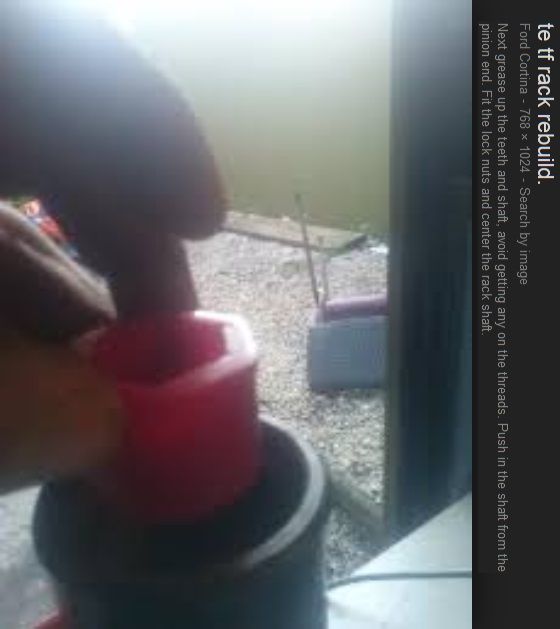
    Next grease up the teeth and shaft, avoid getting any on the threads.
    Push in the shaft from the pinion end.
    Fit the lock nuts and center the rack shaft.

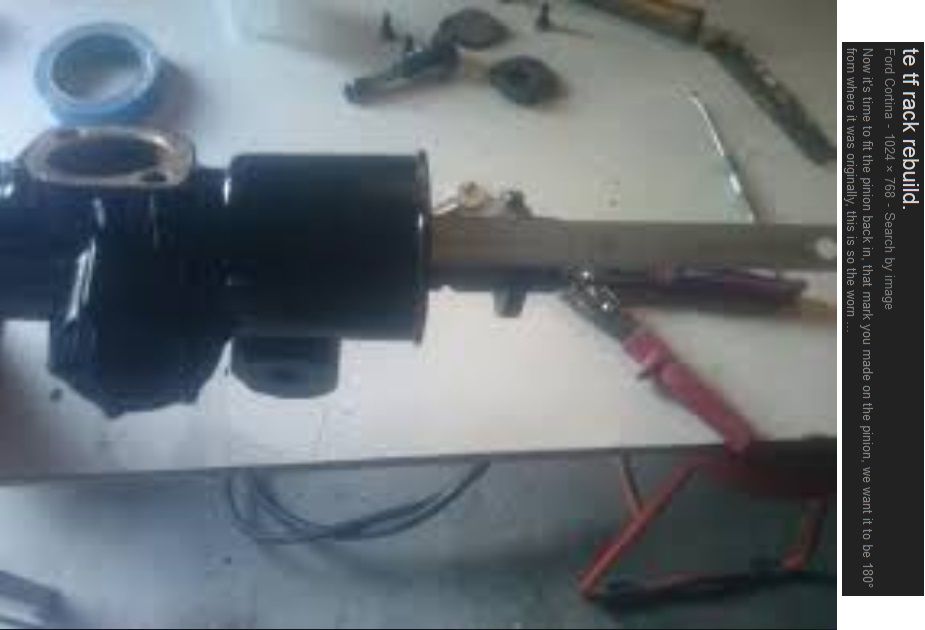
    Now it's time to fit the pinion back in, that mark you made on the pinion, we want it to be 180° from where it was originally, this is so the worn area on the pinion is now not in the center point of the rack .

    Setting up the preload bush.
    I ended up using the same amount of shims that was already in the rack, I did remove the gasket with is roughly the same thickness as a shim.
    One the preload shim is set up you want a small amount of movement, as in the picture you should be able to leavers the spanner back so the shaft will move about 2mm.
    Rotate the pinion with vice grips, if it feels tight and notchie the preload is too tight, If it's loose and has free play its too loose.

    Fitting the rackends, you can buy new ones but the old ones can be reused providing the ball end is still round.
    Put in the cup end with washer and spring, use some grease to hold it together.

    Fit into end of shaft.

    Grease the end, don't get any on the thread .
    Apply loctite , screw on.
    You want to have it tight enough that it supports is own weight and has resistance when you grab it and move it around, then tighten the lock ring.
    I would drill and pin like it was originally but I couldn't get the pins individualy, they still come in the p/s kits.
    Alternately this is how big norm did his http://fordcortina.com.au/newforum/i...64.msg7079#new

    Now grease the rack some more, apply more to the teeth plus bush end by turning it end to end repeat a few times, also on the rackends

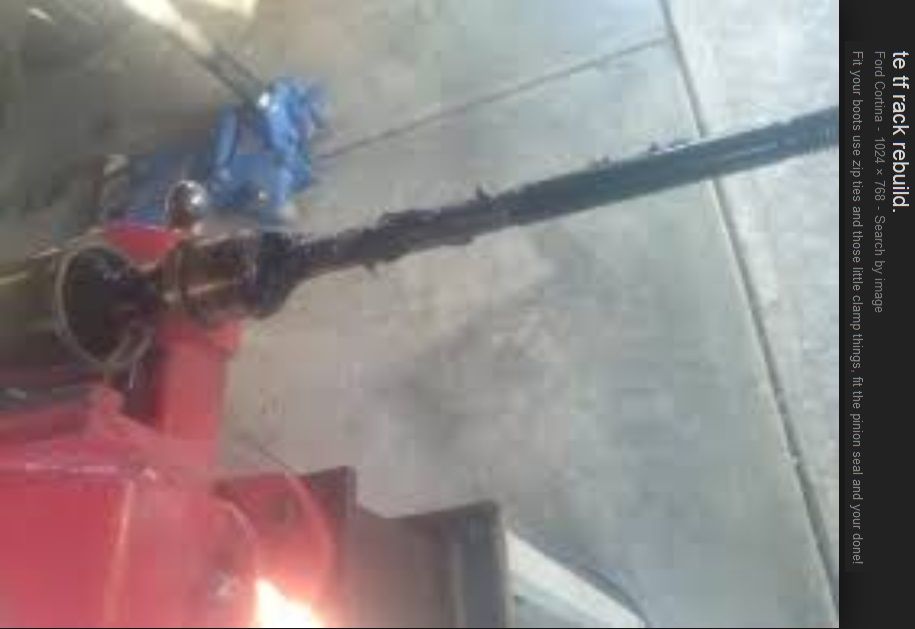
    Fit your boots use zip ties and those little clamp things, fit the pinion seal and your done!

    Here is the earlier TC/TD seal system, basically the same

    http://fordcortina.com.au/newforum/i...64.msg7079#new

    9 Steps to unassisted Rack and Pinion Nirvana...


  5. #5
    FEP Super Member xctasy's Avatar
    Join Date
    Jun 2012
    Location
    Dunedin 9011, New Zealand, South Pacific
    Posts
    3,961

    Default

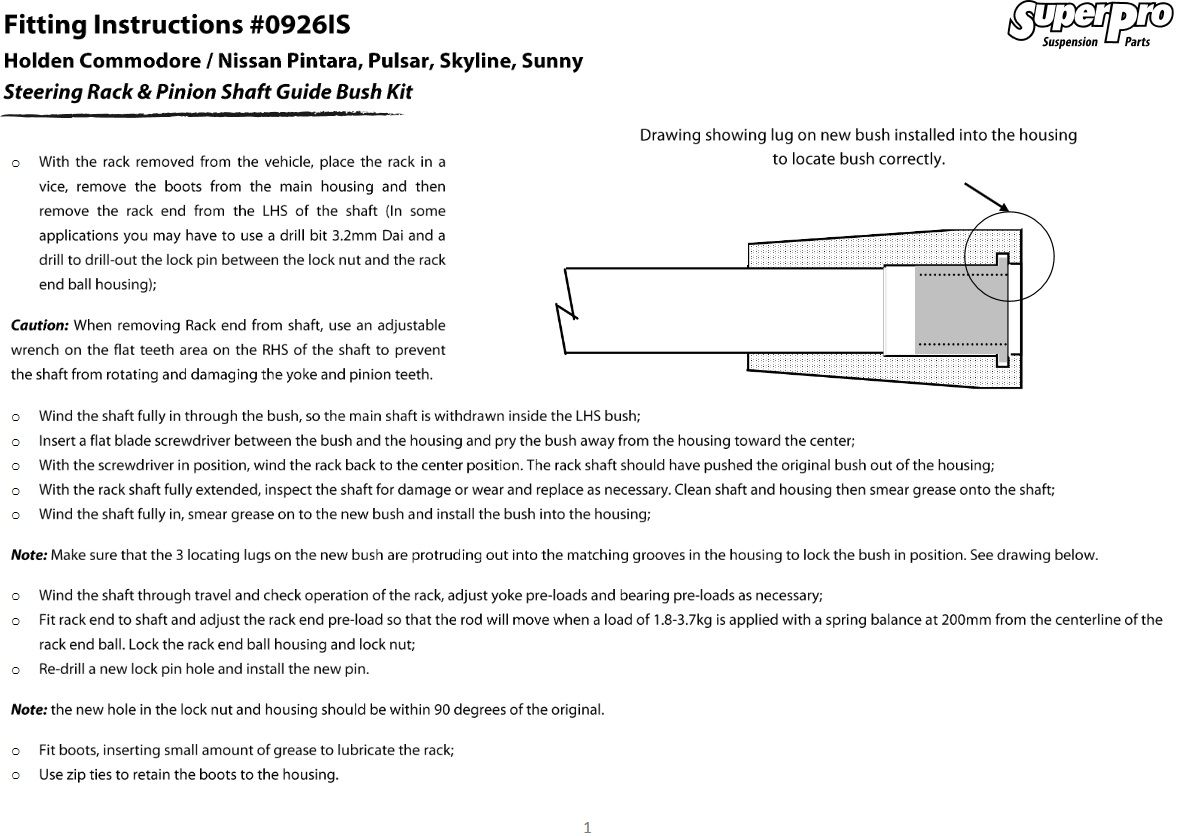
    http://www.superpro.com.au/find/supe...999500928/vid-


    http://imageapi.partsdb.com.au/api/I...SJmfYcI4IhU%3D


    They might have differed on the kind of suspension, but they were all the same steering system.


    manual


    powered

    100% Pinto/ Mustang II/ Fox

  6. #6
    FEP Power Member Mikestang's Avatar
    Join Date
    Aug 2013
    Location
    Firestone, CO
    Posts
    1,172

    Default

    Quote Originally Posted by wraithracing View Post
    I am down in TX right now. I have an old Capri here that might have a Ford manual rack. I don't remember, but I will try and remember to check it out either tomorrow or Tuesday and see. If so, I can try and get you some pictures.
    Thanks Trey, that would be awesome.
    1986 Ford Mustang GT-

    Not much stock stuff left
    347 NA power, CNC ported heads, Extrude honed Trick Flow Intake, Custom Cam
    Suspension, custom k- member, TQ arm/pan hard rod... Much more
    Restored and ready to race, made to go fast while cornering

    1981 Mustang GT-

    Old SCCA A-Sedan National Champ car
    In the middle of rebuild

    1986 LX Sedan-

    Plans to be determined...

    "Every day I learn how much I don't know"

  7. #7
    FEP Power Member Mikestang's Avatar
    Join Date
    Aug 2013
    Location
    Firestone, CO
    Posts
    1,172

    Default

    Thanks Ectasy, that kind of helps, it kind of confirms that there was a bushing in there. It was not plastic, for sure metal of some kind. Ill keep digging, I have a feeling I will be making something...
    1986 Ford Mustang GT-

    Not much stock stuff left
    347 NA power, CNC ported heads, Extrude honed Trick Flow Intake, Custom Cam
    Suspension, custom k- member, TQ arm/pan hard rod... Much more
    Restored and ready to race, made to go fast while cornering

    1981 Mustang GT-

    Old SCCA A-Sedan National Champ car
    In the middle of rebuild

    1986 LX Sedan-

    Plans to be determined...

    "Every day I learn how much I don't know"

  8. #8
    FEP Power Member Mikestang's Avatar
    Join Date
    Aug 2013
    Location
    Firestone, CO
    Posts
    1,172

    Default

    Humm, wondering if there was even a bushing on that side... The power rack does not have one on that side.

    Name:  20170710_102942.jpg
Views: 231
Size:  67.5 KB

    If there was a bushing it would not allow the preload spring to properly applypressure to the rack gears.

    Thoughts?

    Probably just chatting with myself...
    Last edited by Mikestang; 07-10-2017 at 08:03 PM.
    1986 Ford Mustang GT-

    Not much stock stuff left
    347 NA power, CNC ported heads, Extrude honed Trick Flow Intake, Custom Cam
    Suspension, custom k- member, TQ arm/pan hard rod... Much more
    Restored and ready to race, made to go fast while cornering

    1981 Mustang GT-

    Old SCCA A-Sedan National Champ car
    In the middle of rebuild

    1986 LX Sedan-

    Plans to be determined...

    "Every day I learn how much I don't know"

  9. #9
    FEP Super Member xctasy's Avatar
    Join Date
    Jun 2012
    Location
    Dunedin 9011, New Zealand, South Pacific
    Posts
    3,961

    Default

    You might br right.

    only one bushing exists in the #8591 Duralast 1978 manual steering kit...


  10. #10
    FEP Power Member Mikestang's Avatar
    Join Date
    Aug 2013
    Location
    Firestone, CO
    Posts
    1,172

    Default

    I put it together last light. I did go ahead a turn a bushing that fit in that side. That way the inner tie rod ends protrude the same distance into the rack.
    Curious still to see what Trey finds
    1986 Ford Mustang GT-

    Not much stock stuff left
    347 NA power, CNC ported heads, Extrude honed Trick Flow Intake, Custom Cam
    Suspension, custom k- member, TQ arm/pan hard rod... Much more
    Restored and ready to race, made to go fast while cornering

    1981 Mustang GT-

    Old SCCA A-Sedan National Champ car
    In the middle of rebuild

    1986 LX Sedan-

    Plans to be determined...

    "Every day I learn how much I don't know"

  11. #11
    FEP Power Member tonysilver82's Avatar
    Join Date
    Dec 2011
    Location
    stanton,alabama
    Posts
    1,282

    Default

    When I took my 81 manual rack apart there was no bushing and it works fine no slack

  12. #12
    FEP Power Member Mikestang's Avatar
    Join Date
    Aug 2013
    Location
    Firestone, CO
    Posts
    1,172

    Default

    Quote Originally Posted by tonysilver82 View Post
    When I took my 81 manual rack apart there was no bushing and it works fine no slack
    Thanks, good to hear
    1986 Ford Mustang GT-

    Not much stock stuff left
    347 NA power, CNC ported heads, Extrude honed Trick Flow Intake, Custom Cam
    Suspension, custom k- member, TQ arm/pan hard rod... Much more
    Restored and ready to race, made to go fast while cornering

    1981 Mustang GT-

    Old SCCA A-Sedan National Champ car
    In the middle of rebuild

    1986 LX Sedan-

    Plans to be determined...

    "Every day I learn how much I don't know"

  13. #13

    Default

    Flaming River aftermarket steering racks do not have a bushing on that side either.

    BTW, the Ford 1979-84 Mustang manual steering racks were manufactured by Cam Gear Limited in the UK. It closed down in 1983.
    Jack Hidley
    Maximum Motorsports Tech Support

  14. #14
    FEP Senior Member
    Join Date
    Jul 2010
    Location
    Texas Hillcountry
    Posts
    502

    Default

    Just spent saturday working on my manual ford rack. It looks identical to the one in your pictures. No bushing in mine either. That being said I worked on it because I was chasing a rattling sound. I could grab the passenger side tie rod , shake it, and get it to rattle. So I took it apart to see if it was missing a bushing or some other problem. I couldn't find anything out of place. The rack is supposed to only have 38k miles on it total. I put way more grease in it than was needed and eliminated the rattle coming from the rack. Though the real rattling sound I was actually looking for came from the brake pads.

Posting Permissions

  • You may not post new threads
  • You may not post replies
  • You may not post attachments
  • You may not edit your posts
  •