Close


Page 22 of 56 FirstFirst ... 12202122232432 ... LastLast
Results 526 to 550 of 1376
  1. #526
    Mike1157
    Guest

    Default

    Not much Gila Monsterin' today. Mostly chasing parts.

    I have had the hose kit for the AC system for months so today I decided to cut the hoses, install the ends so as to get them "clocked" right and took the whole mess 40 minutes to the north wher I have a guy that can crimp them for me for cheap. Since I had to do down town to get the push lock fittings, I called another guy I know in a driveshaft shop and told him that I had a poppa bear driveshaft out of my fairmont that was waaaay too long, and I had a mama bear drive shaft out of a 99 Mustang that was waay too short, and I was calling to see if he could combine the two to make a baby bear driveshaft that would be just right.
    He said bring em on down.
    So I did.

    I started at the brass shop, and took back the fittings that I didn't use, and dude didn't want to bother refunding/exchanging, so he just let me have what I needed. Even Steven.

    I dropped the driveshafts off at the other dude, and he told me to come by in a couple hours and he'd have me fixed up.

    I went on to the hose shop, and had other dude compress the 12 ends that make up my six hoses. He does that while I wait.

    He comes out in ten minutes and says "how about ten bucks". I said "That's great but I never carry cash, I'll go get you some from an ATM." He says "Don't bother, you can catch me next time".

    Uhh negative Ghost Rider,...when you have a guy that does what most AC shops do and charges you about a 10th of what they'd charge you, You damn well go to an ATM. Which I did. I returned ten minutes later w/ a 20, and told dude to have lunch on me.

    I call Driveshaft dude, and he has my baby bear shaft all finished up. "How much do I need to bring you?" I ask "Well to cut the 99 shaft so I could use that slip yoke, You needed a new U joint, I shortened the Fairmont shaft and welded the 99 junk onto your Fairmont shaft, and finished by balancing the assembly, hows 70 bucks sound?"

    "I'm on my way"

    I pick up baby bear and head for home, a whole 90 bucks lighter for the day, and not feeling the least bit bad about it.

    Again, by the time I get home it's afternoon. While I was in the car, I called my turbo supplier, and he said that he wanted me to let that dog eat. He had no problem w/ 90 PSI at the turbo oil supply, so who am I to argue?

    I set out putting the hoses in place permanently. The -10 suction is a giant pain in the ass because it over laps w/ the -6 onm one end, and the -8 at the compressor. needless to say, I was strugglin to make it work.

    I think I got it.


    Before it gets to busy wiring wise, I needed to get the hoses from the evap plumbed through the bulkhead connectors while i could still get my hands and a wrench on them.


    They exit here.


    Then follow along the inner fender where the -6 goes to a front mounted receiver/drier, and that pain in the ass - 10 takes a Jinkydoo and turns under the frame rail.


    There's also a braided -10 that is the water return line from the heater that goes through a bulk head and I plumb that into the upper radiator hose.

    Tomorrow, it's back to the hose shop (I forgot the - only this time I'll take it to Oreillys, where they'll charge me as much to make one hose as my guy did to make 5.

    Yea.

  2. #527

    Default

    Quote Originally Posted by Mike1157 View Post
    Uhh negative Ghost Rider,...when you have a guy that does what most AC shops do and charges you about a 10th of what they'd charge you, You damn well go to an ATM. Which I did. I returned ten minutes later w/ a 20, and told dude to have lunch on me.
    Yes, that's what I woulda done. You don't want the debt and you don't want to risk forgetting about it.

    I like how the hose says "Futura." Almost a shame to cover it up!

    Tomorrow, it's back to the hose shop (I forgot the - only this time I'll take it to Oreillys, where they'll charge me as much to make one hose as my guy did to make 5.
    I didn't know Oreillys did that kind of stuff. Is it a heavy duty location with a machine shop or something?
    Probably not worth driving 40 minutes, even though you know he'd do that hose for free.
    '88 Mustang GT convertible, T5, 3.08:1 gears. 5.0 Explobra Jet: A9L Mass Air conversion, Fenderwell Mac cold air intake, 70mm MAF meter = 4.6 T-Bird/Cougar housing + '95 Mustang F2VF-12B579-A1A sensor, aftermarket 70mm throttle body and spacer, Explorer intakes, GT40P heads with Alex's Parts springs and drilled for thermactor, Crane F3ZE-6529-AB 1.7 "Cobra" roller rockers, Ford Racing P50 headers, Mac H-pipe, Magnaflow catback, Walbro 190 LPH fuel pump, UPR firewall adjuster and quadrant with Ford OEM cable, 3G conversion ('95 Mustang V6), Taurus fan, rolled on Rustoleum gloss white paint...
    Past Four Eyes: Red well optioned '82 GT 5.0, Black T-top '81 Capri Black Magic 3.3L 4 speed, Black T-top '84 Capri RS 5.0 5 speed.Over 200,000 miles driven in Four Eyes, and over 350,000 in Fox Body cars.

  3. #528
    FEP Super Member xctasy's Avatar
    Join Date
    Jun 2012
    Location
    Dunedin 9011, New Zealand, South Pacific
    Posts
    3,961

    Default

    Quote Originally Posted by Mike1157 View Post
    Isn't it funny when as a result of either catastrophic failure, defect, or ignorance on the part of the installer, after having to go through the effort involved, and the time to tear the stuff apart, you are some how happy that you found broken, or screwed up junk?

    Such was the case this afternoon.

    I was telling the wife about the dilemma. No, scratch that.

    I was Bitching to the wife about the leaking piece of junk head gasket, and told her that i was gonna wait to tear it down till after I spoke w/ SCE tomorrow to see what he tells me. The wife asks real matter of factly....."Why?"
    "Why what?" I responded. "Why are you waiting,...Aren't you gonna have to tear it down anyway?" She asks.

    "Well,...yeah, I was just waiting till I got my mind around it." I replied.

    She says "Sounds pretty stupid if you ask me, how is it gonna be any different once you "get your mind around it?""

    I went down into the garage.

    I started on it at 5, I was done w/ it by 6:30. (Stuff always comes apart way faster than it goes together)

    Oil everywhere.


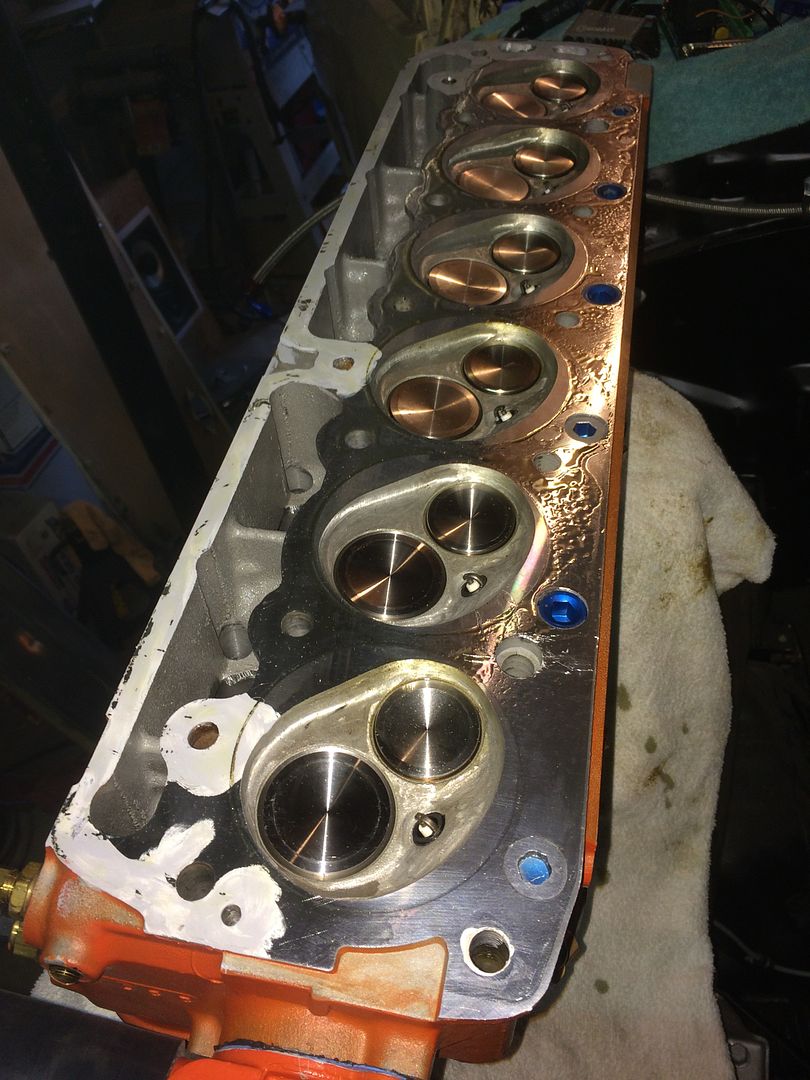
    The bluish stuff is Hondabond. Looking at the pic shows that Mike screwed up. He didn't think to seal the inside of the lifter galley. (But then again I figured that oil would find its way back into the engine on the inside)

    I'll take credit for that, what I want to know is how then did it get outside? That bead of Hondabond was on both the head surface, and the deck on the outside But the oil that is on the opposite side drained down the head bolt bosses and found its way between the gasket and the mating surfaces.

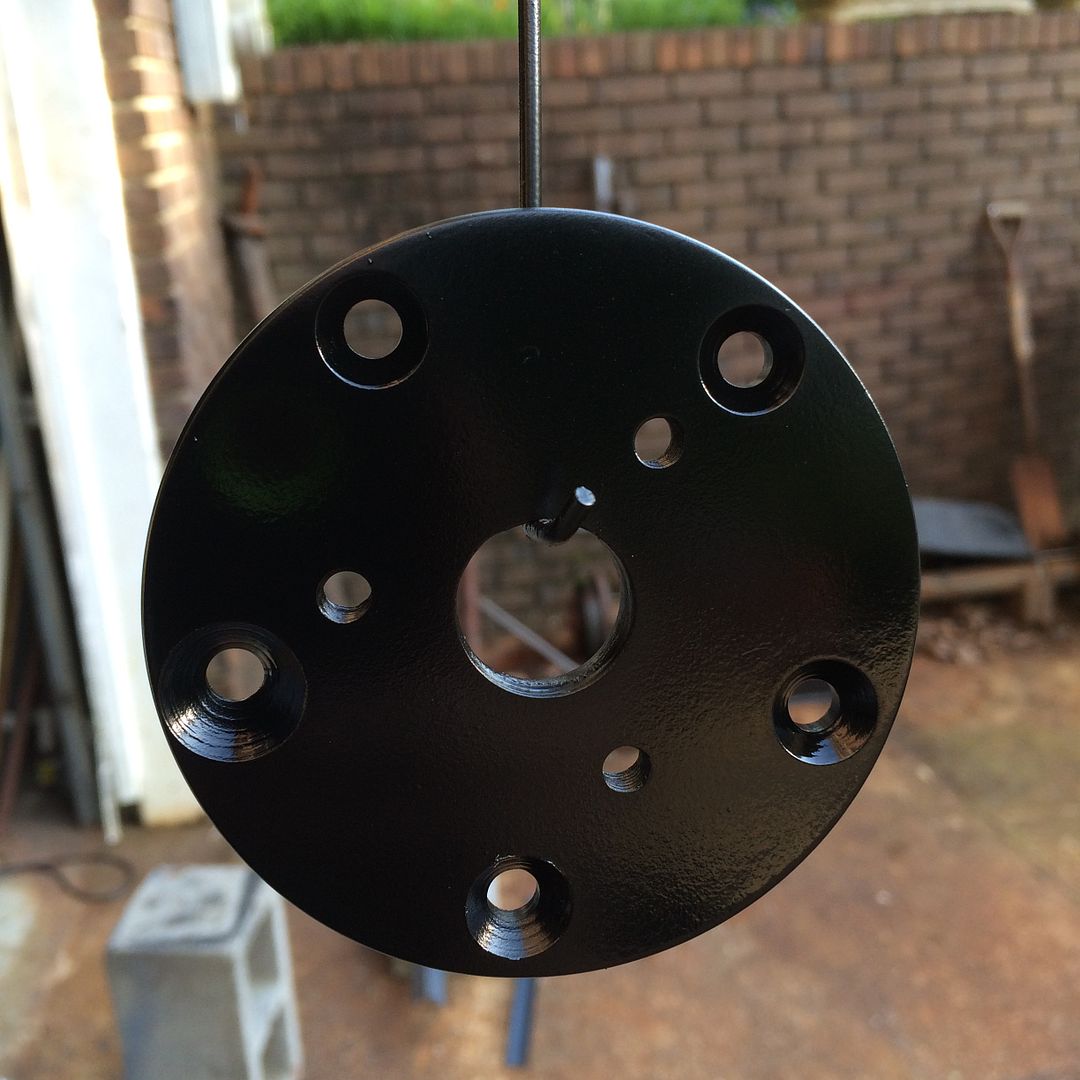
    Because there isn't any O-ring set into the block, or a receiver groove cut into the head, I bought a special gasket from SCE that has a wire ring sandwiched between the layers of copper, You might be able to see where that O-ring "printed" the head.


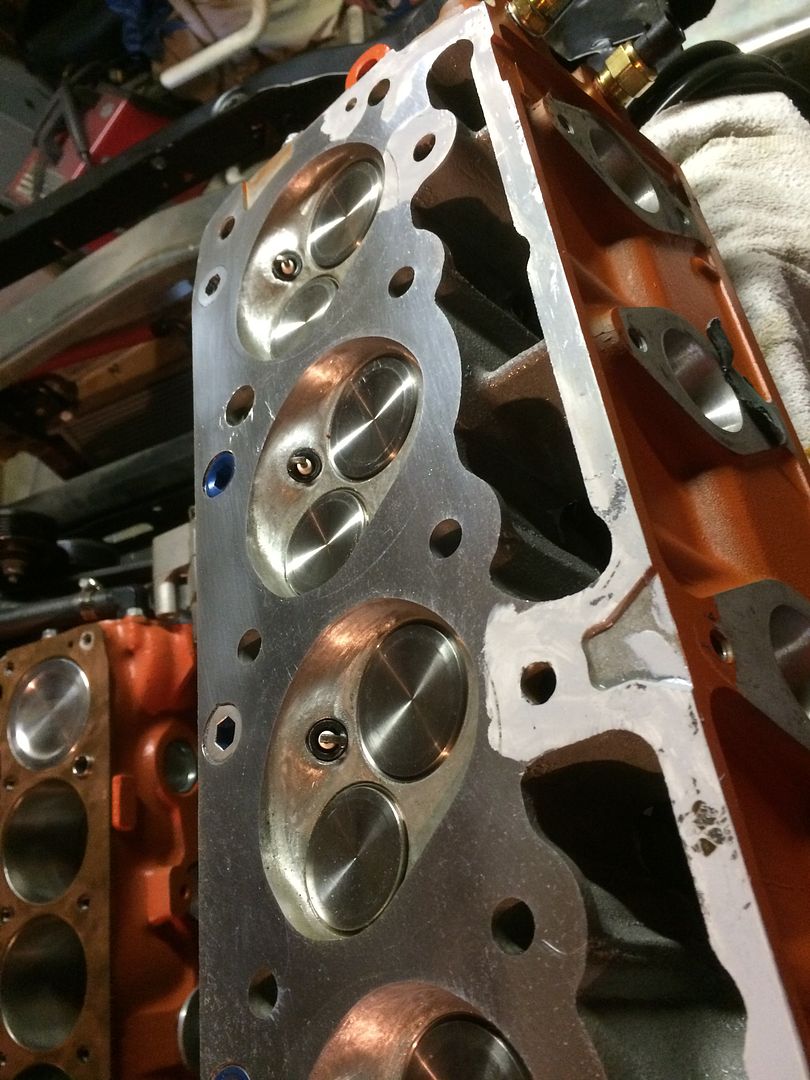
    Know what I'm thinkin' though? I'm thinkin' that O ring held the head off the deck far enough to not allow the sealant to do it's intended job. Either that, or the thin, "skim coat" layer of Hondabond wasn't thick enough.


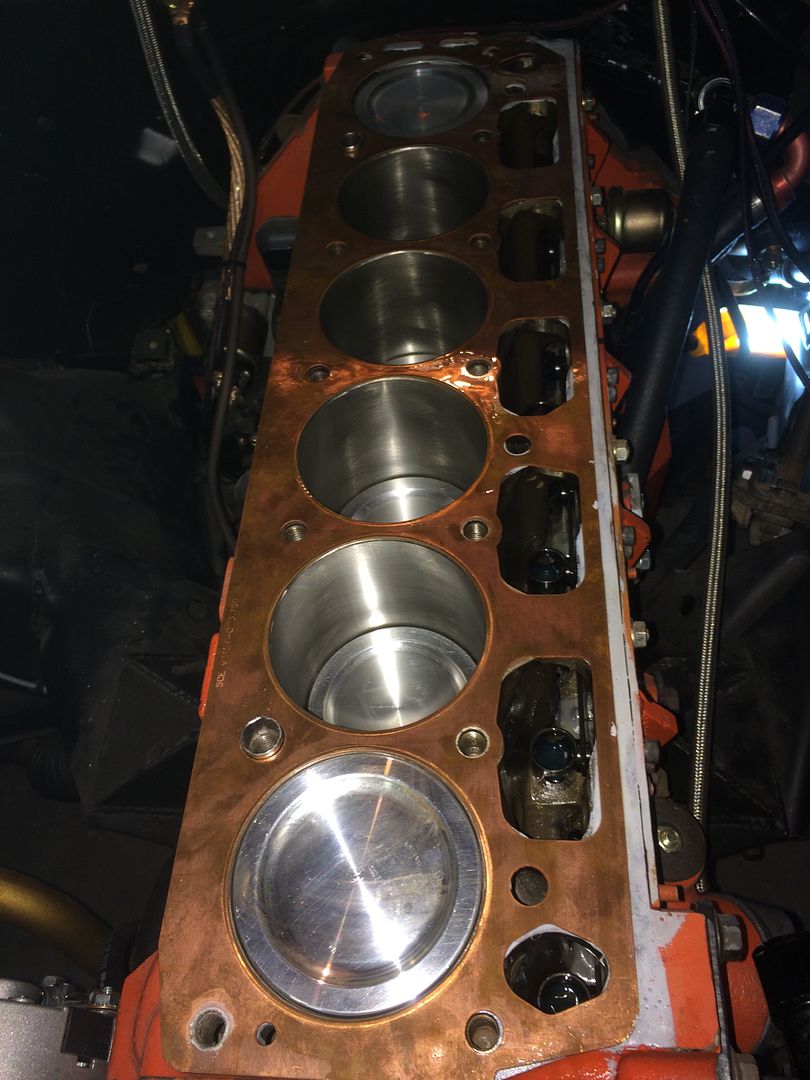
    Oil is everywhere though, It was just as wet under this gasket as it was on top. I don't know what to think.

    The problem w/ the Hondabond, is that it dries in a minute. By the time you get the deck coated, it's already dry where you started. Do the head, and by the time you're ready to set it, it's all dry. I'm thinkin' I want something that stays tacky for at least long enough to get it assembled. In retrospect, I'm thinkin' I don't want to have to put any sealer on the damn head gasket at all. I looked at the MLS gasket that I can have built. I'm concerned that where they'll have to add holes for water passages into the head, there won't be any provisions for sealing, like the embossed ridge you see on the outside edges.

    Potential leaks if you ask me.

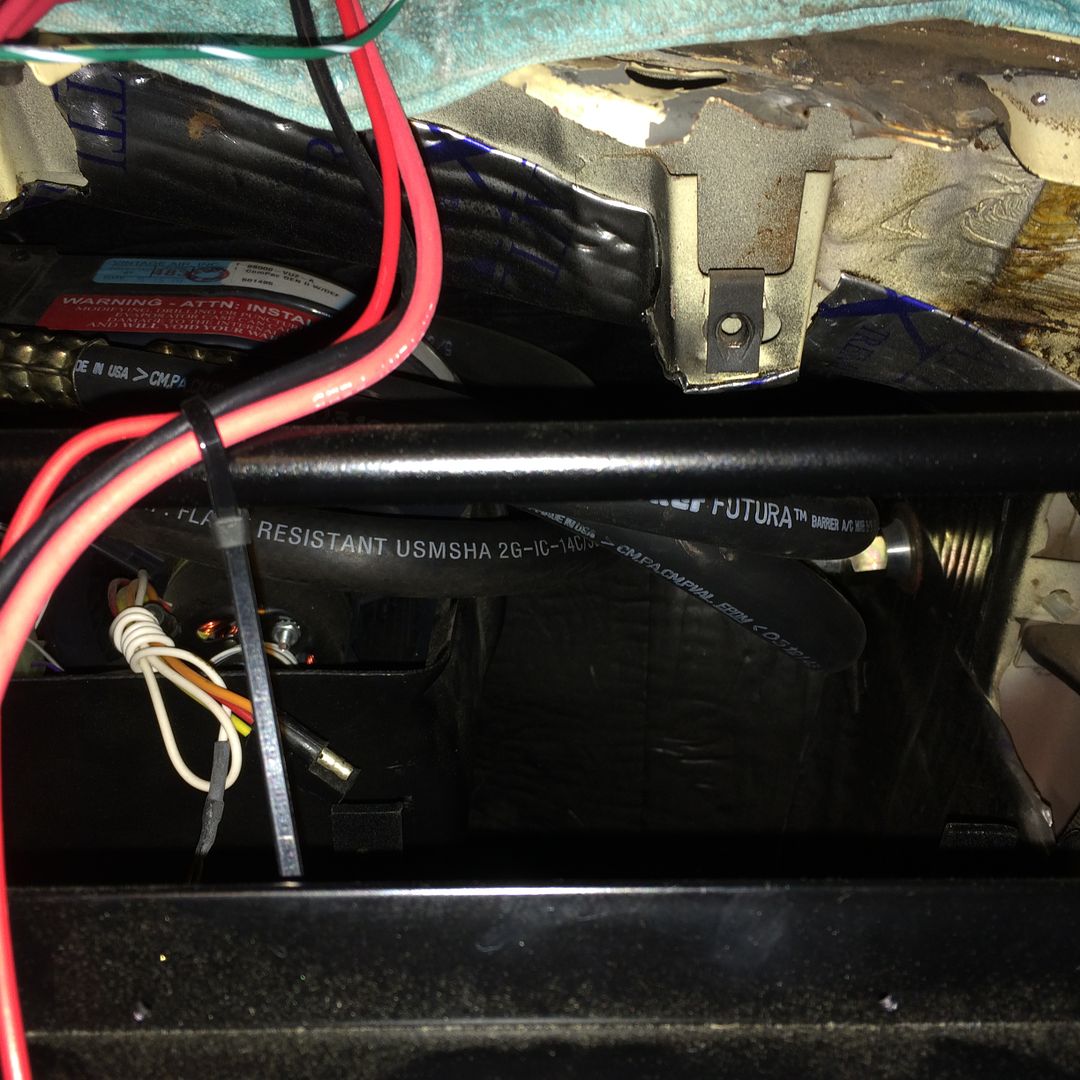
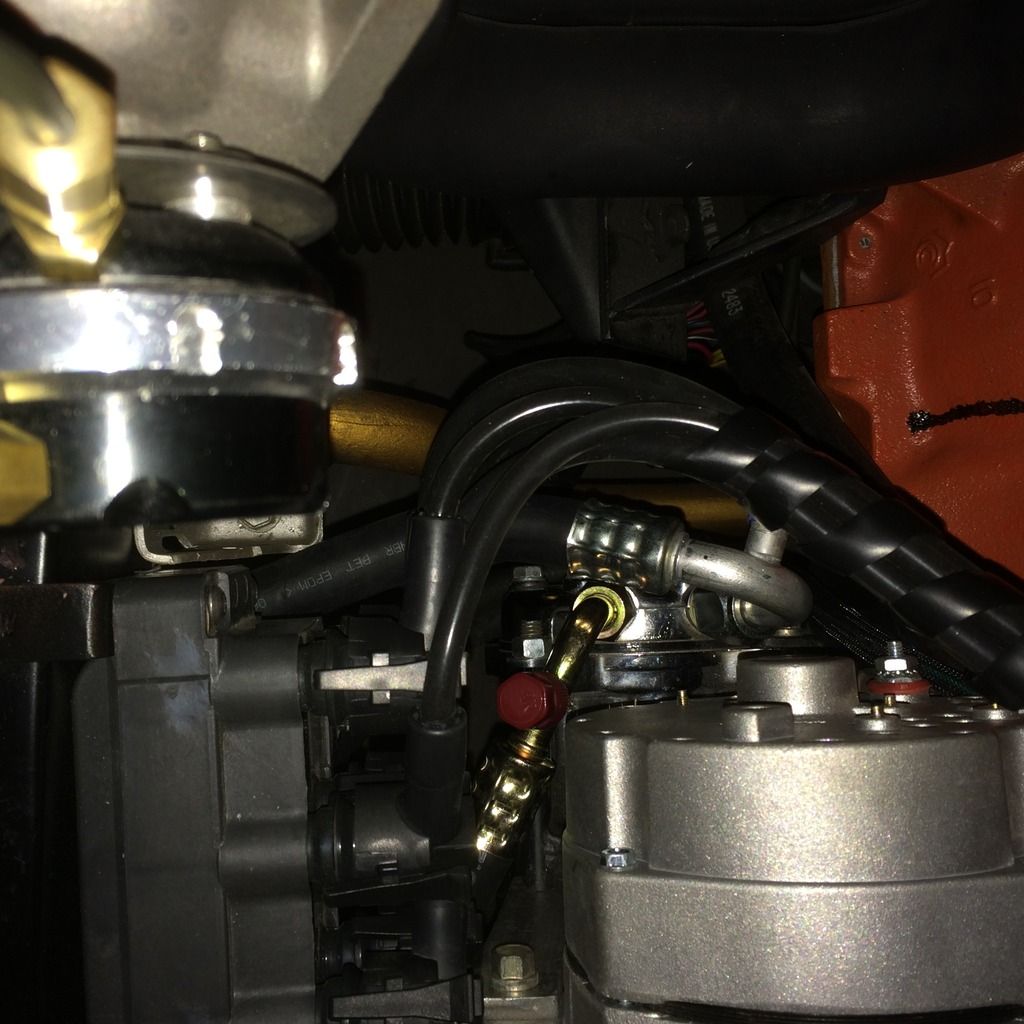
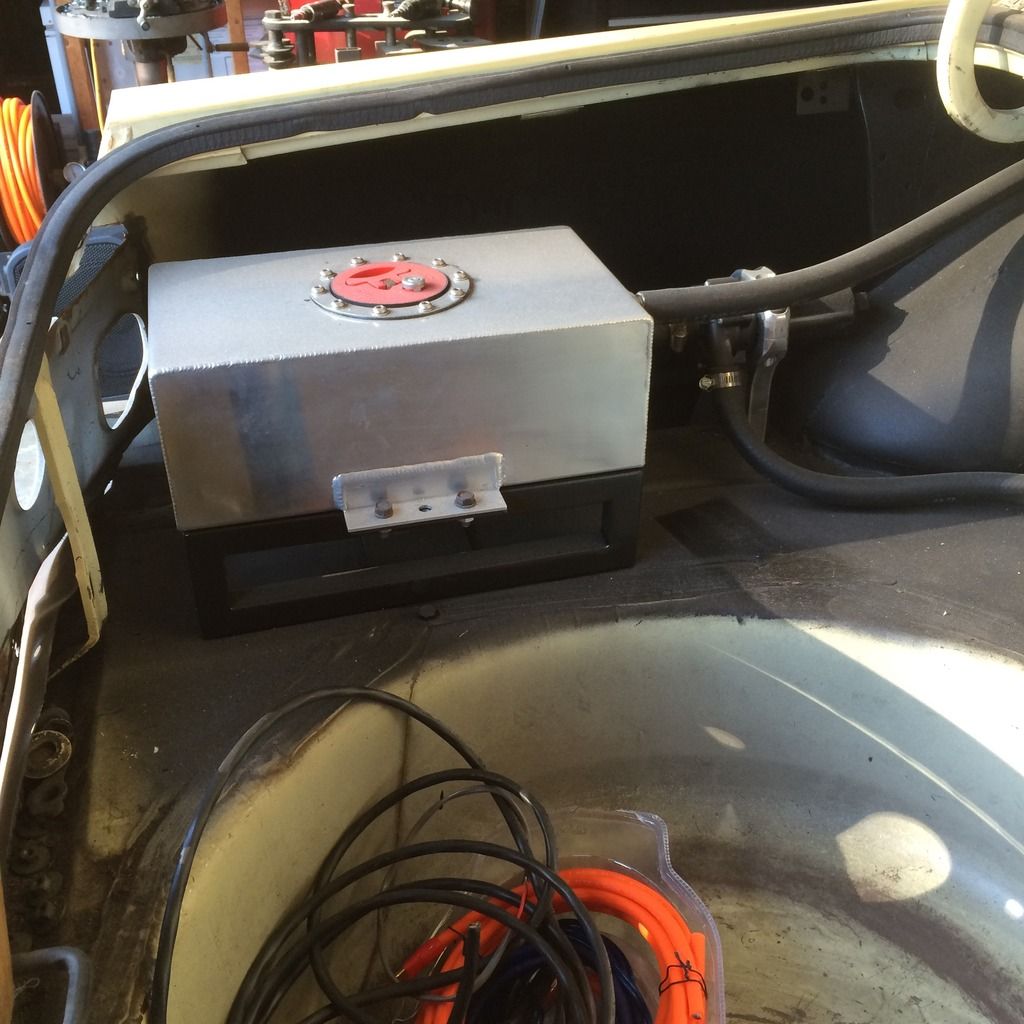
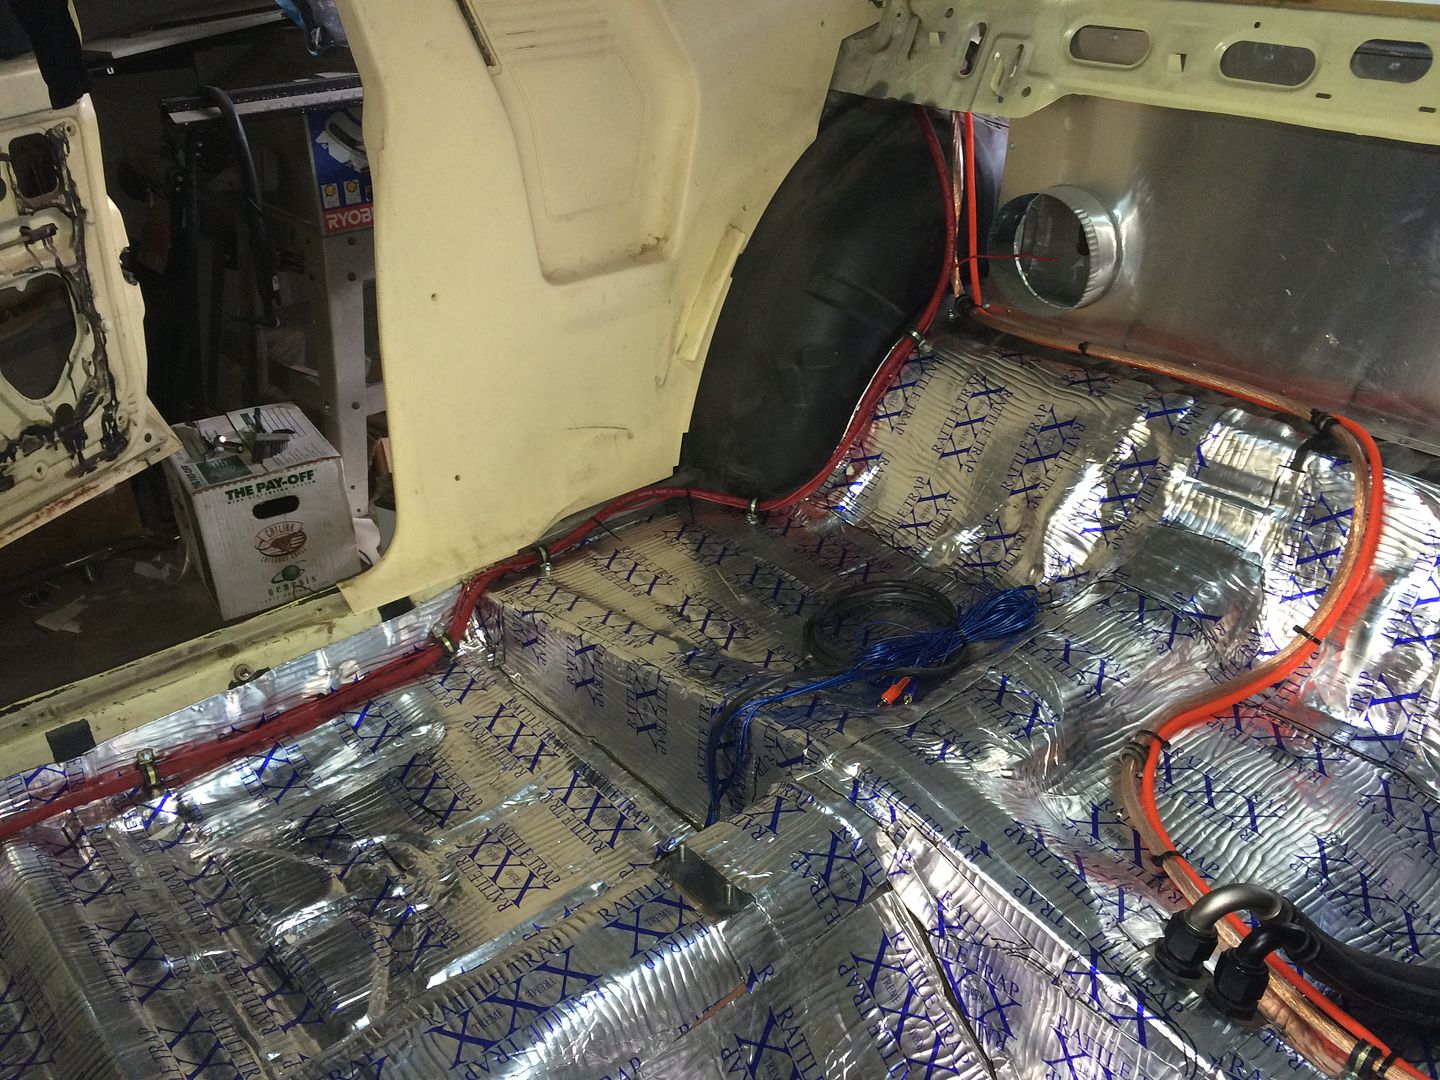
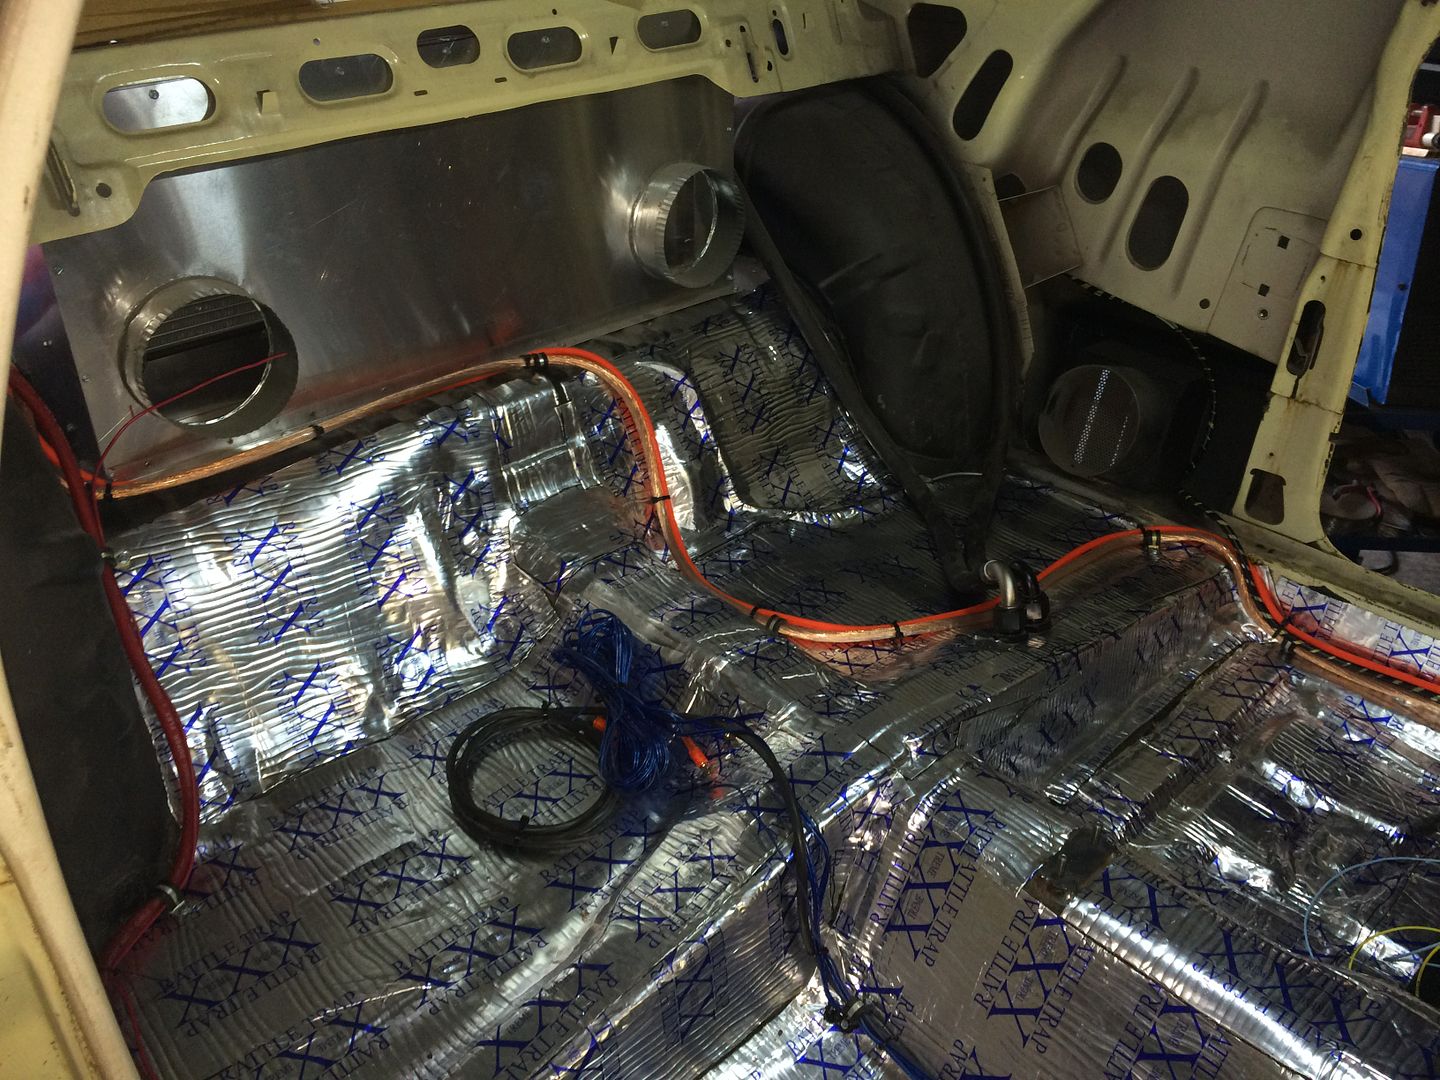
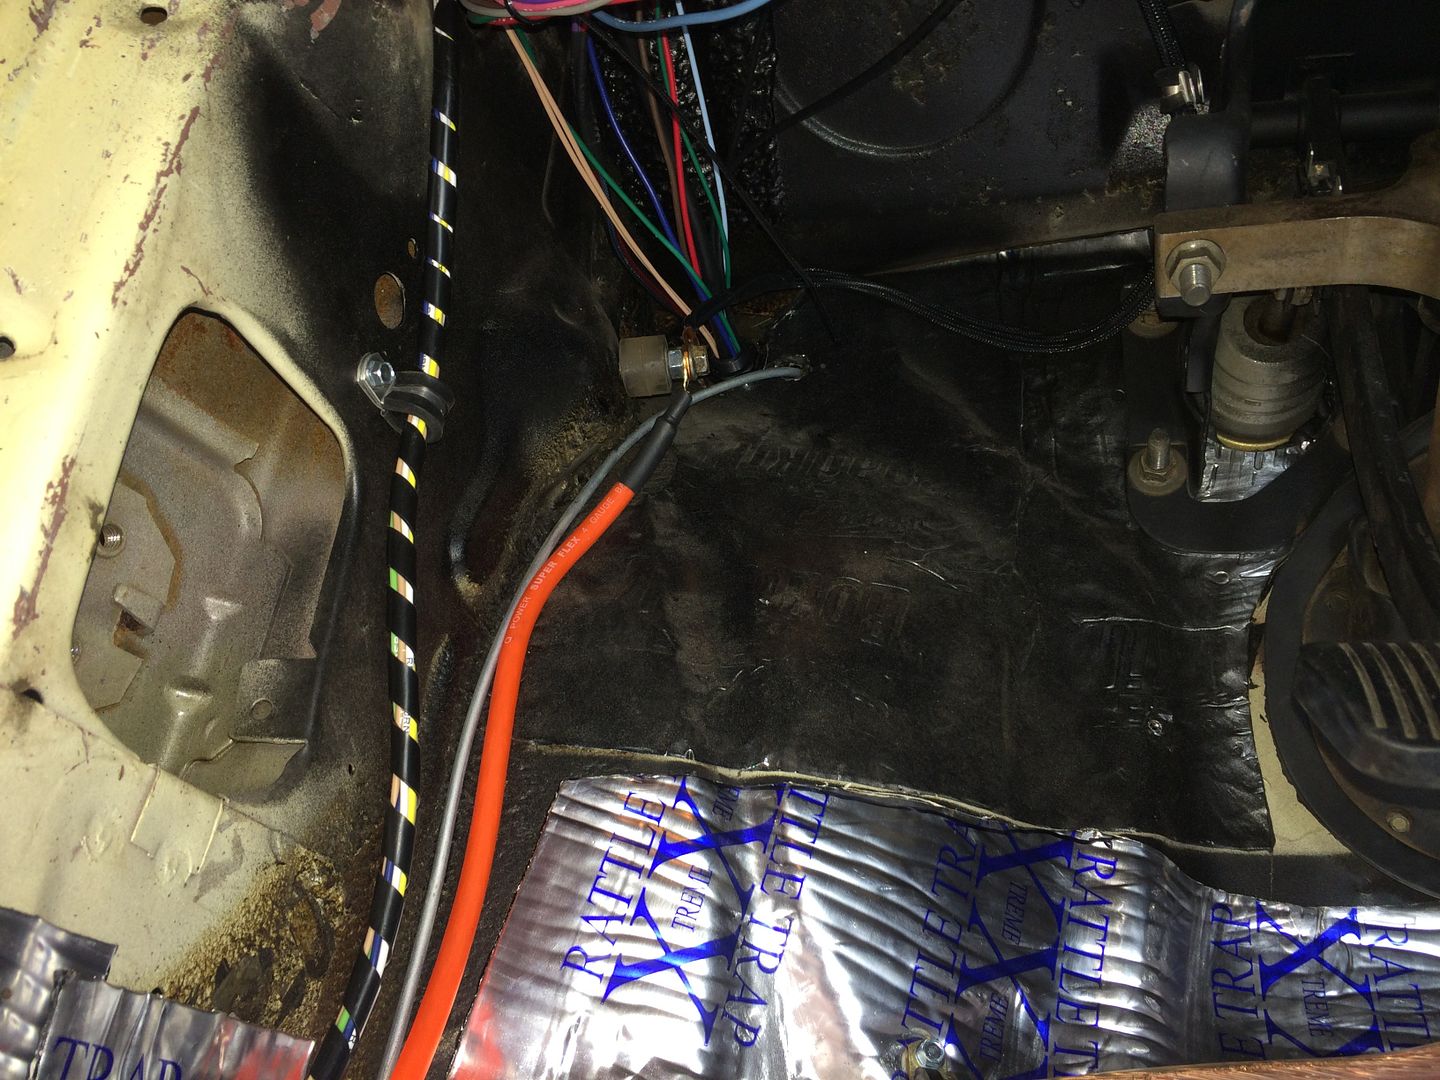
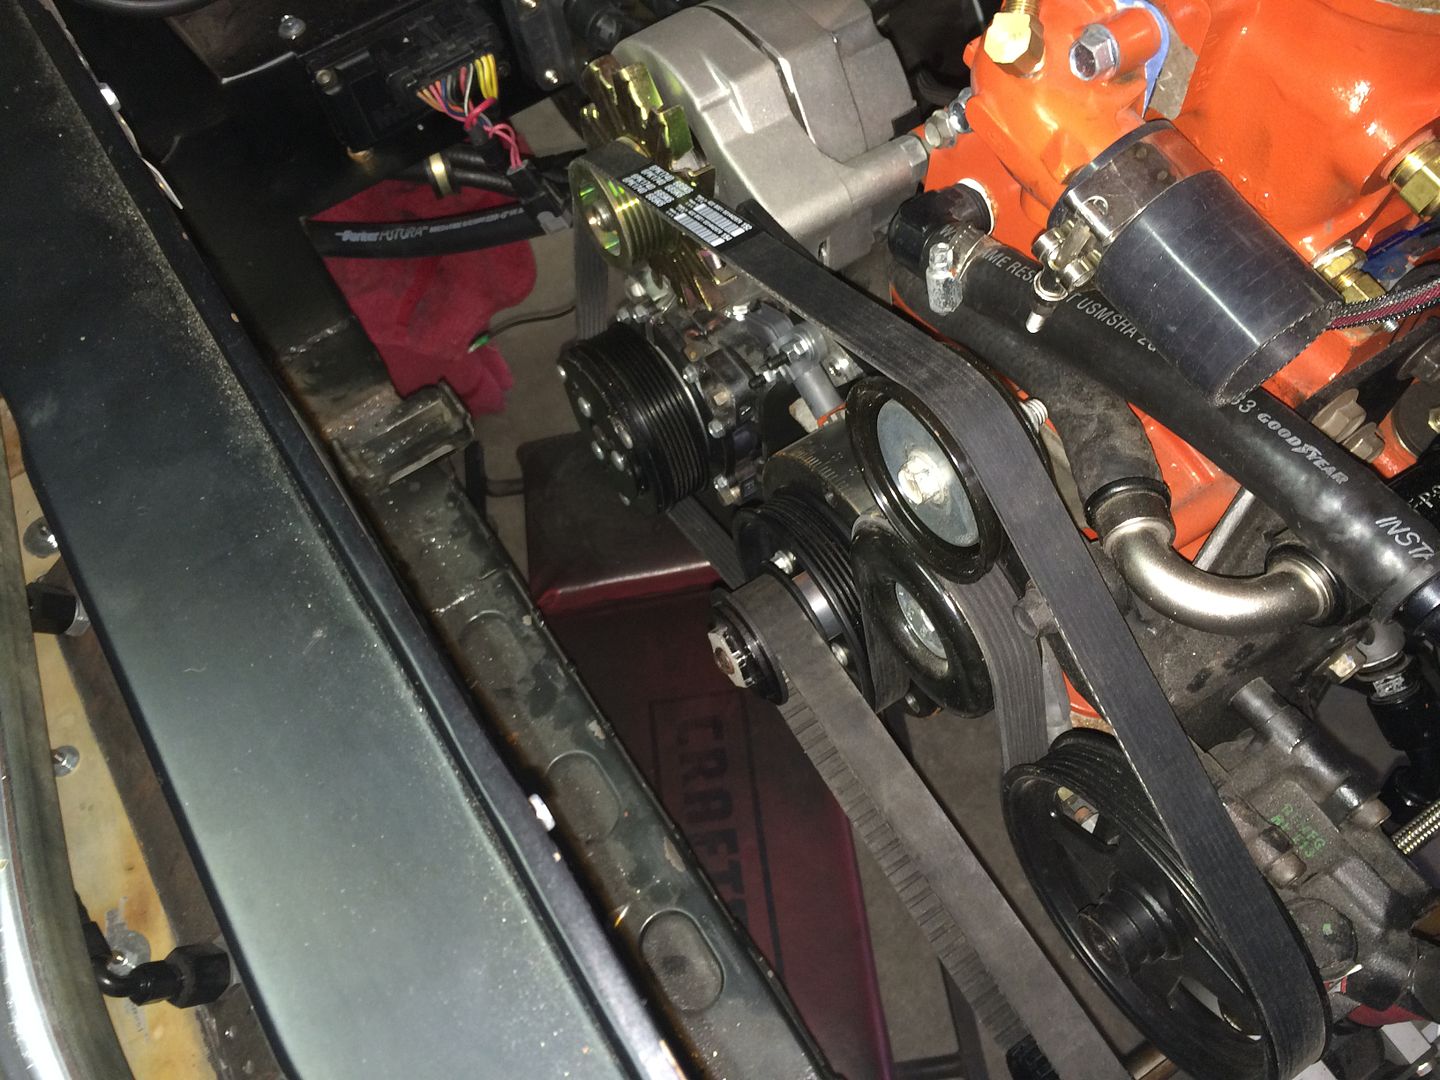
    I did take a pic of the -12 that feeds my oil pump. I'm thinkin' I'm screwed w/ that set up. My only hope is that right now w/ 6 qts of oil in there, and the oil still isn't touching the top of that kick out, Maybe if I add another qt, it'll force oil up and out based on gravity...
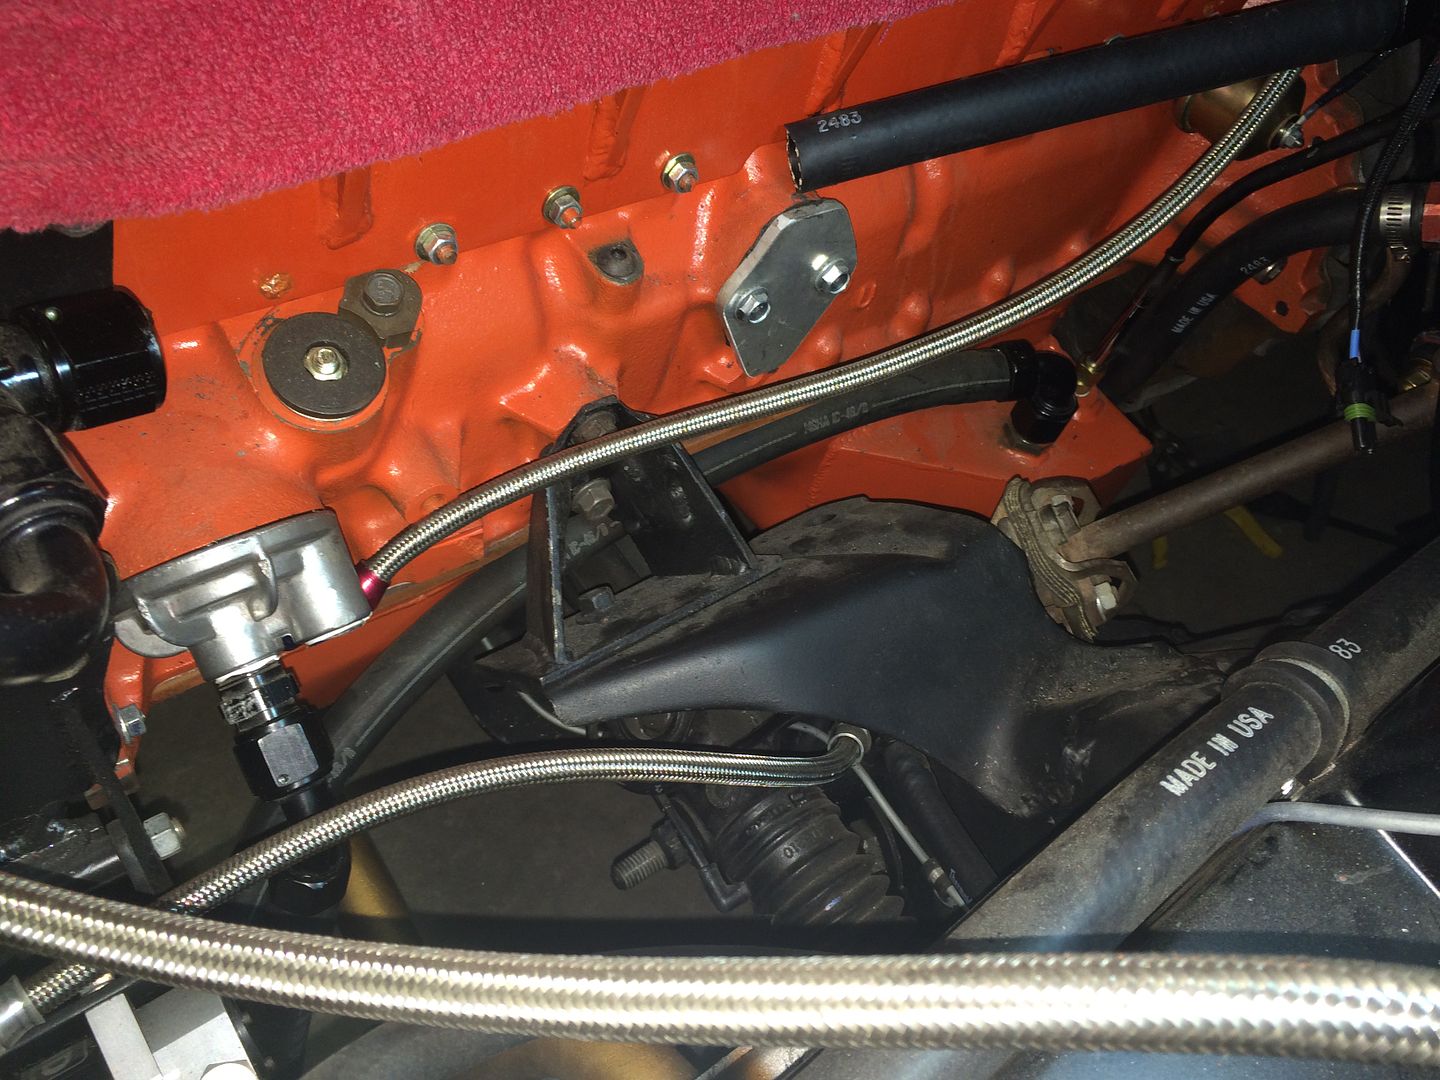
    http://www.fordsix.com/forum/viewtop...489248#p489248

    Quote Originally Posted by Does10s
    Quote Originally Posted by Emerald 74 4X4
    If this is going to be a street vehicle, I would weigh the copper gasket option a little. They can tend to leak coolant due to the lack of sealing surfaces. The compression holds great, but it's harder to keep the liquids contained. I am sure Does 10's has a couple secrets, but if I remember right, he does have coolant seepage issues on the Falcon.
    Very true statement.
    Copper head gaskets do tend to leak. We were no different. However....after some trial and error, I've found that putting "Right Stuff" silicon sealant on both sides of the gasket seals up the liquids very well.
    Later,
    Will
    Whatcha doping lookes like the right path...

  4. #529
    Mike1157
    Guest

    Default

    What? do you have me on some Cyber DVR and replying to my earlier "episodes". That pic is from 4 replies ago.
    Last edited by Mike1157; 04-30-2015 at 07:17 AM.

  5. #530
    Mike1157
    Guest

    Default

    Quote Originally Posted by grabbergreen84 View Post
    Yes, that's what I woulda done. You don't want the debt and you don't want to risk forgetting about it.


    I like how the hose says "Futura." Almost a shame to cover it up!


    I didn't know Oreillys did that kind of stuff. Is it a heavy duty location with a machine shop or something?
    Probably not worth driving 40 minutes, even though you know he'd do that hose for free.
    I was thinkin the same thing, but I guess it's for the best. As many things that are blatantly labeled w/ either SBC/BBC and are hidden that are on the engine, and way more important than a hose, I'll consider it a wash.
    Several of the Oreilly's are equipped to make hoses, but not all of them. You just have to take note of that as you walk in the door.

  6. #531
    FEP Super Member xctasy's Avatar
    Join Date
    Jun 2012
    Location
    Dunedin 9011, New Zealand, South Pacific
    Posts
    3,961

    Default

    Quote Originally Posted by Mike1157 View Post
    I was thinkin the same thing, but I guess it's for the best. As many things that are blatantly labeled w/ either SBC/BBC and are hidden that are on the engine, and way more important than a hose, I'll consider it a wash.
    Several of the Oreilly's are equipped to make hoses, but not all of them. You just have to take note of that as you walk in the door.

    Yep, slower than an 85 hp six in line, aint i?

    Back to the Futura

    https://m1.behance.net/rendition/mod...g?cb=495350802

    Just been going through all the info for a forth time.

    The hose is great.

    Now you need this book


  7. #532
    Mike1157
    Guest

    Default

    Piddlin',...piddlin', not doing much of jack.

    Just above, I said i ordered a turbo blanket. That blanket came in today. As did some header wrap, a 3/8" check valve for the power brake booster, and the speedo gear for the electronic gauge sender.
    (Which I am formally going on record right here and now. There is something f'd up about that POJ sender, it fits weird. Just so I can say "I knew that POJ was screwed up" after it fails)

    I installed the blanket, seems simple enough, and I'm satisfied w/ the quality.
    I wrapped what I could of the down pipe. I shoulda wrapped the thing when I had it off the engine during the head gasket fiasco,....but that didn't happen. And as much of a pain in the ass as it is to get that damn thing off when the exhaust manifold is in place,...it's just gonna have to do.

    I called Taylor wire, and asked their tech guy if I could wrap my plug wires in a bundle w/o worrying about crosstalk and wire arching, he said that that wasn't a problem. So I did the plug wires a little differently than I've ever done before. (Considering I've never had a lame ass 6 banger, that would stand to reason)

    I had the last AC line made up this morning. I was right. The guy charged me MORE to make the one line than my dude 40 miinutes away charged me to make 5. Oh well, It's done and now the AC system is sealed.


    That header wrap is some damn stuff called Lava wrap. It is so full of irritating, scratchy stuff, just touching it tells you that you're gonna itch somewhere.

    I put the momentary pushbutton and the led to calibrate the Innovate into Winkin, and wired the gauges w/ weather packs


    I installed the DS, and that suspect speedo sender into the tailshaft of the 4R70. Then I cleaned off about a years worth of accumulation of junk off of the trunk, and re-opened that dude because I've gotta decide where I want to put the Optima.

    Maybe here I think.

    All I know is that it cant go on the other side, That is now full of water reservoir, and pump.


    (A keen eye will see that I "recycled" a used BBC aluminum conn rod, and made it into a standoff to hold the Bosch water pump)

    I was thinkin' about dropping the battery into the spare wheel well and copy my boy Scott, but think I'll reserve that space as a future emergency tool storage space.

    All of these pics span about the last week, so it's not like I was Bucky Beaver today or anything, The sense of urgency to get it running hasn't hit me yet, so I'm still just taking stuff one day at a time.

  8. #533
    FEP Supporter
    82GTforME's Avatar
    Join Date
    Feb 2013
    Location
    Alberta, Canada
    Posts
    4,857

    Default

    Quote Originally Posted by Mike1157 View Post
    All of these pics span about the last week, so it's not like I was Bucky Beaver today or anything, The sense of urgency to get it running hasn't hit me yet, so I'm still just taking stuff one day at a time.
    Looking good Mike. I'm hearing you on the "one day at a time thing" but even though you may not have "the sense of urgency to get it running yet", I think the audience is getting anxious for it to happen!
    Quote Originally Posted by Travis T View Post
    I think this is my favorite car on the site right now.
    Quote Originally Posted by BLUECRAPI
    This is the best thread on the internet.
    Darran
    1982-1C (Black) GT T-Top:http://vb.foureyedpride.com/showthre...he-Road-Thread
    1986-9L (Oxford White) SVO: http://vb.foureyedpride.com/showthre...d-did-1986-SVO
    1979 (85:Tangerine) Coupe (my son's): http://vb.foureyedpride.com/showthre...gerine-Machine
    1979 (3F:Light Medium Blue) Coupe (one day to be my other son's!) http://vb.foureyedpride.com/showthre...um-Blue-Bomber!

  9. #534
    FEP Power Member bridgener's Avatar
    Join Date
    Jun 2008
    Location
    Montreal
    Posts
    1,039

    Default

    I'm liking the hydraulic hose "coil wrap" on your plug wires. Very tidy!
    Brian

    1982 Capri 5.0L
    1965 Fastback project car - more rusty than not

  10. #535

    Default

    Quote Originally Posted by bridgener View Post
    I'm liking the hydraulic hose "coil wrap" on your plug wires. Very tidy!
    And "factory" looking.
    '88 Mustang GT convertible, T5, 3.08:1 gears. 5.0 Explobra Jet: A9L Mass Air conversion, Fenderwell Mac cold air intake, 70mm MAF meter = 4.6 T-Bird/Cougar housing + '95 Mustang F2VF-12B579-A1A sensor, aftermarket 70mm throttle body and spacer, Explorer intakes, GT40P heads with Alex's Parts springs and drilled for thermactor, Crane F3ZE-6529-AB 1.7 "Cobra" roller rockers, Ford Racing P50 headers, Mac H-pipe, Magnaflow catback, Walbro 190 LPH fuel pump, UPR firewall adjuster and quadrant with Ford OEM cable, 3G conversion ('95 Mustang V6), Taurus fan, rolled on Rustoleum gloss white paint...
    Past Four Eyes: Red well optioned '82 GT 5.0, Black T-top '81 Capri Black Magic 3.3L 4 speed, Black T-top '84 Capri RS 5.0 5 speed.Over 200,000 miles driven in Four Eyes, and over 350,000 in Fox Body cars.

  11. #536
    Mike1157
    Guest

    Default

    I am the killer of days.

    Give me a perfectly good 8-10 hour day, and I will lay waste to that Dude as if it were a mere minute.

    Sunday was such a day. All set to make "significant" progress today. I laid in bed at 6AM going over the plan so as to accomplish the most possible.

    I decided that I was gonna get back on the wiring, because I wanted to finish up the column and get it buttoned up. I started off doing just that. I got the wipers working,....but not to factory spec, I have three positions,....low, high, and off. What's missing from that is the magic that is the "park" mode, where the wipers reset themselves instead of just stopping where you turn them off. (How to make that work is beyond me).
    Bottom line is
    #1. I don't care.
    and
    #2. If this car sees more water than what it gets from washing it, that'll be a miracle. So for now the fact that I have working wipers w/ both speeds is 21st century stuff.
    I figured out the headlight circuit, and I now have working park, headlights, and high beams.
    This part wasn't w/o it's own drama, because this is a problem:

    See, when I first hooked up the low beams, I had nothing. I hooked up the high beams and I had that, but no lows. I thought "you dumb bastard, all you gotta do is dim the lights back down to low beam. But I couldn't. That stupid new steering wheel is so close to the lever, it wont let you pull it forward to dim/brighten the lights.
    Now when I had the other wheel, I had a black gloss billet spacer that spaced the wheel back 2". This wheel doesn't use that spacer, it won't fit.. So I had to make an adapter to allow me to use it.
    I transferred the circumference of the spacer onto a piece of 1/4" aluminum, and cut it out w/ my portable band saw. To get it perfectly round, I drilled a hole in the center big enough to getva 7/16 bolt through, then chucked that dude up in my patent pending, redneckified, poor mans' Bridgeport.

    This thing worked like a champ. W/i a minute it was perfectly round.
    I'll tell ya this, If nobody comments on this, I'm just gonna stop posting. I deserve a cookie for that one.
    I drilled it full of holes, hand sanded the thing after that, shot it w/ some rattle can, and Viola' a spacer/adapter:


    Now for some real, unadulterated time killing:

    Now that I had the column all wired, I wanted to close it up. Months ago, I made the column trim out of steel. Today, I decided to wrap that steel in leather.
    (Big mistake)
    The holes are drilled and tapped for the thing in it's naked state. Covering the thing in leather add's at least 1/8" between the two halves, and now none of the holes come even close as far as lining up. Lets not even mention what kind of a pain in the ass it was to cover, now the stupid thing wouldn't go back together.
    I had to modify. I had to adapt. I had to overcome. I made it work.


    Not perfect by any stretch of the imagination, there are some raw edges in a couple of places, and I think the steering wheel is gonna rub. But since I didn't have the screws to bolt the adapter onto the spacer, that'll just have to be another bridge I cross another day.
    Last edited by Mike1157; 05-03-2015 at 08:11 PM.

  12. #537
    FEP Power Member bridgener's Avatar
    Join Date
    Jun 2008
    Location
    Montreal
    Posts
    1,039

    Default

    Well, they don't call them "glorified drill presses" for nothing! How'd you feed the grinder into the piece you were machining?

    Seems like a pretty productive day to me!
    Brian

    1982 Capri 5.0L
    1965 Fastback project car - more rusty than not

  13. #538
    Mike1157
    Guest

    Default

    Quote Originally Posted by bridgener View Post
    Well, they don't call them "glorified drill presses" for nothing! How'd you feed the grinder into the piece you were machining?

    Seems like a pretty productive day to me!
    The table swings when you loosen it to raise it. You shoulda seen the aluminum dust fly when I first "introduced" the two of them to each other.

  14. #539
    FEP Super Member mustangxtreme's Avatar
    Join Date
    Feb 2009
    Location
    Snohomish, Wa
    Posts
    4,021

    Default

    The "machining of the spacer" looks like something I would do. Well done.
    Dave

    If common sense was common wouldn't it just be sense?

    1983 Capri L T top 5.0 efi aod
    1983 Capri RS Turbo
    1981 Black Magic 400 c6
    93 F-250 351 5sp 4x4

  15. #540

    Default


    That's some good ingenuity. Major props!
    '88 Mustang GT convertible, T5, 3.08:1 gears. 5.0 Explobra Jet: A9L Mass Air conversion, Fenderwell Mac cold air intake, 70mm MAF meter = 4.6 T-Bird/Cougar housing + '95 Mustang F2VF-12B579-A1A sensor, aftermarket 70mm throttle body and spacer, Explorer intakes, GT40P heads with Alex's Parts springs and drilled for thermactor, Crane F3ZE-6529-AB 1.7 "Cobra" roller rockers, Ford Racing P50 headers, Mac H-pipe, Magnaflow catback, Walbro 190 LPH fuel pump, UPR firewall adjuster and quadrant with Ford OEM cable, 3G conversion ('95 Mustang V6), Taurus fan, rolled on Rustoleum gloss white paint...
    Past Four Eyes: Red well optioned '82 GT 5.0, Black T-top '81 Capri Black Magic 3.3L 4 speed, Black T-top '84 Capri RS 5.0 5 speed.Over 200,000 miles driven in Four Eyes, and over 350,000 in Fox Body cars.

  16. #541
    FEP Super Member Travis T's Avatar
    Join Date
    Jan 2011
    Location
    China Grove, North Carolina
    Posts
    5,267

    Default

    Looks like something I would do, if I had the luxury of a drill press!
    1984 Mustang GT owned since 1991 (first car). Mercury Mountaineer GT-40P engine, some suspension mods, currently undergoing a five lug SN95 brake upgrade and more suspension mods. Some minor body and interior mods have been done as well.

    2004 GT convertible, 2001 Taurus LX, 1994 F150, 1950 F-1 Ford Pickup

  17. #542

    Default

    Hahaha, that's sweet.

    I think the steering column looks great! I've done a bit of "upholstering" (if you could call what I did that) myself, and I think you did a great job wrapping it. The holes for the stalks look great!
    Brad

    '79 Mercury Zephyr ES 5.0L GT40 EFI, T-5
    '17 Ford Focus ST
    '14 Ford Fusion SE Manual

  18. #543
    Mike1157
    Guest

    Default

    So as to be able to move the wires to the rear, and not have to undo anything, I cleared the driver side floor of all the junk, trash, and non-essential parts that have been amassing there forever. I scraped the rest of the undercoating off to what seemed to me to be a stupid procedure. (Scraping off sound deadener to put sound deadener back on) I built the DS seat rear mount and bolted it through the floor. Once it was completed, I covered the driver side of the passenger compartment in my sound deadener of choice. (Ebay, wannabe Dynamat.)

    Once covered, I ran the ground cable, and the wires that go to the rear of the car.

    This is hopefully how I'm supposed to run my grounds. (Cause it's pretty much a done deal at this point)
    From what I read, all sensitive electronics, and sensors should be grounded at the engine. The pic shows the main ground cable, three 12 ga wires crimped under one lug that the ECU, sensors, and gauges will tie back to, and one 10 ga. wire ran to the body all fastened to a 3/8" bulkhead that is anchored to the engine on the other side via a 2 ga cable.
    I had bought the necessary bolts to bolt my steering wheel back on.


    I was right,....it rubs.
    Last edited by Mike1157; 05-04-2015 at 08:45 PM.

  19. #544
    Mike1157
    Guest

    Default

    Tonight's update is brought to you by the makers of extra strength Tylenol.

    And by......

    Hoffman-LaRoche.

    Whom without their ongoing support, this update would not be possible.

    I'm back on my knees.

    Just when I start to think that I've ran all of the necessary wires to get all of the circuits accounted for, another damn omission stares back at me, in the form of a forgotten wire.

    I started out by finishing the entire floor. Now it's all covered. For those of you asking yourself, As nice as this car is gonna be, why he didn't paint the inside to what will amount to be a completely different color before he laid all of that sound deadener on top?

    I'd point out:

    It's hidden.... The old body color is now "time capsuled", trapped under a non-removeable layer of foil faced tar. That will be under jute, and That, will be under carpet. I don't even care that old yeller is under all of that. I started out like I cared,....measuring each piece, trimming it to fit, butting the next piece up against the previous, but by the time it got down to the back seat,..I thought "Who cares if the stuff is wrinkled,...Who cares if it over laps?"
    I slathered the rest on after that.

    Once all of that was done, (and I used every little bit of that stuff) I fastened down the three cables that now run to my battery.


    I called The tech guy at Megasquirt and asked how he suggested that I run my grounds. He wanted a separate, dedicated run to the battery for the sensors, ECU, and Relay board, and a ground to the engine block, frame , and chassis for the starter and all other devices that are not in category 1.

    I had some 4gauge from an "amp kit" that I bought to power my 3 channel amplifier for the stereo system. Since the amp is in the back, and the battery is as well, I didn't need that much, so I ran the bulk of it as a ECU ground.

    I found an old rubber isolater for the AC condenser. I had 5/16 studs on each end. I checked for continuity to be sure that I would maintain my floating ground. It ck'd out. I bolted it through a hole on the DS, and attached the 4 ga, and the ECU grounds to it.


    That freed up the 2ga. to do everything else.


    That left me w/ a relay board that needed mounting. I had already made the mount for that thing when I built the dash, I just had the board out so I could wire it, otherwise, I'd have to do all of that laying on my back.

    But because I forgot to add the fuel pump, I ended up laying on my back anyways,........with that.......bar..... right in the middle of my lower back.


    This isn't even a "face cam" it's an angle w/ the camera laying on the floor where your head would be.

    I am almost finished w/ the main wiring. Man I tell ya, I thought it was gonna be easy, but even w/ the Ron Francis panel,...wiring a car is a complete pain in the ass.
    Last edited by Mike1157; 05-05-2015 at 08:06 PM.

  20. #545

    Default

    Man this is badass!

  21. #546

    Default

    Haha, Seinfeld fan, huh?

    I was on my back with that bar doing some under dash wiring the other day too. With that bar. The bracket for the fuel pump relay had to go, it was stabbing me too.

    Your project is looking great though!
    Brad

    '79 Mercury Zephyr ES 5.0L GT40 EFI, T-5
    '17 Ford Focus ST
    '14 Ford Fusion SE Manual

  22. #547
    Mike1157
    Guest

    Default

    3,..2,...1,.....Ignition.

    Well, to tell the truth I really don't know if I have it as of yet, but when you turn the key, stuff happens:


    Clearly, Despite the spaced off, new steering wheel, I'm still gonna have to gawk around to see the outside two gauges. At this point, I'll take it as the lesser of two evils,...I'm happy w/ the notion that the engine cranks.

    Underneath that gauge pod is almost a whole day of weatherpack building so I could detach that gauge cluster from the dash. All toll, there are 21 connectors under there in combinations of 2's, 3's, and 4's. I was doing great at keeping everything neat and orderly, till that requirement fouled everything up.


    What it looks like "under" the gauge pod is a lot more chaotic.

    Realistically, (I did say realistically) I'm really close to being able to start it. Unlike my previous "forecasts", the point I'm at now is easily 50 hours past the point where I thought I was only a few days away two weeks ago.

    I still have the chassis wiring (i.e. taillights, turnsignals, headlights, that kinda junk).
    And I still have all of the support mechanicals to wire (Fuel pump, cooling fans, rear heat exchangers, rear water pump).
    I have to build the battery tray, and figure a way to hold it down that looks better than two J hooks holding a strap across the top of the battery. (I don't know why I'm worried about that,....I'll end up upholstering the entire rear trunk like I did the red car, and all of that stuff will be hidden anyway).

    All of the above stuff aside it's the little nitpicky stuff like that continues to contaminate my progress. Leave it to me to decide to use led switches to basically switch something to ground.

    I learned that w/ a led switch, you cant do that.


    There should be two switches in this pic other than a bunch of disconnect. The two switches would ground the OD circuit in the trans, and the other would lock up the converter. I figured that I'd make the ground the "supply", The solenoids that needing grounding the "load", and the 12v that would light the led plugged into the lug that said "earth".

    Nope. Stinkin leds are polarity sensitive. They only work one way.

    Had this been a regular lighted switch, the circuit would've worked the way I described, either switching 12v to the load, or providing a gnd to the load with the light illuminating either way. problem is those switches suck, and that little bulb burns out in a minute (figuratively speaking).

    So, I'll have to get creative.

    Here are two more of the stupid things, only I'm not trying to do anything out of the ordinary here other than turn on the rear pump, and cooling fans.


    Not without their own problems when you turn them on,....the lights are so stinkin' bright, the interior glows blue. (Blue for cool,..i.e. cooling fans, water pump). The last time there was this much blue light flooding my interior, I was getting a ticket.

    You shoulda noticed that the shifter is installed. The installation of which should be another mind-numbingly simple task, except.......

    My shifter sits in a little recessed trough. That through is so close to the transmission, I couldn't get a nut on a bolt to hold that shifter in to save my ass. I knew that when I built it, so I added two diagonally opposed 1/4-20 studs so as to be able to just drop that shifter onto them and zip a couple of nuts on and be done. It worked perfectly when I mocked the thing up.

    It wouldn't fit worth a damn when there was a cable that stuck through the front of the trough. Again, I tested that sorry assed cable fitment when the car was in build stage, and it went together w/ no problems. Put a transmission about an inch underneath it though,.......and things get a little difficult.

    I did listen to and removed the ground cables, and "insulated" them.


    See, I'm not so hard headed after all.

    And lastly, this brings me back to the front of the car.

    From what I'm reading in the megamanual,...EDIS will run at 10 degrees in "limp home" mode. To verify that the sensor is properly placed, you unplug the PIP plug, and the thing goes into that mode. You can then put a timing light on the engine to verify that there is only 10 degrees. If not, you have to move the sensor, basically further, or closer to the tooth edge to get that right.

    This little tidbit is important, because the MSII adds timing to the base 10 degrees after that. I don't know how many degrees difference there is between the front edged of the tooth, and the back edge of the tooth, but I'm pretty much in the center. I'd just as soon not have to dick with it.


    See that dude down there. I don't have to tell you that once you get the radiator in there w/ the cat sucking cooling fans attached, you don't have a prayer of getting your hand up there to do jack.

    That's why, I'm thinkin' of "first starting" the engine ..............dry.
    Last edited by Mike1157; 05-07-2015 at 05:40 PM.

  23. #548

    Default

    I just did the EDIS swap with my '79. I had a TFI ignition in there before. As far as being off from 10 degrees, I'm told you can adjust the timing a bit with the 'trigger offset'. Mine came in at 9 degrees with the spout out. I'm not going to move the sensor for 1 degree. Next chance I get I will make the 1 degrees change in Tunerstudio.

    Funny thing is I couldn't see how close I was to being right in the middle, so I held my phone down under the trigger wheel and took pictures up at the sensor to get as close as I could.

    Jess
    Last edited by Mustang-junky; 05-07-2015 at 08:03 PM.
    Previously owned;
    1979 Mustang, v6 swapped to EFI 393, custom installed m122 blower, 4r70w trans, Megasquirt II, T-top swaped in.
    1990 Mustang, 545 BBF, C-4 with brake, ladder bars.
    1983 Mustang, 1984 SVO Mustang
    1984 Mustang convertible, v6 swapped to 351
    1986 Mustang GT, 1989 Mustang GT convertible
    1992 Mustang coupe, 4 swapped to 302

  24. #549

    Default

    Temp gauge set for Celsius?


    That looks really cool!
    '88 Mustang GT convertible, T5, 3.08:1 gears. 5.0 Explobra Jet: A9L Mass Air conversion, Fenderwell Mac cold air intake, 70mm MAF meter = 4.6 T-Bird/Cougar housing + '95 Mustang F2VF-12B579-A1A sensor, aftermarket 70mm throttle body and spacer, Explorer intakes, GT40P heads with Alex's Parts springs and drilled for thermactor, Crane F3ZE-6529-AB 1.7 "Cobra" roller rockers, Ford Racing P50 headers, Mac H-pipe, Magnaflow catback, Walbro 190 LPH fuel pump, UPR firewall adjuster and quadrant with Ford OEM cable, 3G conversion ('95 Mustang V6), Taurus fan, rolled on Rustoleum gloss white paint...
    Past Four Eyes: Red well optioned '82 GT 5.0, Black T-top '81 Capri Black Magic 3.3L 4 speed, Black T-top '84 Capri RS 5.0 5 speed.Over 200,000 miles driven in Four Eyes, and over 350,000 in Fox Body cars.

  25. #550
    Mike1157
    Guest

    Default

    Hmm,.......don't know if it's some kind of optical thing or not,..but check out what the camera sees under the steering column cover.

Page 22 of 56 FirstFirst ... 12202122232432 ... LastLast

Tags for this Thread

Posting Permissions

  • You may not post new threads
  • You may not post replies
  • You may not post attachments
  • You may not edit your posts
  •