


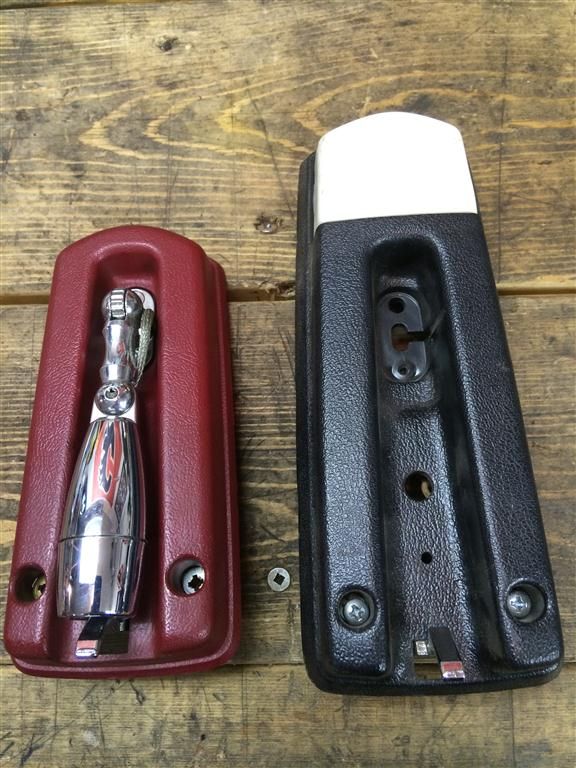
Waiting to see pics of all of the parts I sent you in place........ HURRY UP!!!!
j/k, I know it is a long road doing something this detailed. Parts I got from you are STILL in the boxes...........Parts are probably gonna freak out WHEN they get put into sunlight.

 Reply With Quote


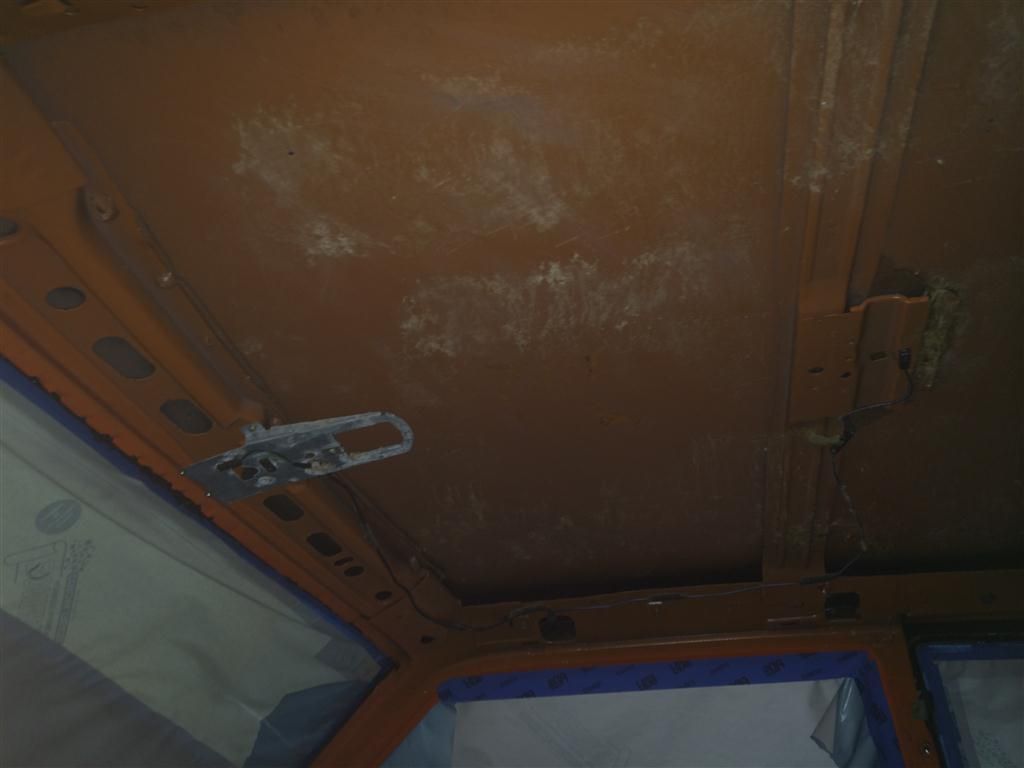
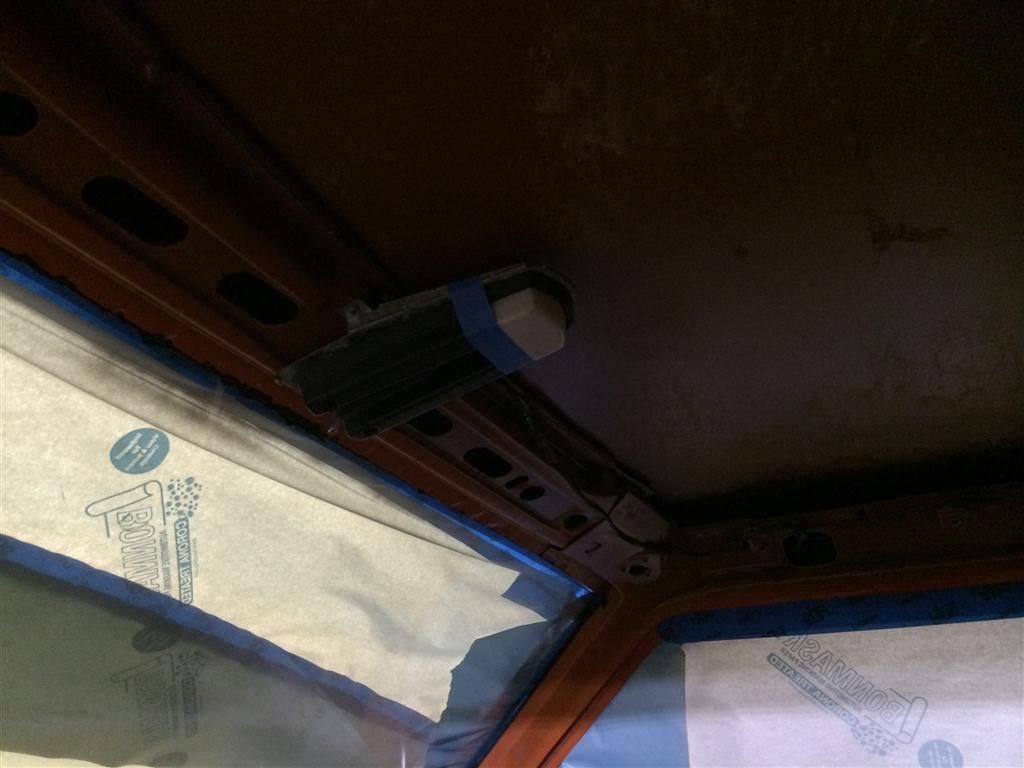
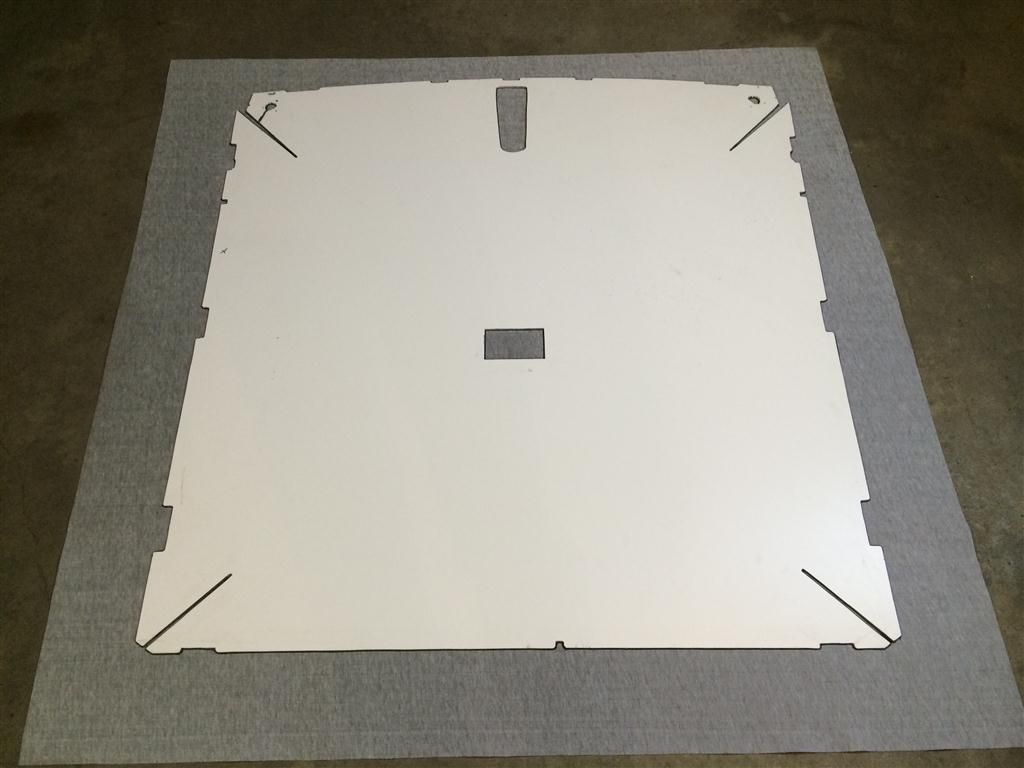
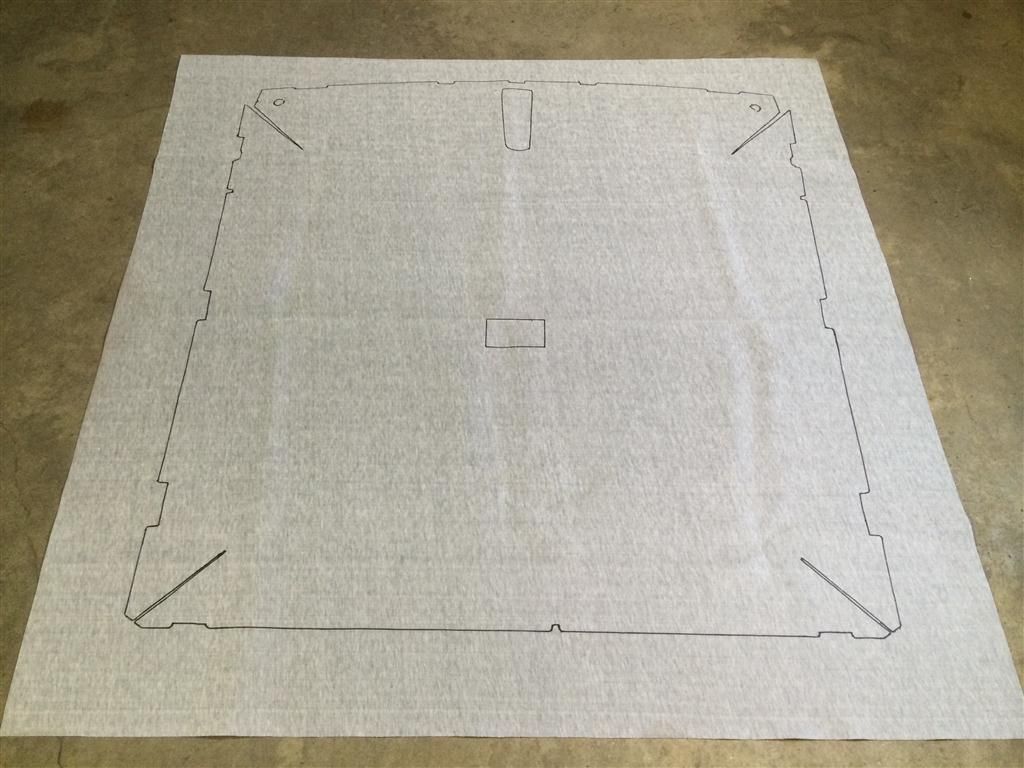
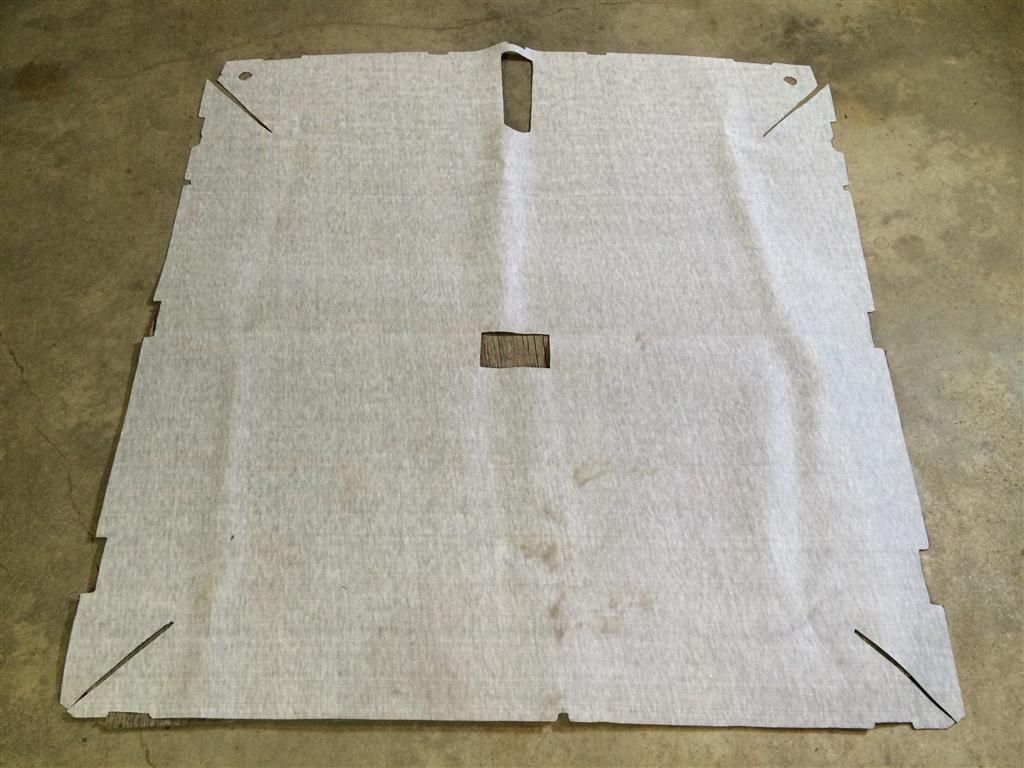

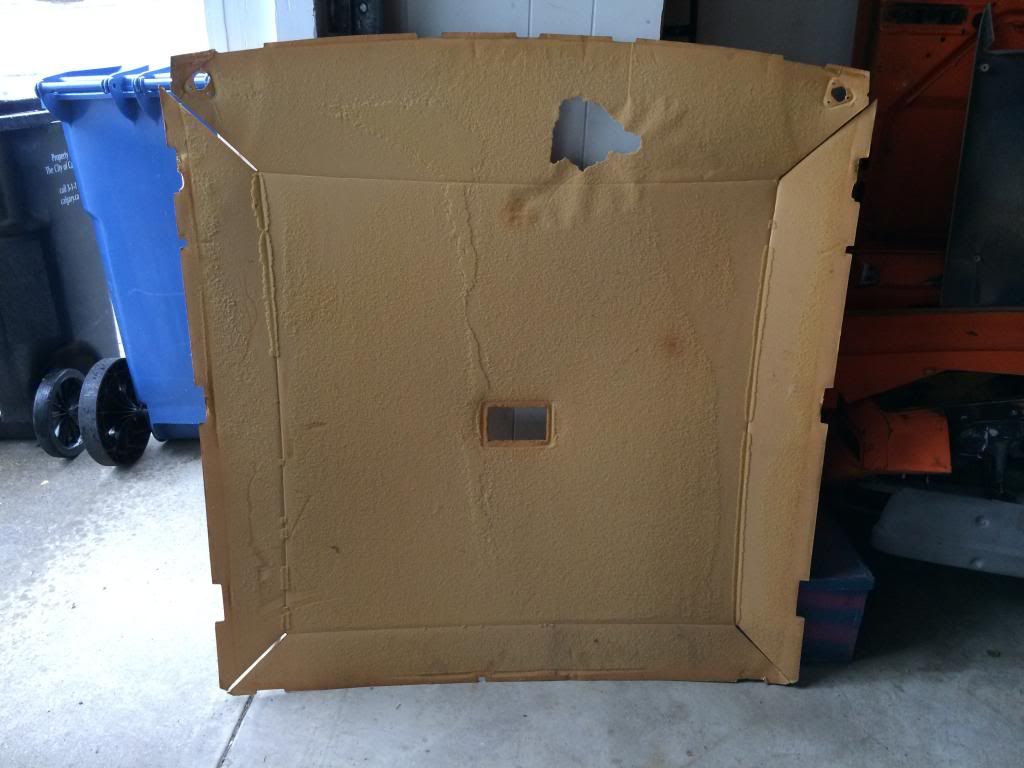
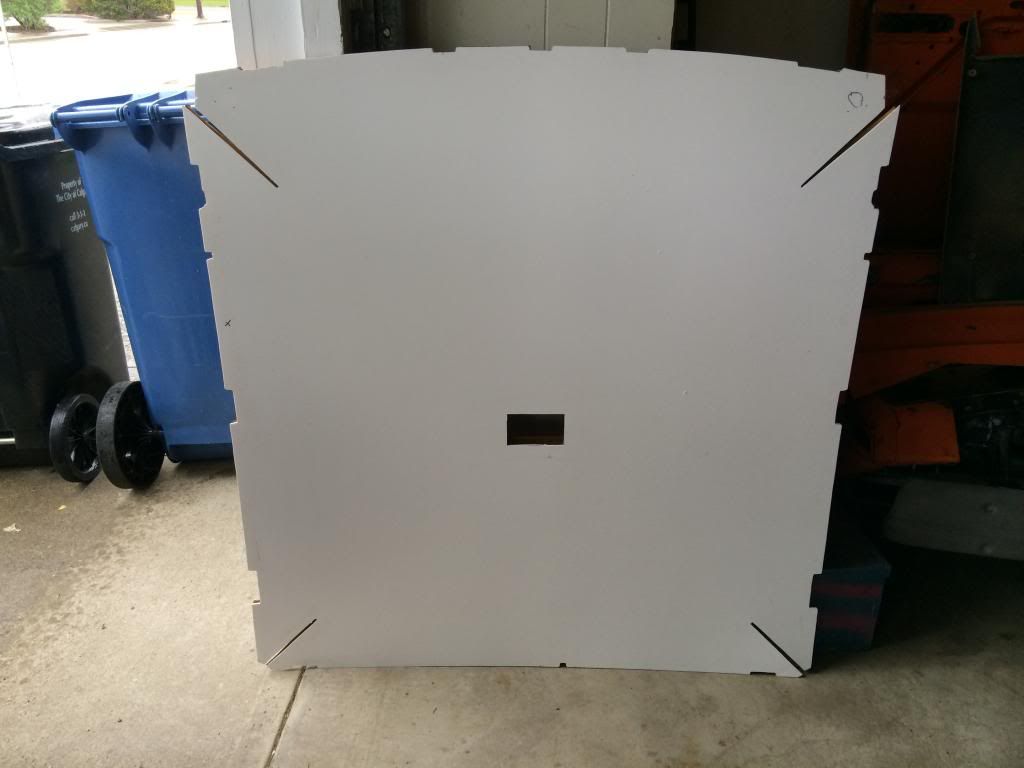
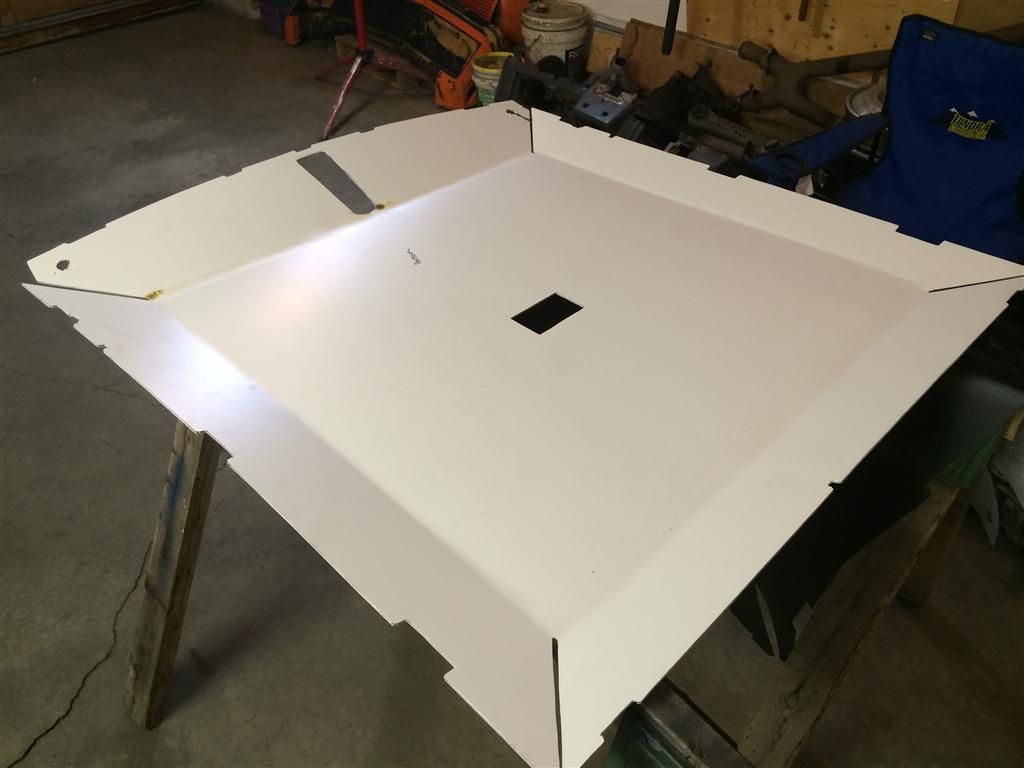
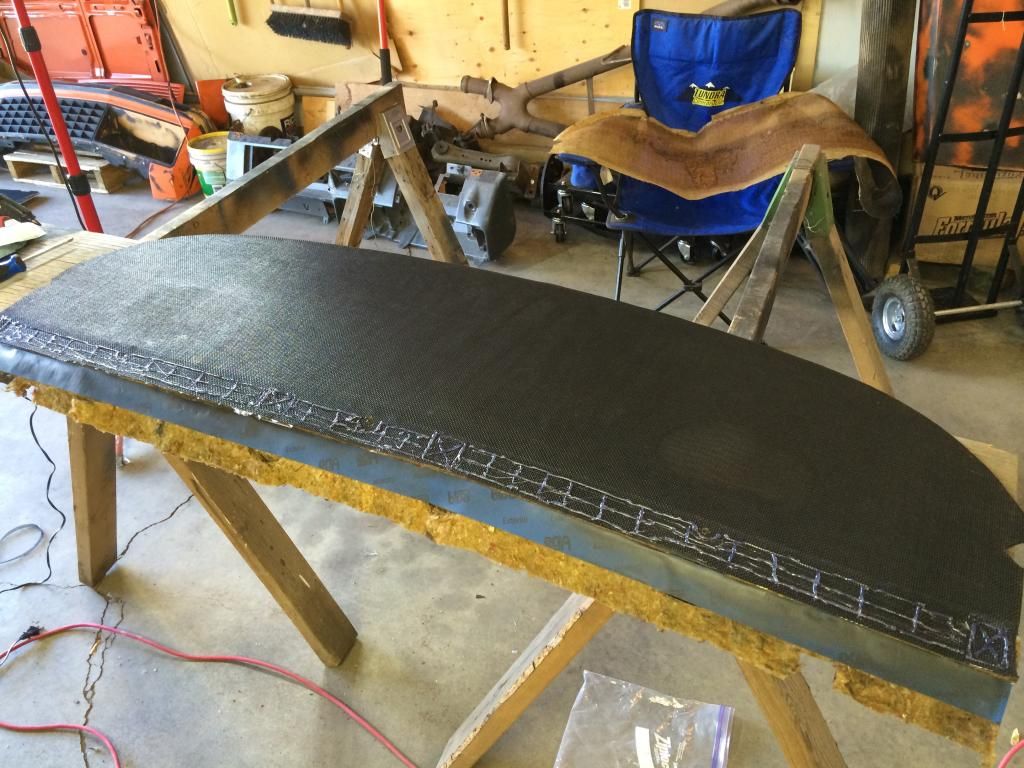
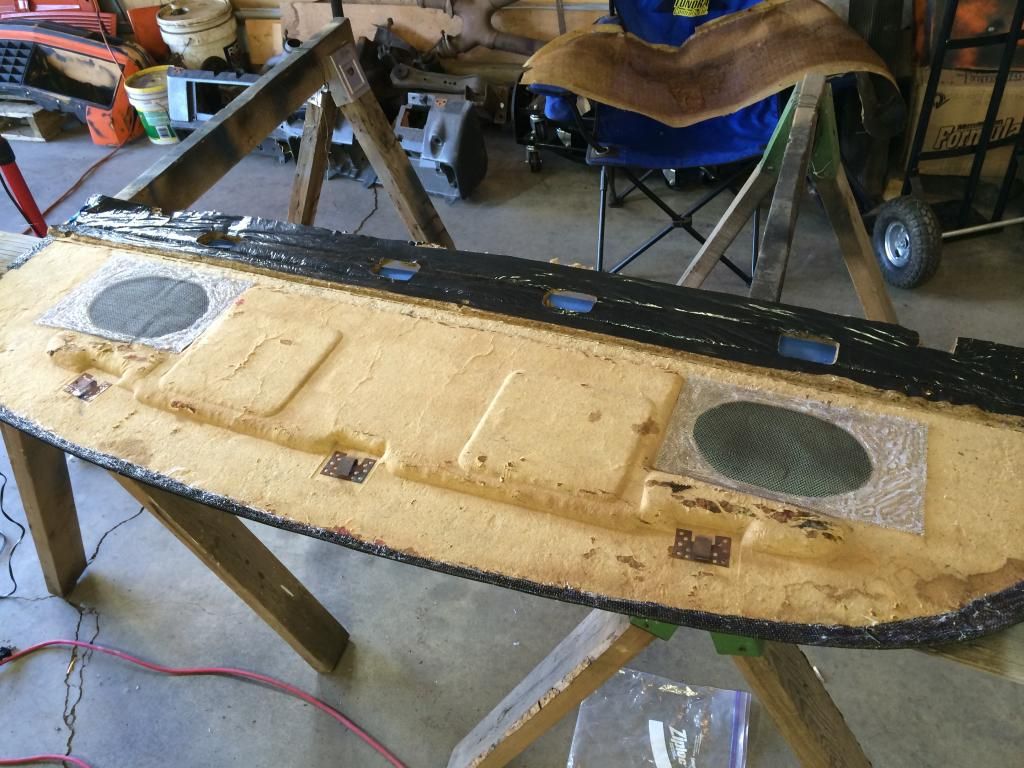
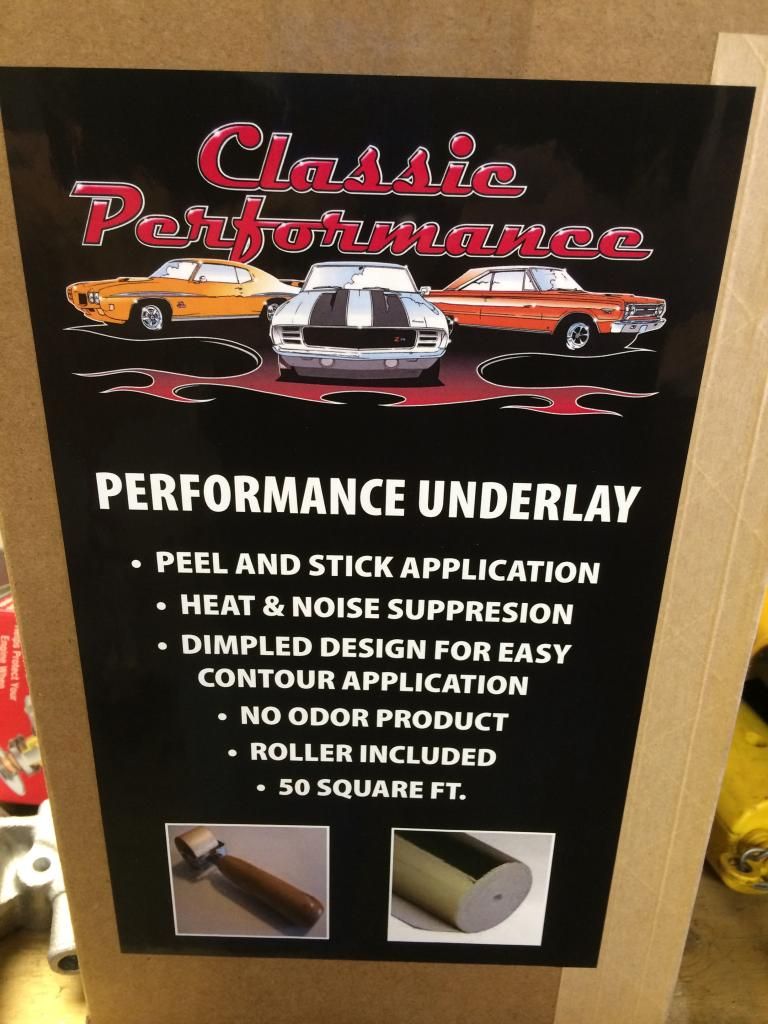
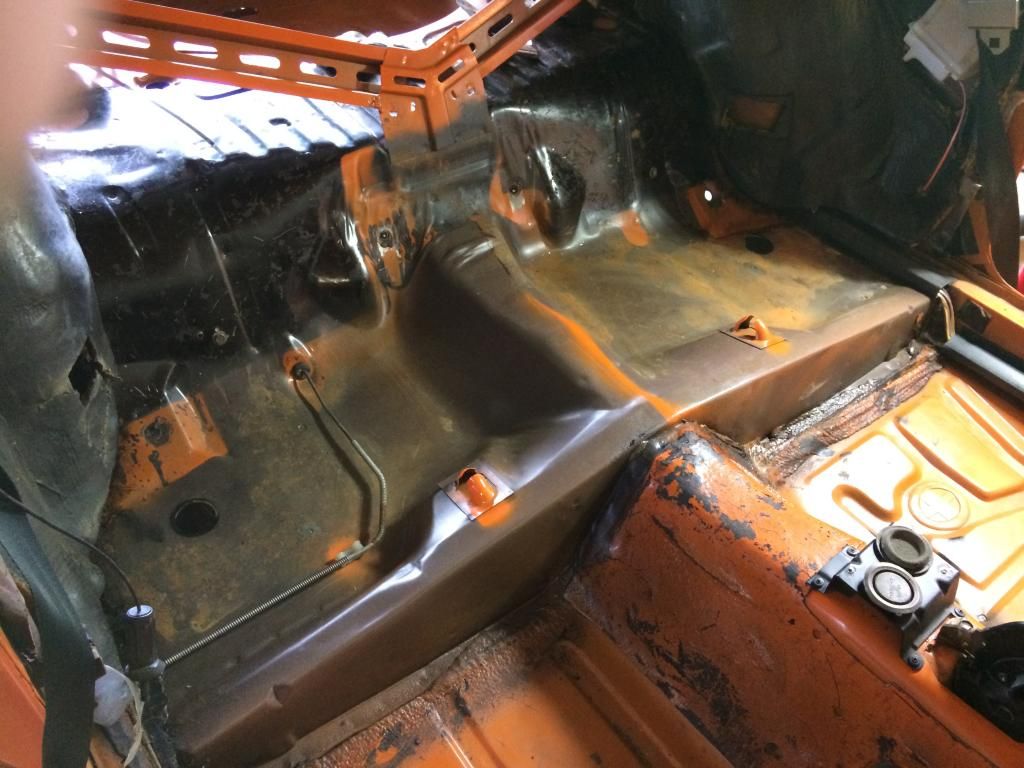
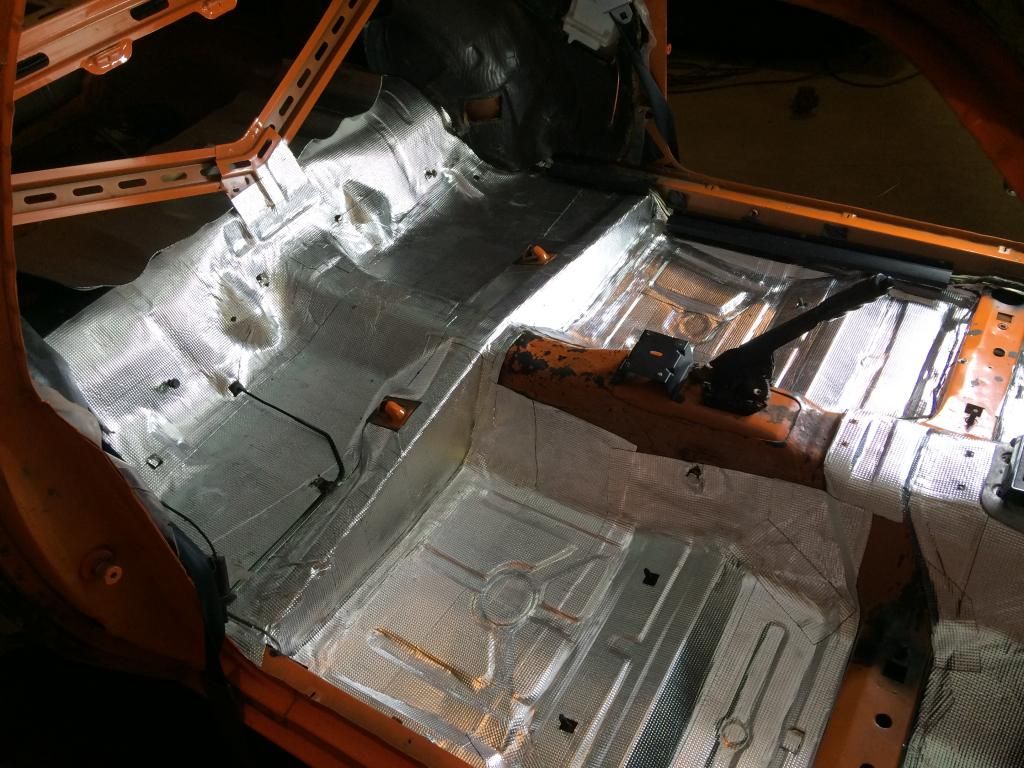
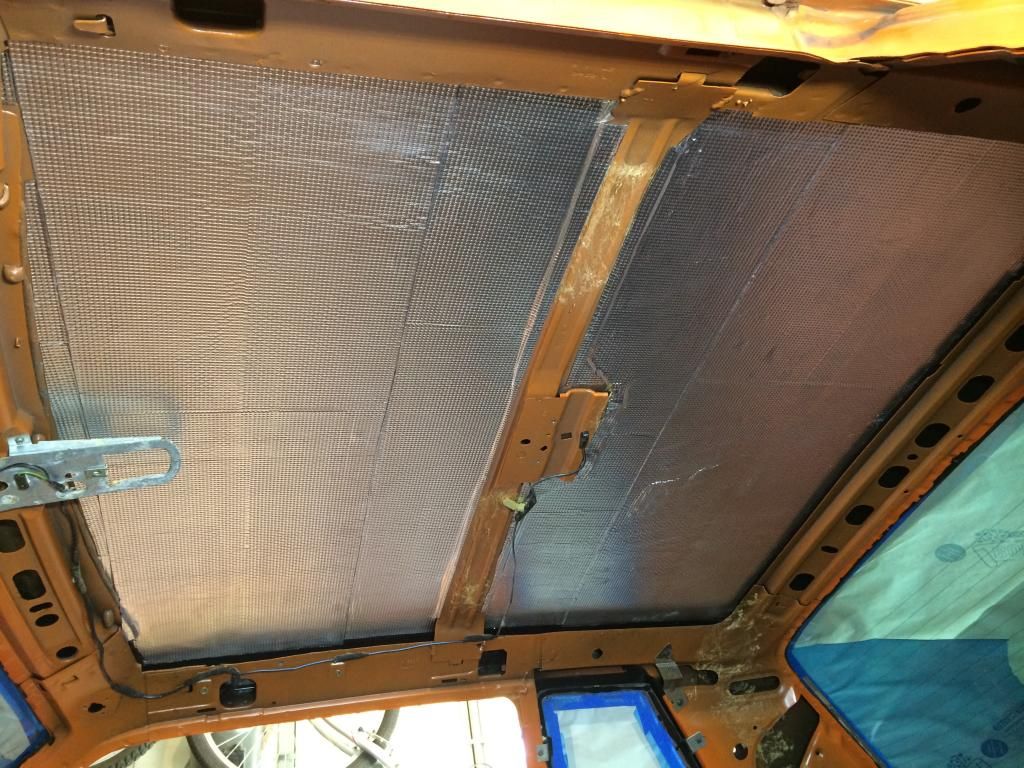
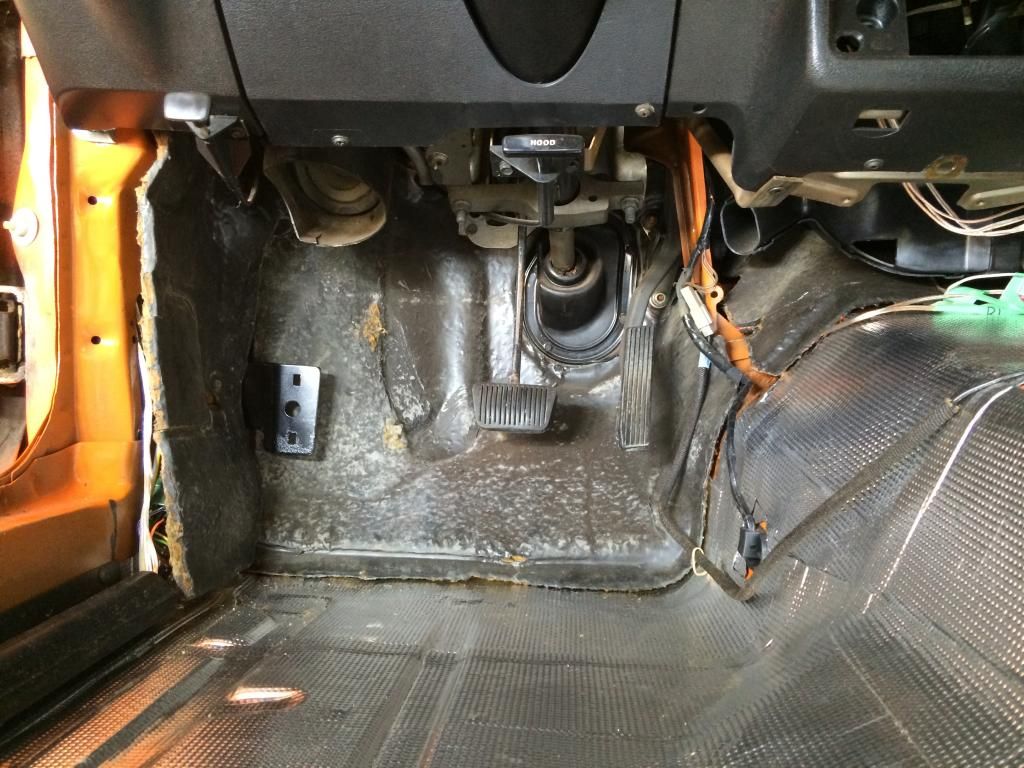
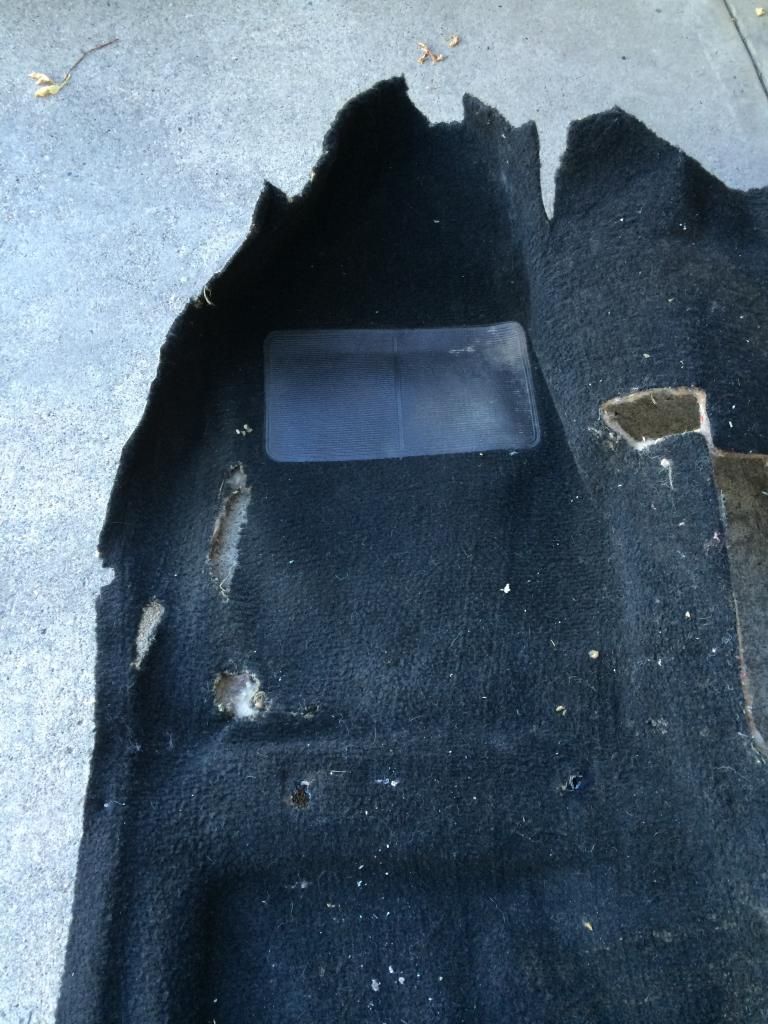
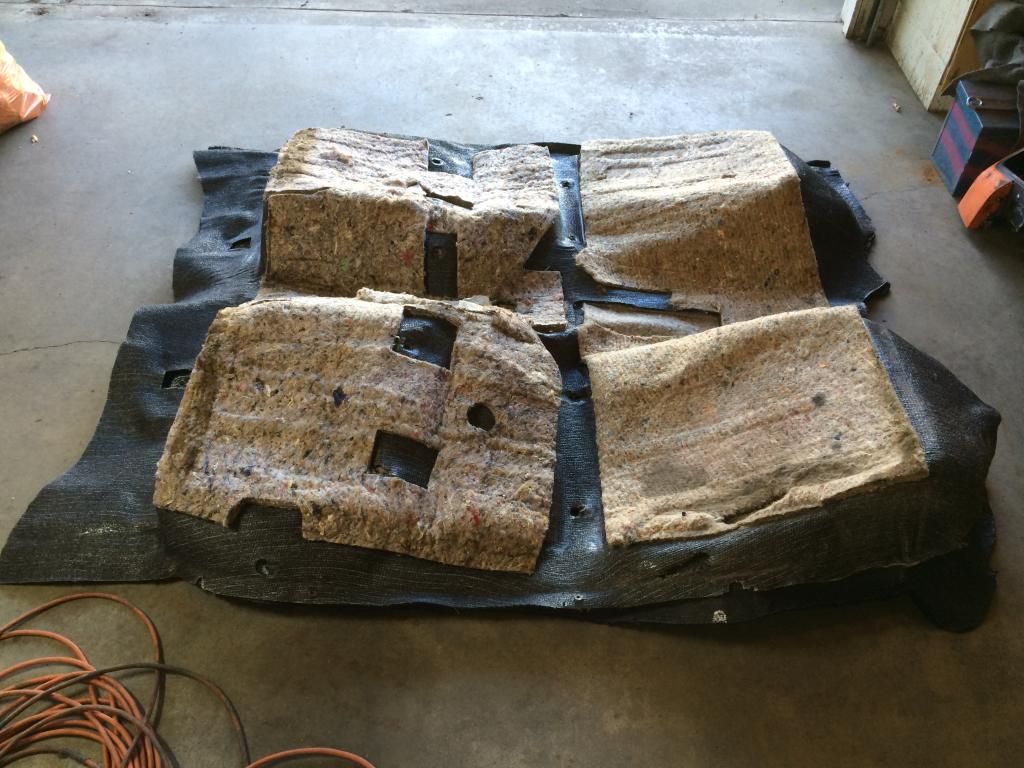
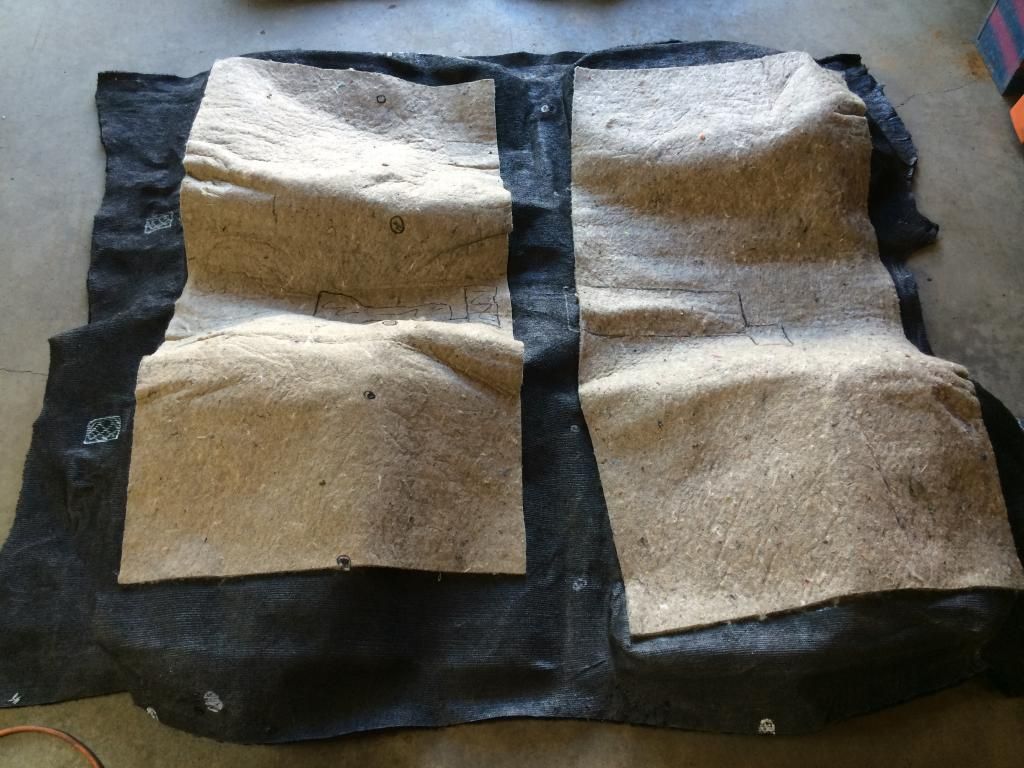
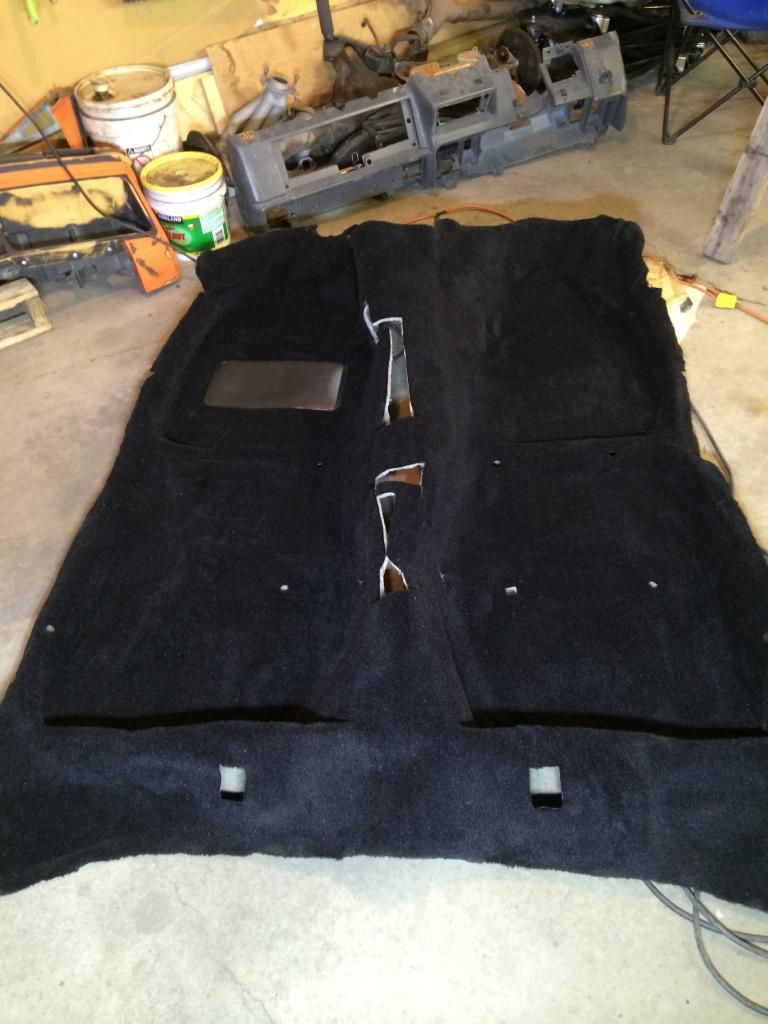
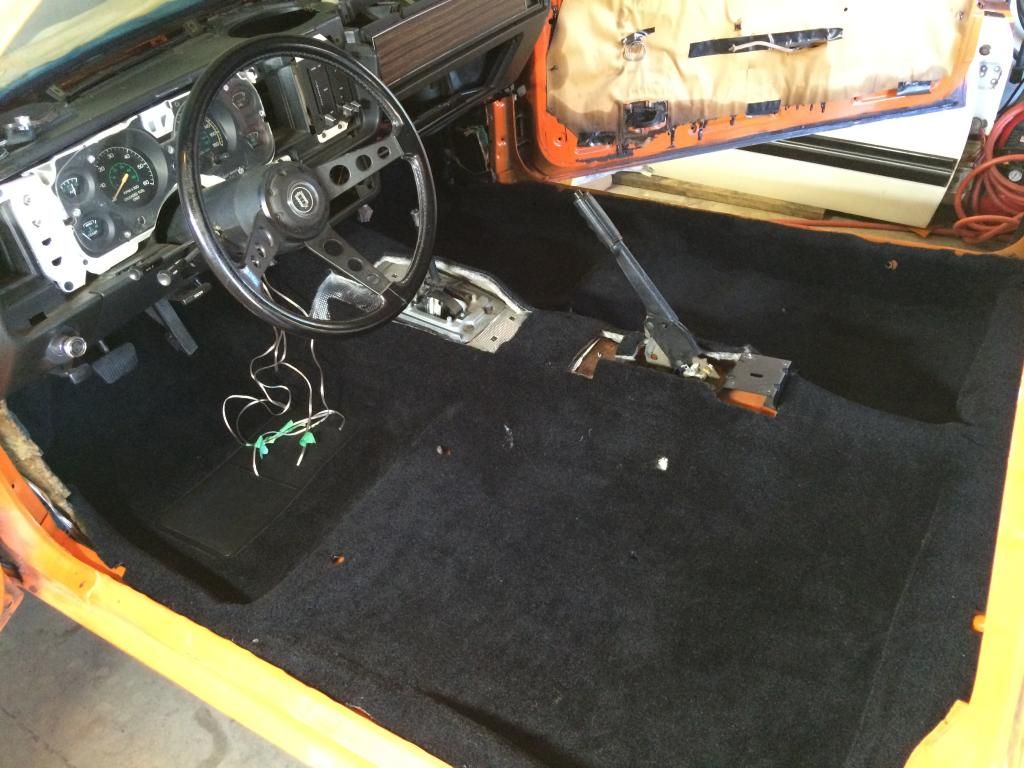
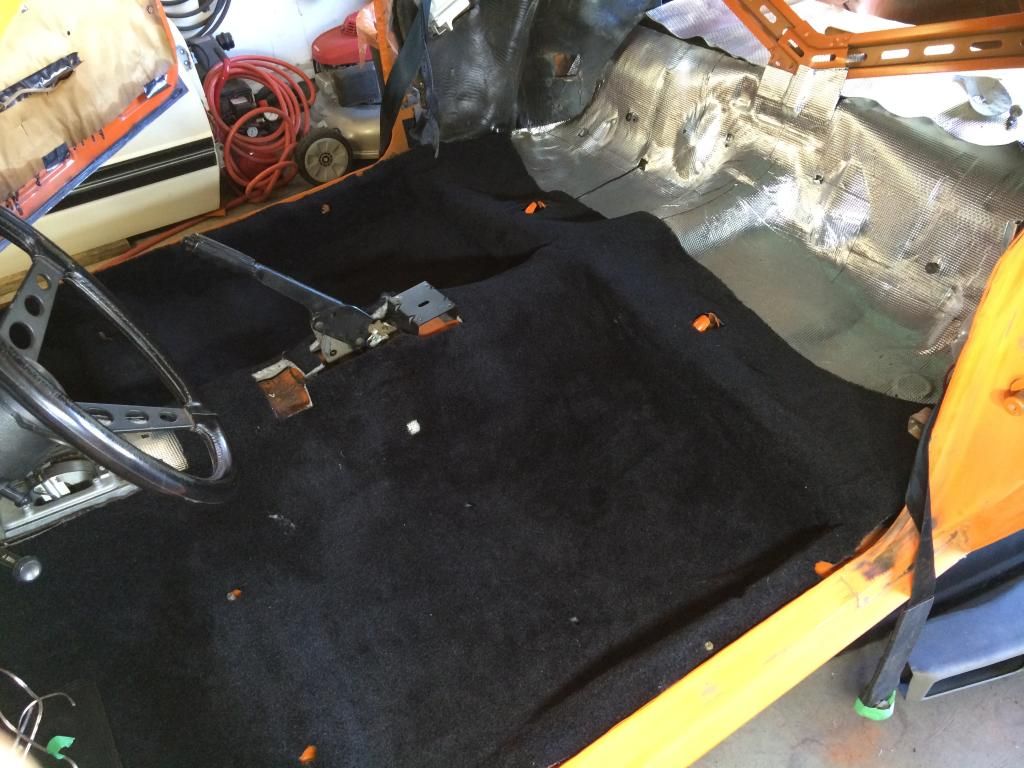
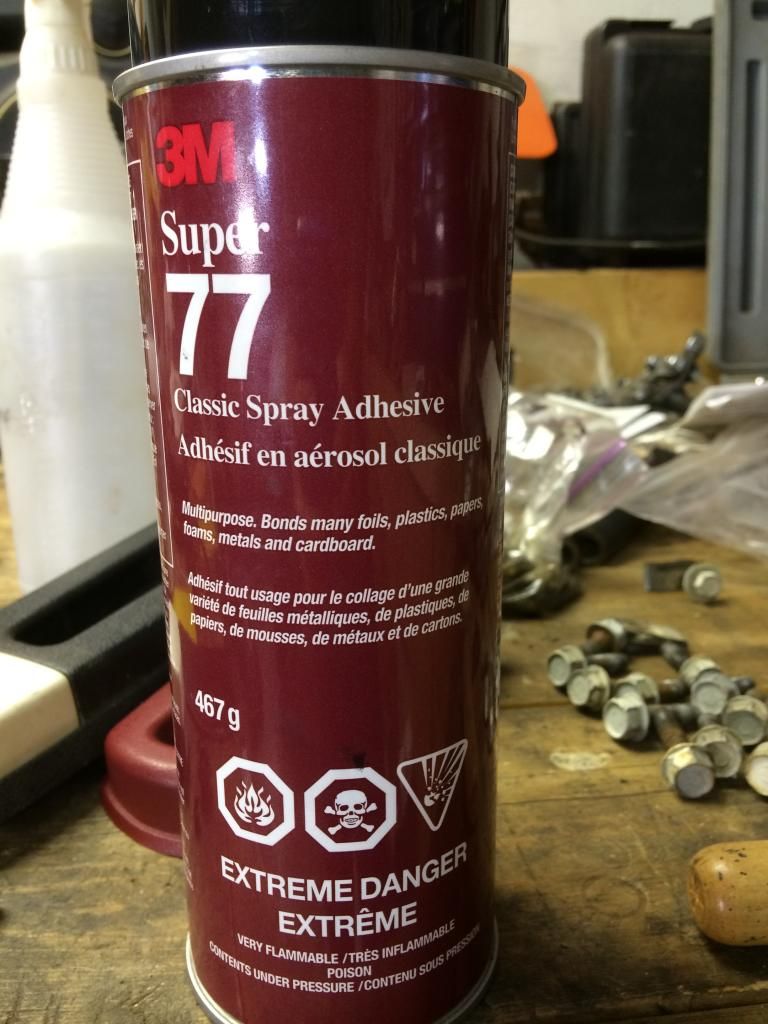
 I'm in for $130 so far (and have half a sheet of PVC material left) with no adhesives and more time to go yet.
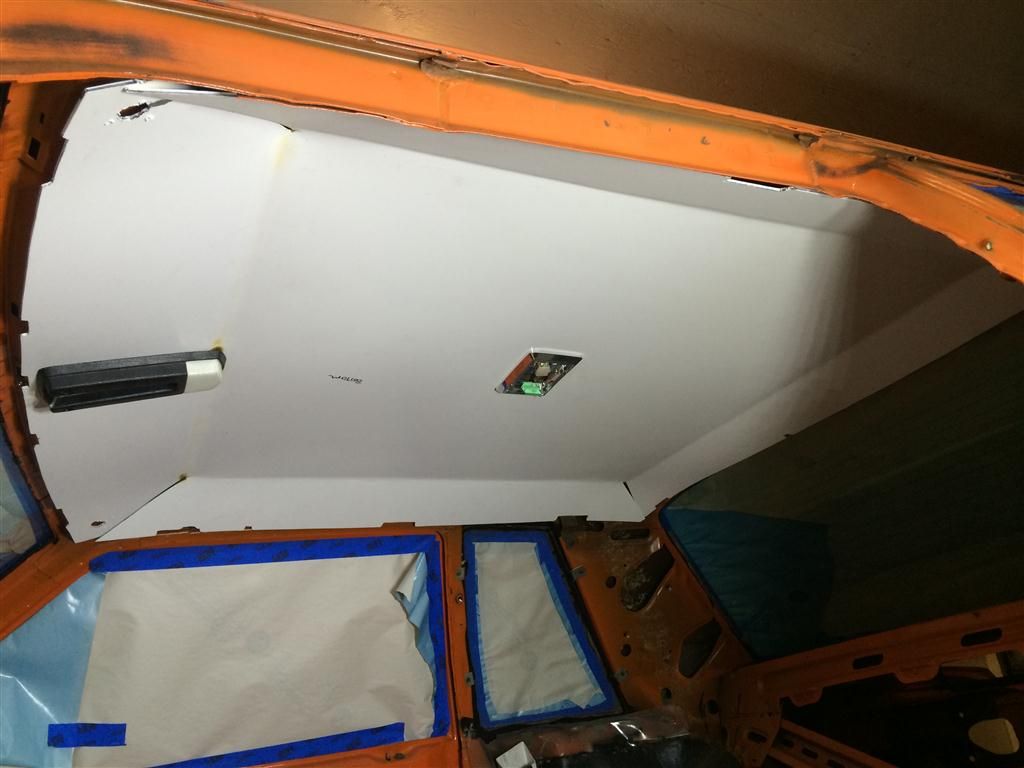


Connect With Us