Close


Page 5 of 6 FirstFirst ... 3456 LastLast
Results 101 to 125 of 150
  1. #101
    FEP Supporter
    82GTforME's Avatar
    Join Date
    Feb 2013
    Location
    Alberta, Canada
    Posts
    4,857

    Default More stuff with stockpiled parts.

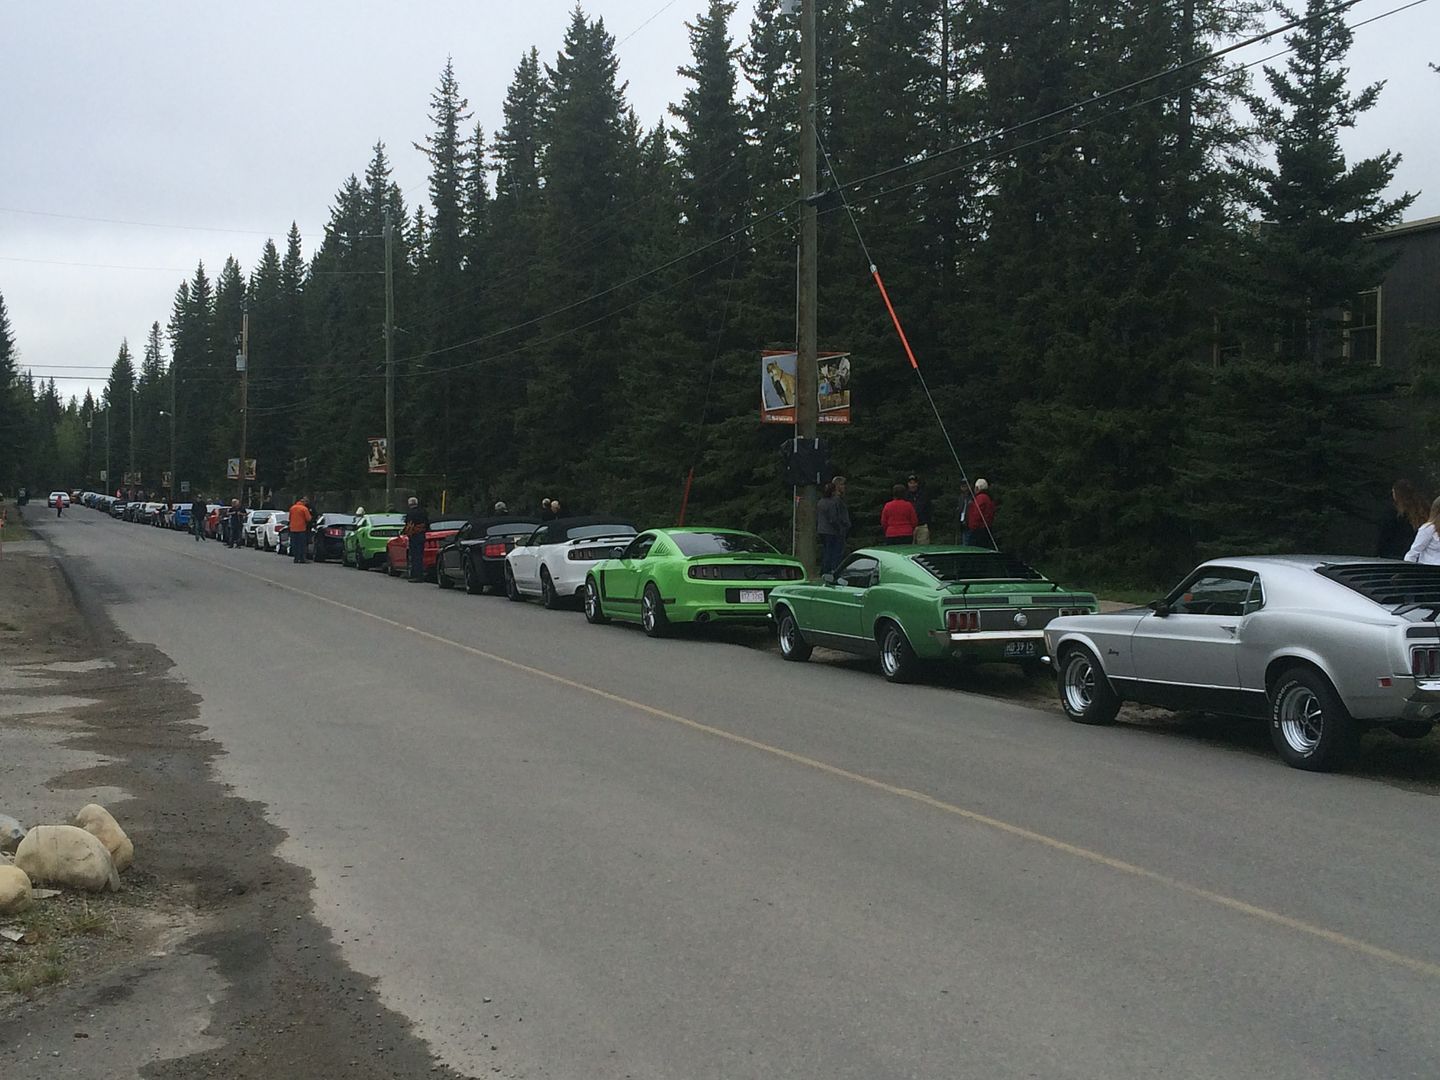
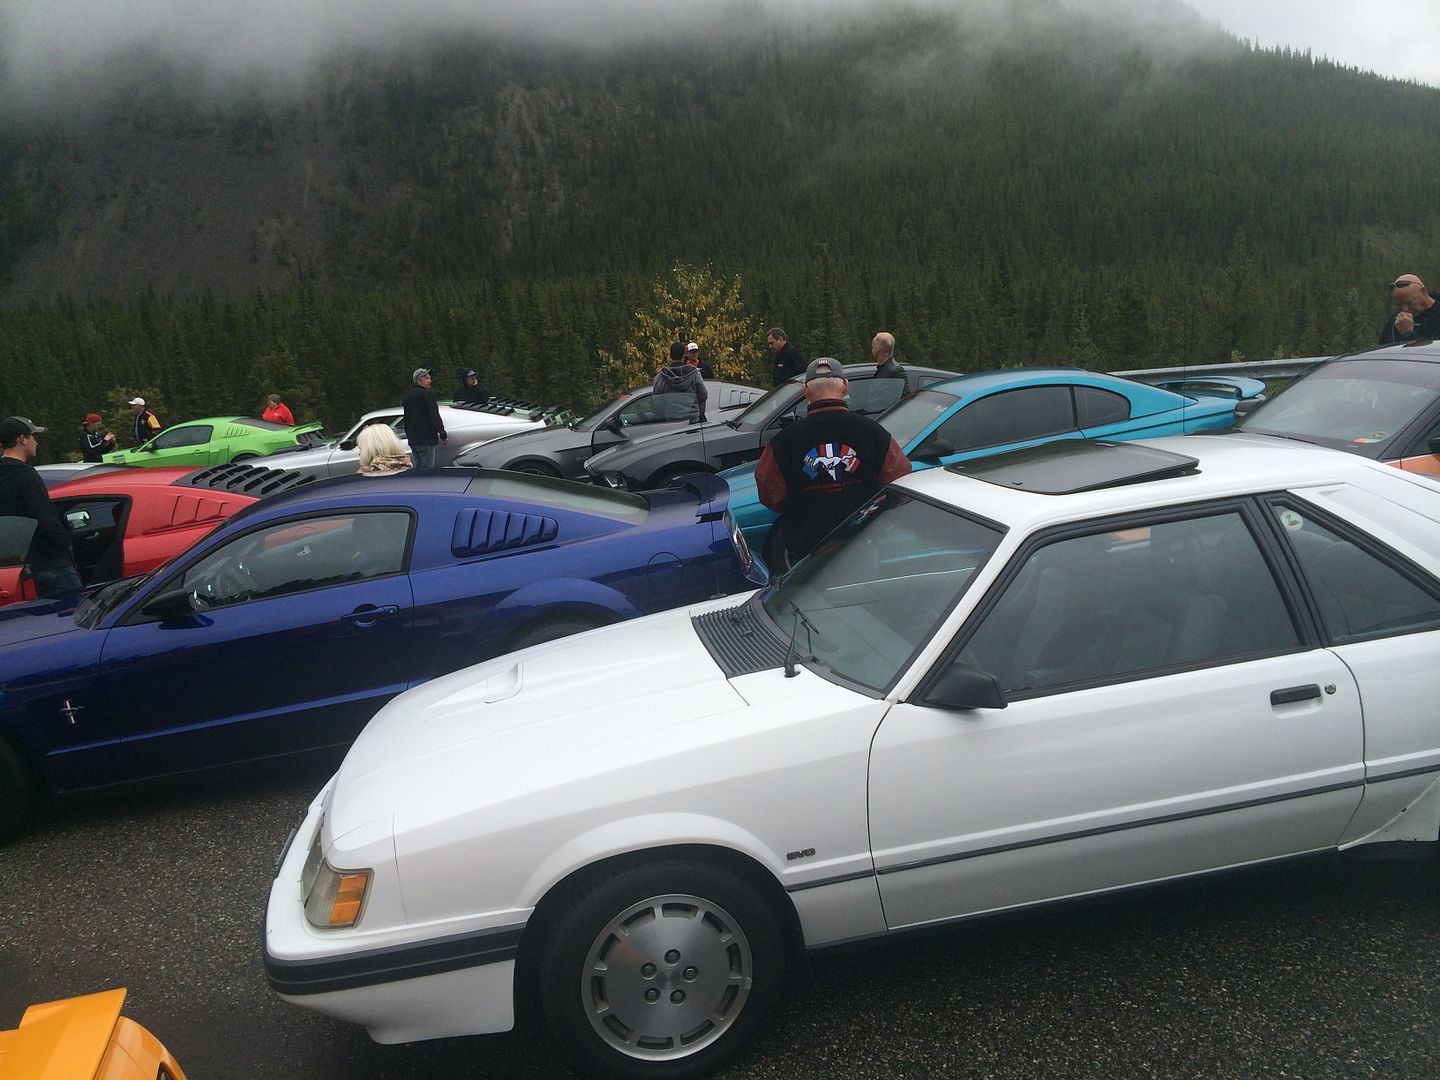
    So of course while the trim painting was going on, I was working on some other interior improvements!

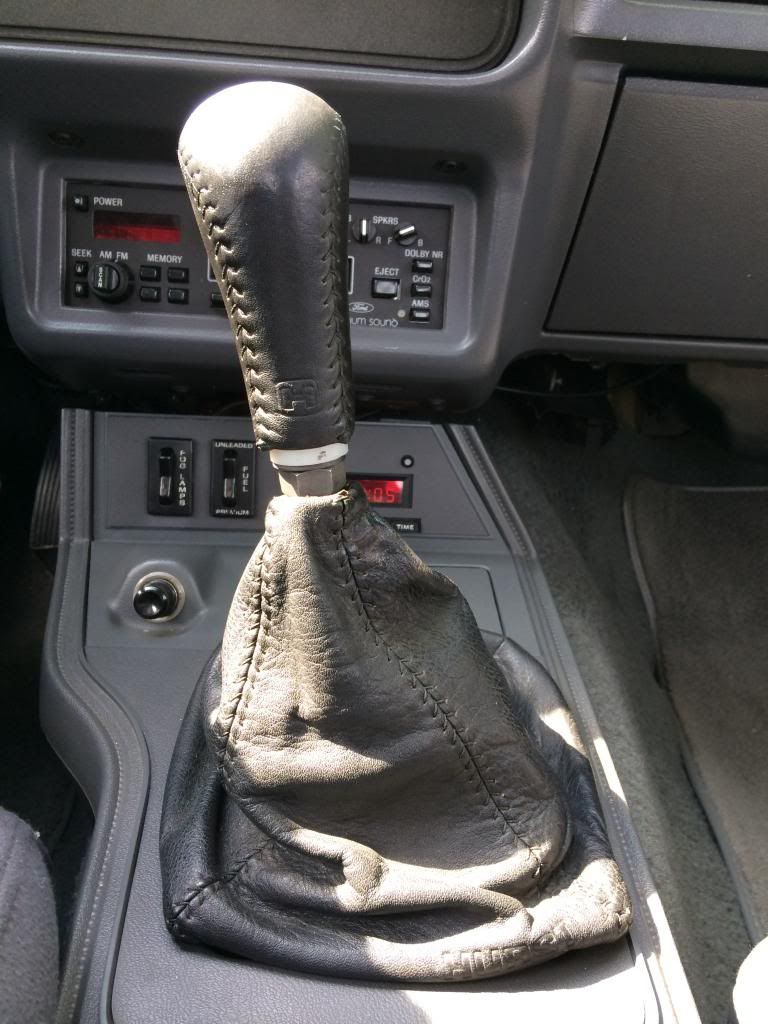
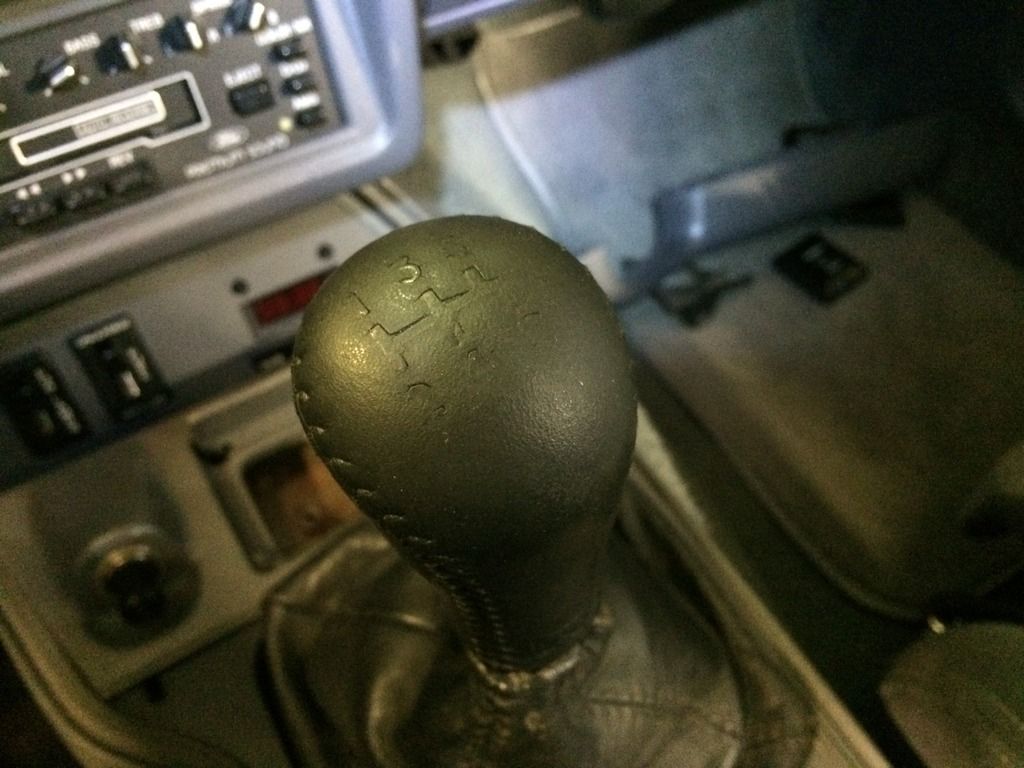
    I had gotten a better replacement shift boot and shifter knob a couple of years ago. The glue had detached from the washer and the boot and the knob weren't the best to look at anymore.


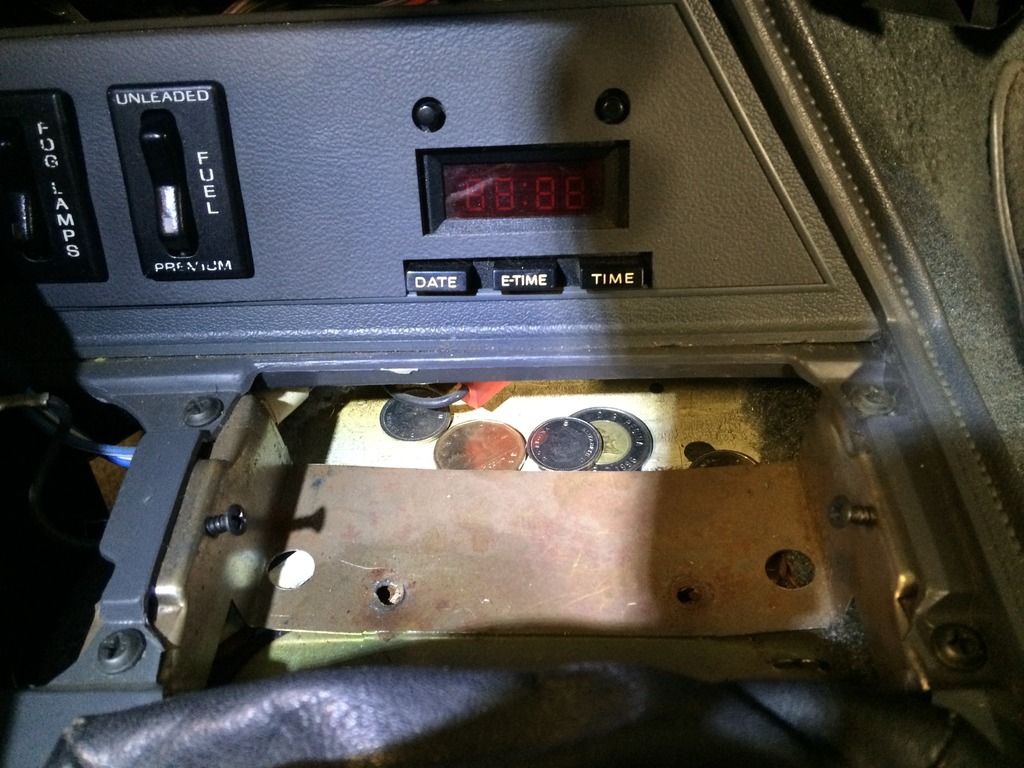
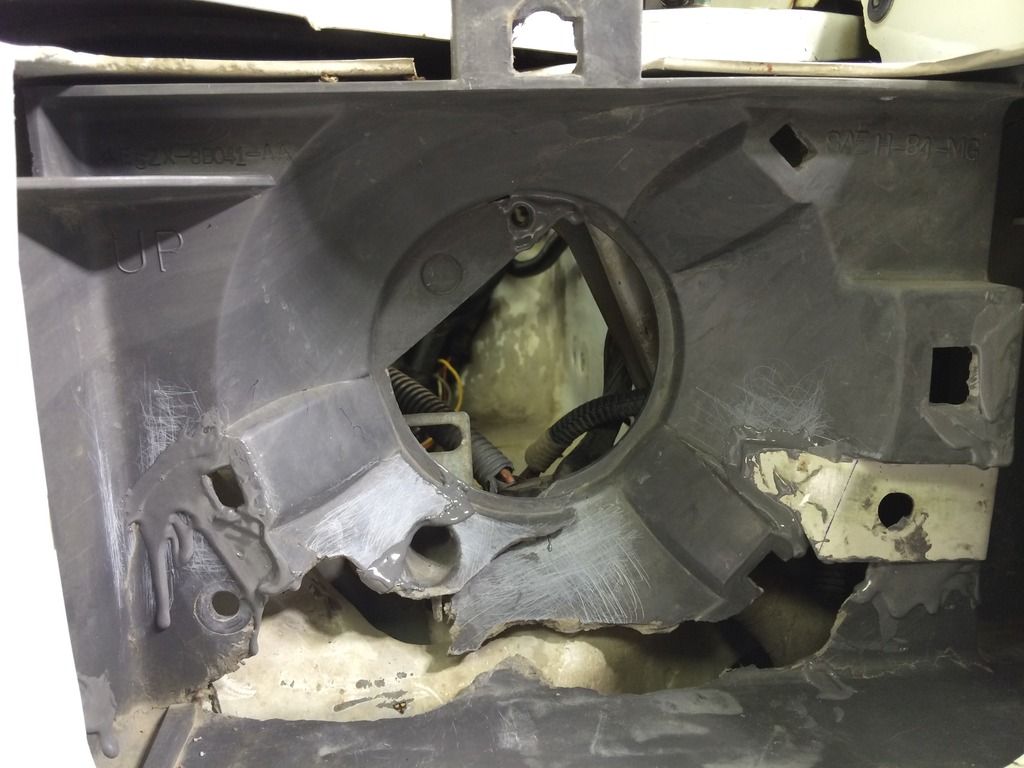
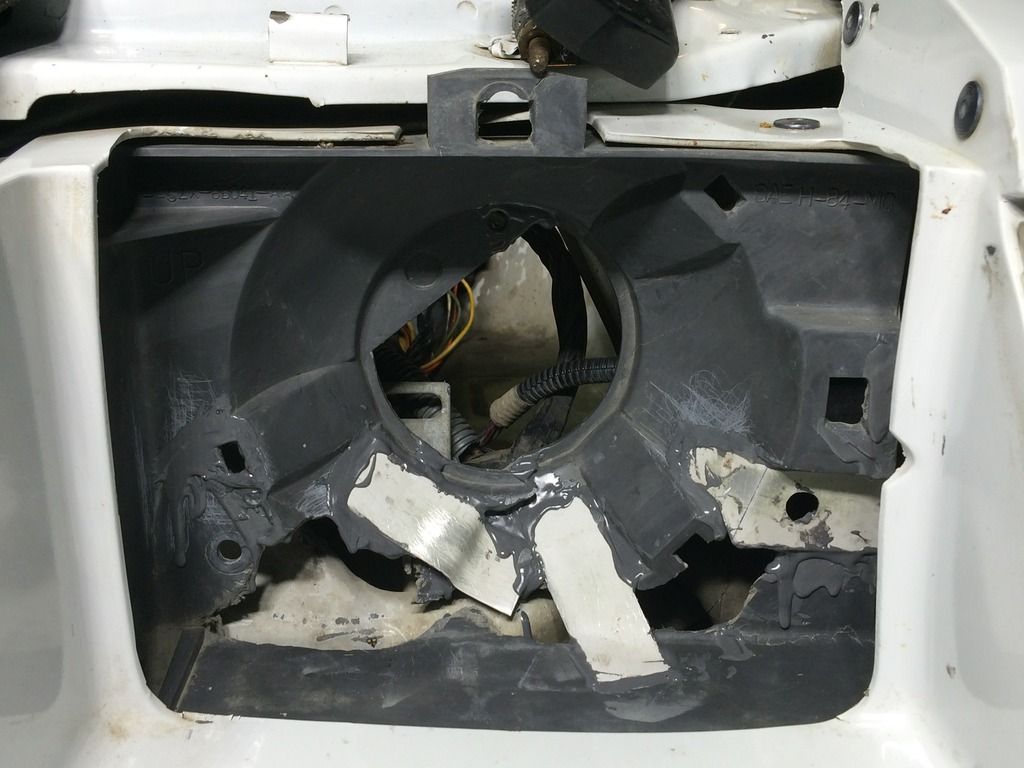
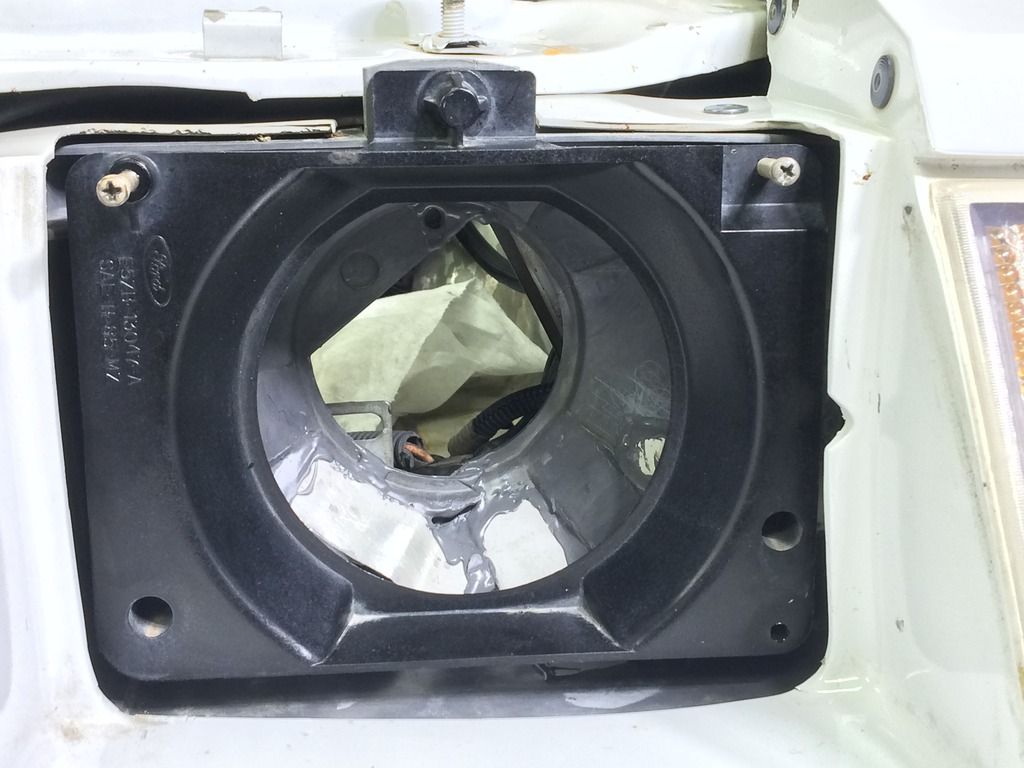
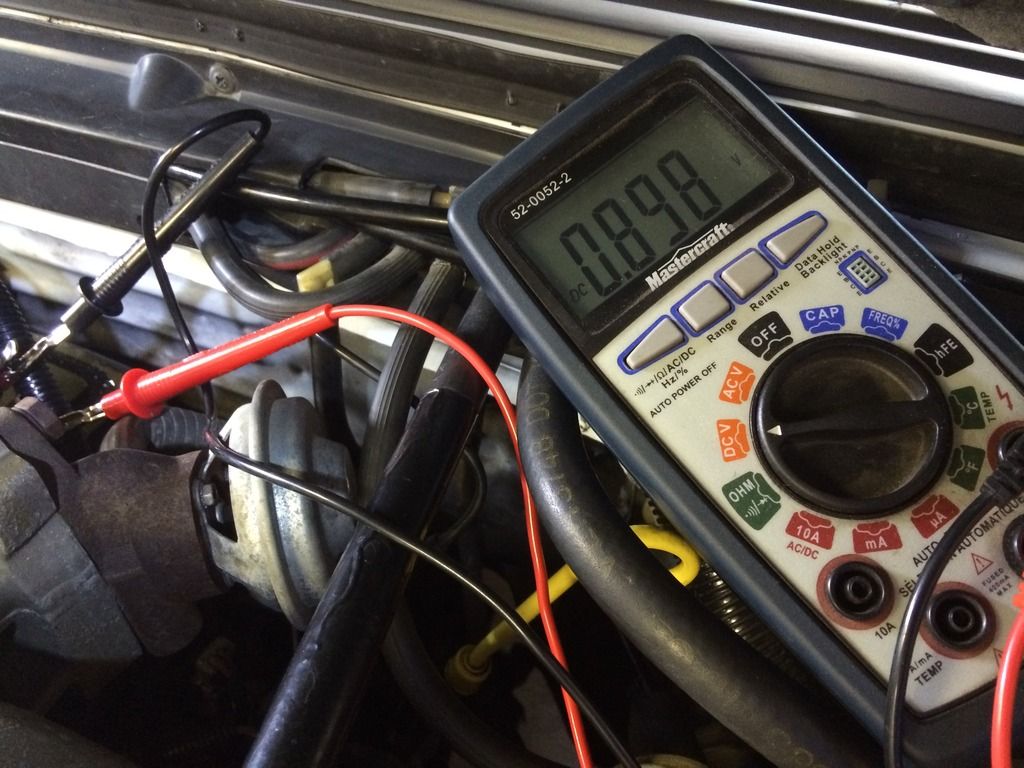
    The console had to come out to get at the boot properly. I had some rattling coming from the dash/console area and could never really isolate it. Not that I had really looked hard- I just loved to drive it and never spent a lot of time making improvements!

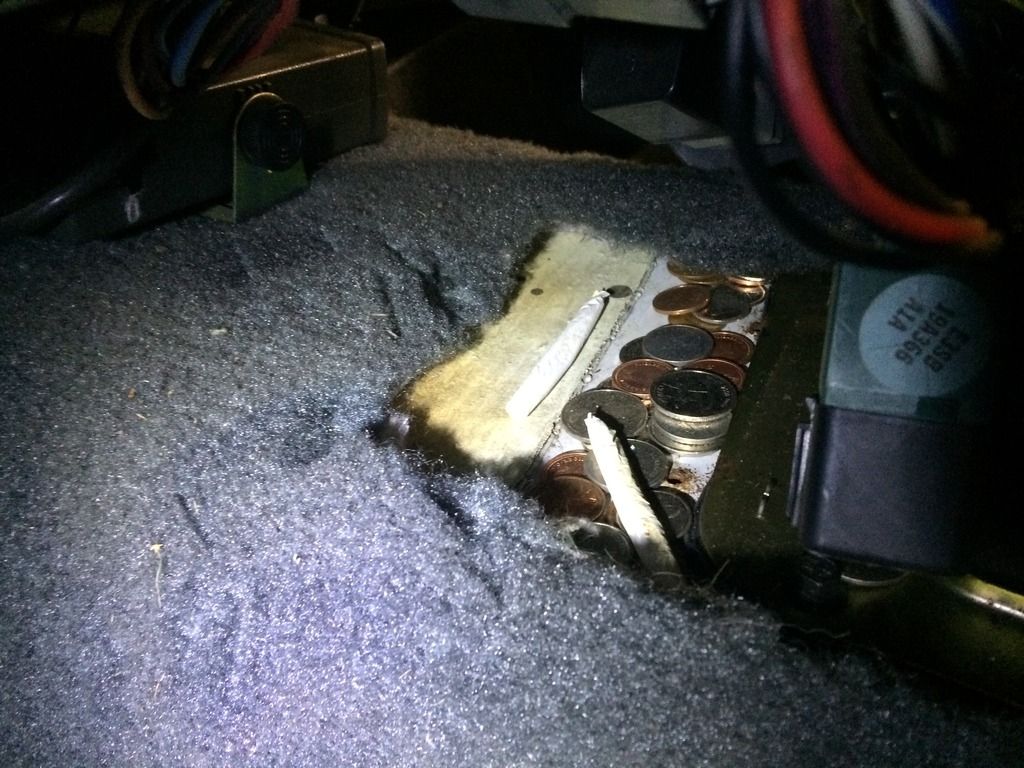
    As soon as I start I see some change under the ashtray


    Once I pull the console off I find almost $8 in change (we have dollar and two dollar coins here) plus some party favors I wonder how long that has been under there?!


    After successfully replacing the boot and knob and putting the console back in I moved onto the steering wheel.

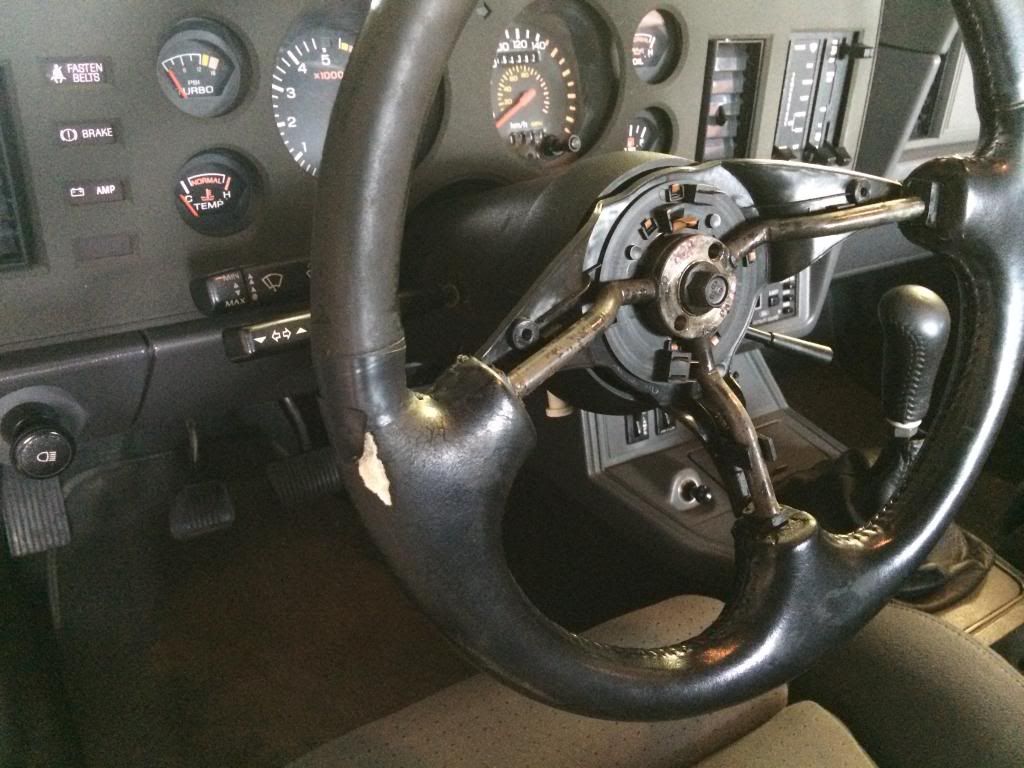
    The original wheel was worn pretty good (it did have the horn pad):


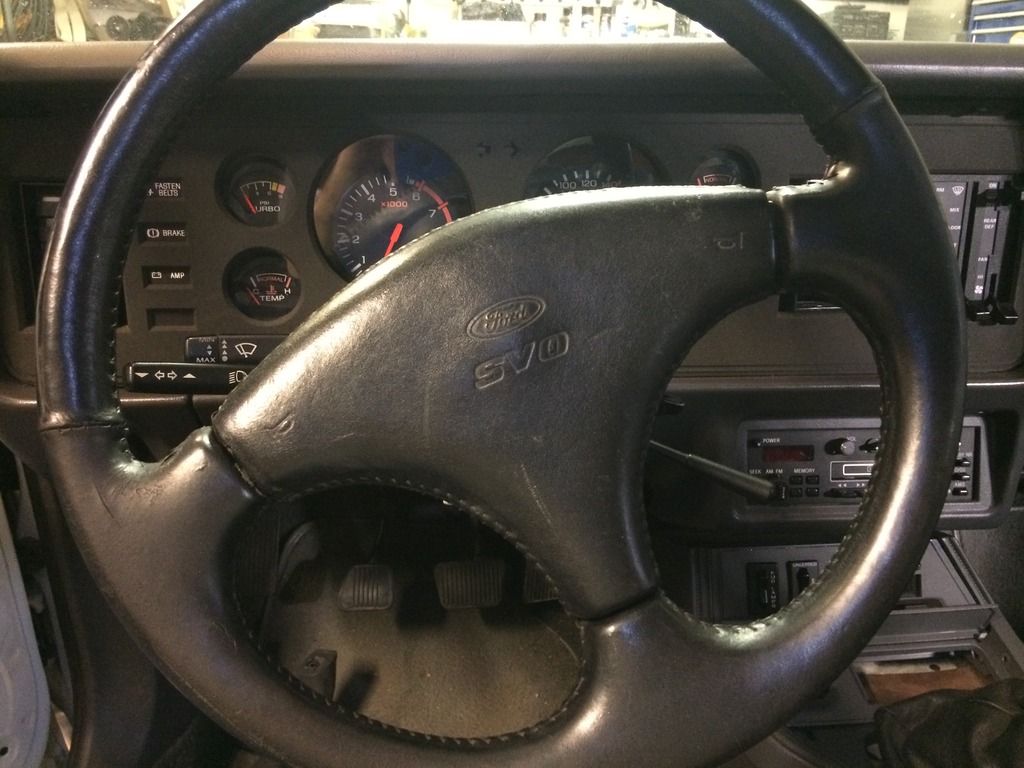
    The first replacement which was way better to look at than the original but still not perfect:


    The new wheel is a releather from Bob Tweedy in Montana. What a great guy to deal with. I know he had talked about retiring so I am glad I got this done last year when I did.

    Last edited by 82GTforME; 07-31-2016 at 10:50 AM.

  2. #102
    FEP Supporter
    82GTforME's Avatar
    Join Date
    Feb 2013
    Location
    Alberta, Canada
    Posts
    4,857

    Default Head rests.

    More parts I was lucky to find and buy two years ago! They are in fantastic shape and were even the right colour!

    I had a bit of a hard time removing the passenger side but managed with a few scrapes and a few new words for the vocabulary!


  3. #103
    FEP Supporter
    82GTforME's Avatar
    Join Date
    Feb 2013
    Location
    Alberta, Canada
    Posts
    4,857

    Default Vintage alarm system.

    This car had an alarm system in it when I got it. Clearly a vintage set up that included a PAGER!

    I had removed the siren from under the hood when I got it just for aesthetics.


    While I had the console out, I contemplated on whether it should stay or whether I should pull it out. I never did try it to see if it worked even. It probably did for all I know.


    Regardless, I made the decision to pull it all out, including the wiring.

    Nothing too crazy to it. It was in series with the antenna so if someone pulled the stereo out, it would trigger. There was a plunger switch for the hood and it was also connected to the interior light circuit.

    The part I never noticed before was there was a magnetic switch on each door. These I ended up leaving as it so as not to disturb them but I did pull the wiring out that went to them.


    While following the wires to the interior light circuit, I found a repair and bypass of a plug near the passenger foot well under the dash. Oh well.


  4. #104
    FEP Supporter
    82GTforME's Avatar
    Join Date
    Feb 2013
    Location
    Alberta, Canada
    Posts
    4,857

    Default Bi-wing supports.

    My previous upper wing did have a bit of movement to it while driving and shook up and down over bumps and rough road.

    It may have mainly due to the improper fastening but regardless, I wanted to get some supports. There are a few options including the ones available on NPD (that I believe were invented/made by a mamber of SVOCA?). That and some other plastic ones.

    Mike Martinelli (n20capri) has some good info on his website always (http://www.mikemartinelli.com/) but there was something new 
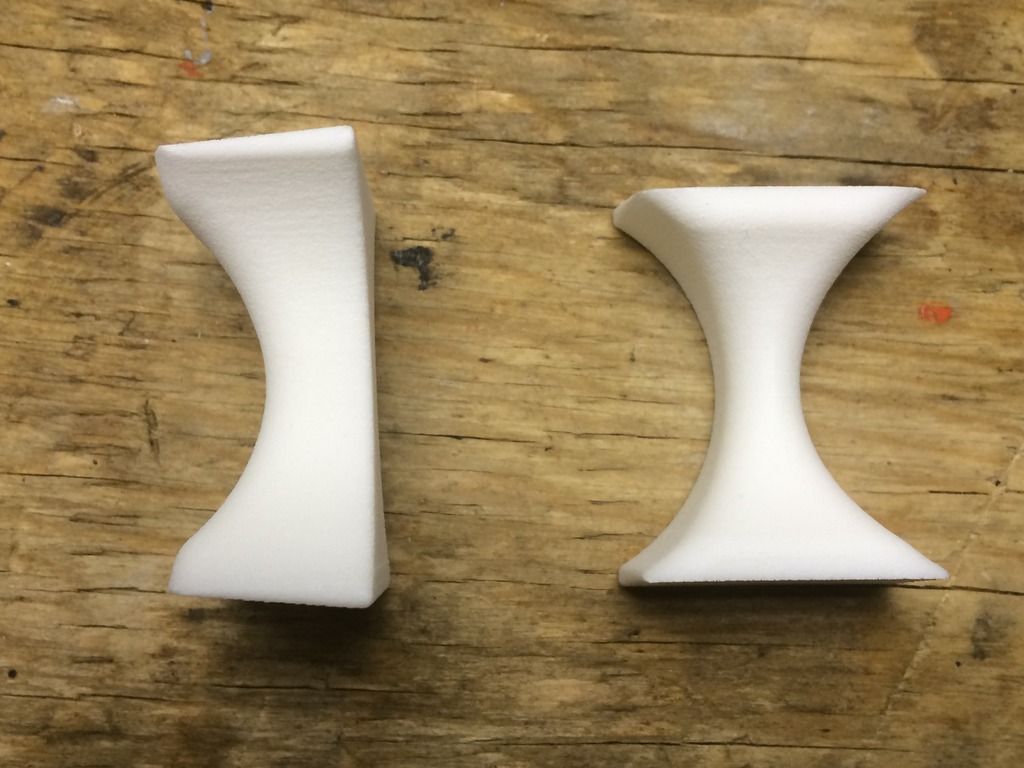
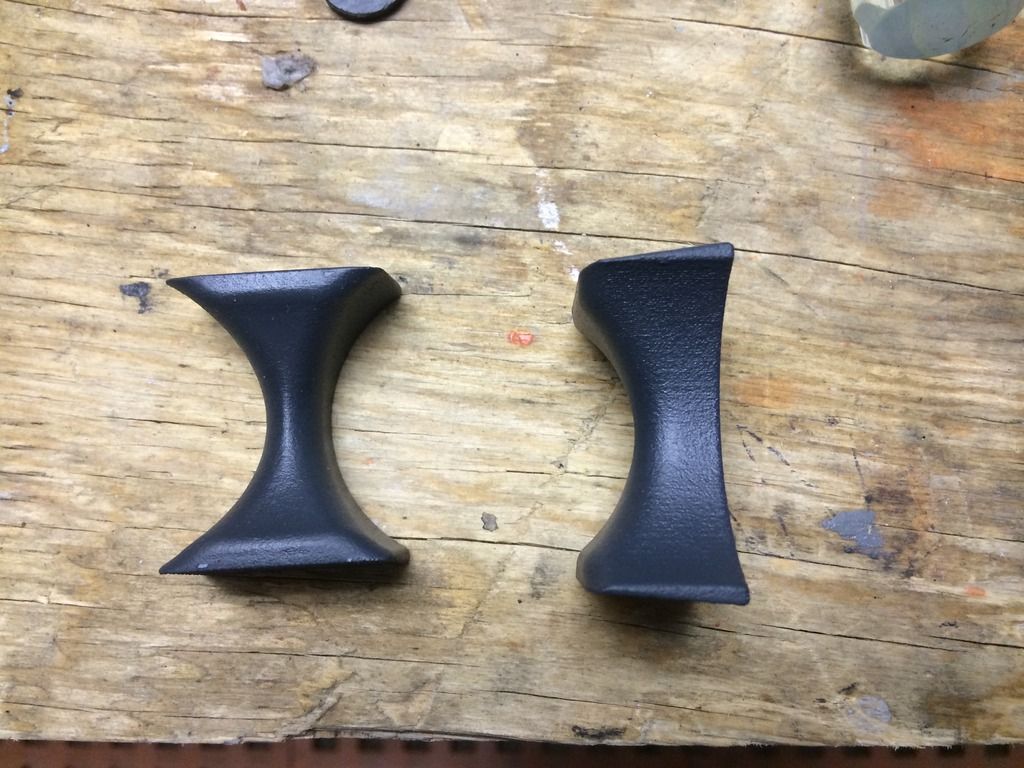
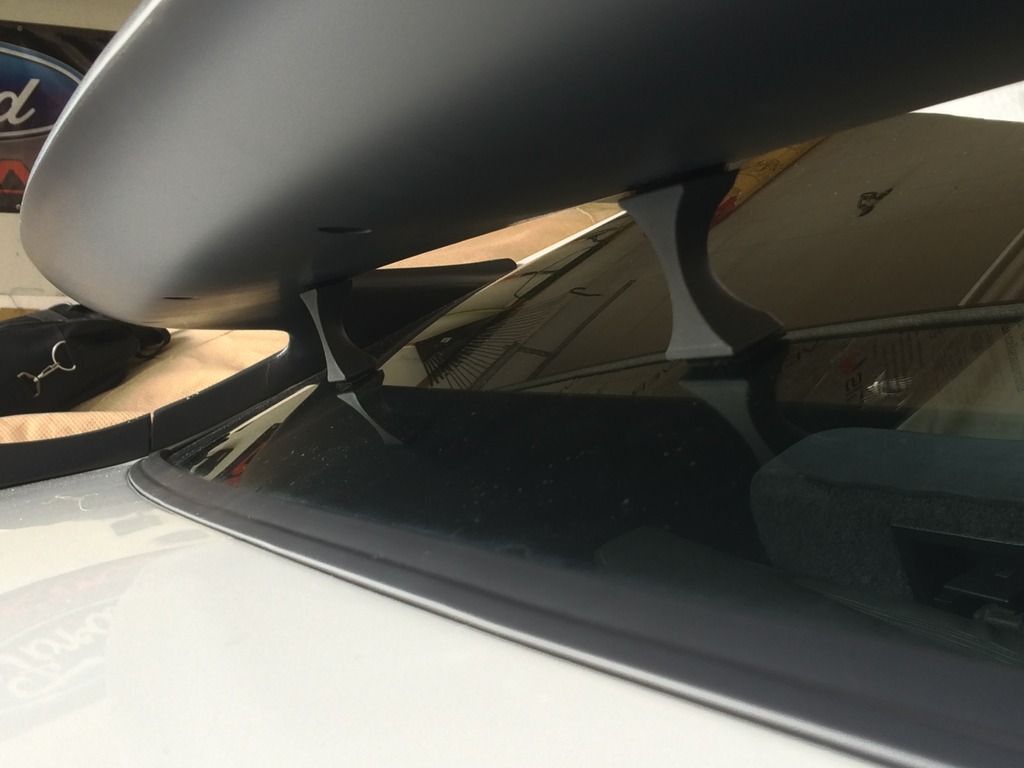
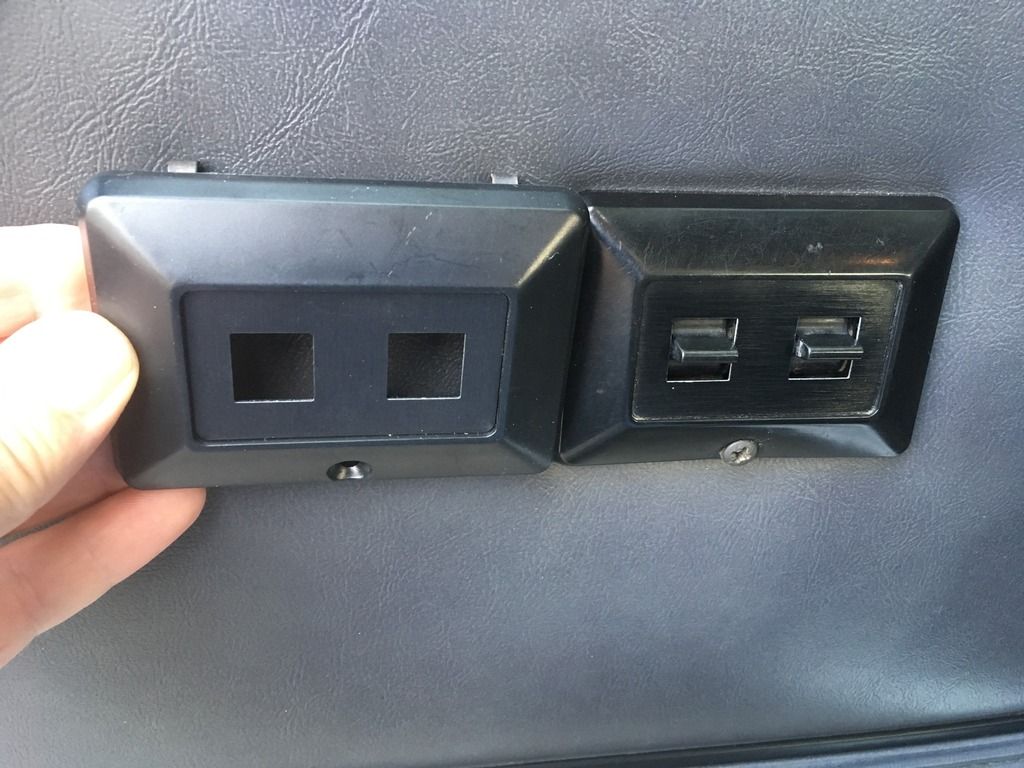
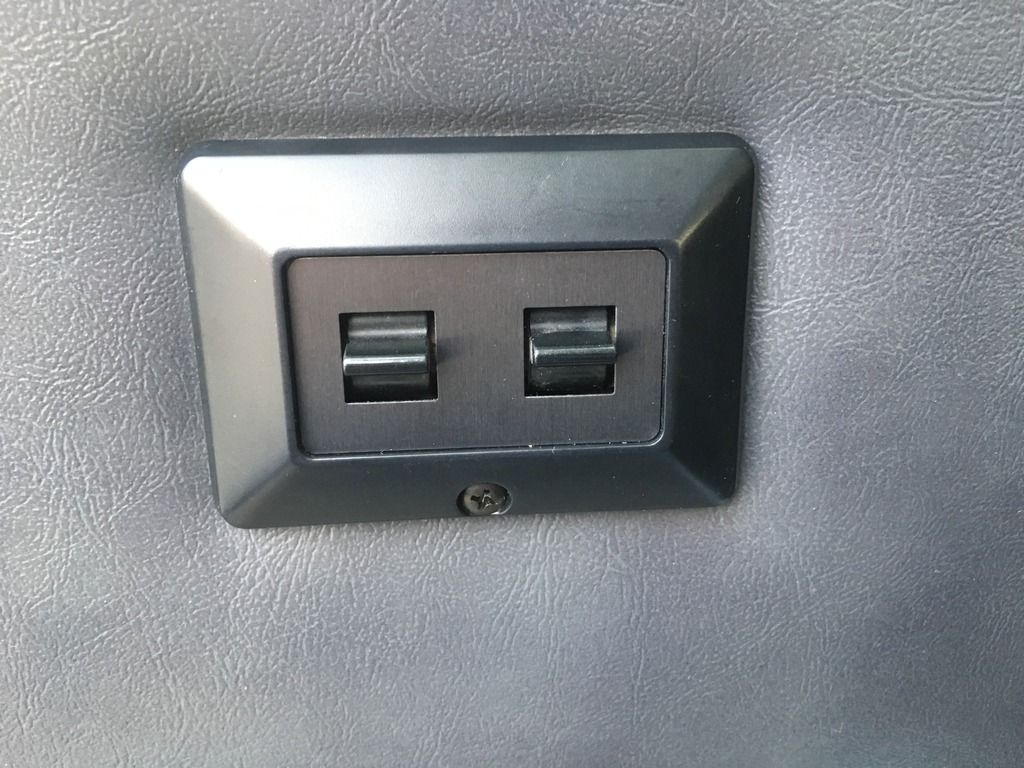
A link to his personal design for supports made through a third party 3D printing place; Shapeways.
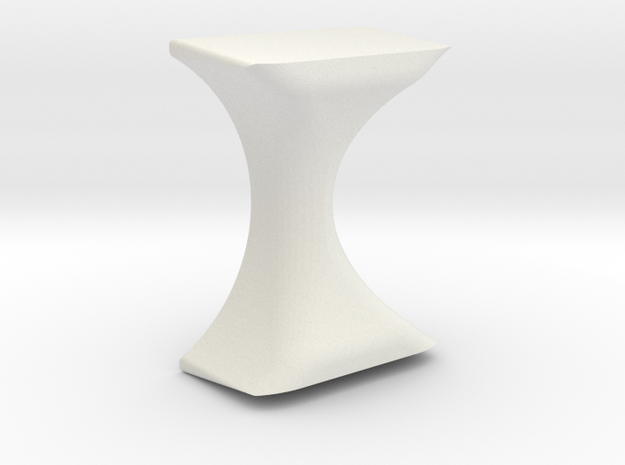


    I ordered two to give them a chance as they look more natural (and are much cheaper) than the metal ones.

    http://www.shapeways.com/product/LXB...ionId=40619849

    They arrived last week.


    I primed and painted them charcoal like the rest of the trim.


    The intention is to use two sided tape to fix them to the glass and wing but I didn;t have any of the right kind around. I opted to use some industrial velcro I had laying around. I had used this MANY years ago to fix the louvers on my '82 to the glass and NEVER had any issues.

    Here is the finished product. These really firm things up and seem very secure. For the limited driving the car gets, these are perfect for what I need.


  5. #105

    Default

    Nice Darran thanks again. They look great! Your purchase inspired me to take mine off and finally paint it! lol - I originally ordered the white thinking I'd just dye it black - but for whatever reason the dye never "took" - and ended up looking a nasty weird blue color.

    Either way it's finally painted charcoal and looks good - just have to put it back on. I like the velcro idea too. Nice work car looks amazing!

  6. #106
    Moderator wraithracing's Avatar
    Join Date
    Jun 2010
    Location
    Grand Junction, CO/RR TX
    Posts
    14,209

    Default

    Looks Good! Nice work
    ​Trey

    "I Don't build it hoping for your approval! I built it because it meets mine!"

    "I've spent most of my money on Mustangs, racing, and women... the rest I just wasted."

    Mustangs Past: Too many to remember!
    Current Mustangs:
    1969 Mach 1
    1979 Pace Car now 5.0/5 speed
    1982 GT Stalled RestoModification
    1984 SVO Still Waiting Restoration
    1986 GT Under going Wide Body Conversion Currently

    Current Capris:
    1981 Capri Roller
    1981 Capri Black Magic Roller Basket Case
    1982 Capri RS 5.0/4spd T-top Full Restoration Stalled in TX
    1984 Capri RS T-top Roller
    1983-84 Gloy Racing Trans Am/IMSA Body Parts

  7. #107
    FEP Supporter
    82GTforME's Avatar
    Join Date
    Feb 2013
    Location
    Alberta, Canada
    Posts
    4,857

    Default

    Quote Originally Posted by n20capri View Post
    Nice Darran thanks again. They look great! Your purchase inspired me to take mine off and finally paint it! lol - I originally ordered the white thinking I'd just dye it black - but for whatever reason the dye never "took" - and ended up looking a nasty weird blue color.

    Either way it's finally painted charcoal and looks good - just have to put it back on. I like the velcro idea too. Nice work car looks amazing!
    Thanks Mike! I think paint will be the way to go. I bought the plain white ones because it was slightly cheaper (and knowing I was going to paint it). If the car was being driven everyday and out in the elements all the time I'd worry about the longevity of the paint but then again I'd have to worry about all of the paint I just put on! I guess I'll see how the velcro works and lasts. I'm sure someone went when they saw that but all the force on the support is the tension moving up and down which is velcro's strength


    Quote Originally Posted by wraithracing View Post
    Looks Good! Nice work
    Thanks Trey! I was going to remove the spats to refinish them properly as well until I read your response in another thread about needing to remove the inner quarter panel to access some fasteners I never realized that. If I do them, they will be done in place this time.

    I'm surprised no one has commented on the two doobies I found under the console.

  8. #108
    FEP Supporter
    82GTforME's Avatar
    Join Date
    Feb 2013
    Location
    Alberta, Canada
    Posts
    4,857

    Default Moving on to the engine bay.

    One of the last areas this year was to get at a few outstanding things in the engine bay.

    After I had gotten the car three years ago I had isolated a rattle to the pins on the intercooler brackets.

    http://vb.foureyedpride.com/showthre...acket-Rattling
    Quote Originally Posted by 82GTforME View Post

    The plan was to remove the intercooler brackets and use new, heavier hoses that support it. I had trouble finding the recommended Napa hoses here for a good price (the local Napa only sold it in 3' lengths). Another member in the US picked some up and sent me the right lengths...THREE YEARS AGO!

    Two years ago, I changed the distributor cap and rotor (which made a difference in the way the engine ran) but I never did the plugs and wires (which have sat in a box since then) due to the intercooler in the way.

    That brings us to now. The intercooler actually comes off pretty darned easy. The finish is still in very good shape for this one!

    The car still retained what looked like the original hoses


    Here are the brackets off. Hard to tell visually whether the male end on these brackets are worn or the bushing on the engine bracket but either way there was definitely play in them to cause an irritating vibration/rattle!


    After that was off it was time for the plugs. This is when I noticed something slightly amiss. "One of these things is not like the others"!


    The number three spark plug is different than the other three! Whomever changed them last time couldn't get at it and left it Maybe it was the original plug that's been in there 90,000 miles??


    I went with these NGK Iridium plugs based on other's recommendations. I sure everyone has an opinion but I got these based on forum info on the internet and what is available locally. I'm sure they cant be bad. I gapped at 0.035" and ran these wires I'd been holding onto for a few years also!


    Not sure 100% on the routing for a 4-cylinder but I guess there are only so many ways.


    Check more things off the list

    Last edited by 82GTforME; 08-01-2016 at 10:33 AM. Reason: Added picture

  9. #109
    FEP Supporter
    82GTforME's Avatar
    Join Date
    Feb 2013
    Location
    Alberta, Canada
    Posts
    4,857

    Default Random stuff!

    I had a replacement hood to intercooler seal bought three years ago also that I finally got changed out!


    The passenger side engine splash sheild was also missing. I thought that all of these were the same but it looks like the four cylinder cars and their long bracketed sway bars are different

    I had some spares around and cleaned up the bottom one in this picture before relaizing when I attempted to install it that it wont work.

    The driver's side I have is like this upper one. Luckily I had one of that kind, cleaned it up and put it on


    Another small thing fixed up...

    Quote Originally Posted by 82GTforME View Post
    ...I put three coats of matte white model paint I had lying around on. Not perfect or NOS, but not bad for about half an hour!

    Quote Originally Posted by bluemax View Post
    As info., the Marchal lettering on the SVO covers were originally not white, thus a different part number than the GT covers.
    You learn things all the time and this was one of them.

    I took the time to remove the white paint as best I could. Much better right?


  10. #110
    FEP Supporter
    82GTforME's Avatar
    Join Date
    Feb 2013
    Location
    Alberta, Canada
    Posts
    4,857

    Default Headlight swap.

    Also a couple of years ago, I had hoarded a very good set of used headlights. Another member needed some lights so I decided to bite the bullet and switch the ones on the car out and ship them out.

    It was another thing (like removing the intercooler) that was easier than I thought it would be.

    Everything for the swap went off without a hitch. I went out at night to do the final adjustments which seemed okay but when I got into the garage I noticed the driver side light seemed loose at the bottom when I grabbed it to give it a wiggle. I thought somehow the retainer clip had came loose from there.

    A little investigating showed me a home repair that no longer works! I never noticed it earlier as the light frame sat in front of it and it did not seem loose. See the wraps of wire that are around the light bulb frame stud?


    I couldn't beleive my eyes when I got it pulled apart Pretty good damage to the header panel with material missing and one light frame mount broken!

    The boss that's broken to hook to the rad support wasn't broken. It broke when I was trying to get the material to line back up around the hole


    Needless to say, I am inexperienced with fibreglass, didn't have any here and I am unsure if it would have worked in this case or not. I went to my Red Green special fixer: JB weld.

    With the size of the void and the detached pieces, this had to be done in stages. The broken mount boss to the header and a new piece of sheet metal bent to fit where the light frame on the right attaches. On the left there was cracked material also so I went over it also to add some strength. The mount to the rad support was done up loosely but enough to hold it secure while it set.


    So far so good. Step two was to add some more reinforcement pieces and add material to the previously done spots it possible. Note the stress that was on this whole area did not allow me to line the overlap up in the center of the light hole. It had to stay where it was otherwise, I would be frustrated trying to get it lined up when it wouldn't without a fight!


    I know it's not the prettiest and best fix but with the adhesive cured, everything feeling quite secure and stable. I then put everything back together. No wonder I never really noticed when I had the light out before.


    These were the lights that were in the car. The lighting seems to make them clearer and cloudier. These never looked this bad on the car IMO.


    The replacements I had gotten were in very good condition


    When I got the car, it had looked like it had bumped into something. From the exterior, it really didn't look too bad other than the cracked (the picture doesn't show the cracking well) and starting to chip white paint. Clearly that was a poor estimation as it must have taken a good bump to crack and damage the paint that much. Looking up from underneath at the bumper mount, it doesn't look bent but judging but by the paint marks on it, it does looks to have been pushed in 2-3 inches on impact and then back out

    When I get my parts car stripped down, I hope to find a good header panel that now will one day get transplanted into this car but this inconspicuous repair should be good for a little bit in the least. I know they can be hard and not cheap to find!

    Last edited by 82GTforME; 08-02-2016 at 09:27 AM.

  11. #111
    FEP Supporter
    82GTforME's Avatar
    Join Date
    Feb 2013
    Location
    Alberta, Canada
    Posts
    4,857

    Default All together again.

    While under the hood, I did some dusting, cleaning and detailing. Well as best as you can with most everything in the car

    I really only pulled out the fan, overflow bottle and battery tray. I re-loomed a few wires and rerouted a couple of wires and hoses near the wiper motor. I had some somwhat minor damage around the tray from what looks like battery acid damage.

    I also pulled off the rad brackets and air filter cover to repaint. Boy did the brackets need it! I've been waiting because I couldn't really put it all together until I got the header "fix" done.

    Not sure how much time I will have for more work before the big Labour Day show myself and Jackson are in but a quick interior vacuum and detail again would be first. I'm glad I managed to get all of this done so quick Who says hoarding parts is a bad thing


  12. #112
    FEP Supporter
    82GTforME's Avatar
    Join Date
    Feb 2013
    Location
    Alberta, Canada
    Posts
    4,857

    Default

    After this work in the engine bay was done I had a small cold start up issue. I had needed to adjust the throttle plate set screw in order to have the car run. It also was not doing a "high idle" at cold start.

    The car did not have any operational issue after starting and warming up.

    After digging into it (slowly while enjoying the car after my work on it ) it turns out that the plug was undone to the idle air control solendoid (IAC) (and I really do not remember undoing it).

    I plug it in and voila, instant change on start-up. The only problem was by me adjusting the throttle plate earlier, I needed to recalibrate the throttle plate and the TPS.

    The guys (Especially Mike Fleming) at SVOCOP help settle me down and get it done once I got my head around what to do. This is new territory for me again but after doing it, it all makes more sense on how it operates.


  13. #113
    FEP Supporter
    82GTforME's Avatar
    Join Date
    Feb 2013
    Location
    Alberta, Canada
    Posts
    4,857

    Default Last improvement of the year.

    It seems that most who have splash guards on their Fox Mustangs have the same style we all know.

    The ones that were on my SVO were different. Mainly the back ones but I really liked them. I also liked them because they had cool "TURBO" graphic decals on them

    They show their age and wear and tear though. The front ones were mainly gone and the back were mostly intact but had some cracks and lifting.


    As I stated, I liked them and wanted to keep them so I searched for the brand I found molded into the back ones: "PowerFlow Model 3". I actually find one pair on eBay. Typical problem; too much money really when you count the extra to get it to Canada and they couldn't guarantee the decals were in the package either.

    Name:  $_57.jpg
Views: 257
Size:  48.6 KBName:  $_58.jpg
Views: 256
Size:  51.9 KB

    I see the fronts are pretty universal and are model 4 if anyone is looking for some now

    Second choice was to get some custom decals made. I went to a local graphic artist place that do signs, posters, trade show displays etc. but they also do decals. I took the rear flap with me to them. They looked at it and said, sure we can do that. $50 minimum charge due to the printer and/or size of paper. She took the measurements she needed, they took my $50 up front and they called me in a week.

    This is what I ended up with. They got three pairs out of it for my money. I think that wasn't too bad actually. Plus they look to be very good quality


    I ended up doing the front ones in place. Who ever installed them had riveted them on and I didn't need to bother disturbing them.


    (Notice I polished the wheels too ^^. A little TLC showed!)

    I had contemplated customizing the script on them to "SVO" or something but never pursued it early enough.

    A couple of weeks ago, I went for a cruise around the city with about eight other cars and the four left after went to really the only place where "car people" go. It's a lot of the tuner groups, imports etc., the odd muscle car but it was packed.

    I ended up leaving right away because there was nowhere to really park but about a mile away a young guy in his 90's-2000s BMW pulls up to me at a red light. He looks and asks "is that all original?". I say "pretty much" other than the exhaust. He sees the decal on the splash guard and goes "I never knew they made turbo's of those". When the light turned green, I think I surprised him enough he'll remember they made turbos of these!
    Last edited by 82GTforME; 08-22-2016 at 10:35 PM.

  14. #114
    FEP Senior Member rodster's Avatar
    Join Date
    Feb 2006
    Location
    Allentown, PA
    Posts
    716

    Default

    Nice progress, thanks for the updates and pictures. Just catching up on this thread.

    Regarding the sparkplug wire routing, I think the only other option is to come straight off of the distributor and let the slack on the plug side. I think I might prefer that way to avoid the sharp bends at the distributor and the wires against the alternator. Just a thought. Now I'll have to go hunting for some factory photos to see how it was done when new.

  15. #115
    FEP Supporter
    82GTforME's Avatar
    Join Date
    Feb 2013
    Location
    Alberta, Canada
    Posts
    4,857

    Default

    Quote Originally Posted by rodster View Post
    Nice progress, thanks for the updates and pictures. Just catching up on this thread.

    Regarding the sparkplug wire routing, I think the only other option is to come straight off of the distributor and let the slack on the plug side. I think I might prefer that way to avoid the sharp bends at the distributor and the wires against the alternator. Just a thought. Now I'll have to go hunting for some factory photos to see how it was done when new.
    Thanks Rod! A bit of work packed into a short amount of time. With so many things to do on the cars we have, I am glad this did not take up more of my attantion

    I'm not sure about the stock wire routing either I pretty much followed where the ones that were on it were. They are out of the way and look neat to my eye for now at least!
    Quote Originally Posted by Travis T View Post
    I think this is my favorite car on the site right now.
    Quote Originally Posted by BLUECRAPI
    This is the best thread on the internet.
    Darran
    1982-1C (Black) GT T-Top:http://vb.foureyedpride.com/showthre...he-Road-Thread
    1986-9L (Oxford White) SVO: http://vb.foureyedpride.com/showthre...d-did-1986-SVO
    1979 (85:Tangerine) Coupe (my son's): http://vb.foureyedpride.com/showthre...gerine-Machine
    1979 (3F:Light Medium Blue) Coupe (one day to be my other son's!) http://vb.foureyedpride.com/showthre...um-Blue-Bomber!

  16. #116
    FEP Supporter
    82GTforME's Avatar
    Join Date
    Feb 2013
    Location
    Alberta, Canada
    Posts
    4,857

    Default International Mustang Meet #37 Calgary!

    The one and only show appearance this year. The local Alberta Mustang Auto Club (AMAC) hosted the 37th International Mustang Meet this past weekend with the show on Saturday.

    It was myself and this 85.5 in the 84-86 SVO (all) category. In the end he took the award (participant voting).

    I am getting better knowing what I am looking at and know my car was stock where his had some modifications. He had a fresher, more obvious shine to the paint and had repolished wheels that set it off. Ah well maybe next year! The IMM #38 is being held in Helena, Montana.


    This 84 was parked in the spectator parking area. I have seen it for sale on Kijiji up here recently.


    Yesterday, I went on one of four cruise/sight seeing tours that were held. This one had 48 cars in it and we did around a 60-70 mile circuit into the foothills of the Rockies. The weather wasn't the greatest but it was fun.


  17. #117
    FEP Power Member Fearnot's Avatar
    Join Date
    Jan 2015
    Location
    Concord NC
    Posts
    1,491

    Default

    Congrats Darran for making it to a show this year! You've done a tremendous amount of work in a short time. The car looks great. Good to see that you got to get it out and enjoy it a little before the snow starts to fly. I'm sure you'll do a lot more this winter.
    88 Turbo Coupe auto
    88 Turbo Coupe 5spd
    79 Fairmont Futura 4.6
    79 Capri RS - 2.3/5spd restomod
    80 Capri 5.0/5spd project
    79 Zephyr Z7 factory 5.0 sunroof
    79 Pace Car 5.0/5spd project
    85 LTD LX factory 5spd?(not documented)
    86 GT conv 5.0/5spd
    79 Pace Car 2.3/4spd - needs new home

  18. #118
    FEP Senior Member rodster's Avatar
    Join Date
    Feb 2006
    Location
    Allentown, PA
    Posts
    716

    Default

    Car looks great and glad your were representing the SVO's! Too bad the 84 didn't join you guys, looks like a nice car too. Thanks for the pics.

  19. #119
    FEP Supporter
    82GTforME's Avatar
    Join Date
    Feb 2013
    Location
    Alberta, Canada
    Posts
    4,857

    Default 2017

    So it's been a while since I updated any SVO things...but with Photobucket showing pictures again, I thought I would

    2017 was a year that not much happened. Doing the work on the 79 coupe kept me from much. Good thing was, I didn't really have much to do. The car was running well. I drove it here and there. Not as much as I had hoped but always happy when it starts right up!

    I replaced the cracked around the screw driver's side switch bezel. Finish on the repro isn't really the same...


    Went on an hour and a half trip to Red Deer mid-summer to an "Alberta Foxbody Canada" meet/dyno. Halfway between Calgary and Edmonton. Met a guy who I had seen pics of the car of from Edmonton. 1986 7B. US car imported to Canada. Nice car, nice guy


    Summer city drive stop.


    Fall drive stop.


    Other than a smile on my face, nothing really was up in 2017...

  20. #120
    FEP Supporter
    82GTforME's Avatar
    Join Date
    Feb 2013
    Location
    Alberta, Canada
    Posts
    4,857

    Default 2018!

    The main local Mustang club I belong to and go to the odd meeting and show always do the local World of Wheels and for the last number of years win the club display. This year they were asking for large good quality images. If we paid $50 we would get a 36" x 36" laminated print.

    This was the final image I submitted. It was an older picture before all of the latest trim fixes but it was still really good. It was used along with a bunch of other member cars for the display. I ended up putting it up on my basement computer room wall to see every time I walk by it


    They had a Monopoly theme to the display this year. I do not know what square I was although it doesn't look like I am on the cheap side of the board Likely not Boardwalk or Park Place I'm sure I never went down in person this year nor did I help the club with the display.

    Maybe one year a fox will adorn their display


  21. #121
    FEP Senior Member BMW Rider's Avatar
    Join Date
    Oct 2014
    Location
    Calgary, Alberta, Canada
    Posts
    949

    Default

    Quote Originally Posted by 82GTforME View Post
    Maybe one year a fox will adorn their display
    I was thinking that 2019 being the year the fox Mustang turns forty it would be a good theme.

  22. #122
    FEP Supporter
    82GTforME's Avatar
    Join Date
    Feb 2013
    Location
    Alberta, Canada
    Posts
    4,857

    Default The start to 2018

    With having the rework on the Tangerine coupe ongoing, these was not a lot of opportunity to do any "major" work on the SVO last year.

    I finished the 79 finally last week and found the time to wake up the SVO from the extra long slumber this past winter! This car always starts easily for me! Check the fluids, remove the coil wire, crank to get some oil pressure and then vroom...no issues!


    I brought the SVO home and took the 79 to the garage I rent to park for a bit.


  23. #123
    FEP Supporter
    82GTforME's Avatar
    Join Date
    Feb 2013
    Location
    Alberta, Canada
    Posts
    4,857

    Default

    As usual, I have been gathering needed parts over time to eventually get to one day.

    On the list:

    - Front pads and rotors. I knew these needed to be done.
    - Rear pads. Turn the rotors if needed
    - Oil and filter change
    - Fuel filter
    - Oil pressure sender. The gauge reads quite high most of the time.
    - Coolant temp sensor. Coolant gauge temperature seems inaccurate to the actual temp and fan on point.
    - Front hood emblem (maybe as I really would like to do rock chips or repaint the front cover and hood front first)


  24. #124

    Default

    Nice car!

  25. #125
    FEP Supporter
    82GTforME's Avatar
    Join Date
    Feb 2013
    Location
    Alberta, Canada
    Posts
    4,857

    Default

    Quote Originally Posted by GT Town View Post
    Nice car!
    Thanks! It's a fun car to own and drive!

Page 5 of 6 FirstFirst ... 3456 LastLast

Posting Permissions

  • You may not post new threads
  • You may not post replies
  • You may not post attachments
  • You may not edit your posts
  •