


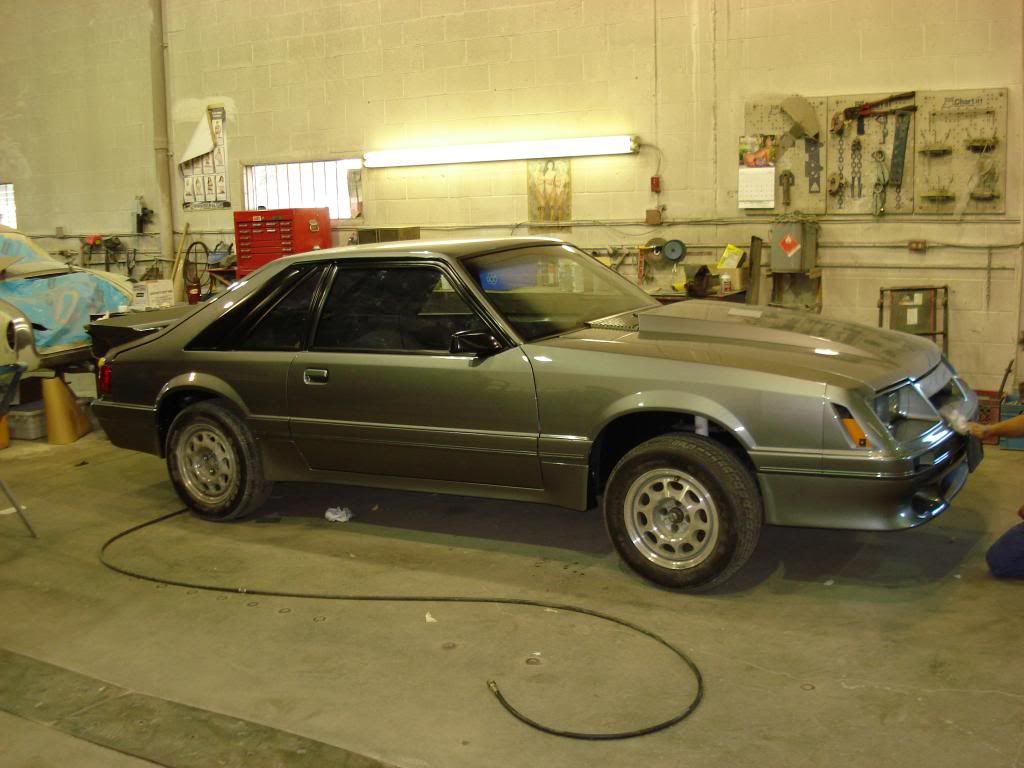
So, further to my intro, I thought I would start a thread to share the changes Ive made to my car over time.
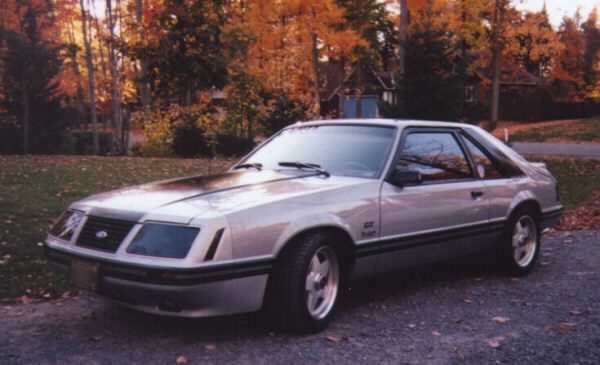
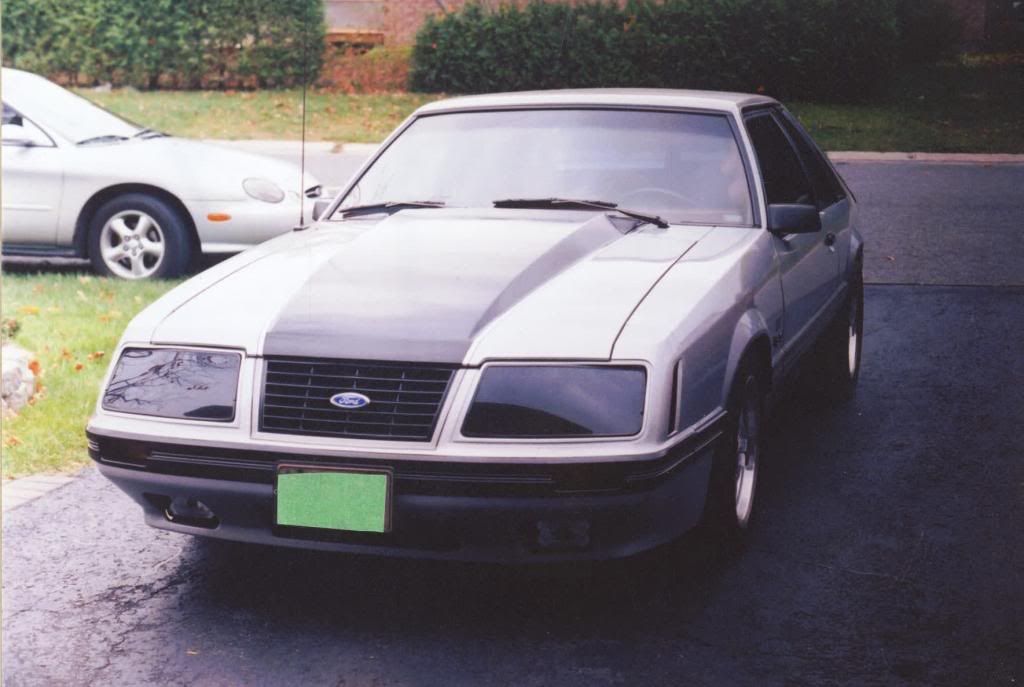
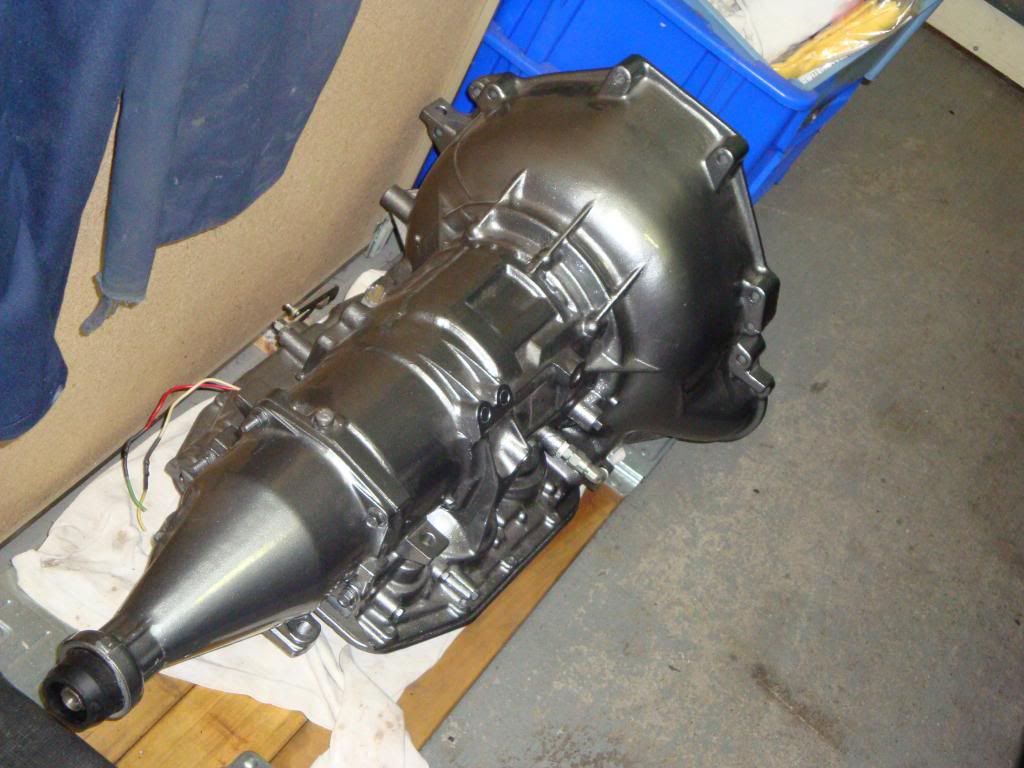
My 84 GT originally came with the CFI engine, AOD and 3.27 gears.
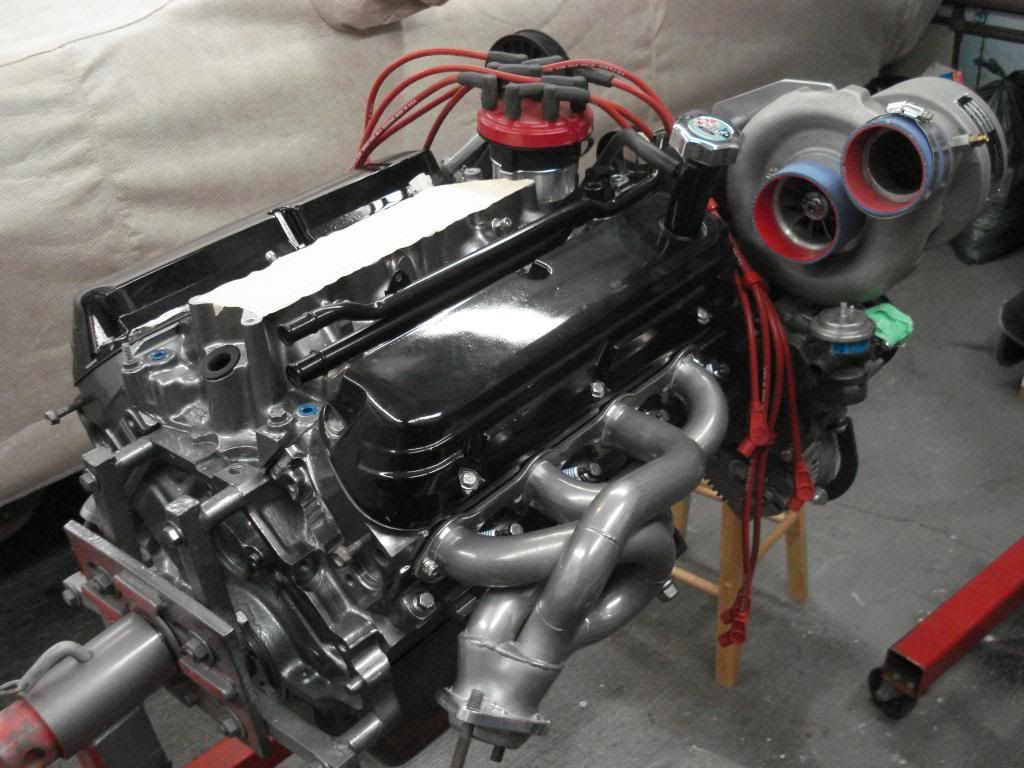
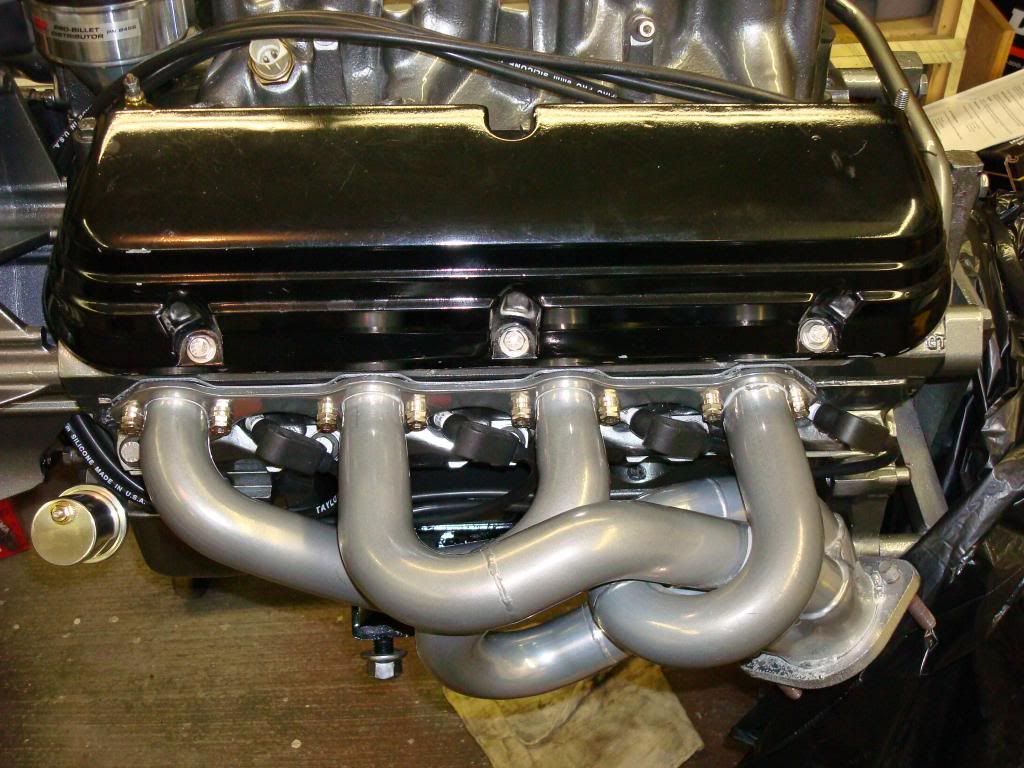
The car remained original for the first three years. Then, in 1987, when new TRX tires were on backorder for six months, I switched to CSA 5 spoke wheels and BFG 245/45/16s. The car later received other changes like upgraded 4 wheels disc brakes (92 brakes up front and M2300-C in rear), stiffening, major tranny work, conversion to EFI and later a 92 roller motor and 8.8 axle and gears.
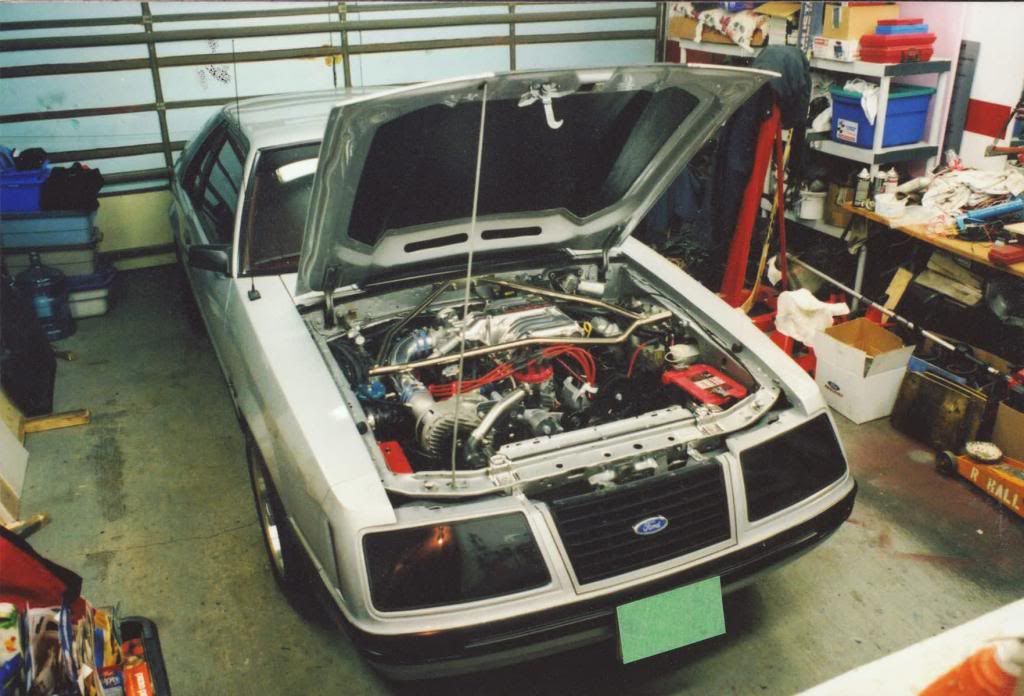
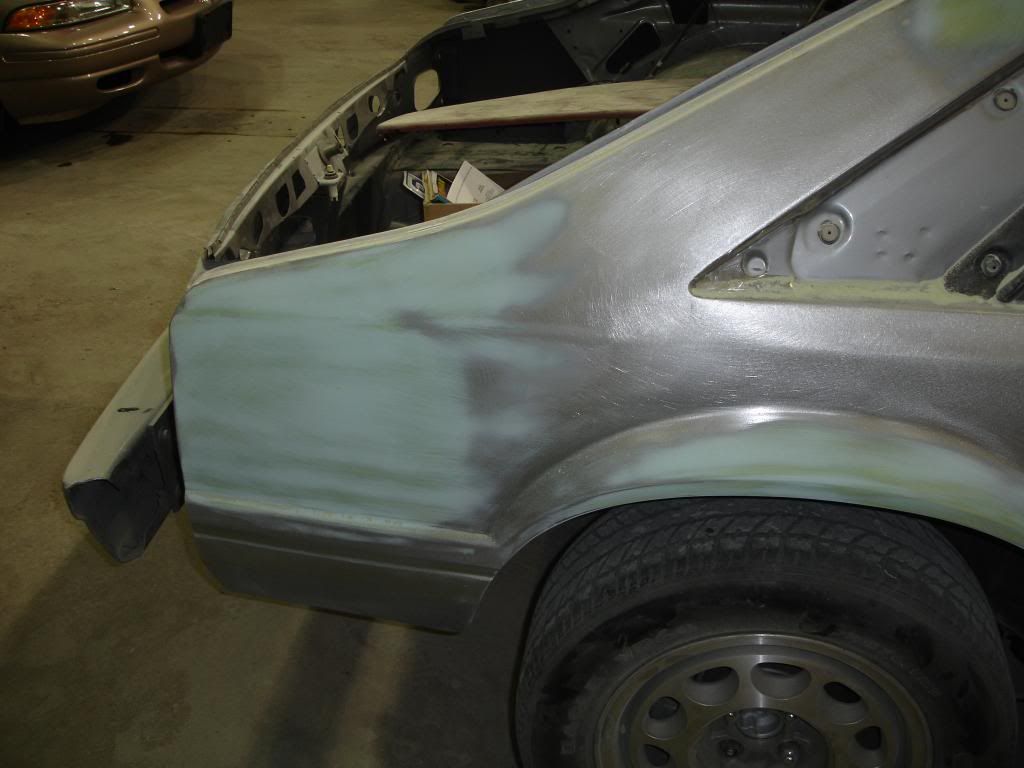
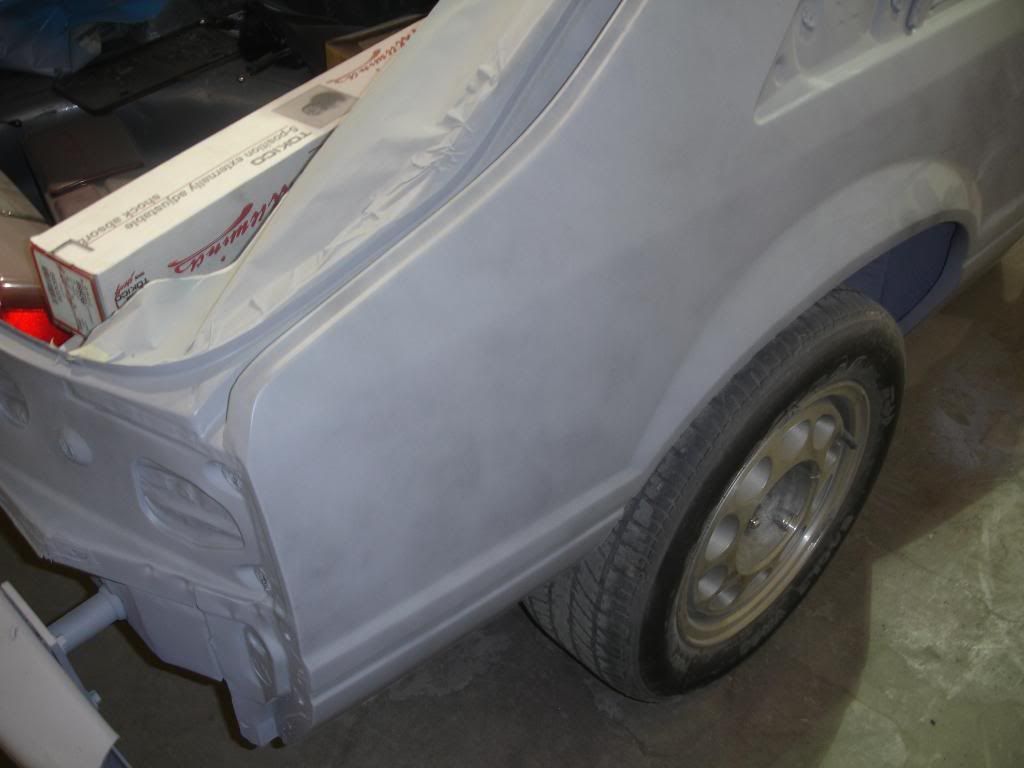
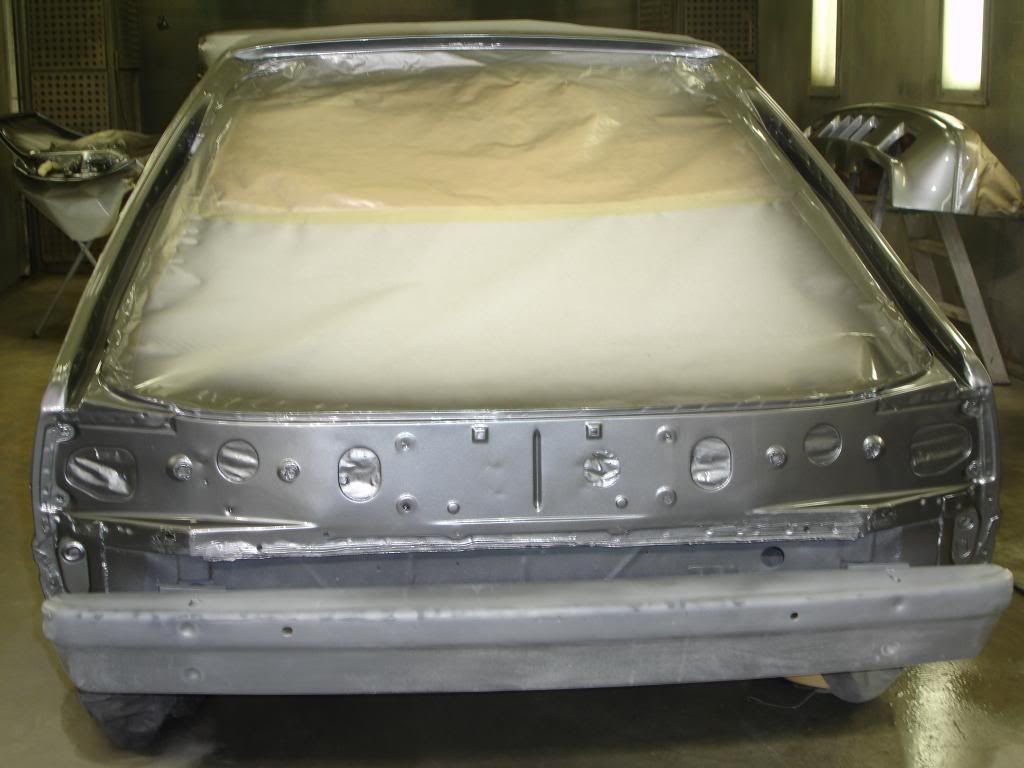
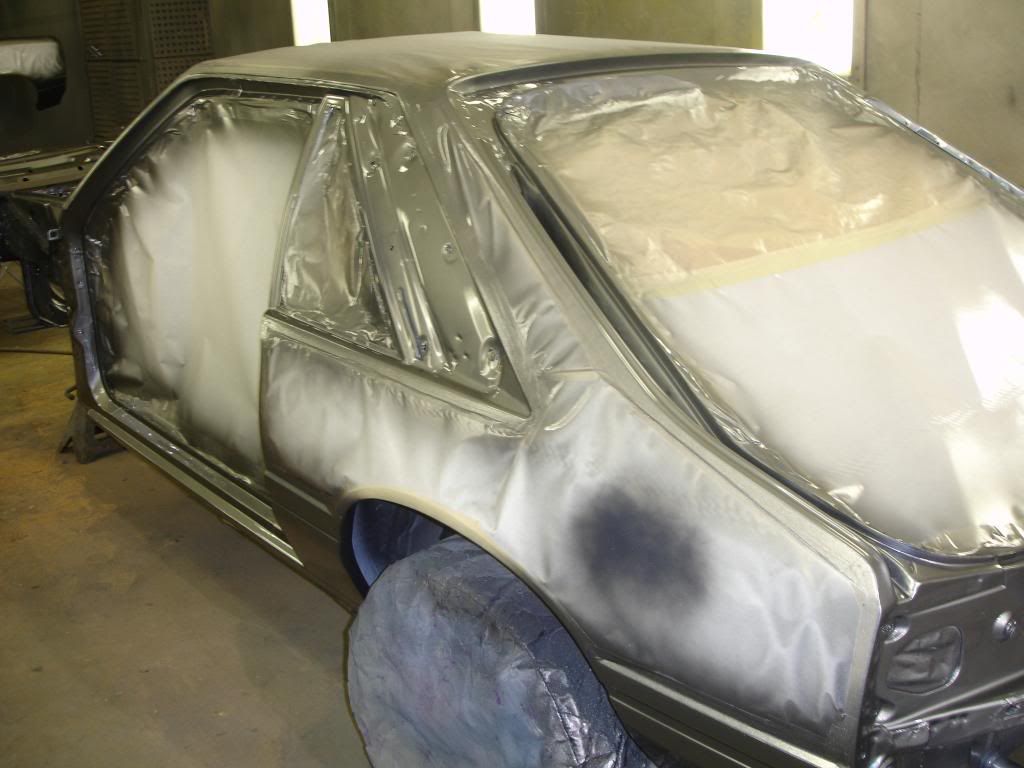
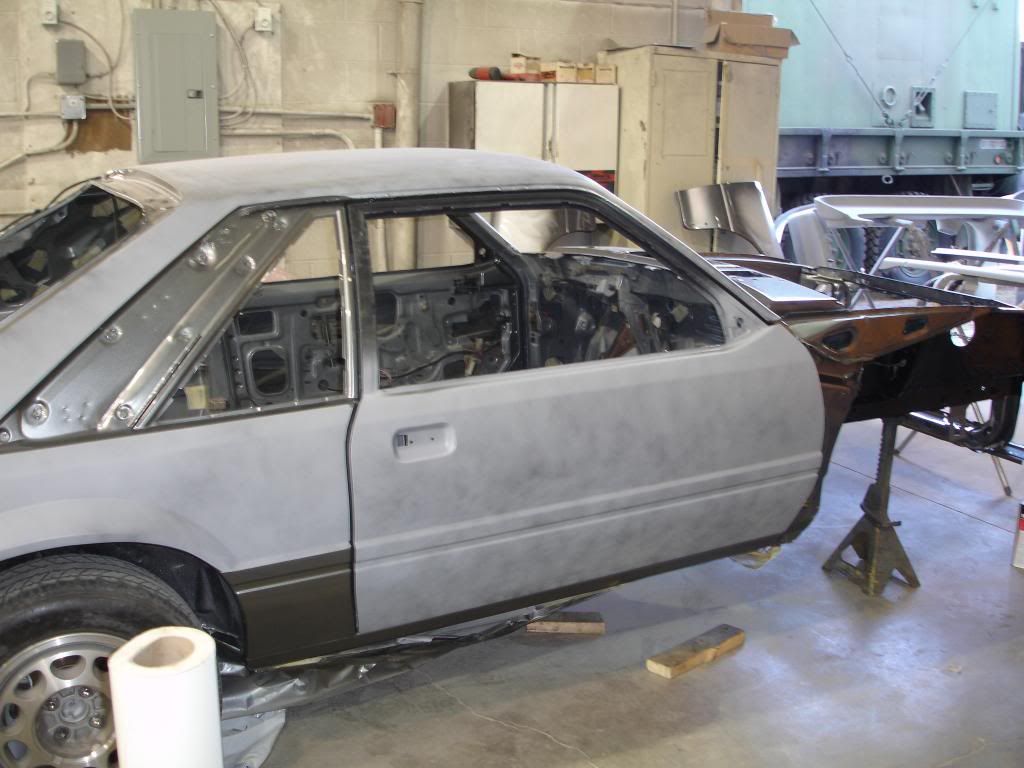
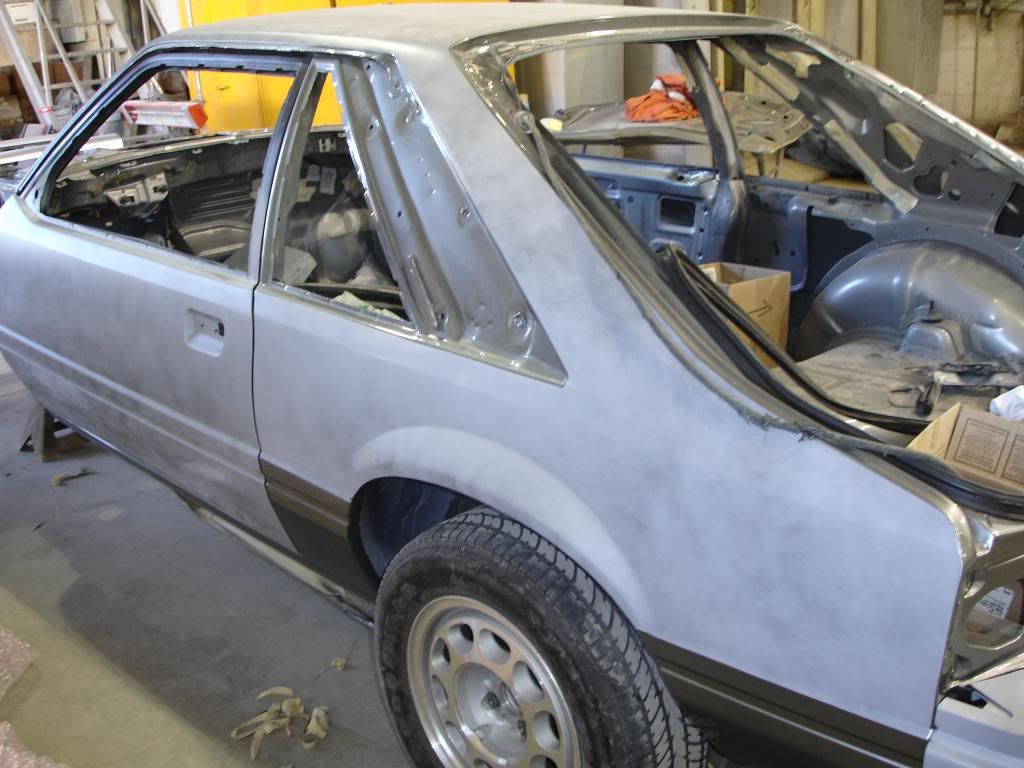
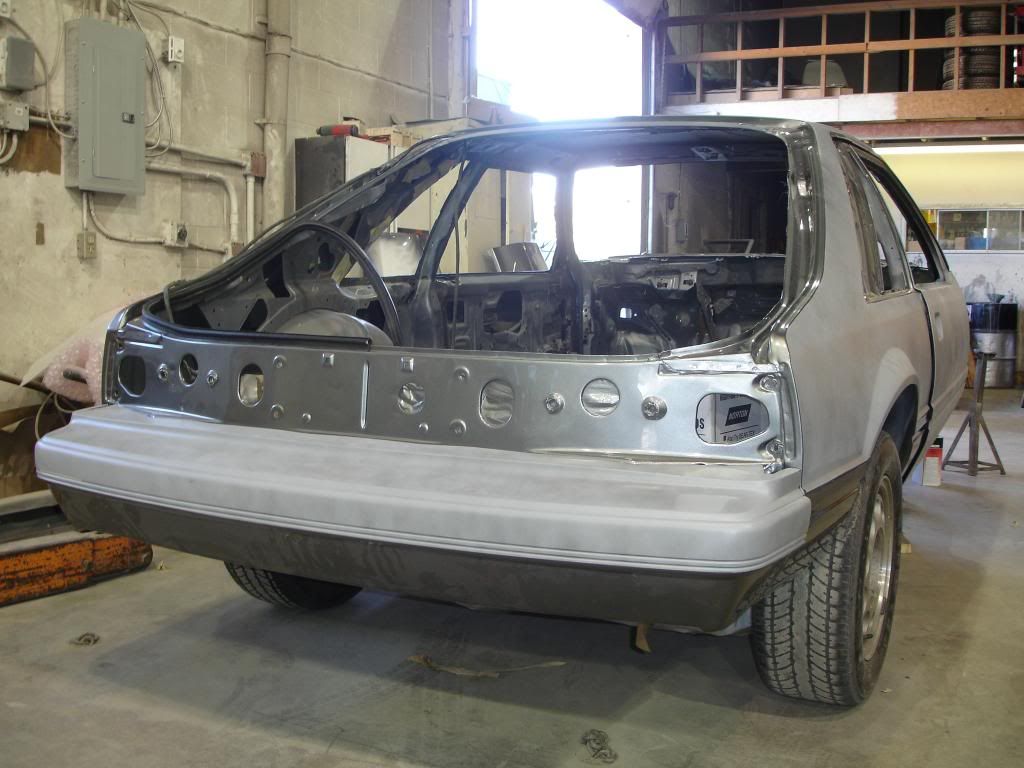
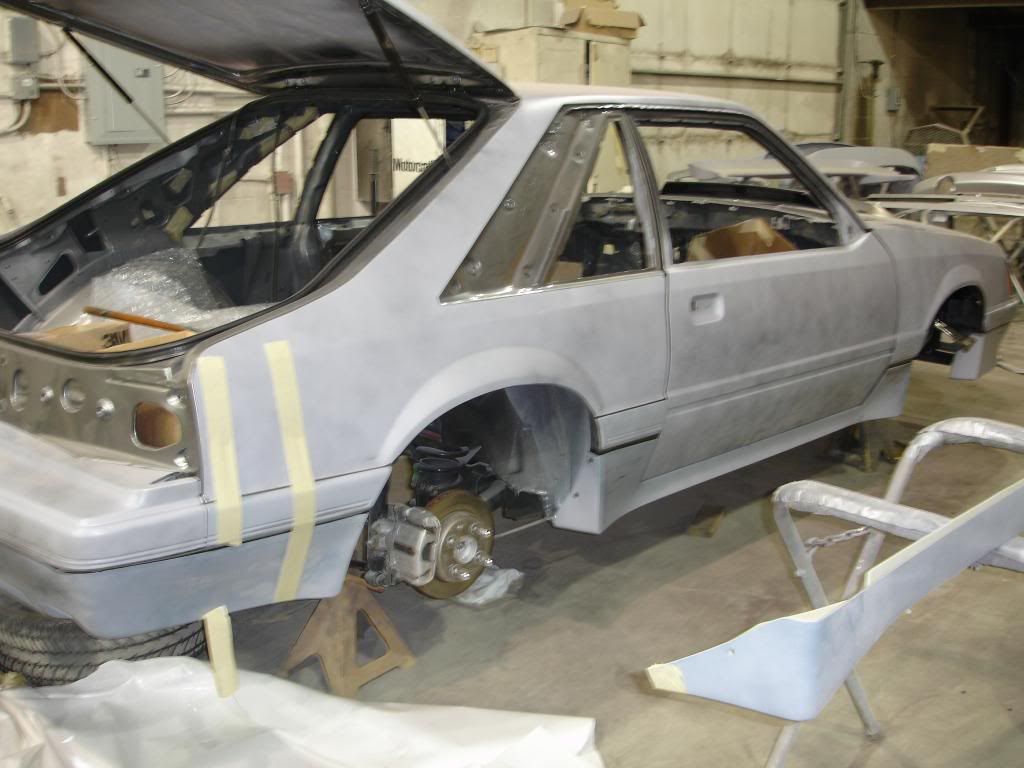
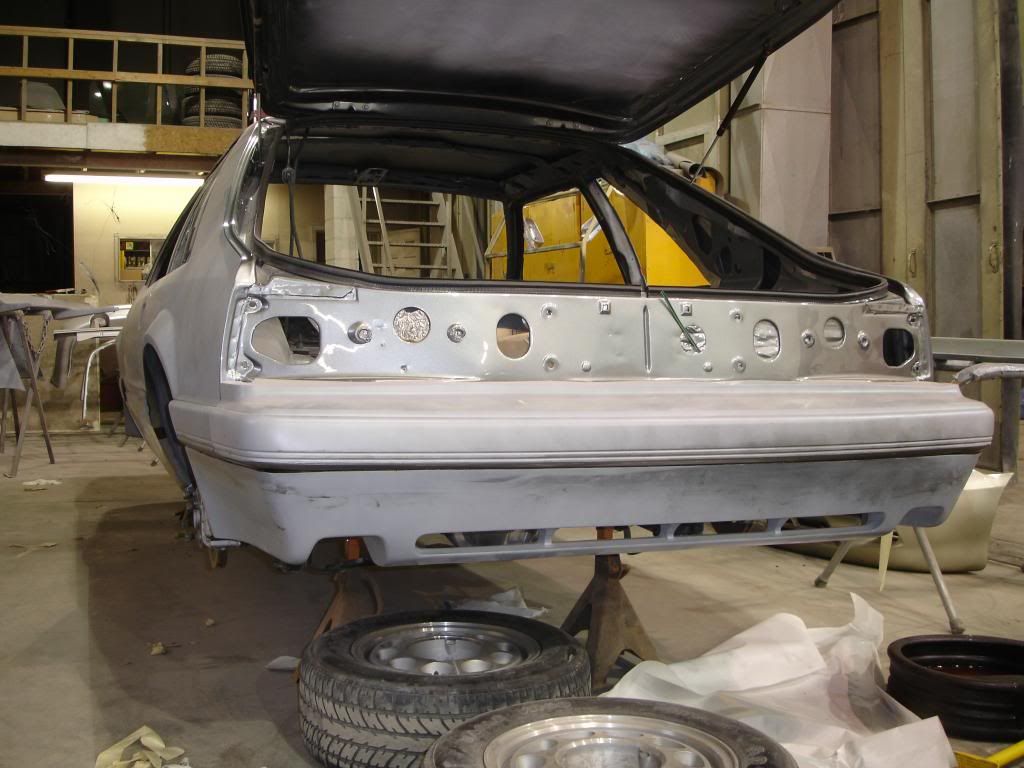
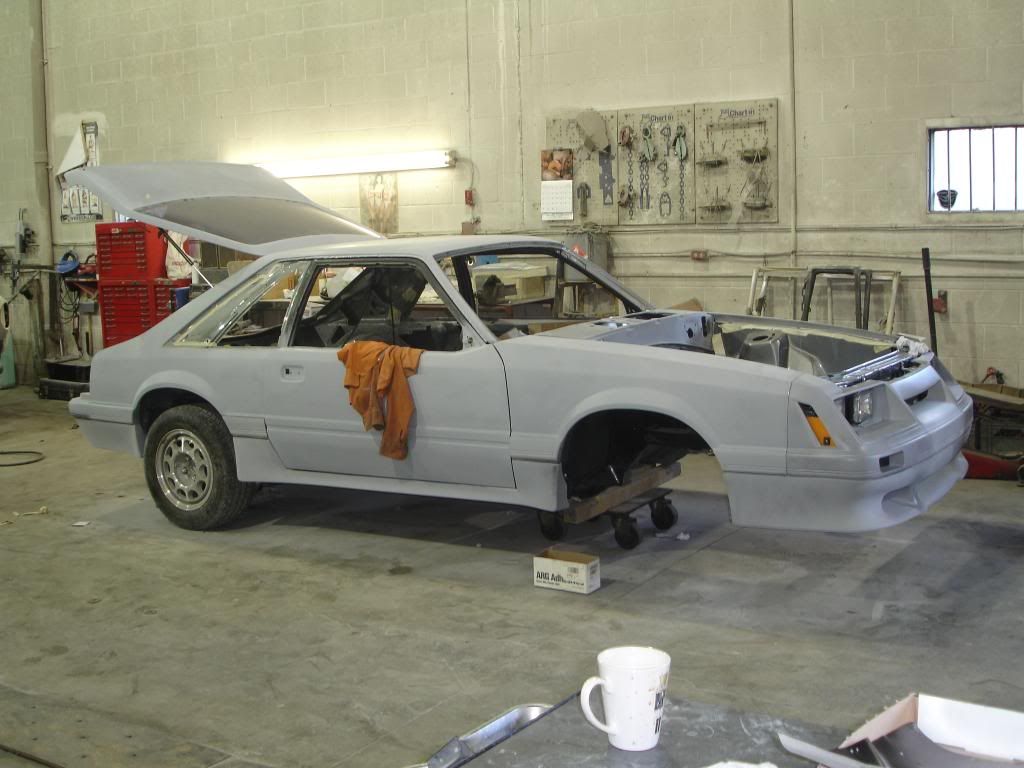
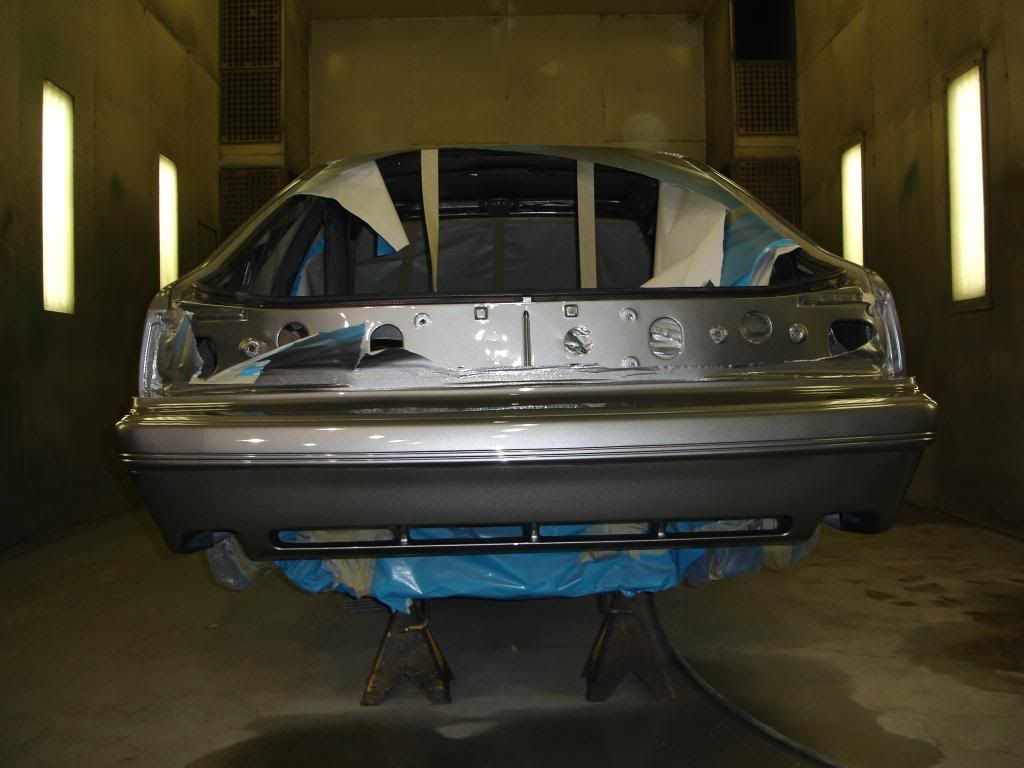
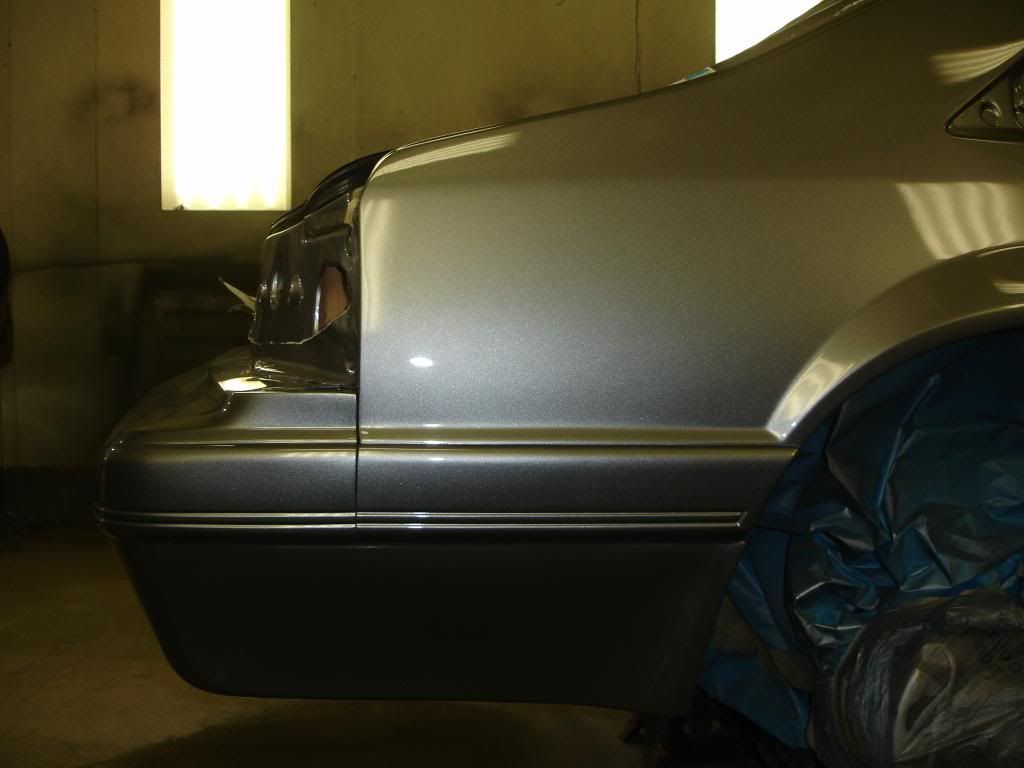
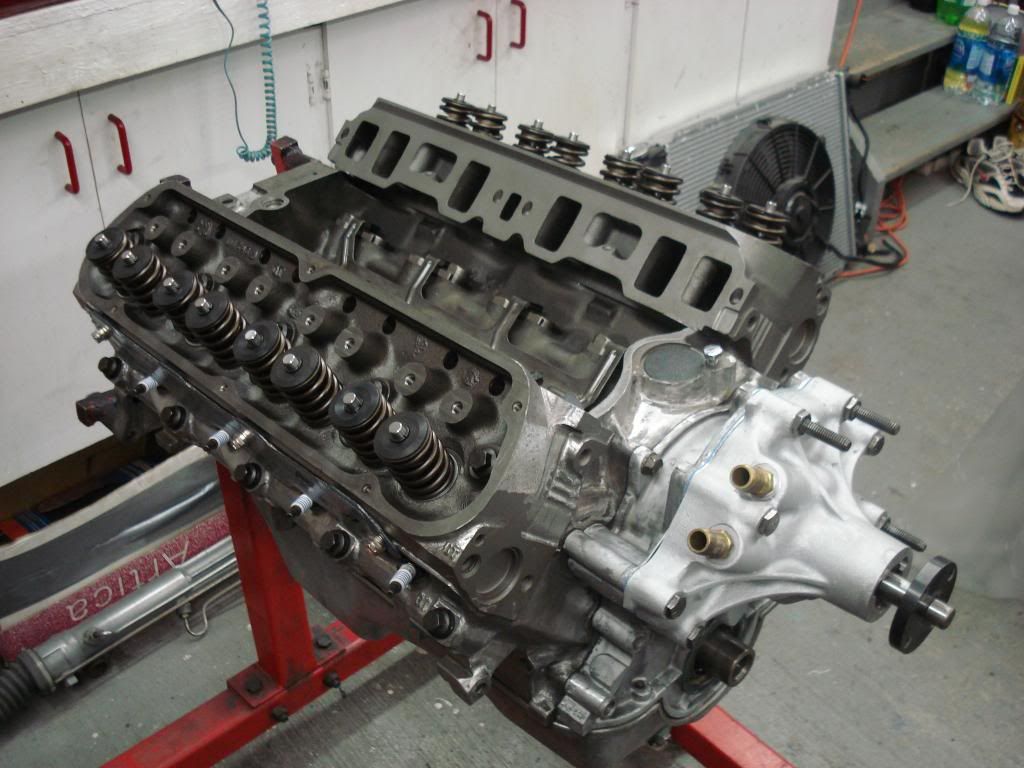
A motorsport supercharger and a cowl hood were added and it stayed that way until the fall of 2003. By this time, the original paint was not as shiny and was wearing out, especially around the rear spoiler.
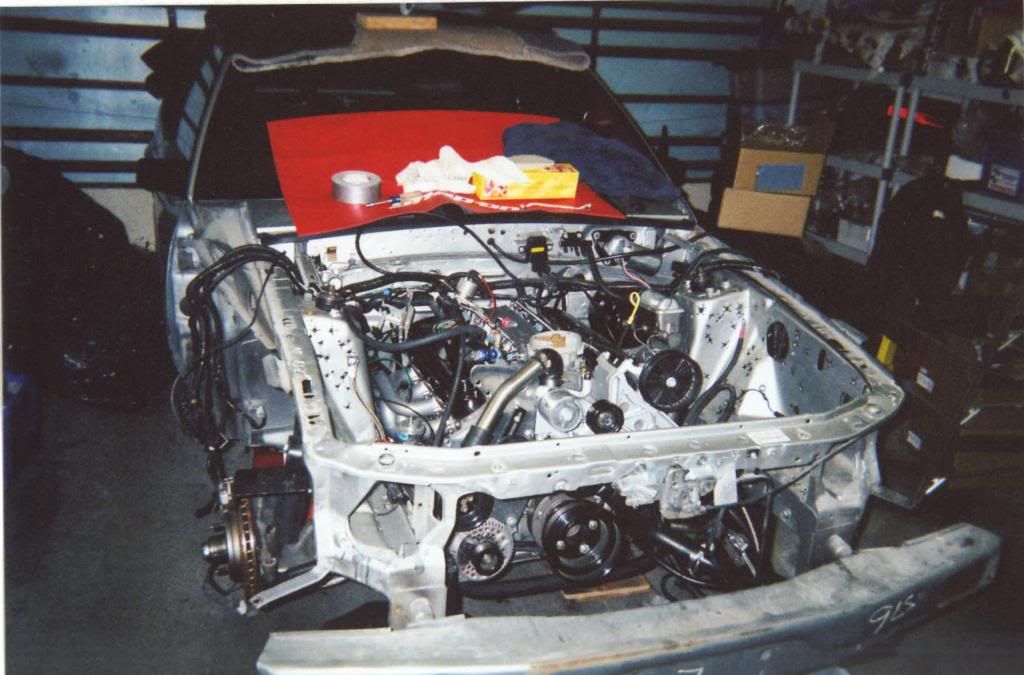
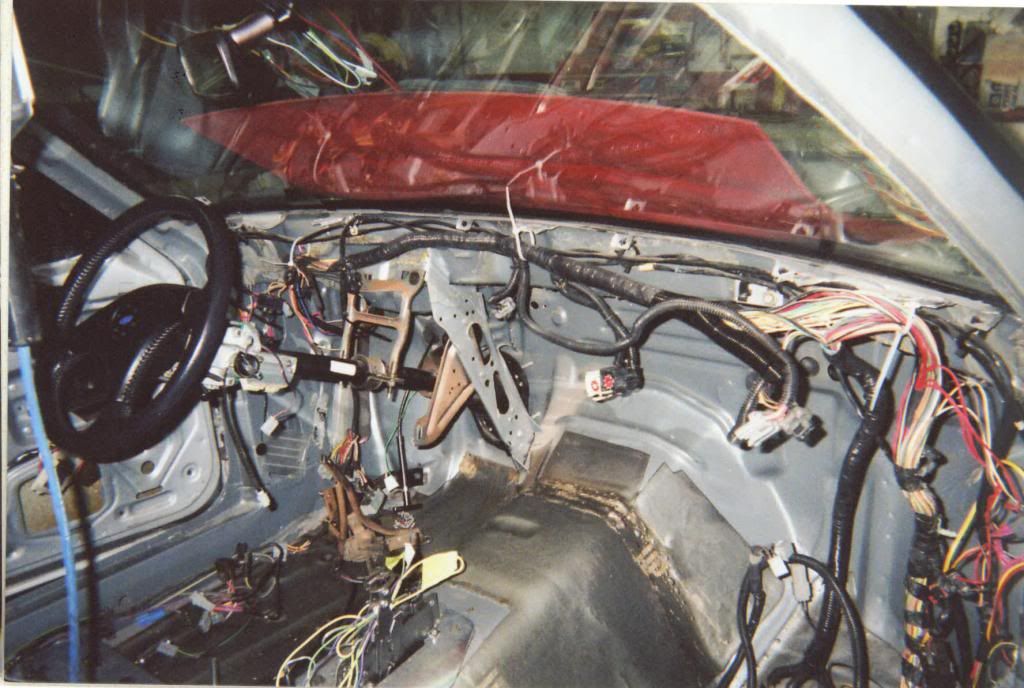
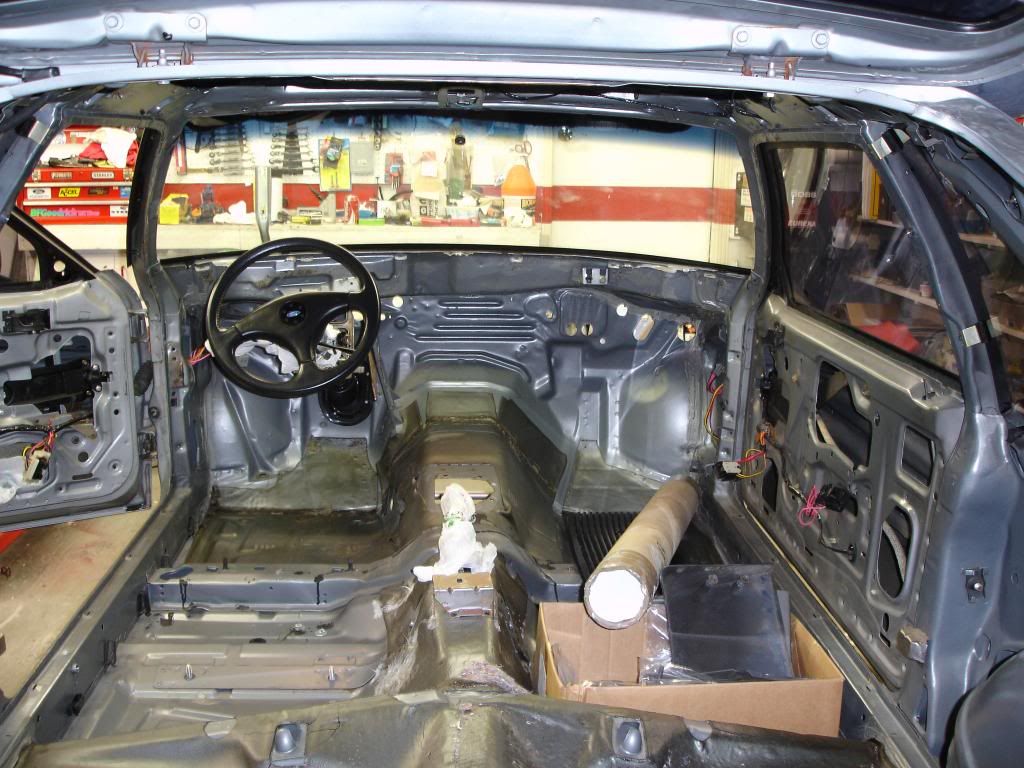
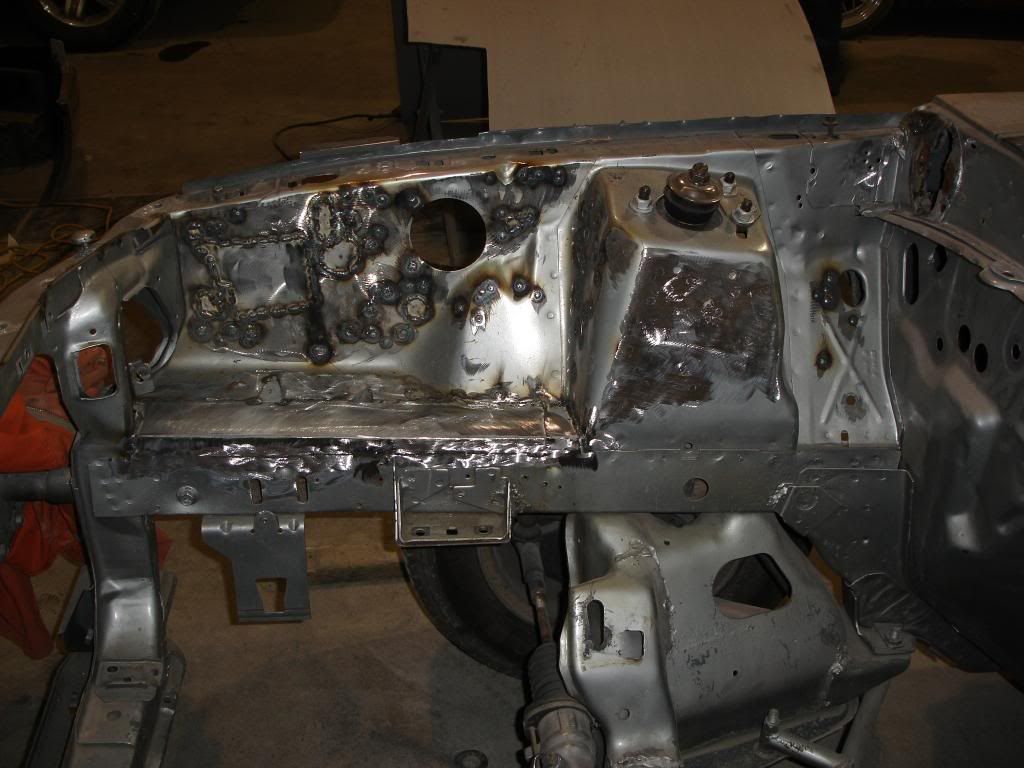
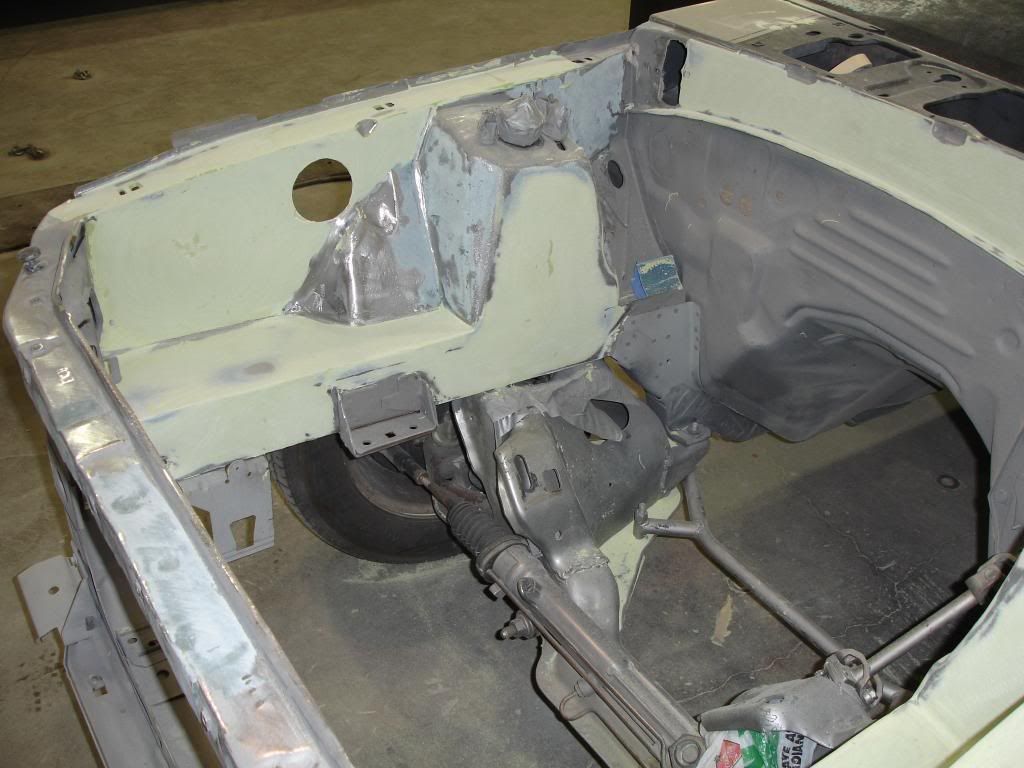
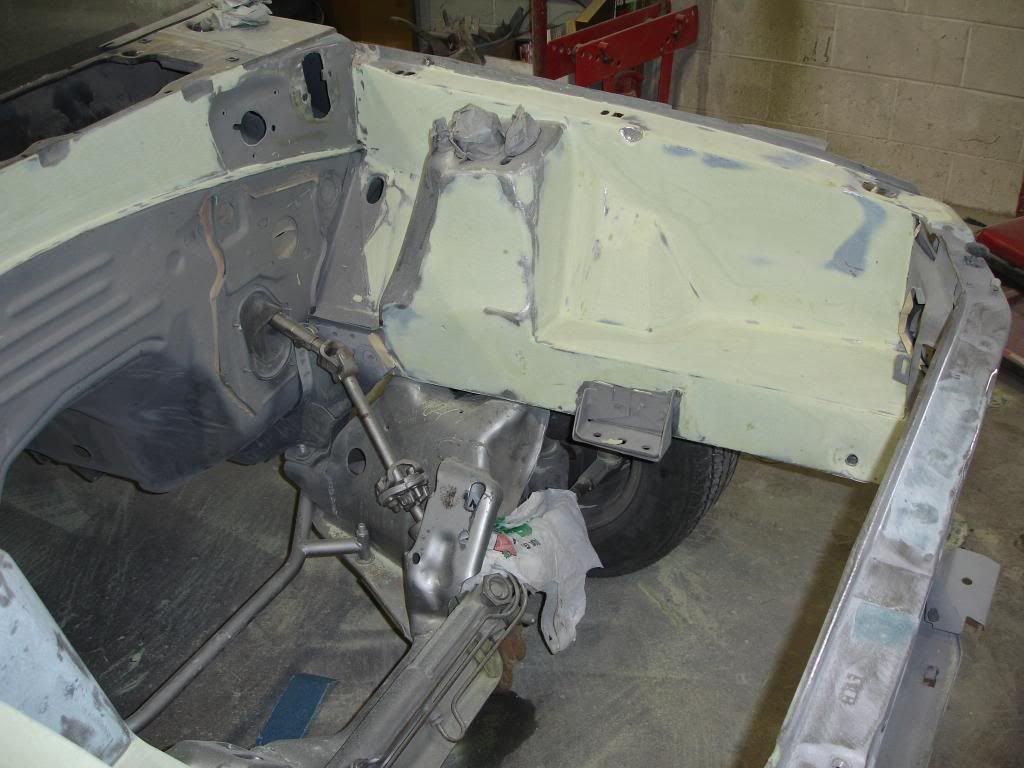
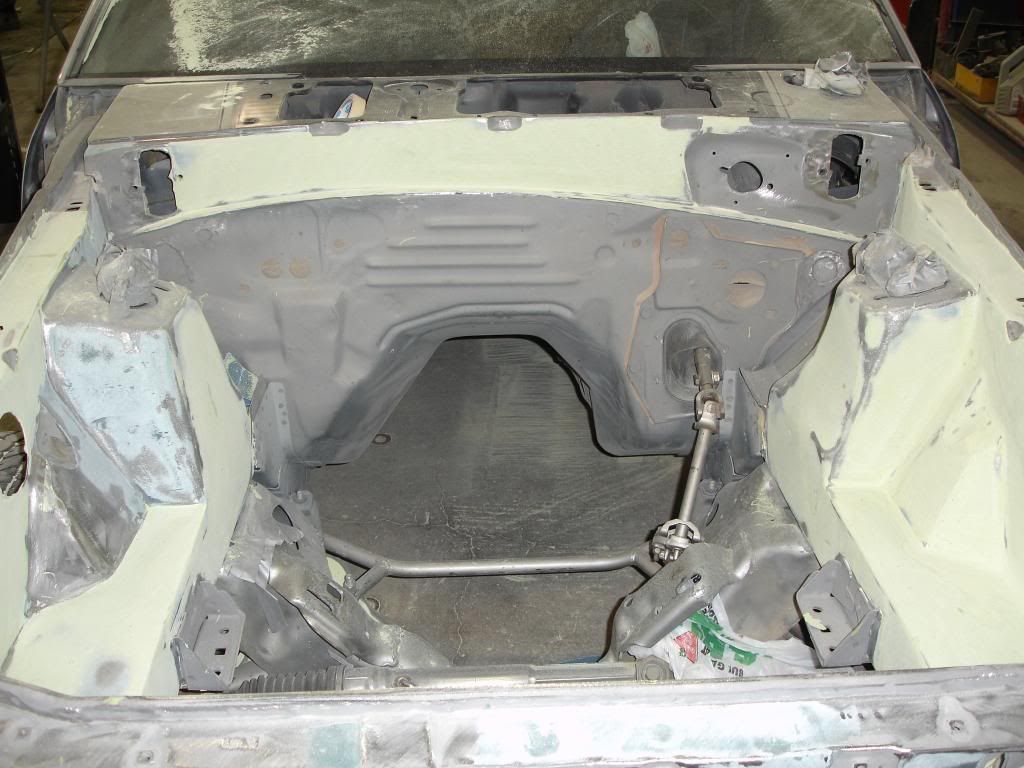
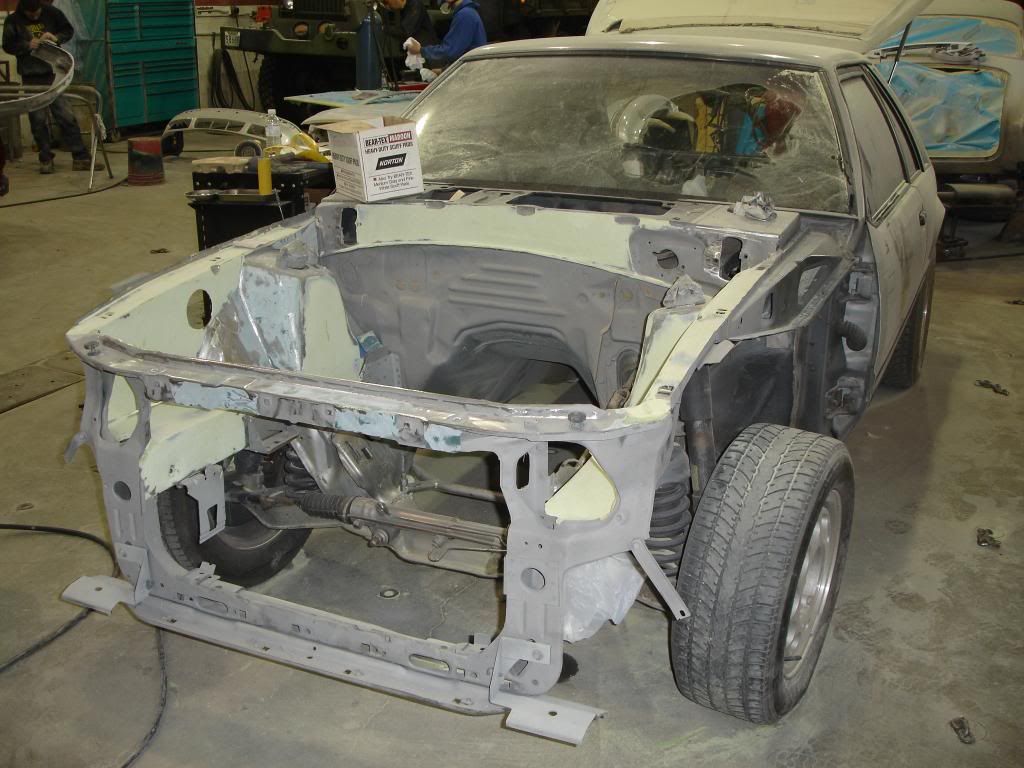
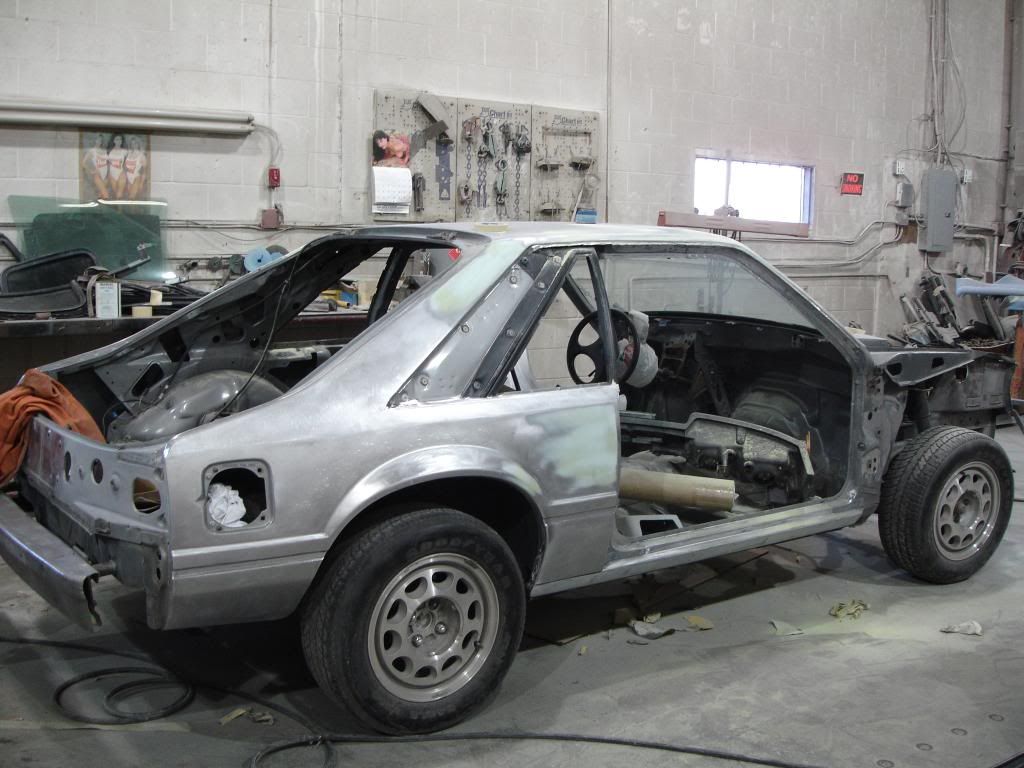
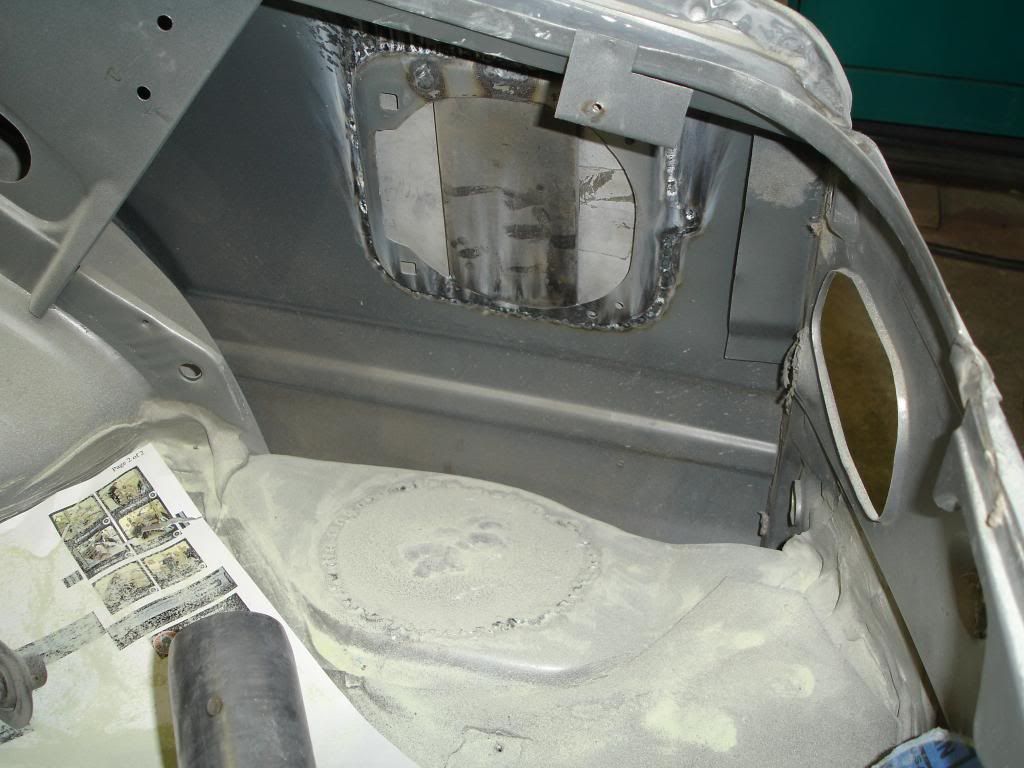
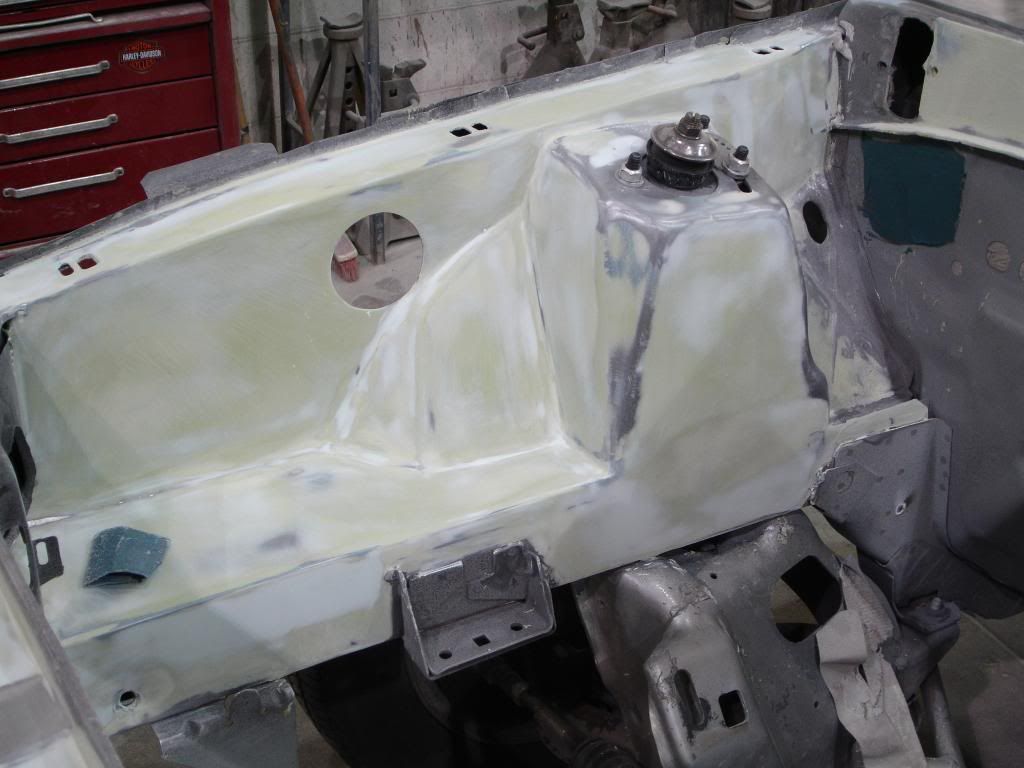
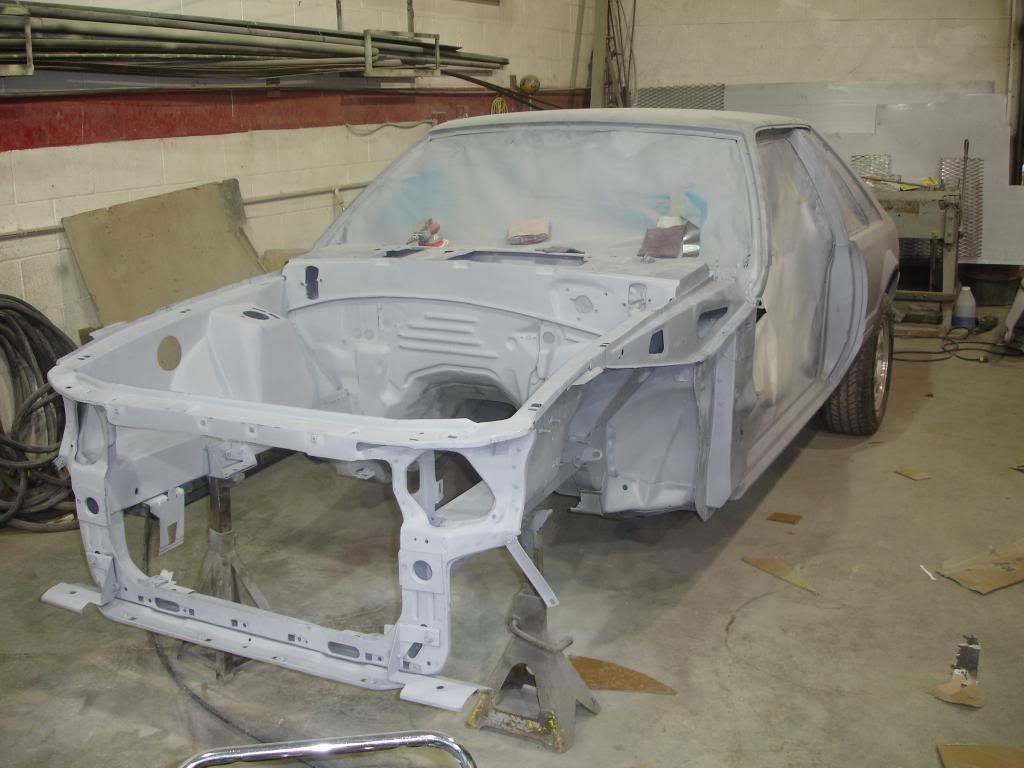
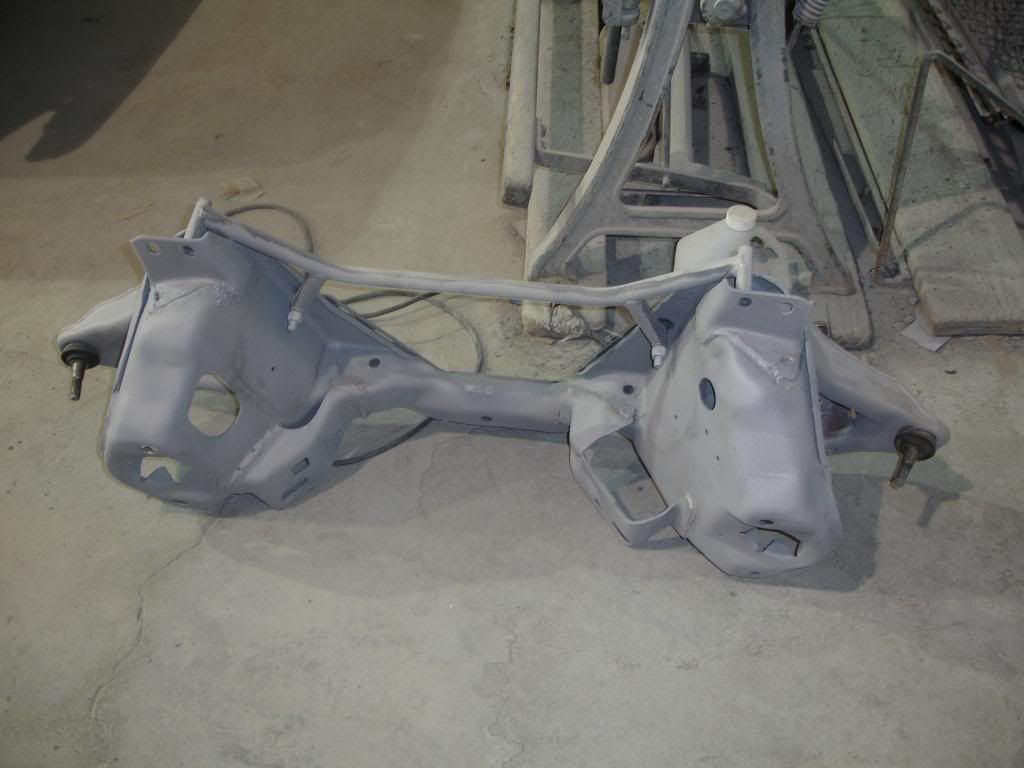
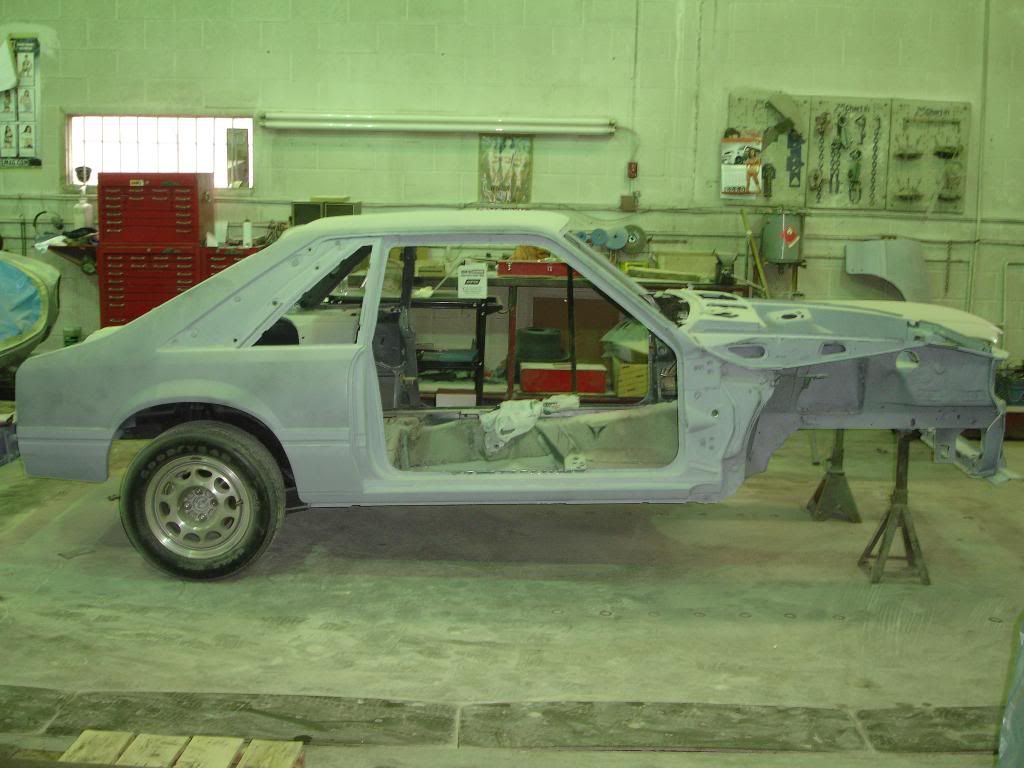
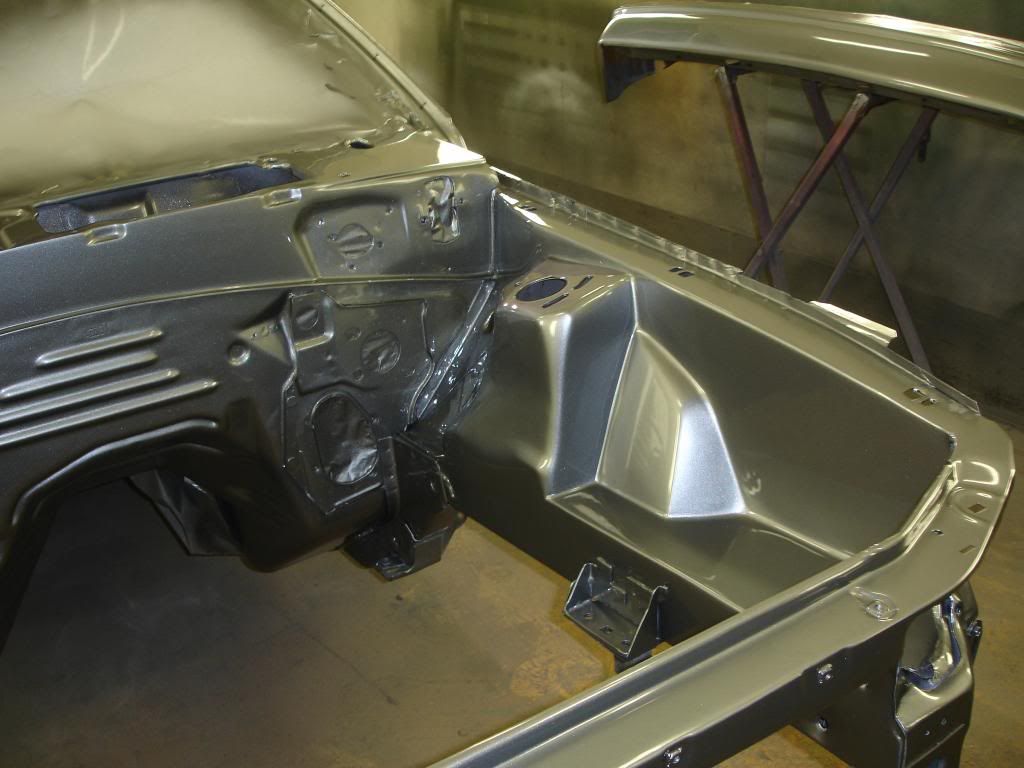
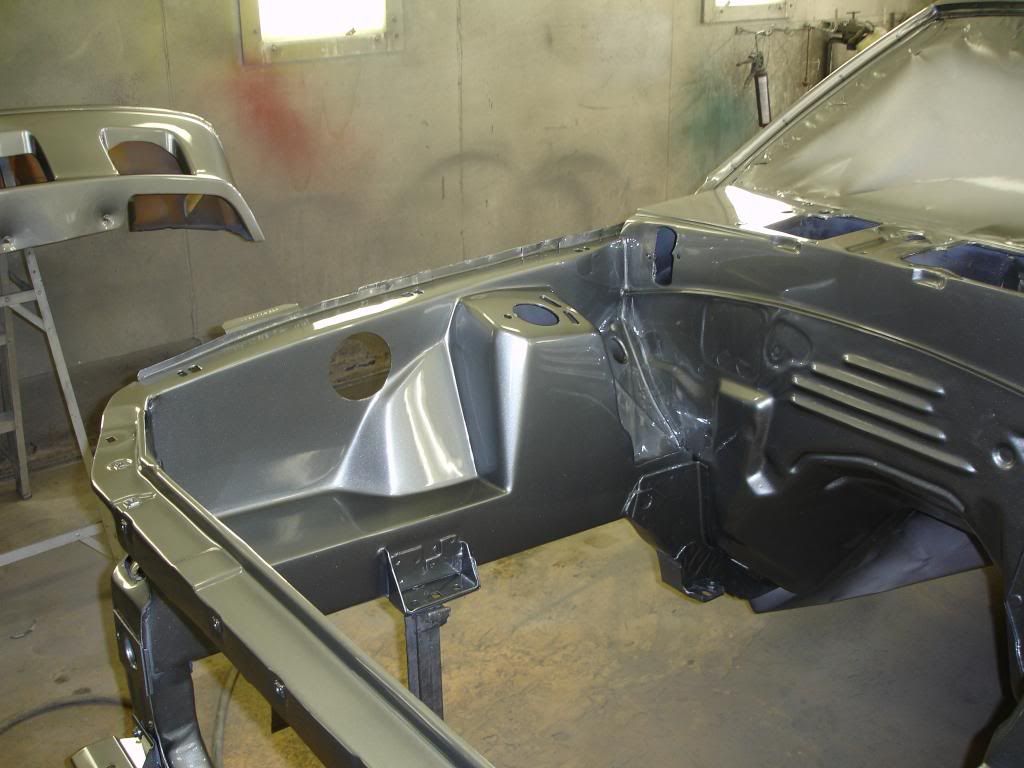
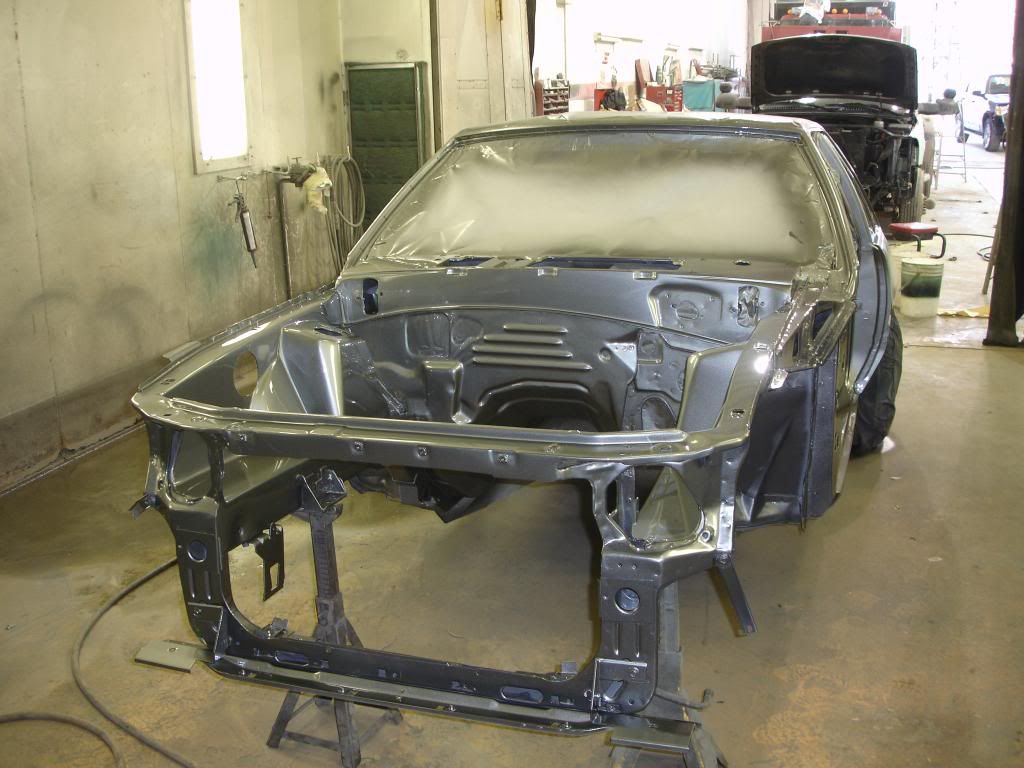
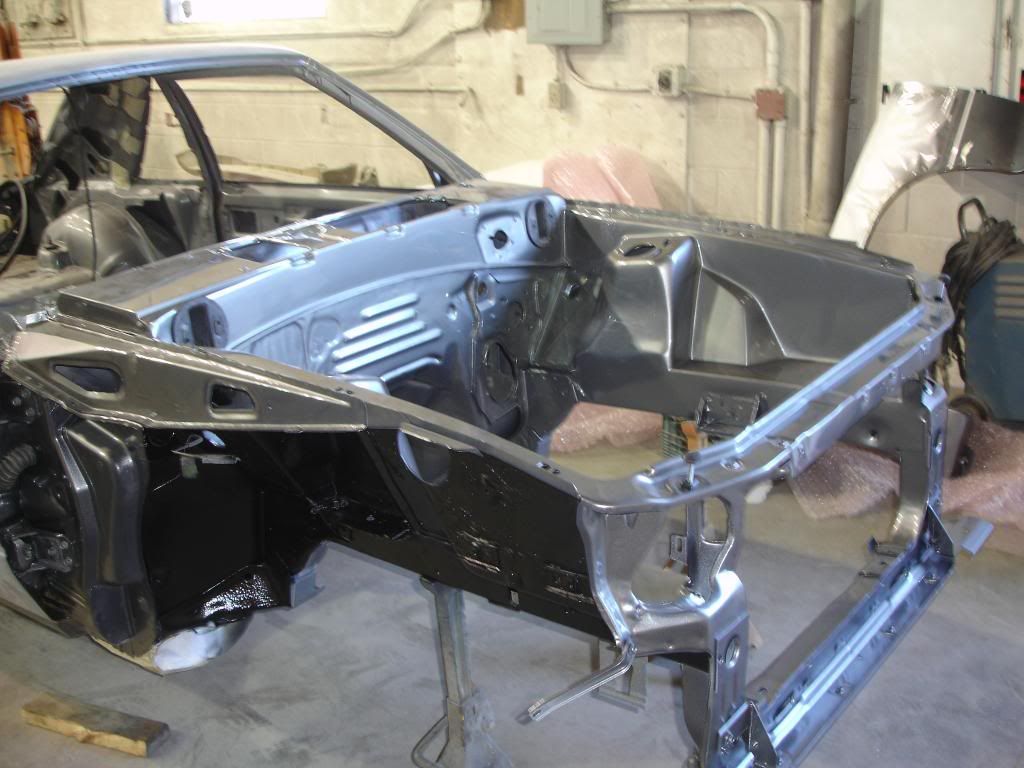
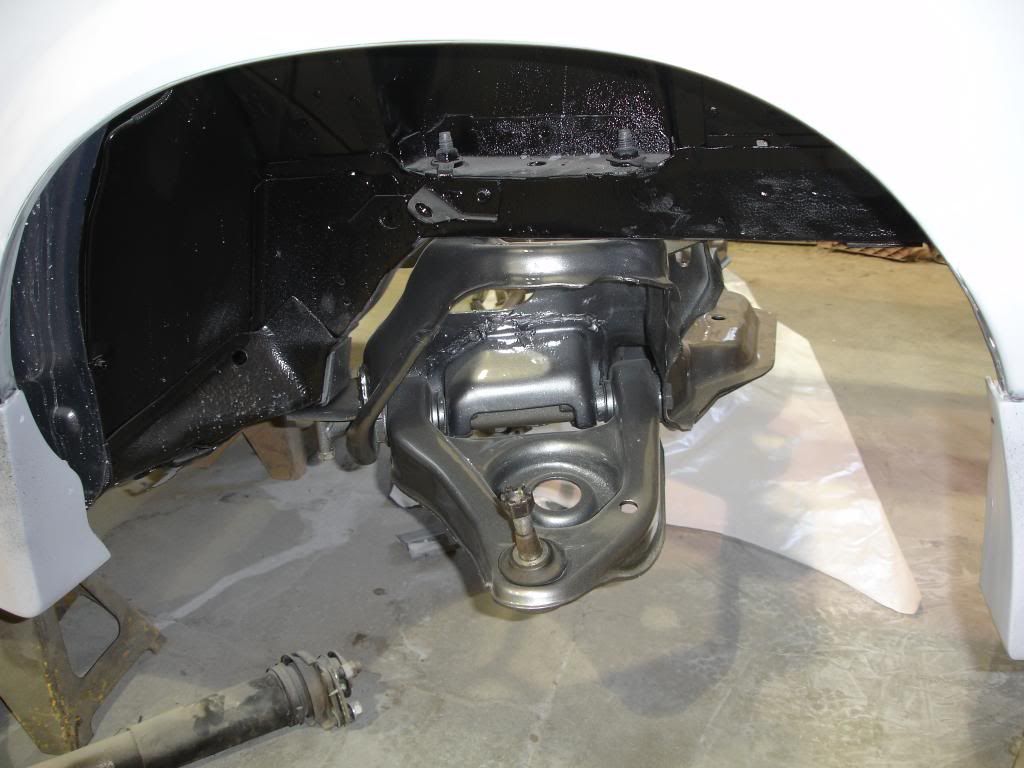
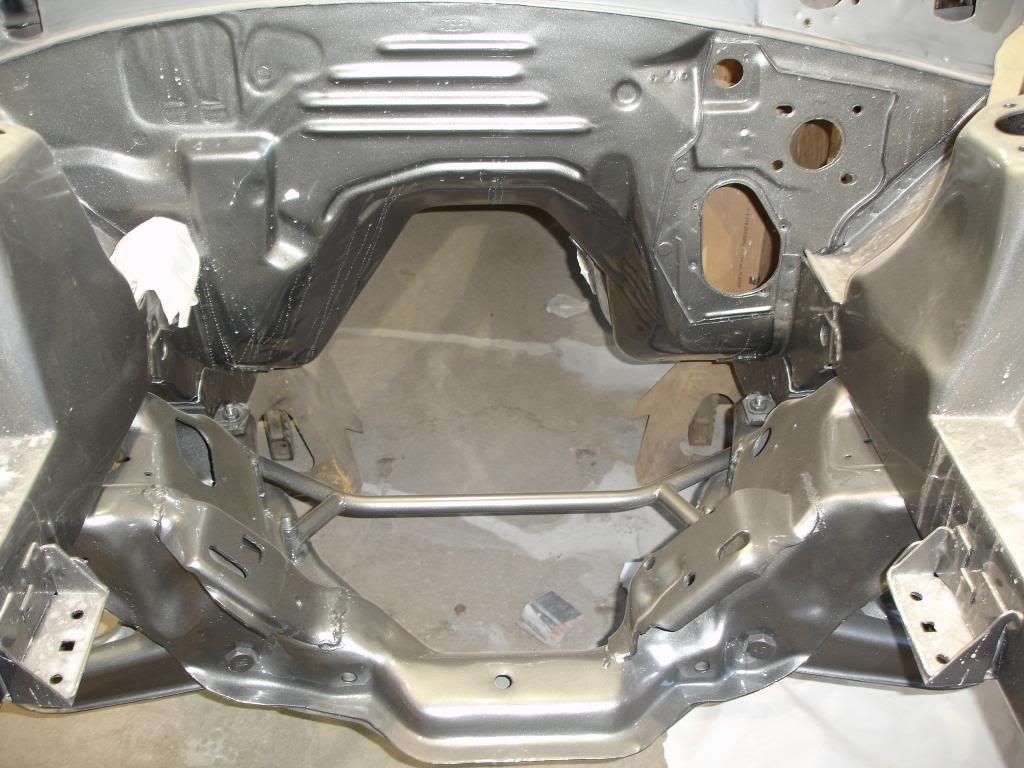
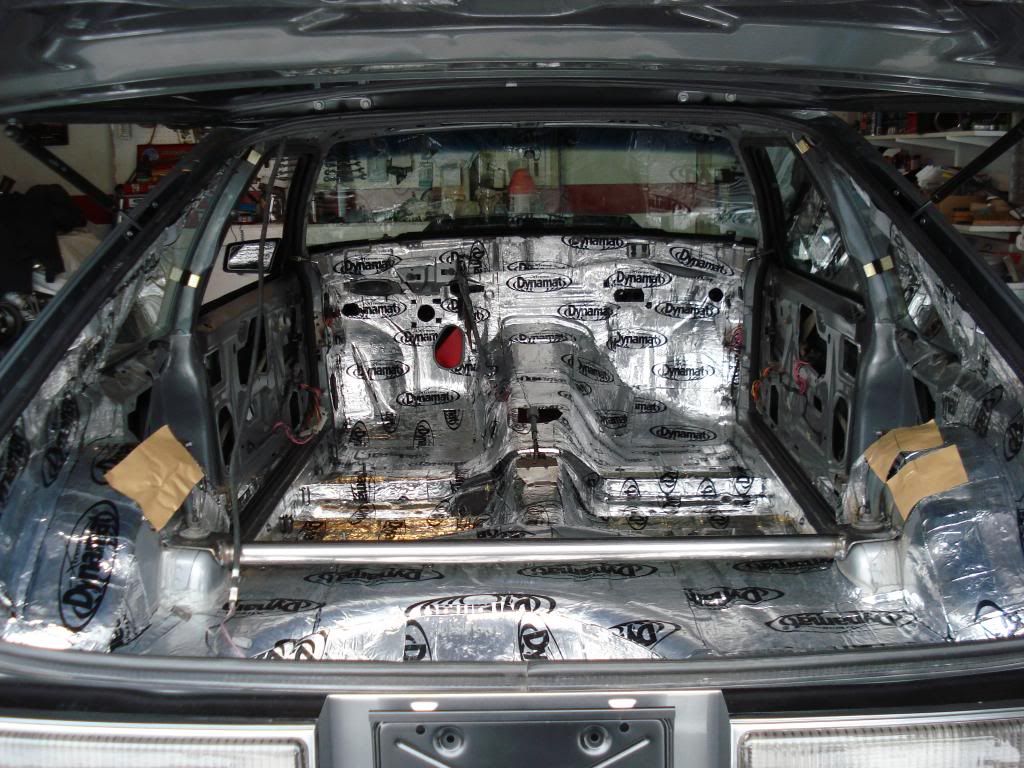
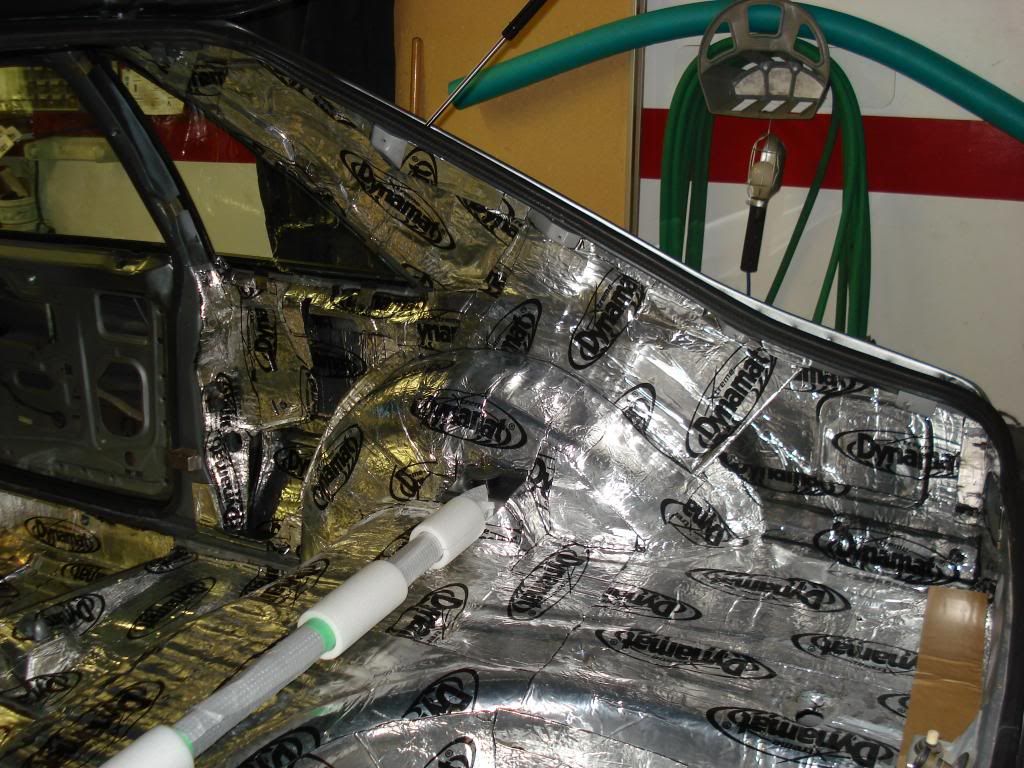
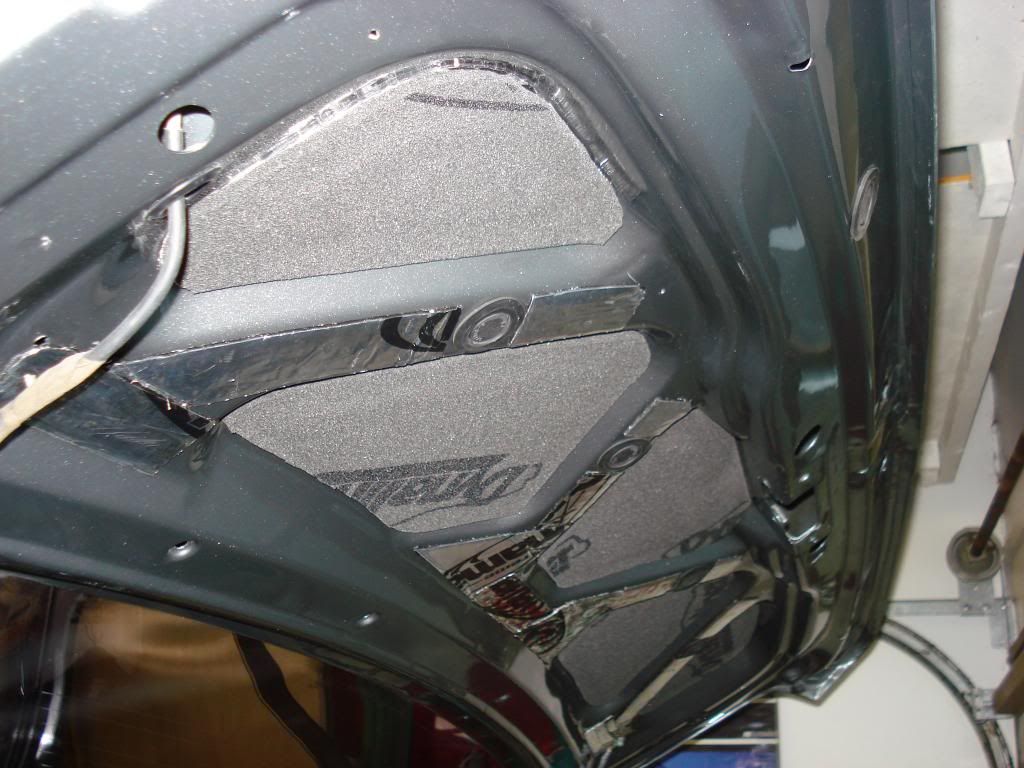
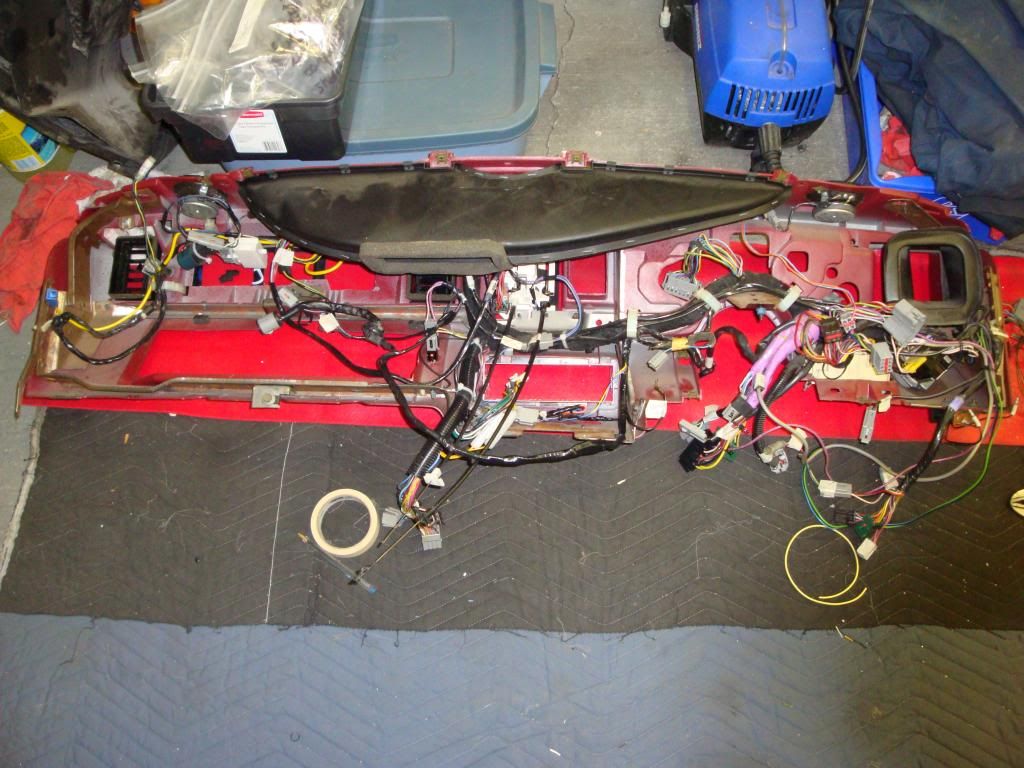
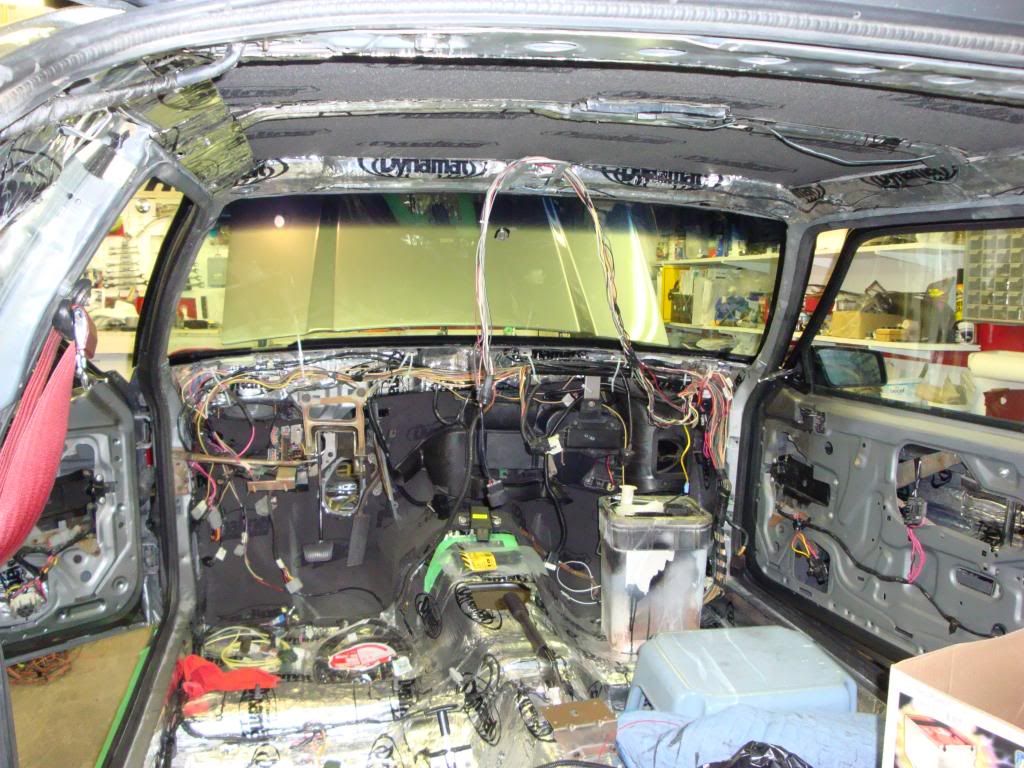
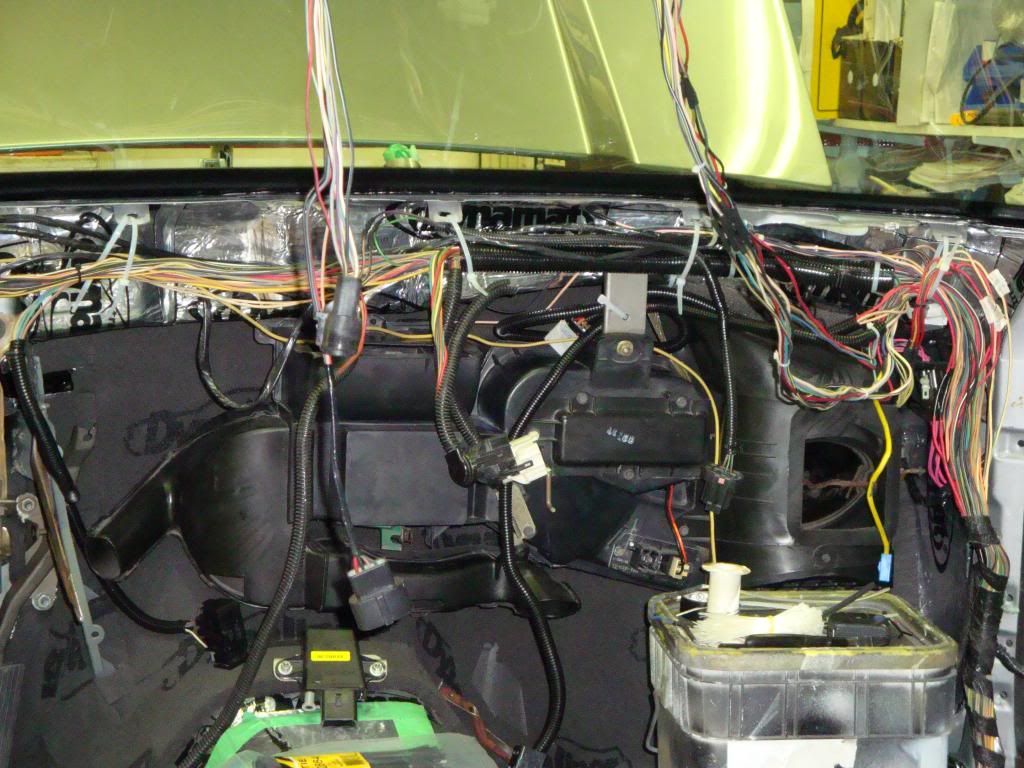
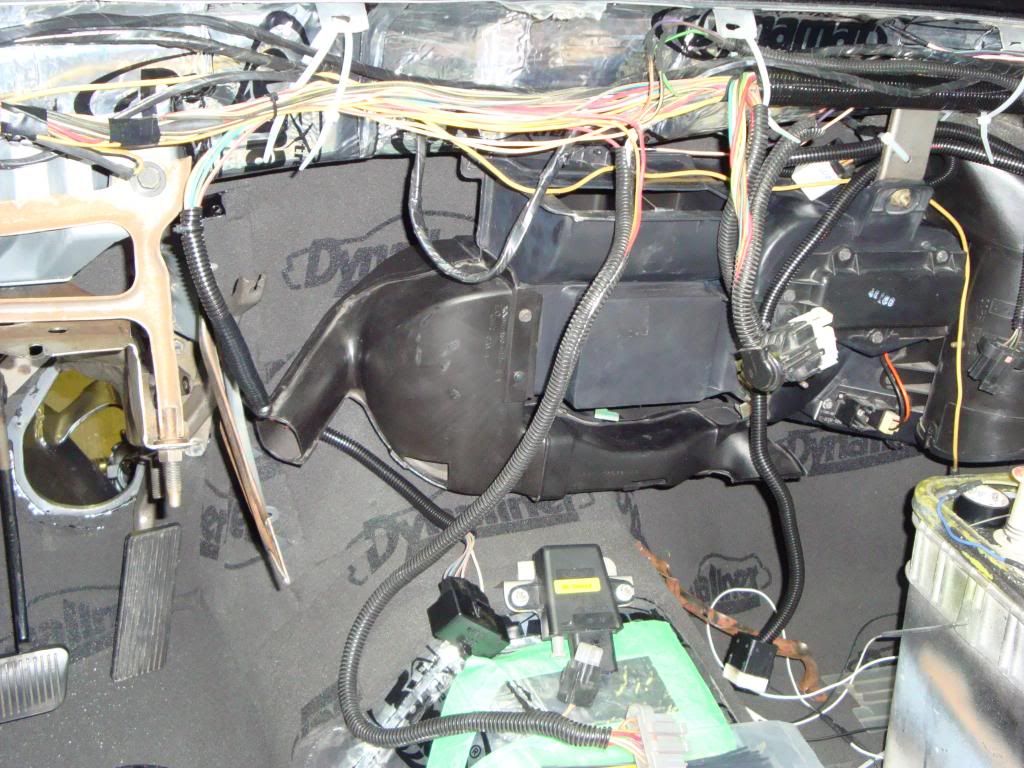
Then the fun began, taking the car apart and deciding how to route the main engine wiring harness to hide it. I chose to run it inside the car across the top of the firewall. To do this I modified the openings that go from under the dashboard into the wheel wells. With the fenders off and the dash removed, it was easy to mock up roughly where the wiring would go.
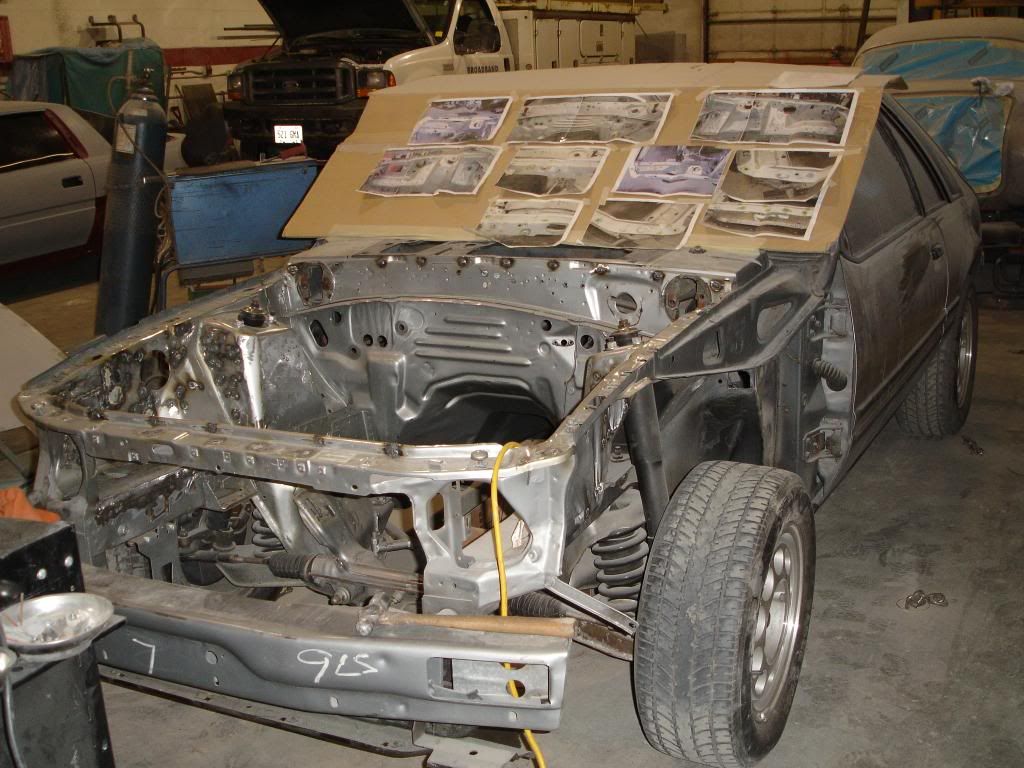
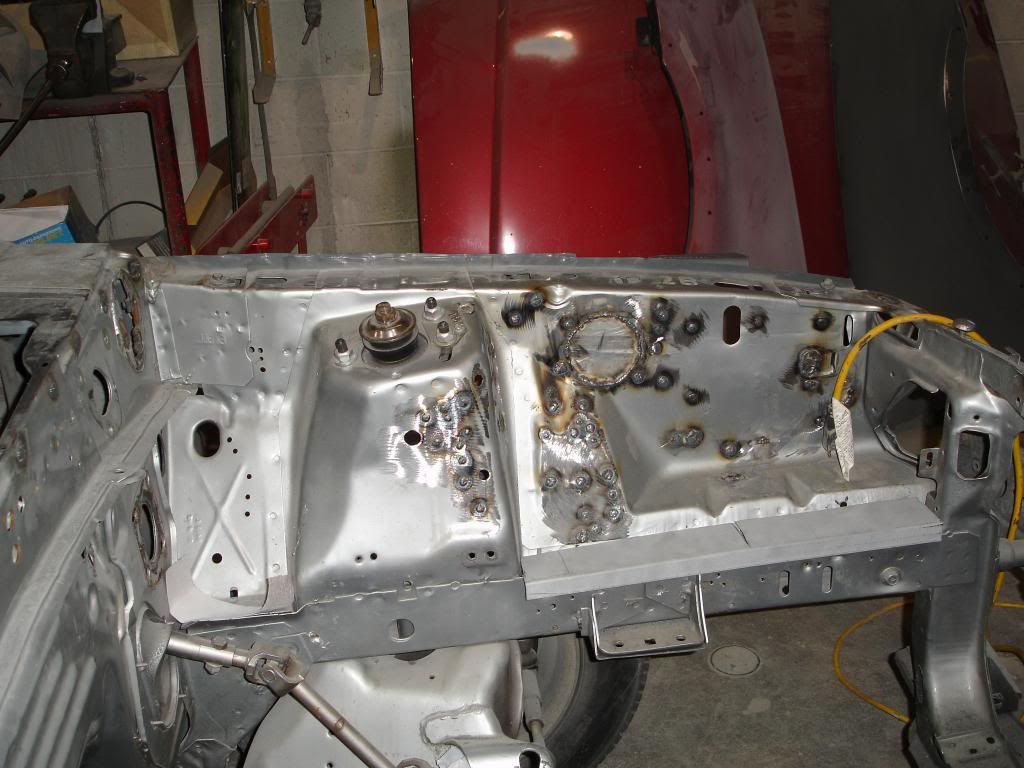
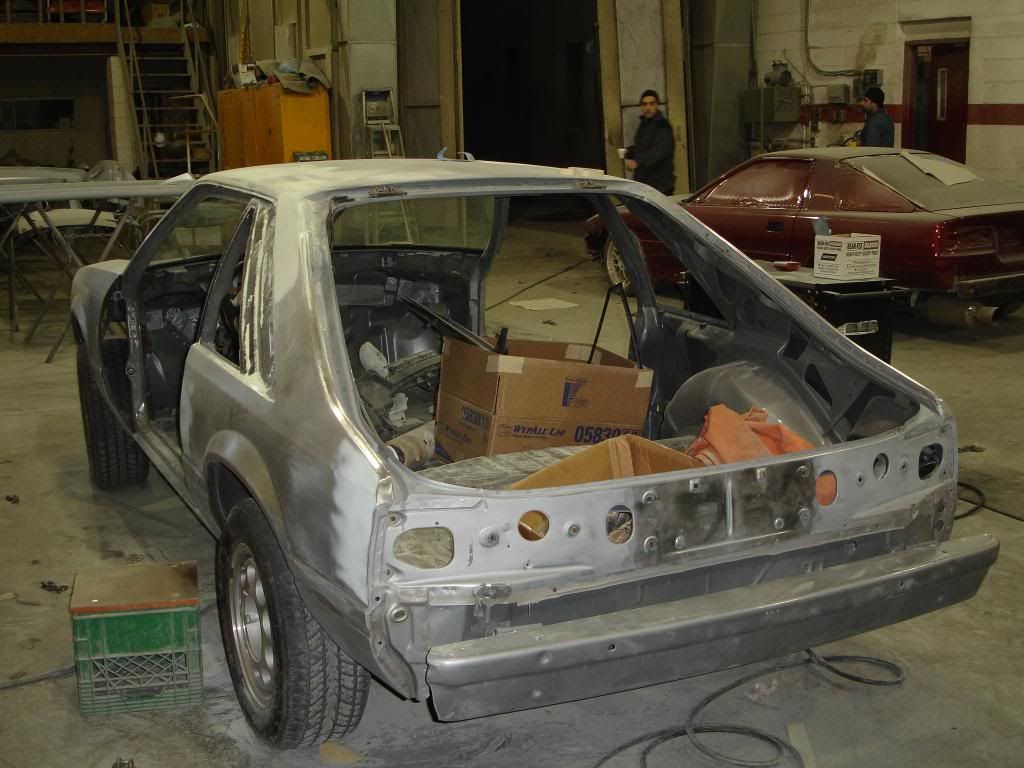
At this time, I also figured out where I wanted the starter solinoid mounted in the inner fender well and started to mark off holes in the engine compartment that would no longer be needed.
I'll post more in the next couple of days.
Also, if you find the pictures are too big, please let me know and if you have any suggestions, they are welcome.


 Reply With Quote


 You are doing an awesome job and can't wait to see the final product!!!


Connect With Us