
A W S O M E build ! keep all the good work & pics comming.


A W S O M E build ! keep all the good work & pics comming.

My experience with the red Energy Suspension bushings is even with enough lube on the ends, mine squeak bad. It may be different that you are running an aftermarket k-member with less surface area contacting the bushings.
Current rides:
88 Notch 12.52@108 - Coming soon - to be beaten on again on a regular basis
2000 Explorer 4x4- New Daily driver and kid hauler

Interesting... i guess we'll find out!Originally Posted by Jay 8850


Same here, I kind of wish I didn't go that route. I was thinking of ways to cut slots in them and tap in some zerk fittings to make mine greasable though...
Brian
1982 Capri 5.0L
1965 Fastback project car - more rusty than not
video of my dads straight 6 with flowmaster 80 series muffler.
Well yesterday we took our rear end(s) down to the guy who is going to be putting in the new ring and pinion. switching our mustang 2.73 out with the 3.73 ring and pinion out of an explorer.
We also took the rings down for our motor yesterday too. so hopefully we'll have the engine and possibly the rear end back in a couple of weeks..
got my control arms cut apart and patches in to keep em strong.
Next will be the floor...
It's been a while since i posted an update.. things have been so busy.
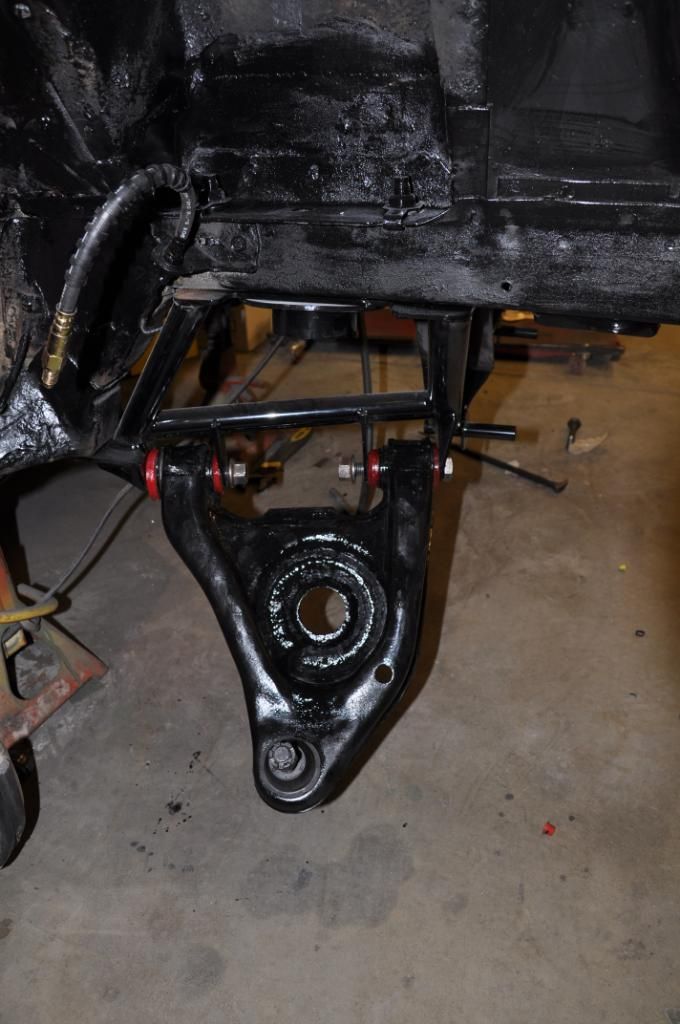
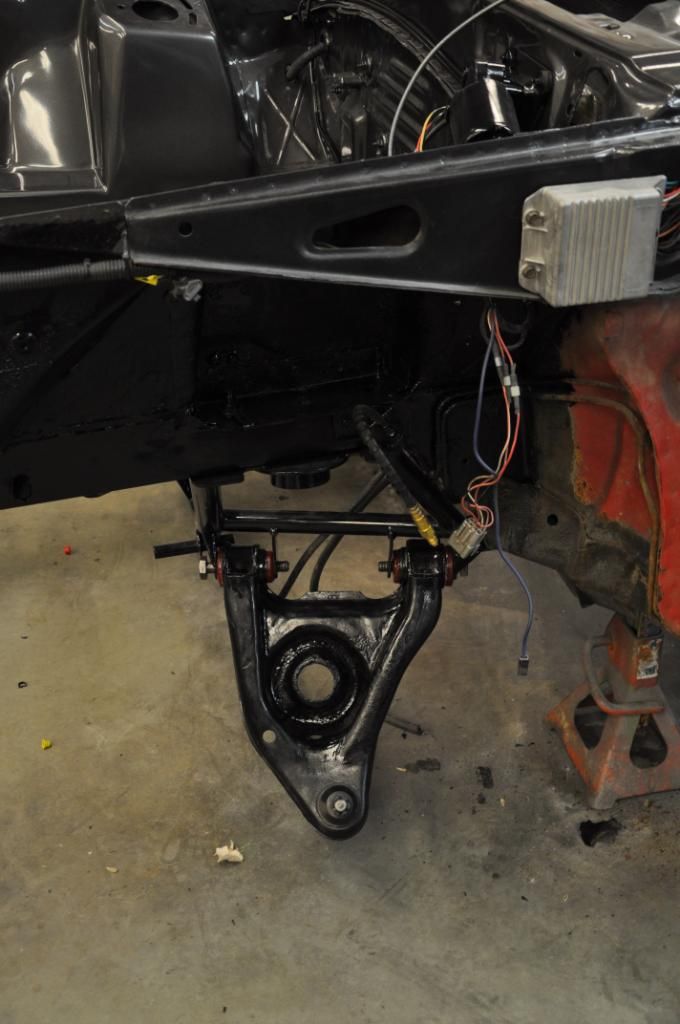
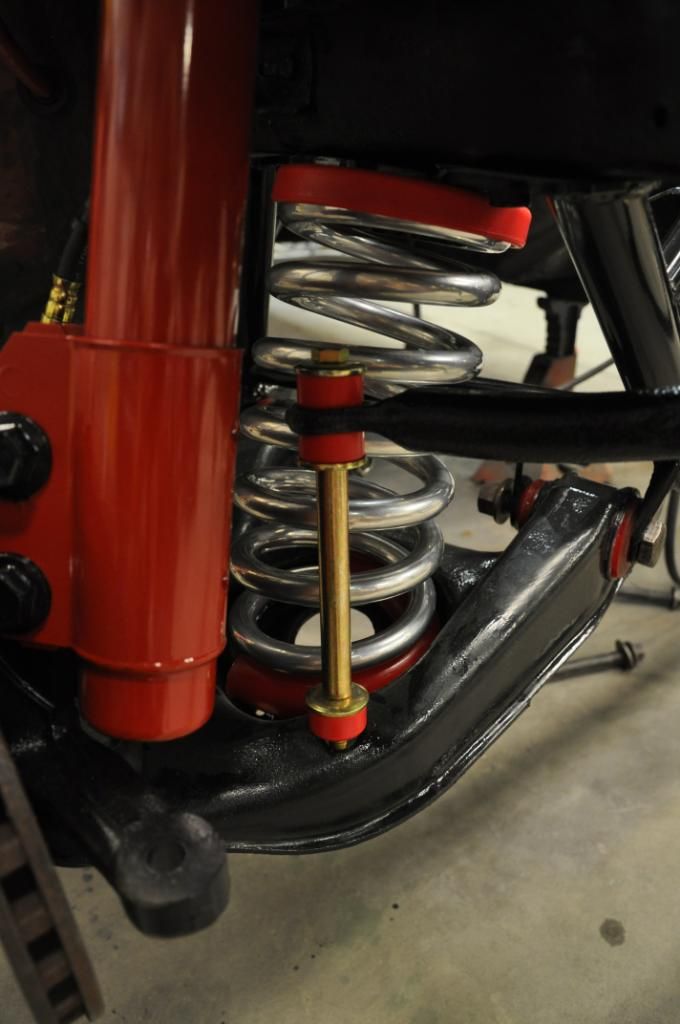
Anyways i finally finished my control arms and got the patches welded in, painted, and the F****** pain in the a** bushings back in.
Looking all clean and good.
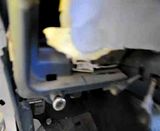
Then we ran into a problem.. the darn rear bolt on the drivers side arm wouldn't go all the way through the mounting holes. well we thought it just wasn't lining up, but turns out that the bolt was a little wider towards the head..that took us about a half hour to figure out, because at first we thought it was the bushing rod that was a little small.. all-in-all we got the arms in and all situated.
**i looked up reasons for the bushings making noise.. i read that the squeaking can be caused by either tightening the bolts to tight or by not tightening up the bolts in the "loaded" position (where they will sit when the car is on the ground with the engine and all in).
**torque specs for the front control arms are anywhere from 110 to 150 ftlbs.
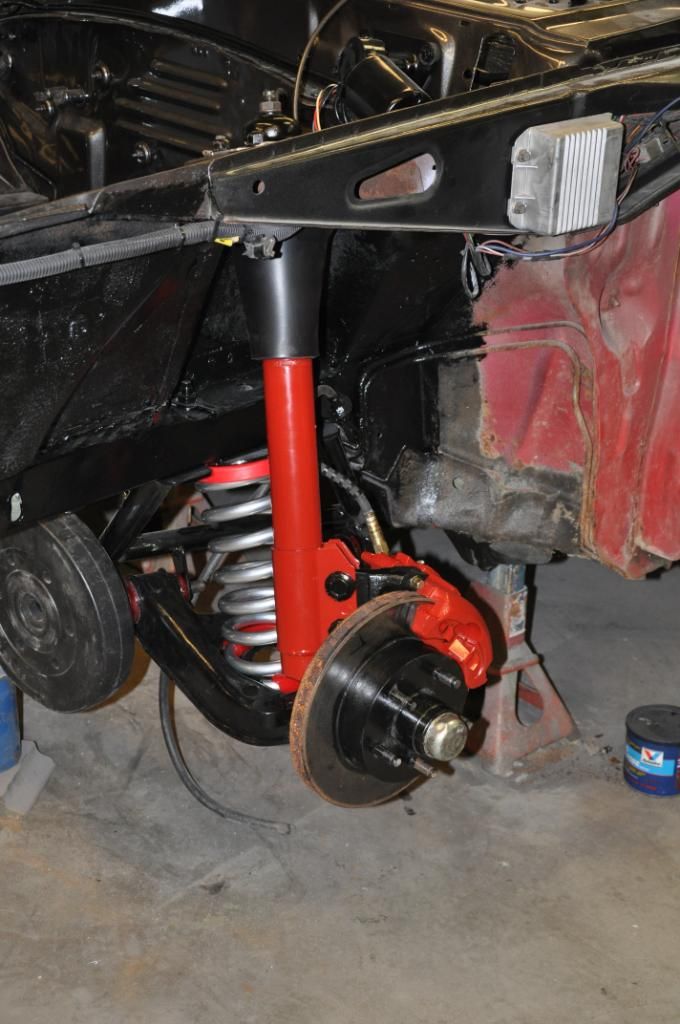
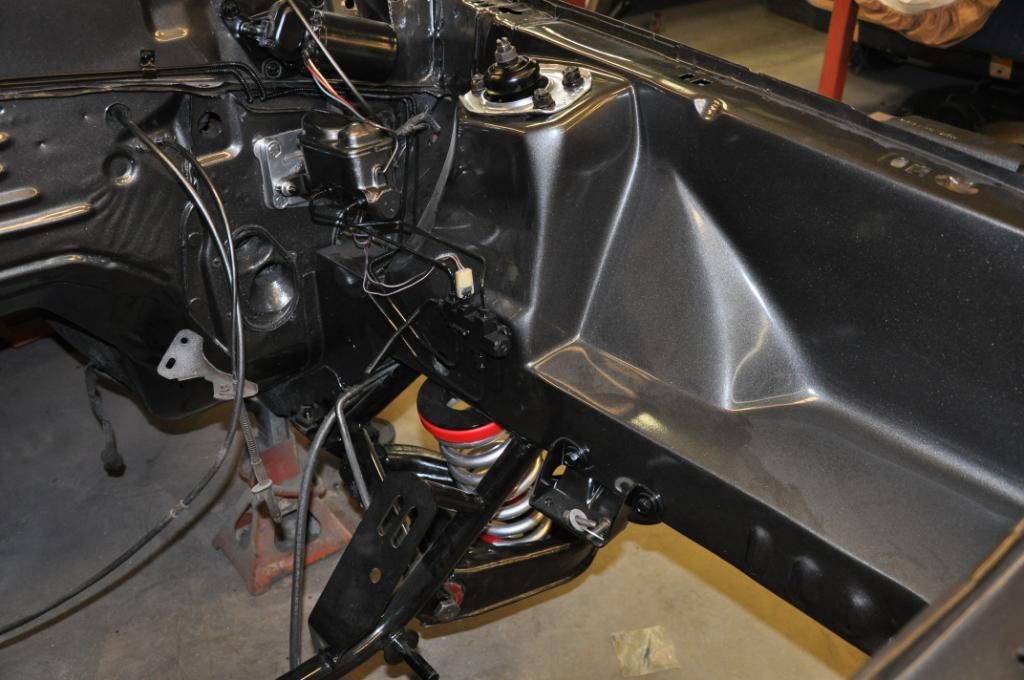
Also this weekend i got my parts back from our powdercoater and everything looks awesome!!
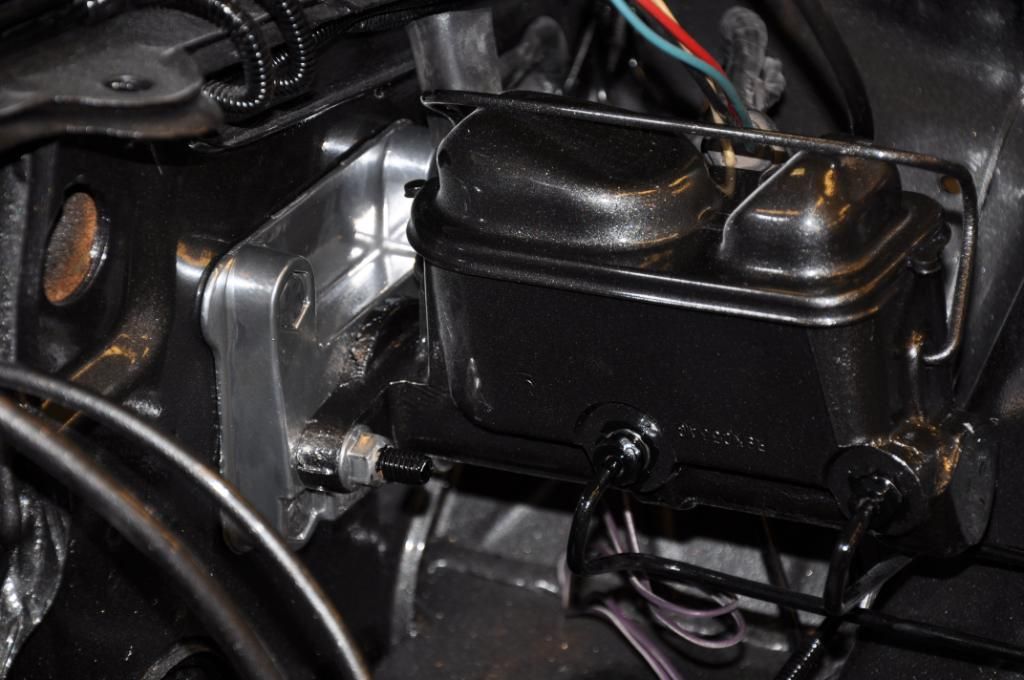
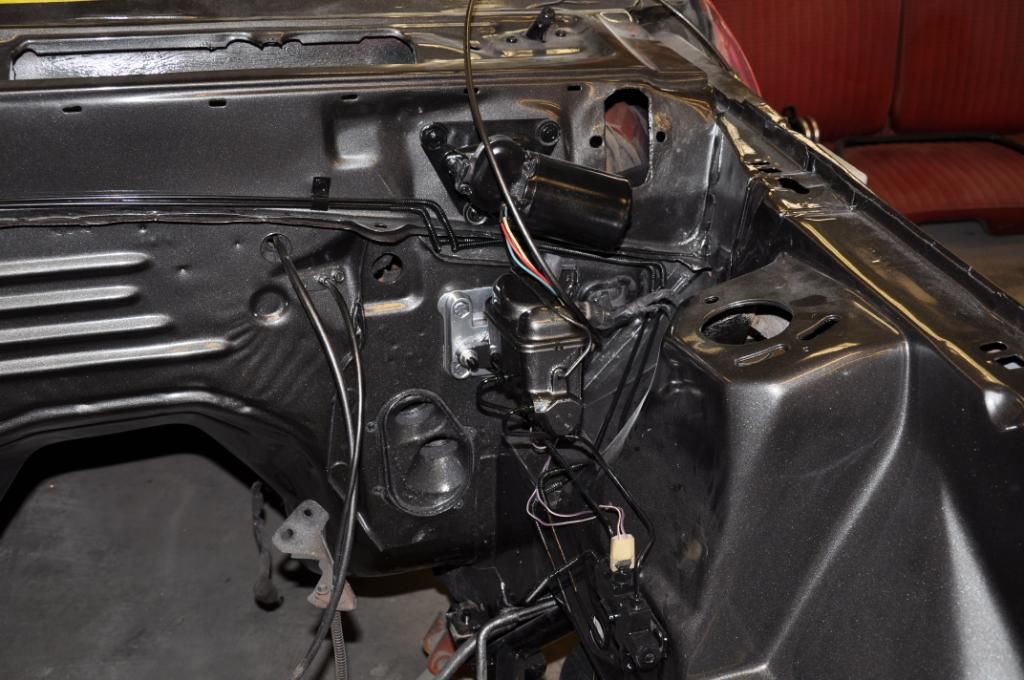
Had my manual brake mounting plate chromed. -Also put in the master cylinder this last weekend and have all the front break lines ready to go.
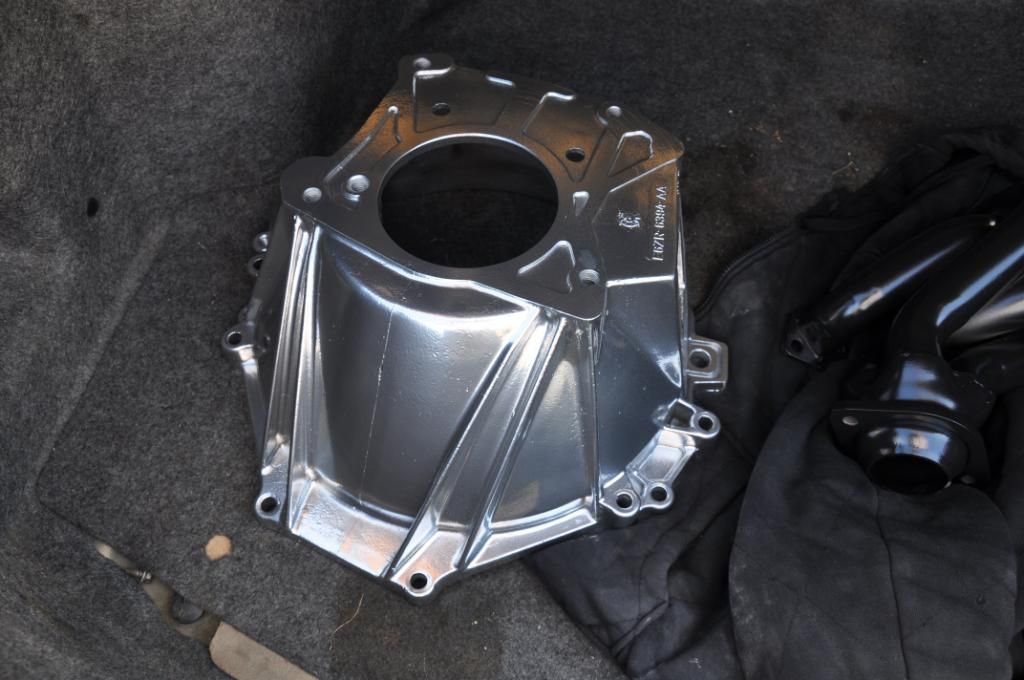
Bellhousing
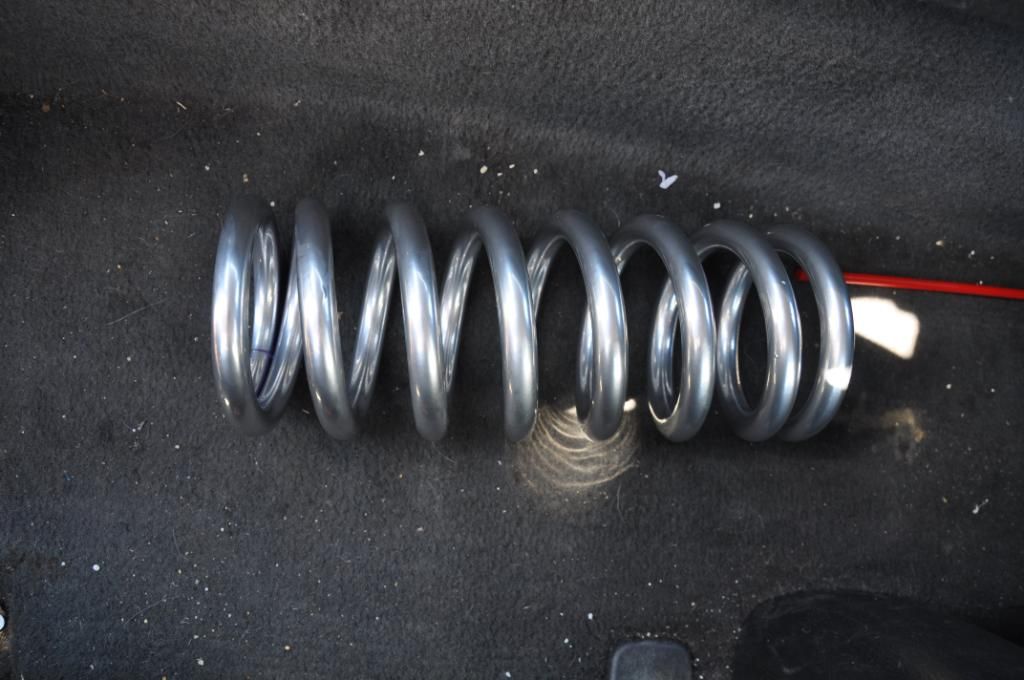
Decided to chrome the front springs because the'll be seen through the K-member.
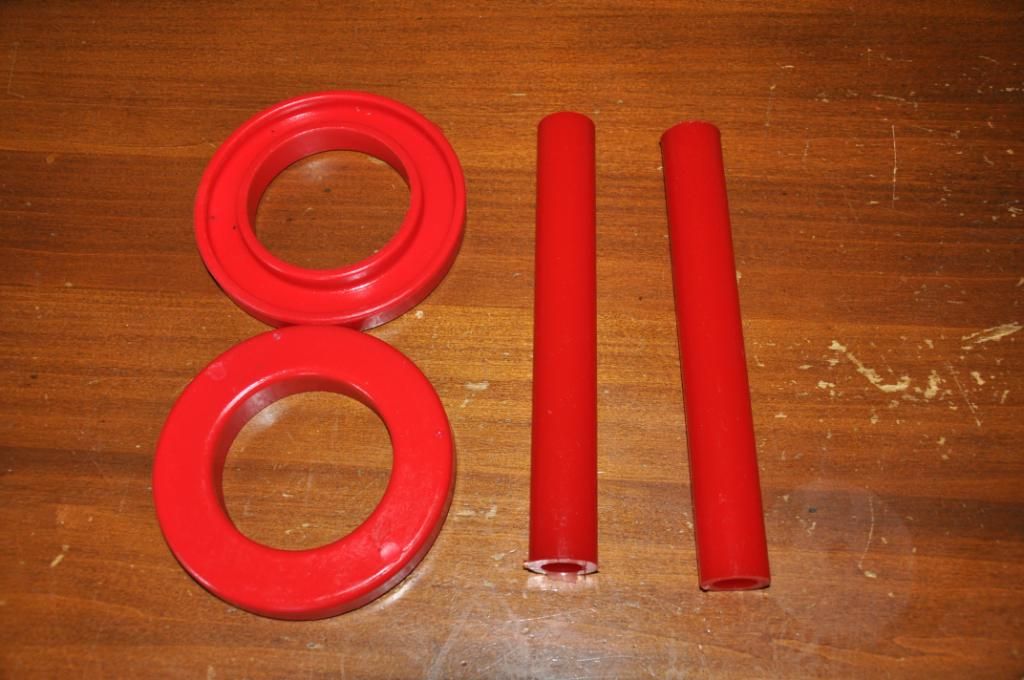
Also just got my polyurethane front coil isolators today **no significance to the 811 haha
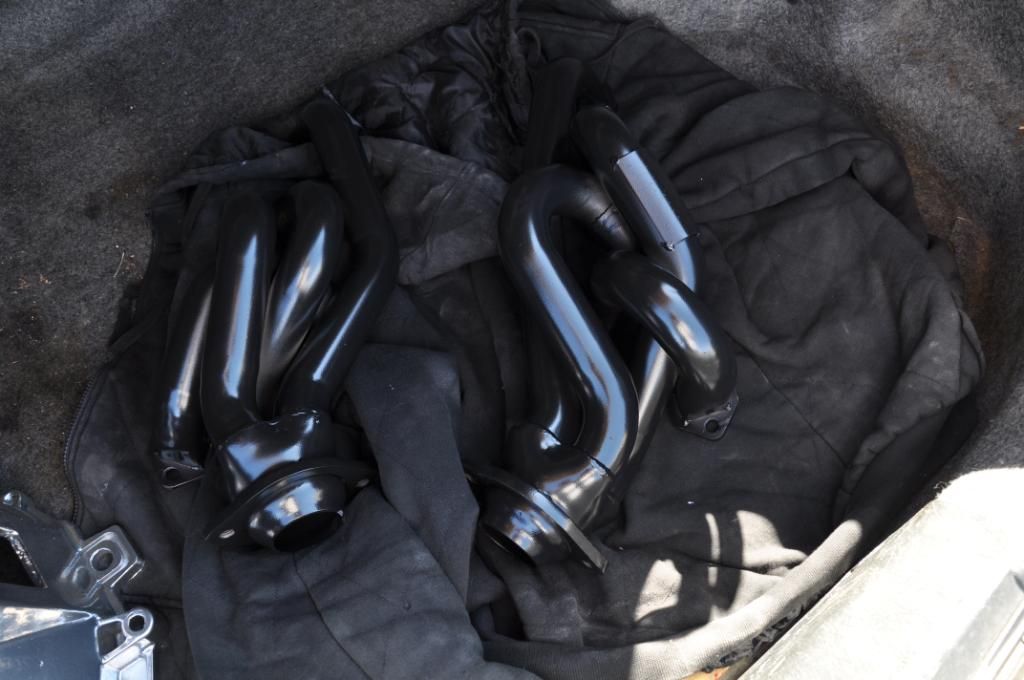
and the headers: wanted them chrome, but the guy said the chrome wouldn't last... black will look good too
Maybe tomorrow i'll tighten up the lower bolts and have my dad and grandpa help my put the coils in. then i can put on the rest of my front suspension.
Fun randomness and pics
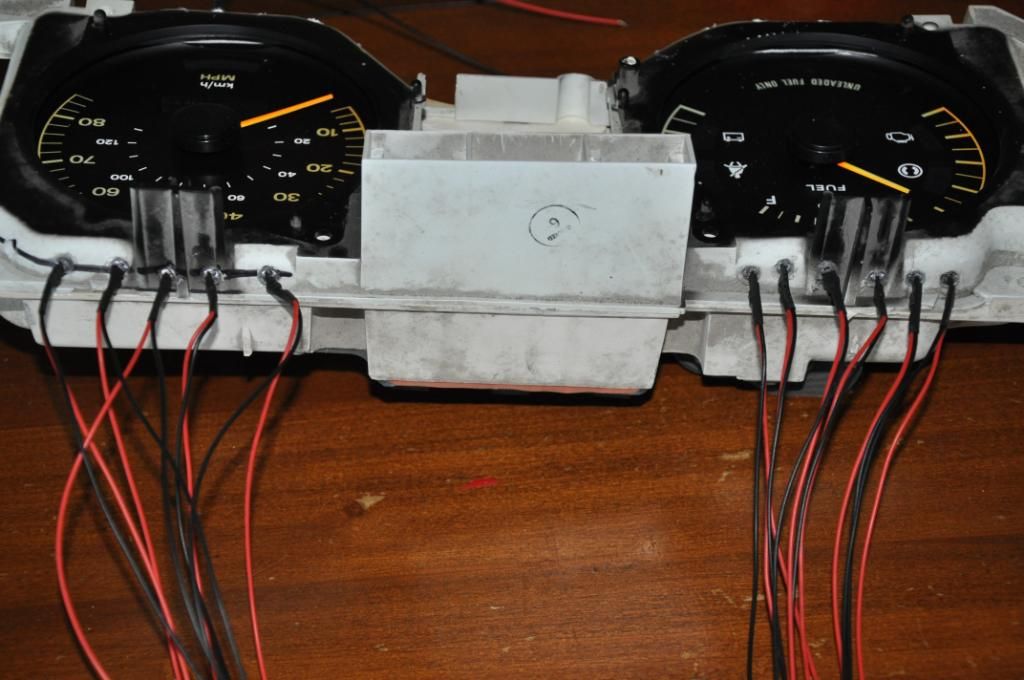
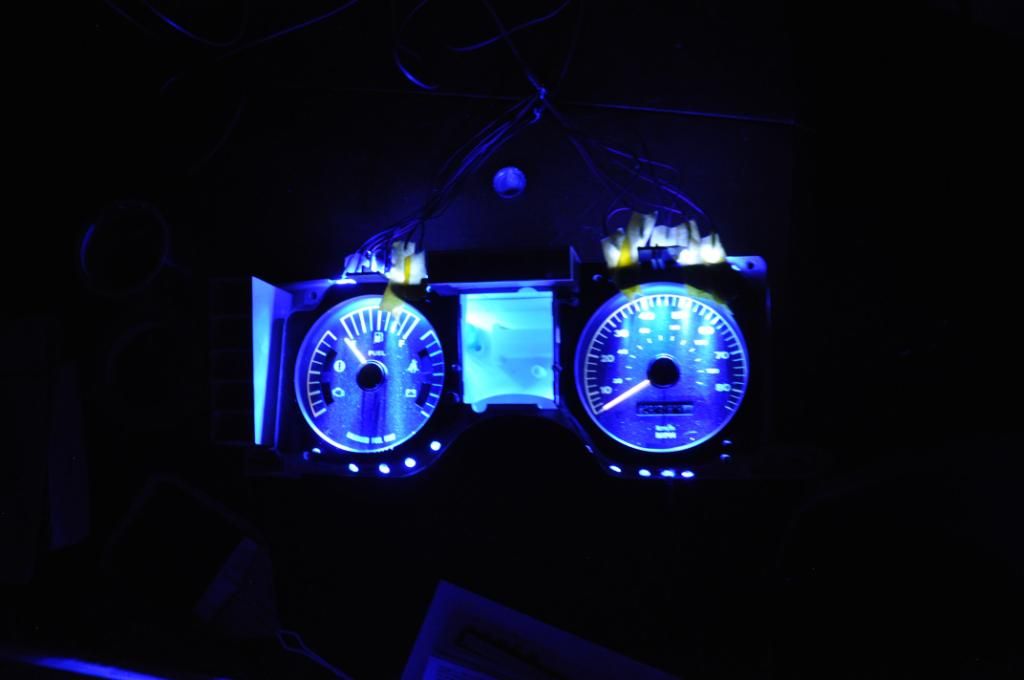
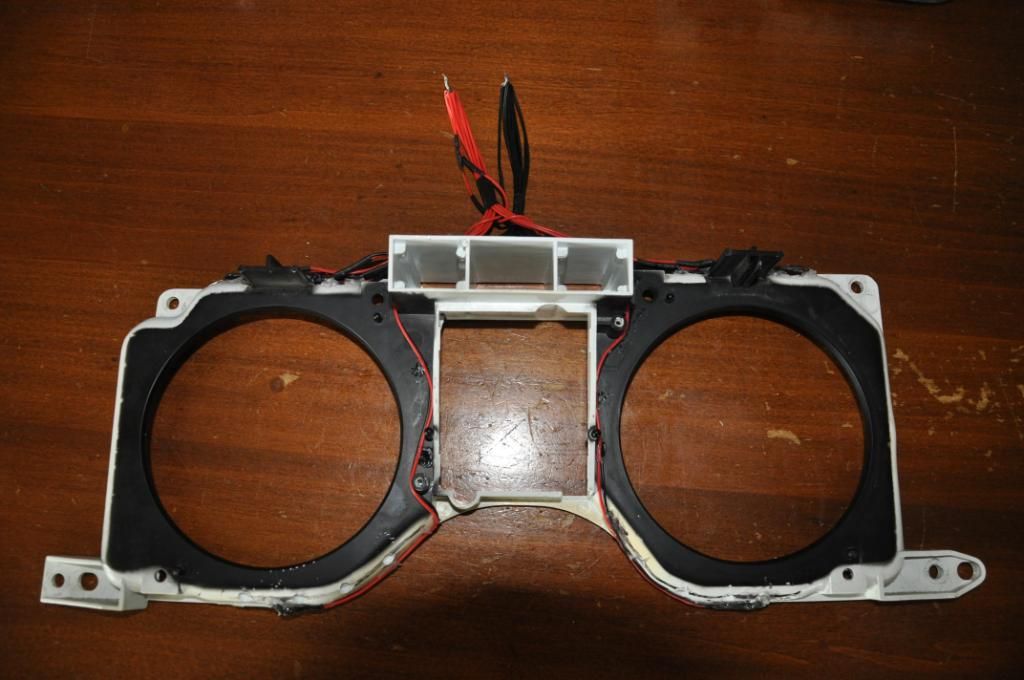
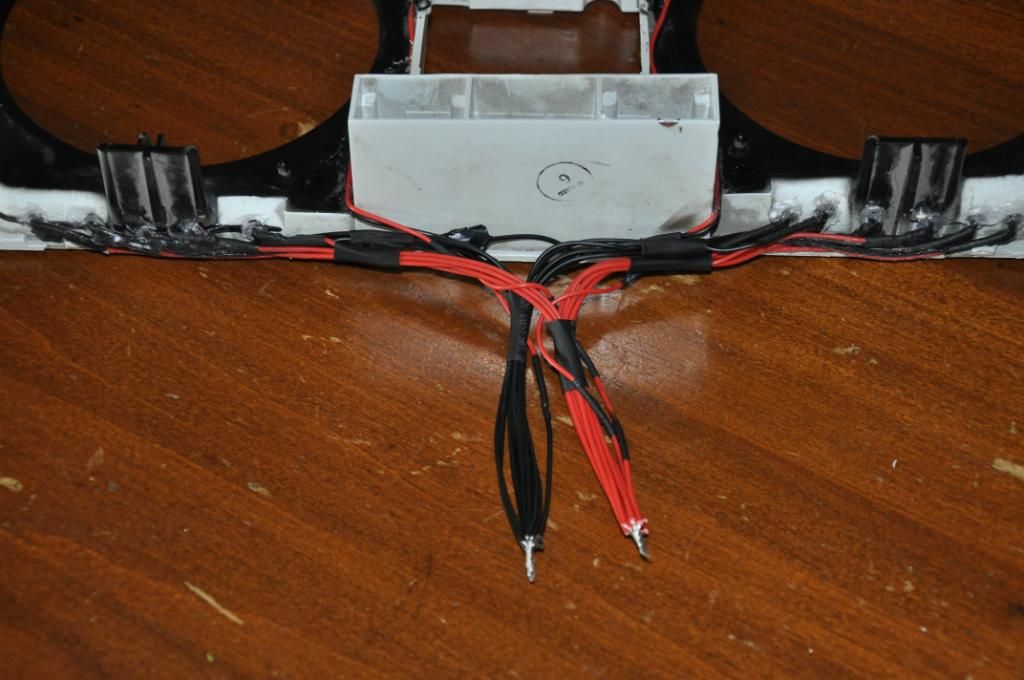
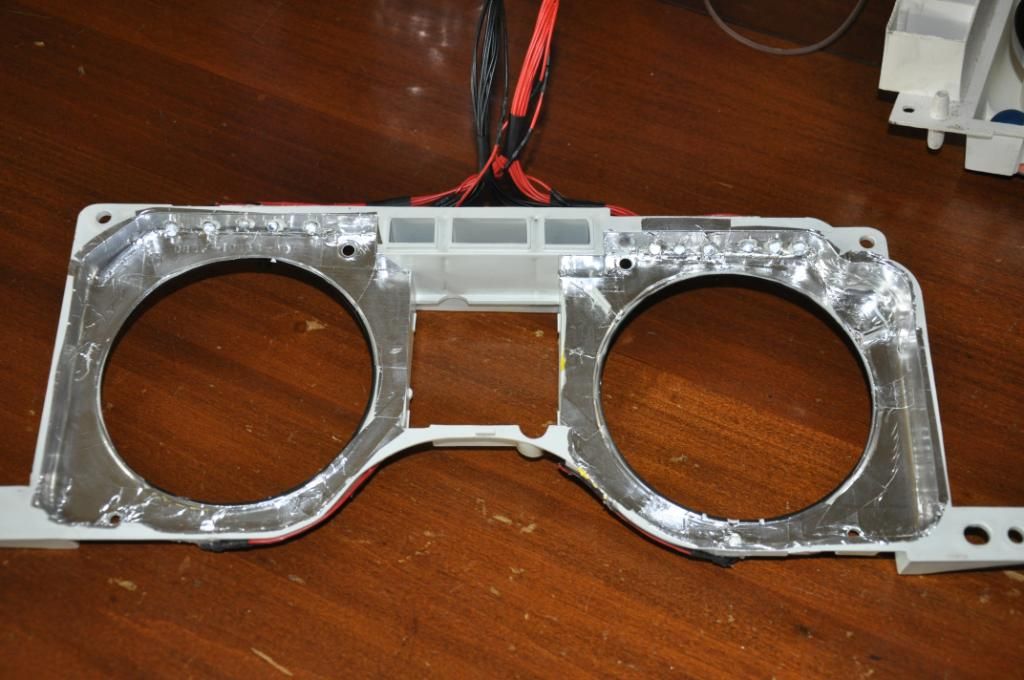
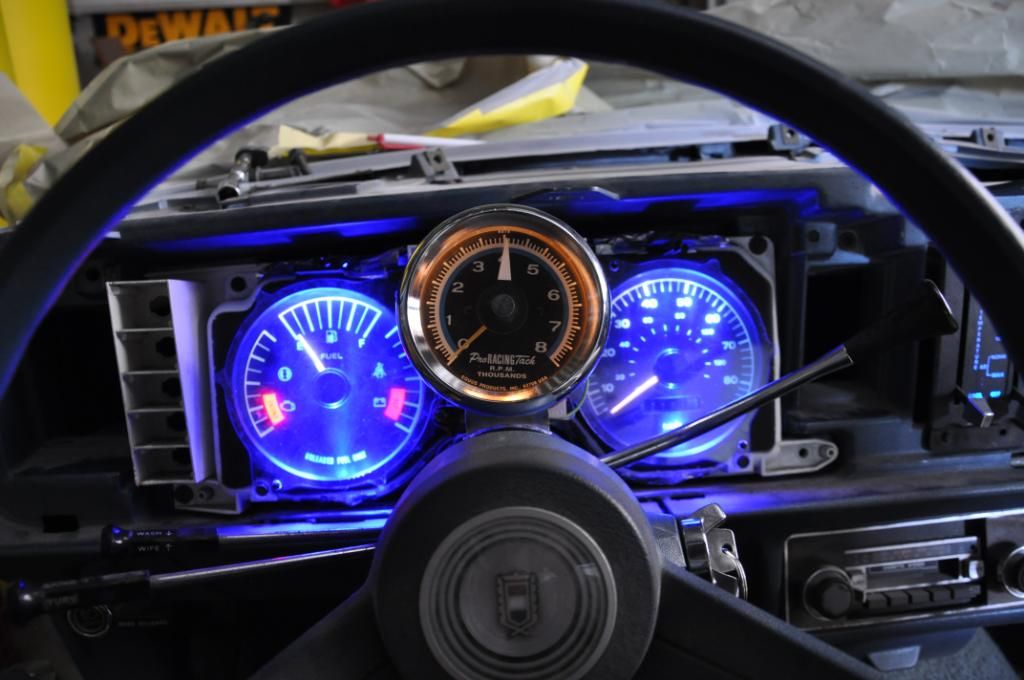
My dad ordered some LEDs for halo's that i'm making for his foureyed that weren't what we ordered... so i thought we might as well use them and jaz up the dash. it's a little getto and jimmy rigged, but it looks cool at night!!
**the light has some strong spots and some dark spots, but the camera doesnt do it justice..
looks pretty good i think.. and my dad likes it.. so i think it was a good experiment!!
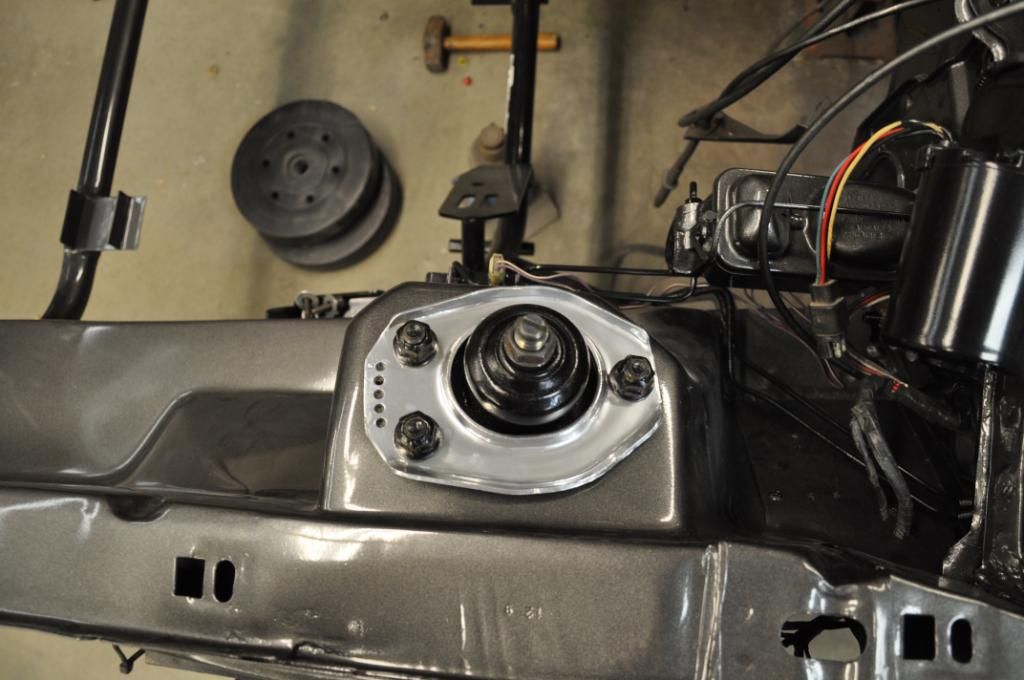
Well looks like i got some things done tonight that i didn't think i'd be able to do!!
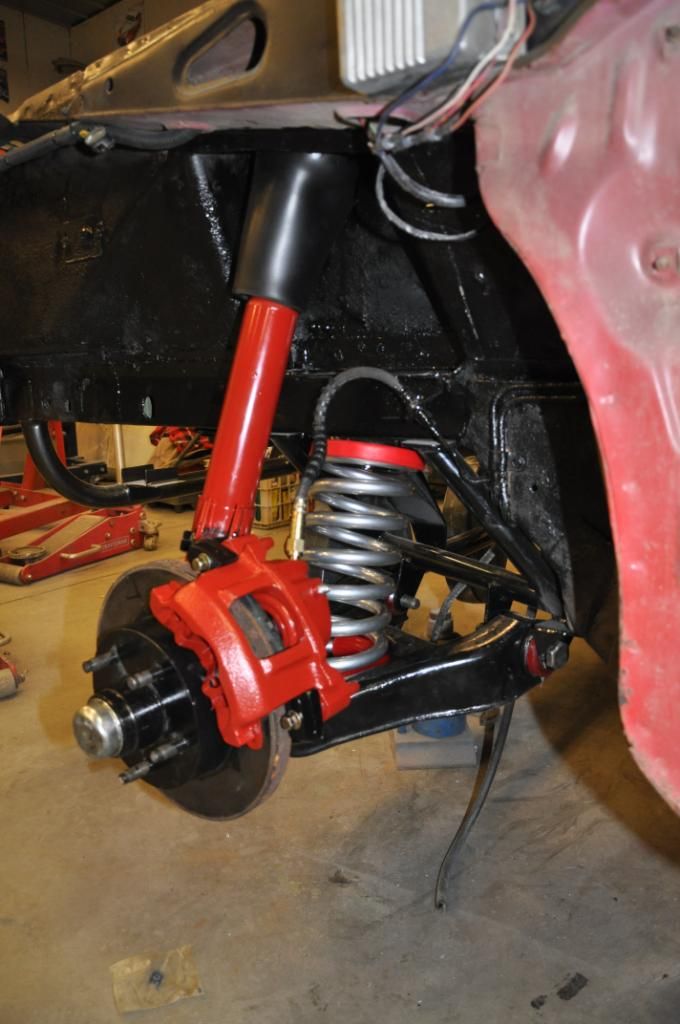
Got the left side completely done!!
Chromed mounting plate:
sweet looking ride!! You guys have skills! Eager to see more progress..keep it up!
got a few things done today. couldn't finish the right side of the suspension, but i did some other stuff. I'll just stick with the pictures and not ramble haha
Started out with finishing my dad's dash lights and panels. (i know, i know.. these are for my dad's car, but i just can't not show a pic or 2 of em...)
Reflective tape on the back side of the gauge cover
Everything lit up and looking pretty good..
After that i decided to remove the rest of my emergency brake cables.. they were hanging down and were pretty rusty.. probably just gonna run the car without an E-brake.dont think i'll really need it, because it wont be a DD or be driven a whole lot.
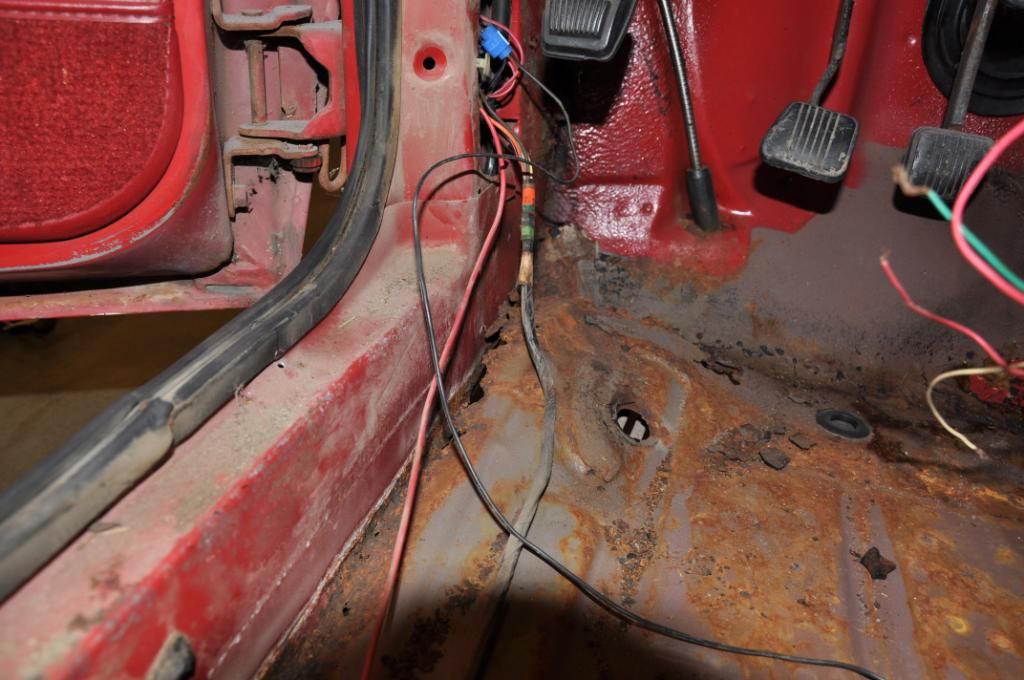
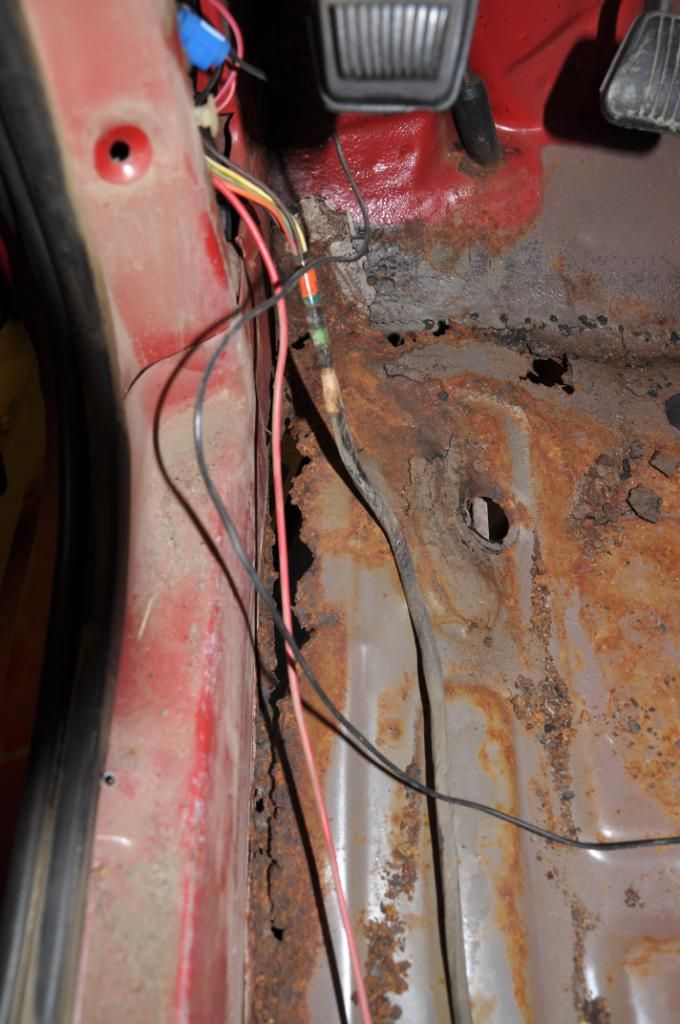
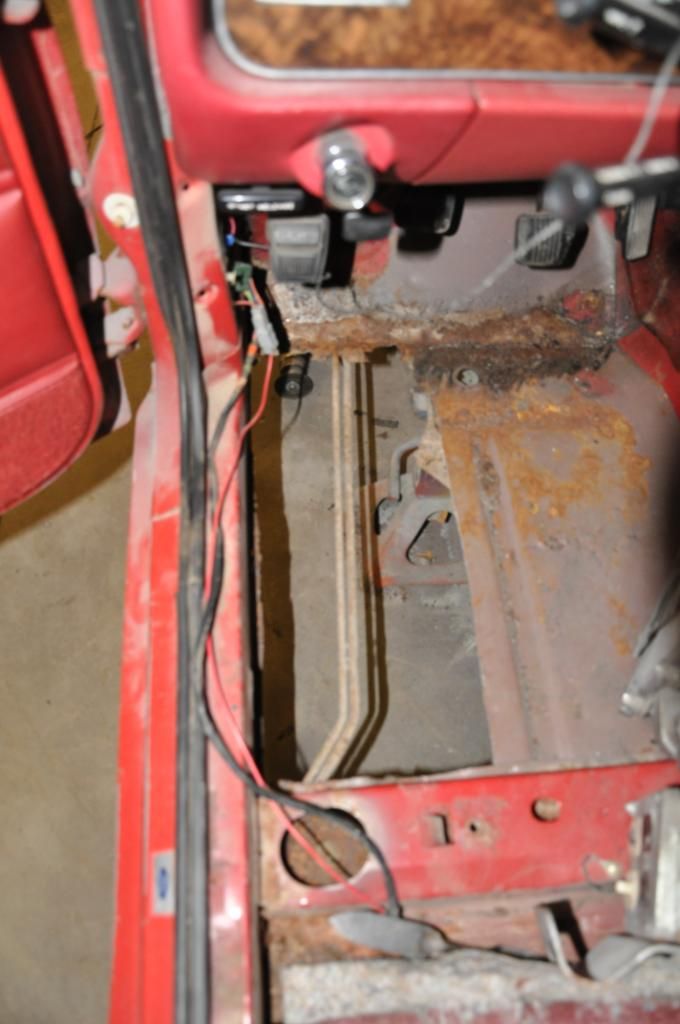
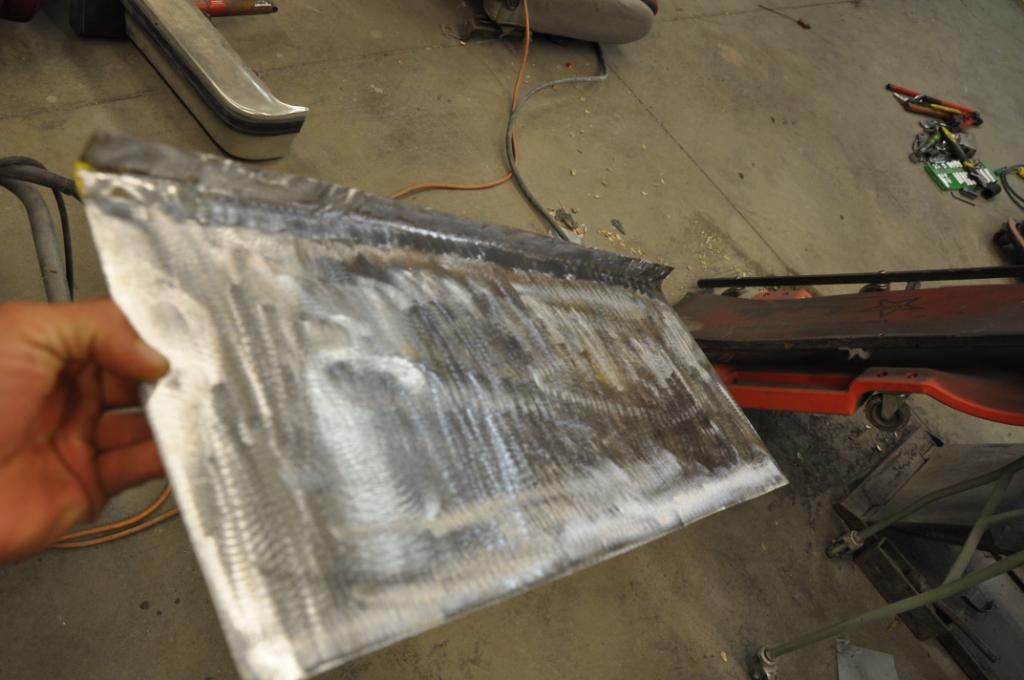
When my dad got home front his day job he hit up the floors right away! he got the right side cut out where we want it and he started on the patch.
What the floor looked like..
where were at now
Patch (so far)
Once we get the floors done all we need is the motor and rear end back from the builder and we'll be set!!

Great work!
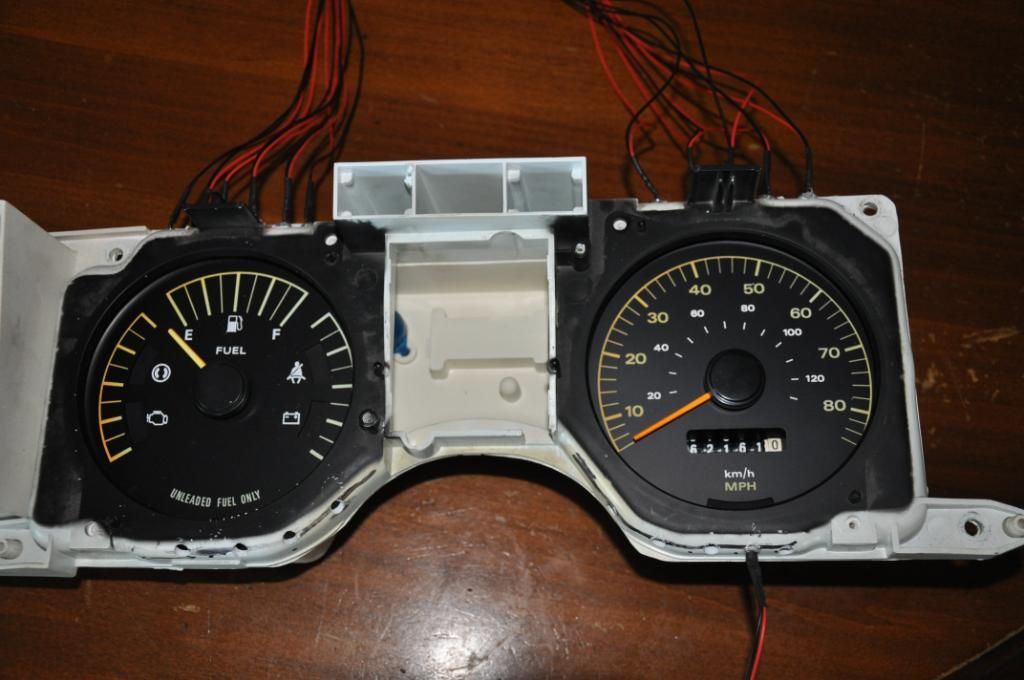
Any thought to installing a Mustang 'gauge' instrument cluster? The wiring isnt that bad (somebody on FEP posted a 'how to' a while back) and it will look 100 percent better than the Fairmont idiot light cluster. And it has its own tach.
MF: Shoot pool Fast Eddie.
EF: Im shootin' pool Fats. When I miss you can shoot.
I'd really like to do that! for my dad's fairmont he just wanted something to jazz it up a bit, but i'd defiantly be interested in that! i'll be running a 5'' tach with shift light (just because we have one and it needs to go on something) so the tach wouldnt be a huge thing, but i like the idea of the other gauges.
If you find that link post it, or send it in a message. thanks for the idea!
**just looked some things up on this... looks like a lot of figuring out wiring and could be a little tricky.. if i find a gauge cluster at a reasonable price i'll maybe buy it and see what i can do with it.
Last edited by TeeJayTee; 06-13-2012 at 11:49 PM.
It's been a while since i've posted anything, so i might as well give ya guys a little update.
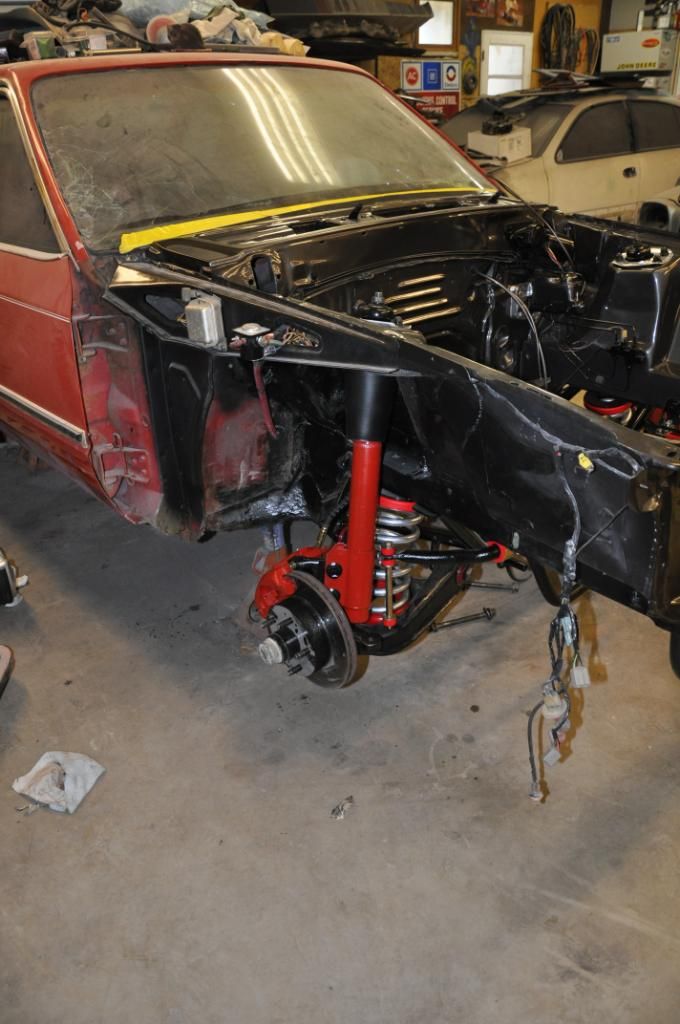
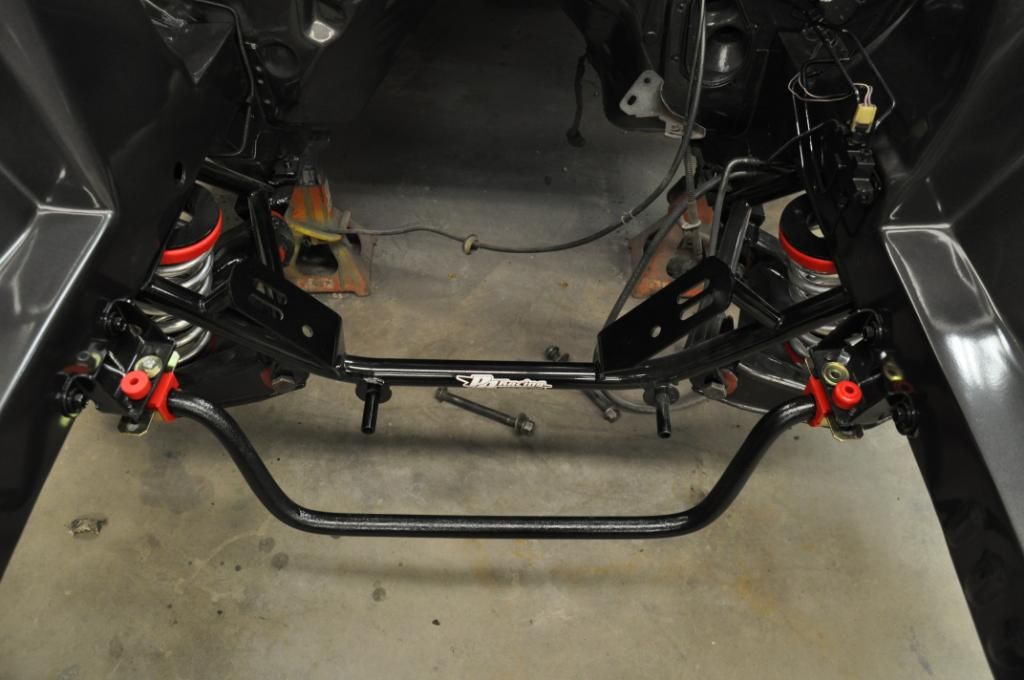
I've been really busy this whole last week with helping remodel our basement, work, and helping my dad get his truck(F350/crew cab/long box) prepped for paint. neither my dad or i have been able to work on the fairmont much at all. about the only thing we've done is finish getting both sides of the front suspension on, and mocked up the sway bar and rack.
Now i do have a question for anyone who might know.
-> can you tighten up the sway bar mounting bolts and nuts up to the lower control arm while the car is up in the air and the suspension is as far as it can go down? OR, do i need to have the suspension in the "loaded" position? we were just going to jack the arm up and then put weight on the car so the coil squats enough to start the nut on the mounting bolt, then just tighten the nut and bolt to the torque requirements.
Also, we ran into a bump when we went to slide the rack on. we got it figured out, but i'll let cha know what it was.
->so i'm going to be running a manual rack that is originally from the car. the original rack has the solid one piece bushings with larger bolts. the K-member that we ordered is for a later mustang, where they used smaller bolts and 2 piece bushings.. anyways today i'm gonna remove the old bushings and we 're gonna order a set of the 2 piece bushings that have the offset for lowering.
I'll post some pictures up later. thanks guys!
I'd also like to get some feed back from all you guys that are looking at the build.. anything you wanna point out, an idea you might have, suggestions, precautionary things, etc..
Last edited by TeeJayTee; 06-18-2012 at 09:23 AM.


Torque the bolts with the suspension fully loaded.
1981 Durango(ends my 18 year drought of not owning a F/Z)
Pics:
Sway bar mocked up:
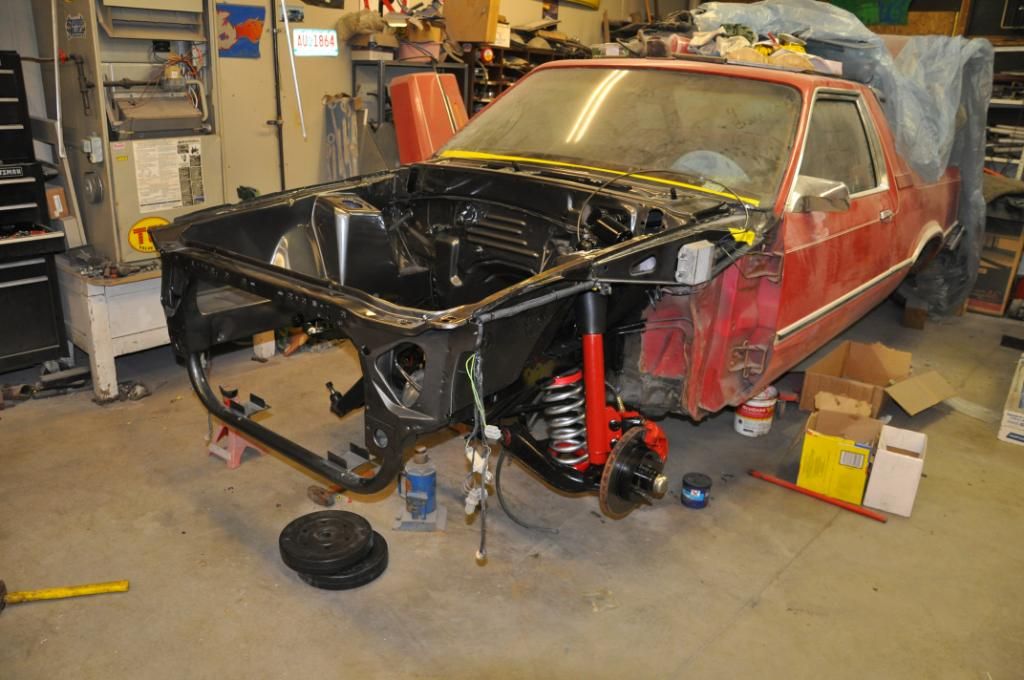
almost ready for the motor!!!
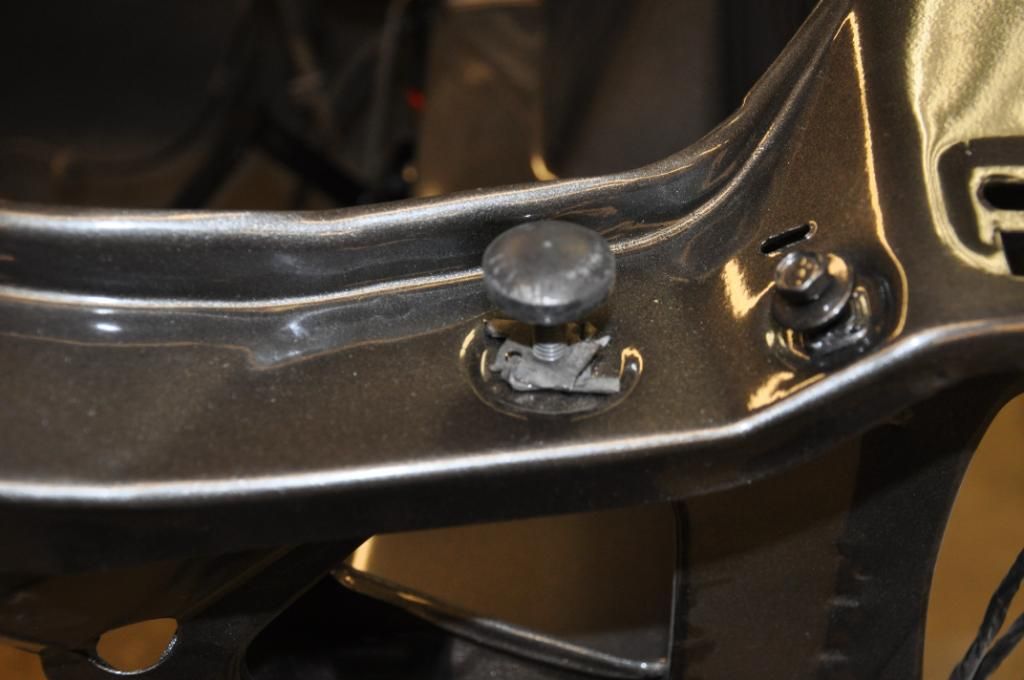
Got new hood bumpers and clips (i'm not sure of their technical term..)
Clouds after workin' in the shop

Awesome job, keep up the good work
1984 Mustang LX
302, Holley 4bbl 600 vac sec
B&M C4 R servo
Shorty Headers
MSD Box and Coil
Scorpion Roller Rockers 1.6
Crower Cam 472 112 seperation
Chetah Shifter
Performer RPM Intake
Carter Electronic Fuel Pump
Accel Eletronic Dizzy

I would use the explorer carrier as well, it is a 31 spline as opposed to the mustangs 28.
'85 1E GT ~ Terminator swap in progress
Just removed the one piece bushings outta the rack. now we just have to order the new ones and that's all ready to go.
Does anyone know where to get a cheap relay for wiring up my electric fuel pump? i was going to run the wires and get that all figured out. i might just put a toggle switch to turn it on and off
If anyone has a simple wiring diagram that'd also help.
I have one that i understand pretty well, but it never hurts to look at other ones and see other way of doing it.
OR if anyone has wired in an electric fuel pump before--> any insight on the topic would be appreciated.
Thanks!
We didn't want to buy new 31 spline axles. we already spent the money to get the 5 lug 28 spline axles for our conversion. we figured we'd just hold onto the differential from the explorer and if we want to, or need to go to 31 spline we can.
**If you mean the explorer rearend housing itself; it's not the same as a mustang. the explorer is set up for leaf springs and is off set opposed to the mustangs, which is centered.

Nice work on those clouds!
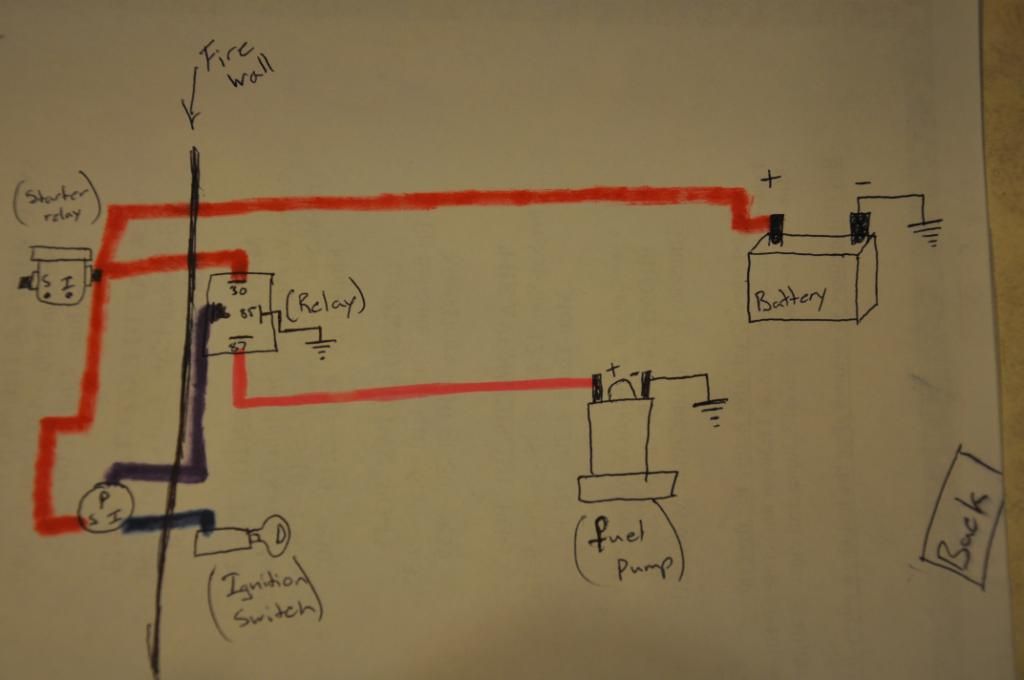
Looks like i've figured out my relay and wiring that i'm going to do on fuel pump. I'm going to use a 4 prong relay then wire it up according to what i've seen and read online and to add another safety to it.. i'm going to run the ignition wire from the relay to a toggle switch. (that way if i forget to hit the toggle switch the oil pressure safety switch will turn the pump off anyways. <--I think that will work..
i'm gonna try to draw up a wiring diagram so maybe you guys can tell me if it will work..
This is my wiring diagram for the relay and oil safety.
The circle with the "P", "S", and "I" is the oil switch
If this is wrong let me know please...
Last edited by TeeJayTee; 06-19-2012 at 07:20 PM.
Looks good. You may want to consider a 'crash' (inertia) switch inline between the the fuel pump and battery. Thay way if you are hit OR loose oil pressure the pump shuts down. Also make sure you use some type of inline fuse or fusible link between the fuel pump and battery.
MF: Shoot pool Fast Eddie.
EF: Im shootin' pool Fats. When I miss you can shoot.
The oil safety switch will be my safety shut down.. i think if the motor goes below 5lbs of oil pressure it cuts power to the "P" terminal, which would kick the relay off. -Thanks for pointing out the fuse thing! i know i should have atleast one fuse, but i was planning on running a fuse on anything that goes from the battery(any/all of the red wires in the diagram). Thank you sir.
^^i'm not trying to be a know it all. i really do appreciate you pointing those things out to me
No problem. To be sure I was simply recommending you use a crash switch AND an oil pressure safety switch. Lots of accidents where the fuel line is compromised but the engine keeps running, pumping fuel onto hot exhaust etc. Crash switch kills the pump after any impact.
Just my $.02
T
MF: Shoot pool Fast Eddie.
EF: Im shootin' pool Fats. When I miss you can shoot.
 Posting Permissions

 Reply With Quote
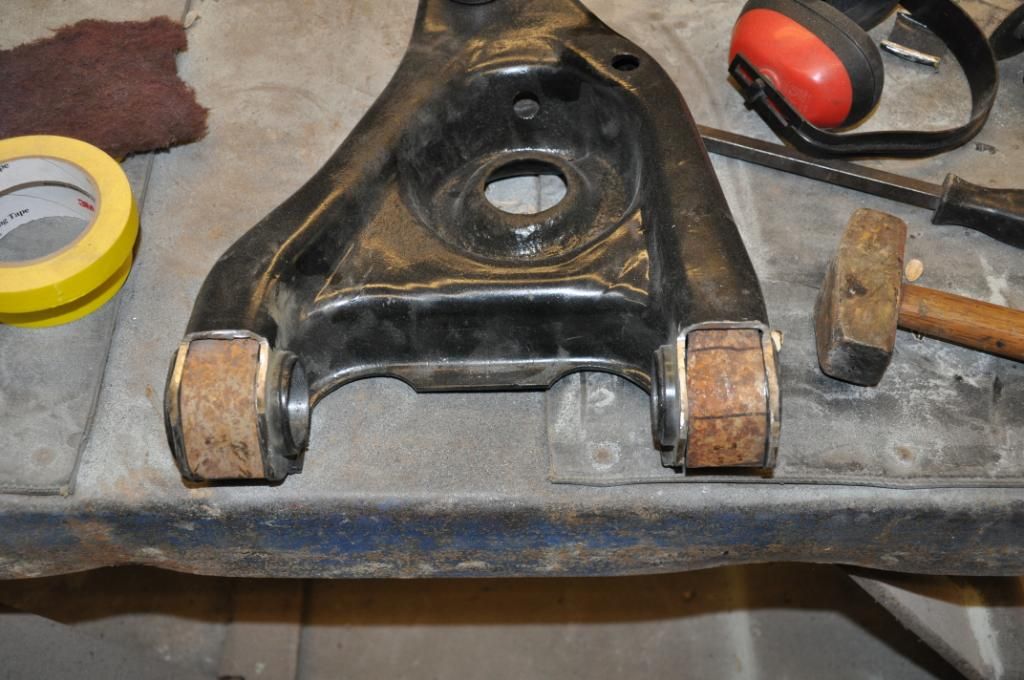


Connect With Us